I am always trying to find good things to add to my baby shower gifts. There are a lot of different baby things you can make,but some people don’t use, they take way too much time to be worth it, or they are to expensive where you might as well have just bought something. I enjoy making the burp cloths, but just giving three burp cloths doesn’t seem like a good enough baby shower gift. So, I found a super simple way of making cute headbands for girl gifts at least. They are VERY affordable and have two different ways you can make them either with a sewing machine or a hot glue gun. I would say they are also super easy to make and do take a little bit of time. It took me around an hours or two to make 65 headbands.
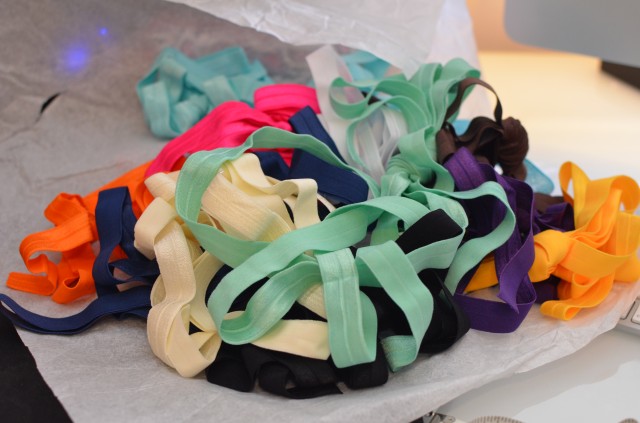
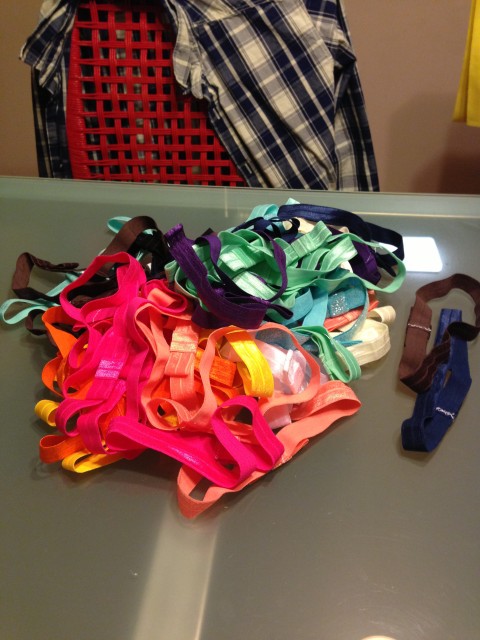
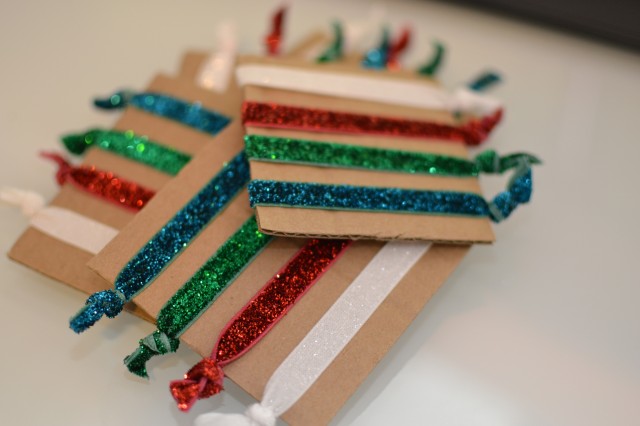
Here is the elastic that I ordered, I got around 3 yards of each color and made 5 finished headbands per color. I ordered them HERE, this is the second time that I have ordered from them and am very satisfied!
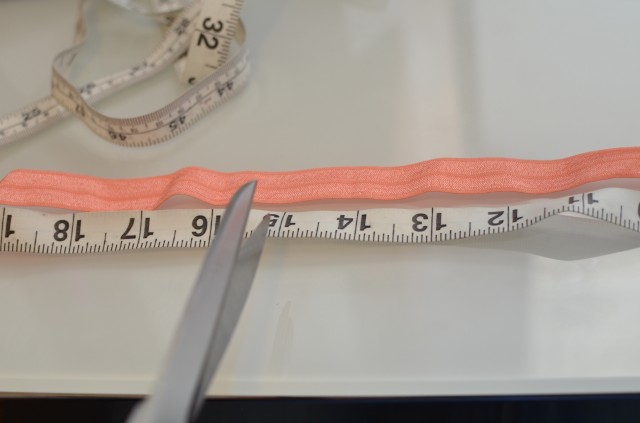
First, figure out how long you want them to be, after looking at multiple sites, I decided on a length of 14 1/2 inches long which is supposedly between the 6-12 months(~14 inches) & 12-18 months (~15 inches) size. Cut to the size you choose.
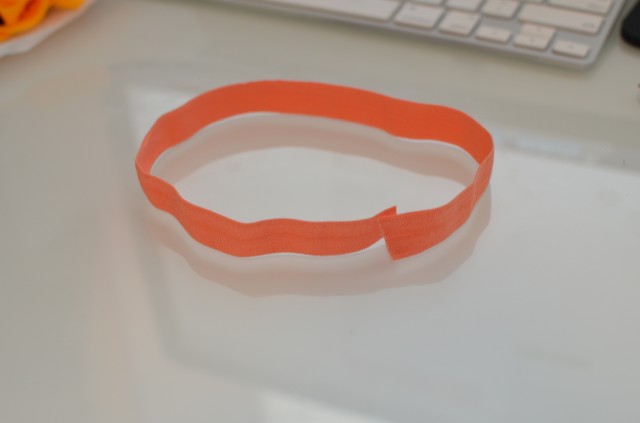 I cut 5 14.5″ strips and set them aside.
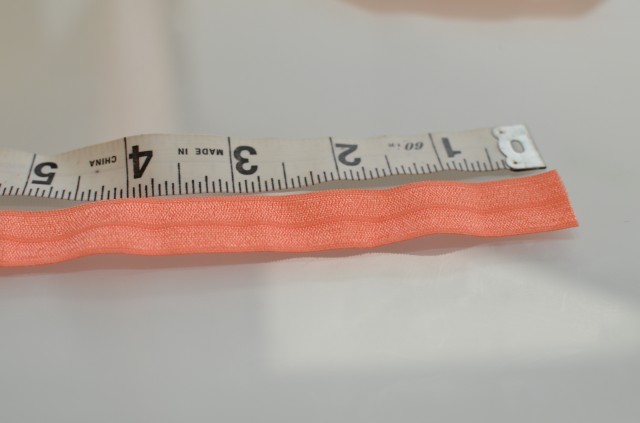 For the bow, I made them 4″ long, so I cut 5 4″ pieces.
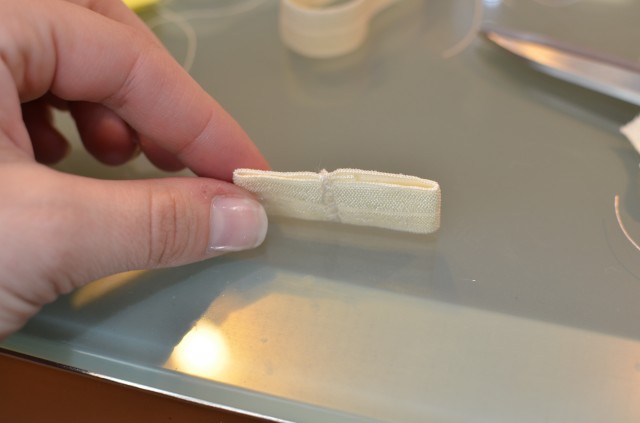
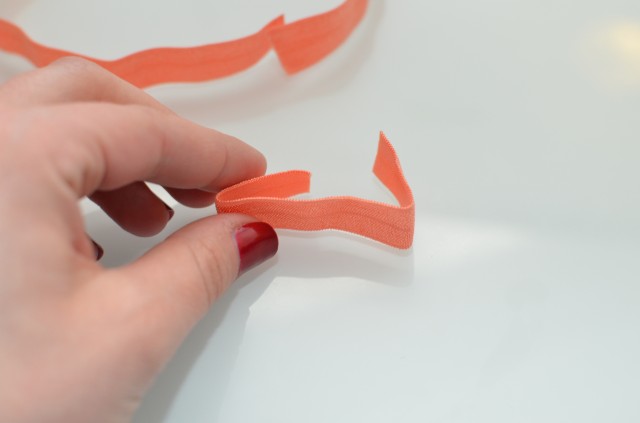 I folded them so that the two ends meet at the center.
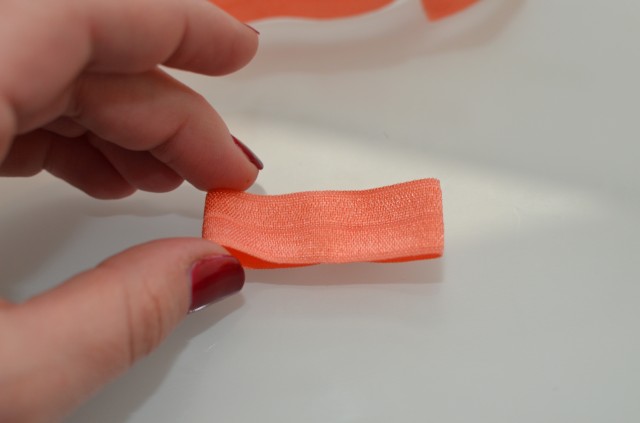 This shows you the length the bow will have, you can always make it longer if you prefer, but then you will need more than 3 yards to make 5 headbands.
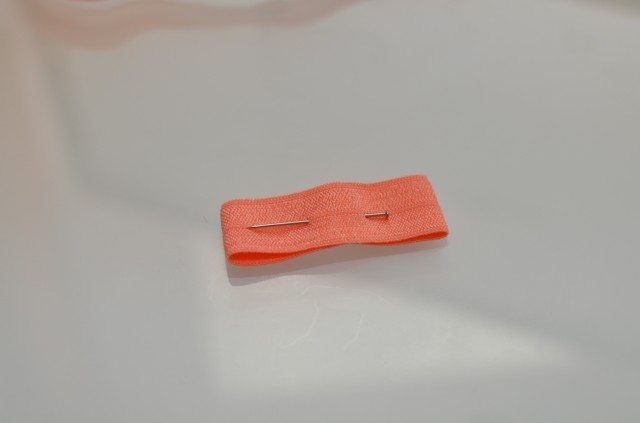 I pinned the bow pieces too, and the nice thing about doing this, is it started two creases so later on it makes it easier to assemble,but isn’t needed.
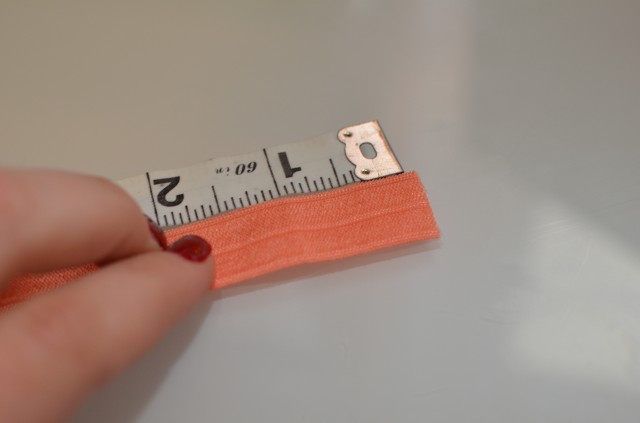 For the fastener, I made them 1 1/2″ pieces, so I cut 5 of those.
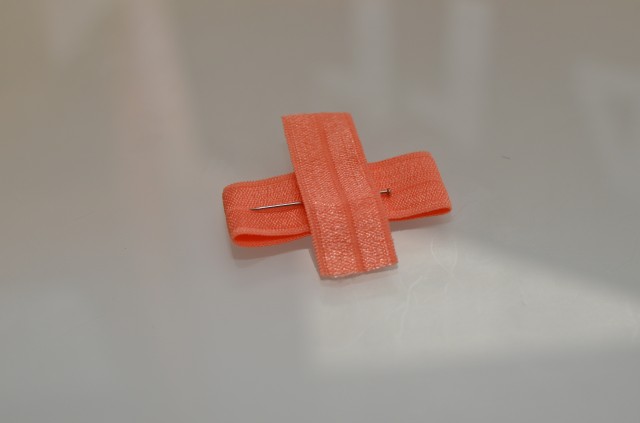 Lay on top with it centered so there are equal pieces to wrap around the back.
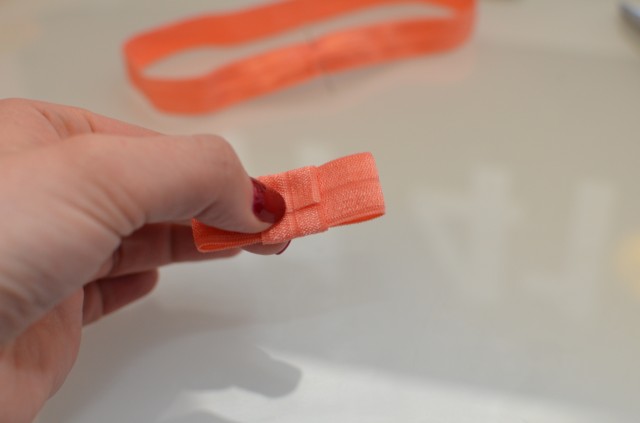 Here is the back where they are slightly overlapping each other.
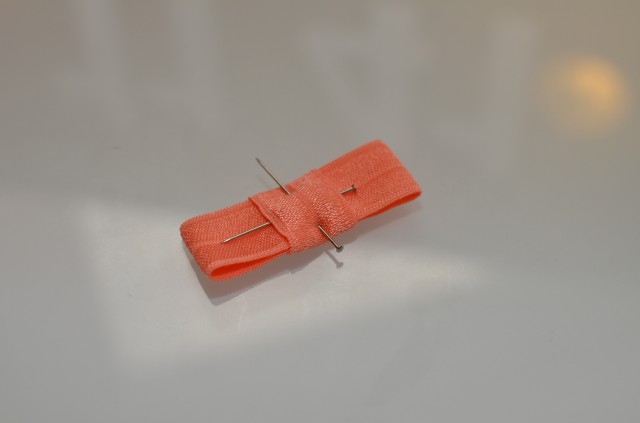 I pinned it to show you how it will look later, pinning the top part isn’t needed.
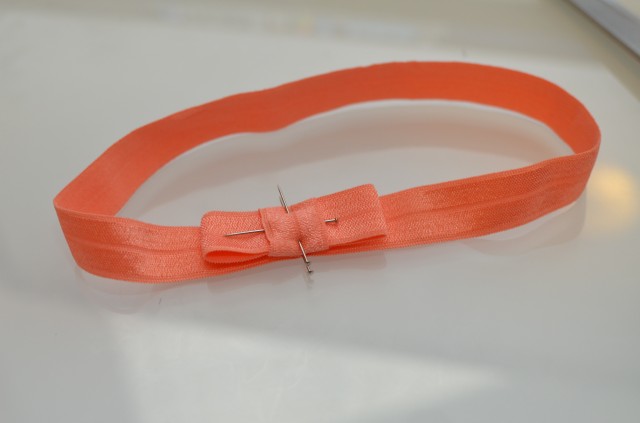 Here is the look I was going for.
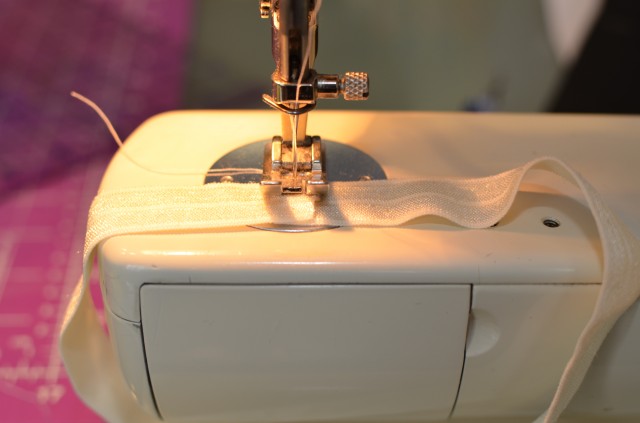 I chose to sew all of the headbands because I wanted them very sturdy, and I wanted as little on the actual head as possible to make them very comfortable.
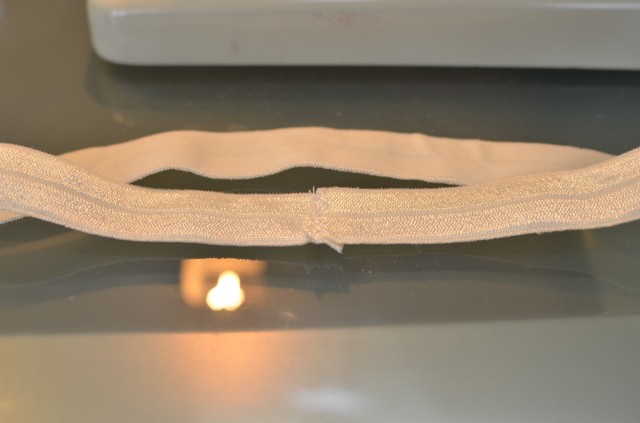 I sewed back and forth a few times to make sure they were sturdy. There is a tutorial HERE that shows how to make these all with hot glue and no sewing, so if that isn’t your thing it might be easier for you that way.
For the first bow, as you can see here, I sewed the pieces together,but later just put a small dap of hot glue so the two pieces stuck together in the center and inside of the bow.
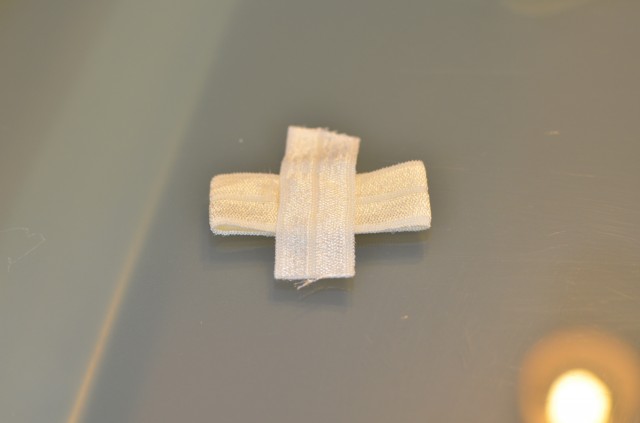
Place the middle piece centered then flip over.
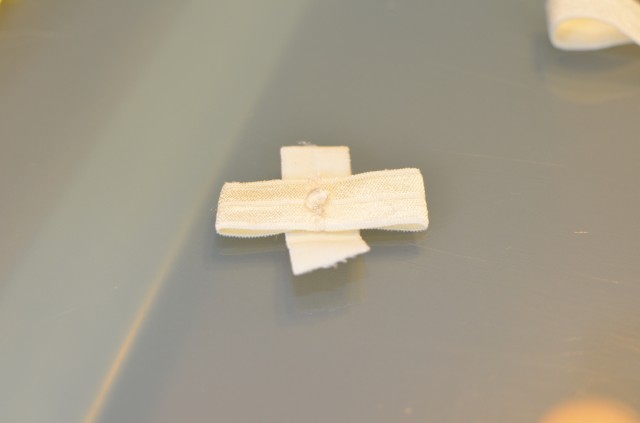
Turn over and add a dot, then fold one of the sides onto that dot.
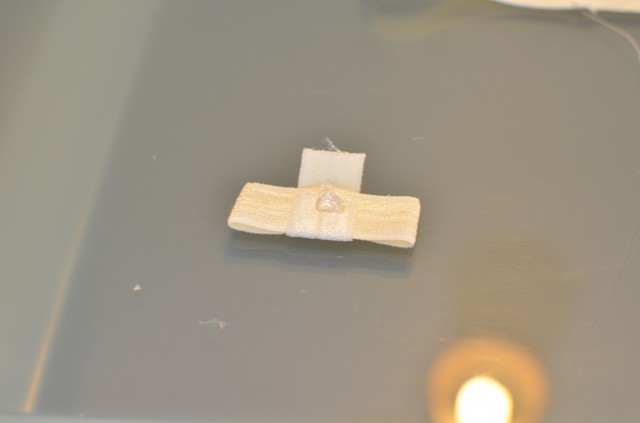
Once the first side is down, add another dot and put down the second, now turn over.
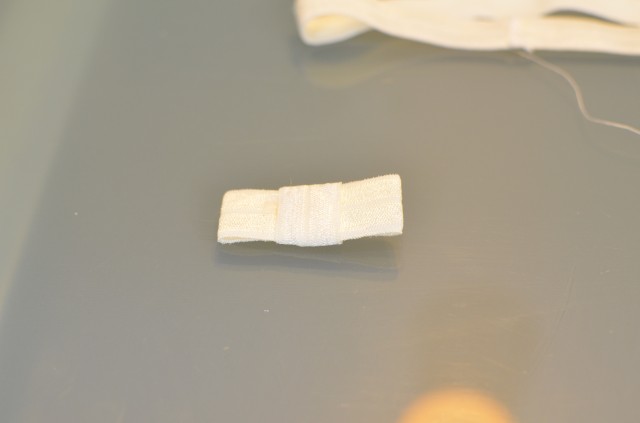
Now you have a bow, I chose to do the bow this way so that the bow would sit on top of the headband with as little chaffing as possible.
Add another dot of glue and stick the bow on the headband.
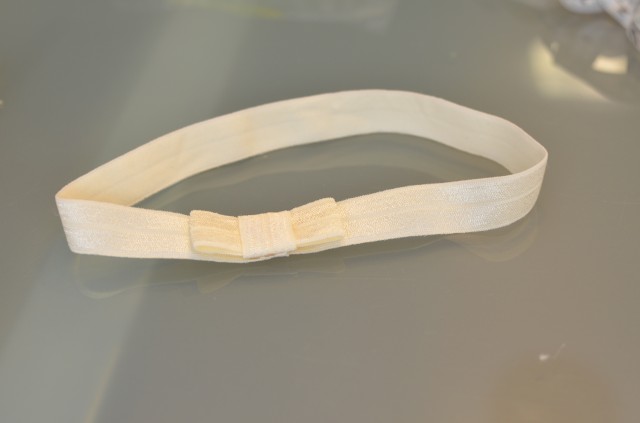
Here you can see the final product.
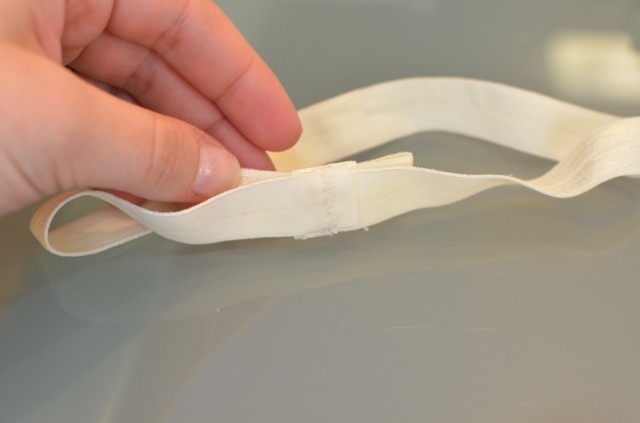
Here is the back. HERE is the tutorial that show how to make them all with only hot glue, and they put the final portion of the bow that wraps around the bow and headband to hid the seam. I am sure it works well, but I didn’t want any of the harder portion that the hot glue makes against the head. Either process work just fine I am sure, and it comes down to personal preference.
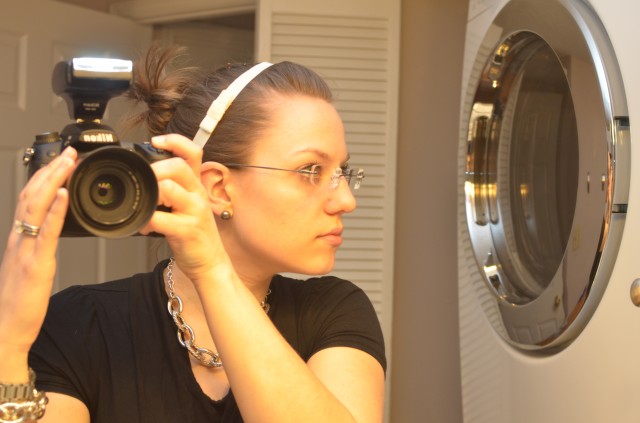
Even though this is the size for a small baby, it fit my head… maybe I have a small head? No clue, anyway, I could see some adults liking these or I also think these would be a cute favor for a Girl’s birthday party. Below are the typical sizes I could find online for ages and headband size that works best.
Newborn ~ 12 inches
0-6 months~ 13 inches
6-12 months~14 inches
12-18 months ~15 inches
18-24 months ~16 inches
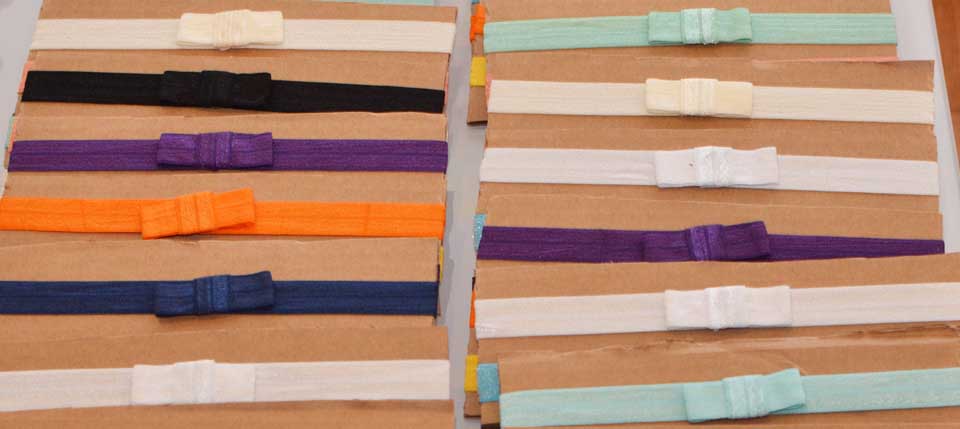
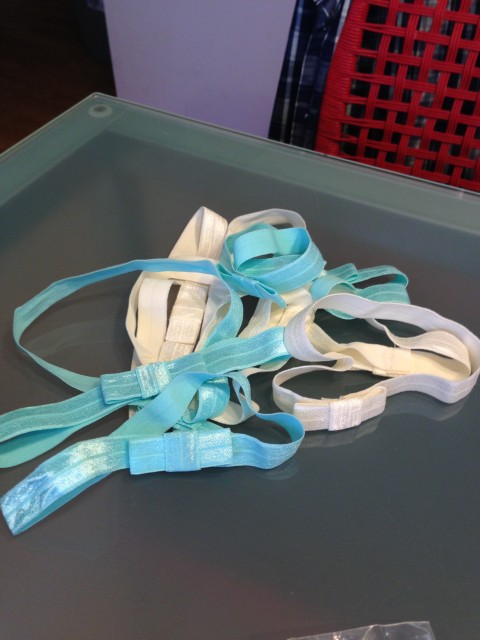
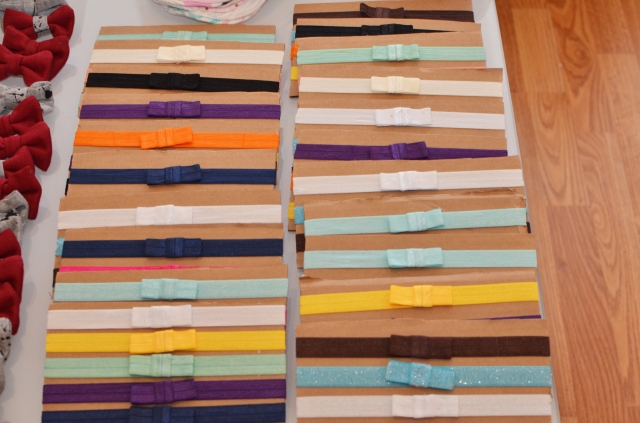
Here are some of the finished headbands, after shipping, tax, and the material, I paid 75cents per headband, and the only reason it is that high is because I bought 3 yards of the sparkly elastic too which is pricier than the plain shown above. If I hadn’t ordered the 3 yards of the fancy elastic, they would have cost me 37 cents a piece.
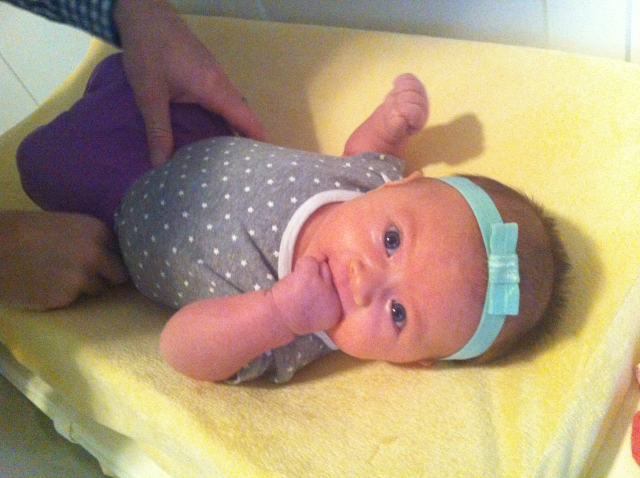
My beautiful Niece showing off her new headband!
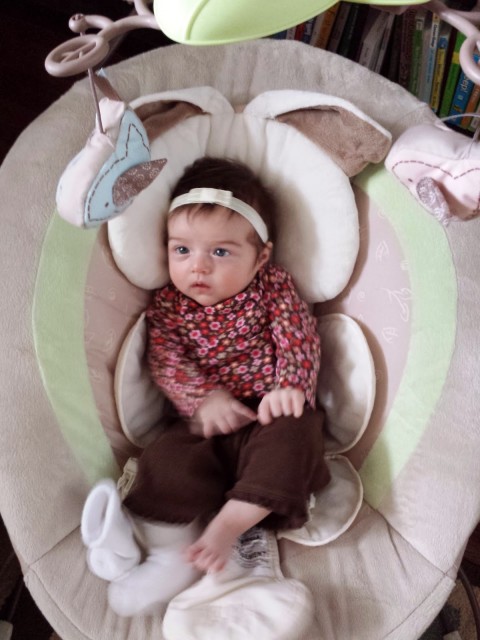
Another one of my nieces showing off one of these headbands, and my sister in law likes them because these don’t leave any indention marks on her head like a lot of the other bands do.
To make these with only hot glue see the tutorial HERE!
To make Knottie Hair Ties, see my Tutorial HERE!
To make Burp Cloths,see my tutorial HERE!


8 comments
[…] my last Hair bow headband tutorial, which can be found HERE, I had some left over bows. I decided that I would make them into pin-able bows that I can give […]
[…] Tutorial HERE! […]
[…] in advanced, I have made Burp cloths (tutorial#1 & tutorial#2), Baby Girl Headbands with Bows (Tutorial), Bow pins (Tutorial), and now for the boy baskets, I wanted to make some cute little boy hats or […]
I really found above informative article about kids hair bows in beautiful context. thanks a lot for this one fabulous effort.
Very cute! Was wondering how many headbands can one yard make?
I made about 1-2 headbands a yard depending on what size/length you make them. I made mine 14″ long, and then the bow portions was one 4″ piece and one 2″ piece. You can however make the overall bands slightly smaller to fit 2 full ones out of a yard if need be. For me it worked out best to buy 3 yards of one color, and then get 5 headbands out of it. Hope this helps, thanks for reading the blog.
Do you use 1″ elastic for the baby headband. Loved all the instructions and want to make some of them.
Nancy,
I used their 5/8th wide elastic,but I’m sure that the 1″ would work fine as well.