

I have been wanting a reusable Advent Calendar for our kids to use, and have been looking online all over the place to buy one. I had a very specific type I was looking for as well as one that has 24 pockets rather than 25 since we celebrate our Christmas on the 24th. After seeing a few different ones I likes and their price tags, I realized it would be worth it to make my own.
 VIA
VIAI have been eyeing this Ferm Living Advent Calendar a lot, but alas it is so expensive(around $65 plus another $55 for international shipping), and not 100% what I want. I like the color scheme, but wanted it a tad more simple on the top and bottom.

A year after sewing mine, they came out with this calendar, so kind of by accident, I made my own fusion of the two calendars.
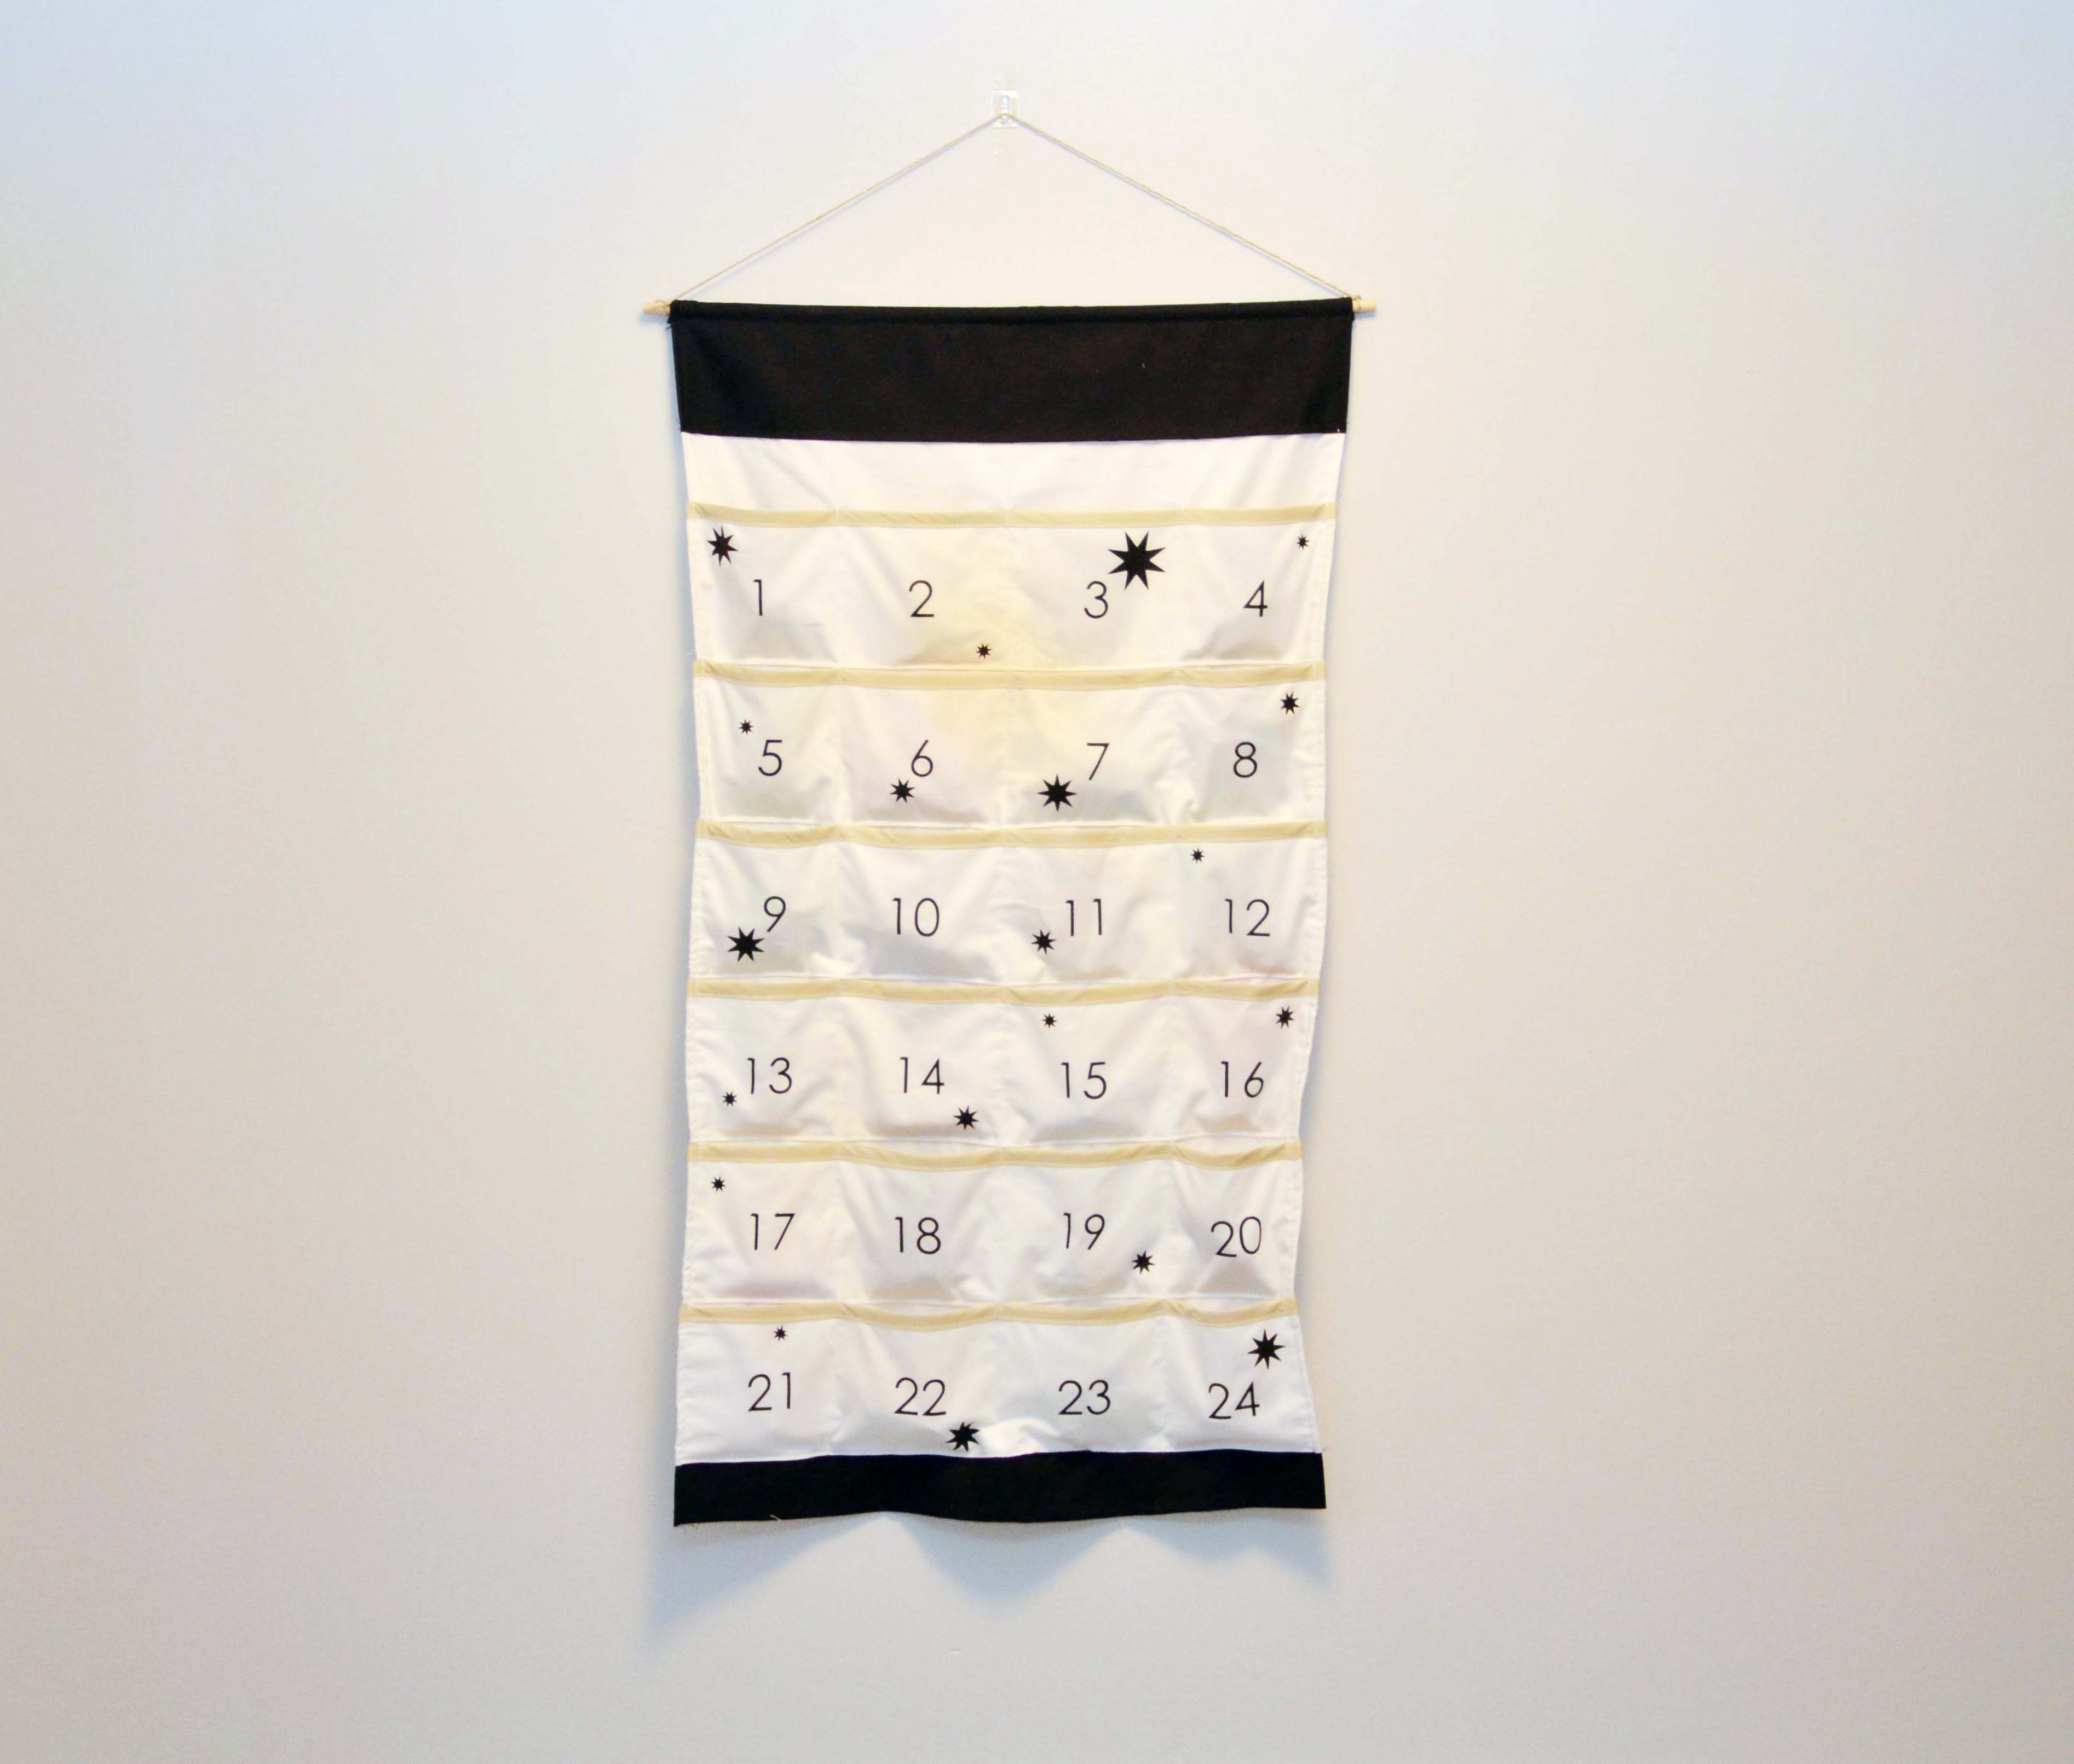
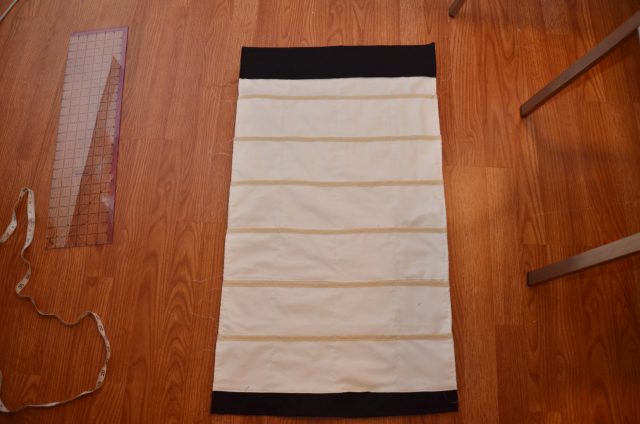
Here is how my final calendar turned out. I love it, but if there was one thing I would change is I would switch the thicker black portion to the bottom and the thinner portion to the top just like the calendar above did. But if you are now going to sew your own, you are in luck and can learn from my mistakes.
Supplies:
2 yards of muslin fabric or other white background fabric (45″ Wide)
1/4-1/2 yard of black cotton fabric (45″Wide) Depending on how long you want your top and bottom portions to be
3 Yard pack of beige bias tape
Beige or white thread
Iron/ironing board
Sewing machine
1 roll of iron on vinyl in black
22″ or longer Dowel Rod (If you want to have it sewn in for stability)
Scissors
Rotatry Cutter (I also love my rotary blade sharpener super simple and easy)
Self Healing Mat for cutting on
Acrylic ruler
Marking Pen
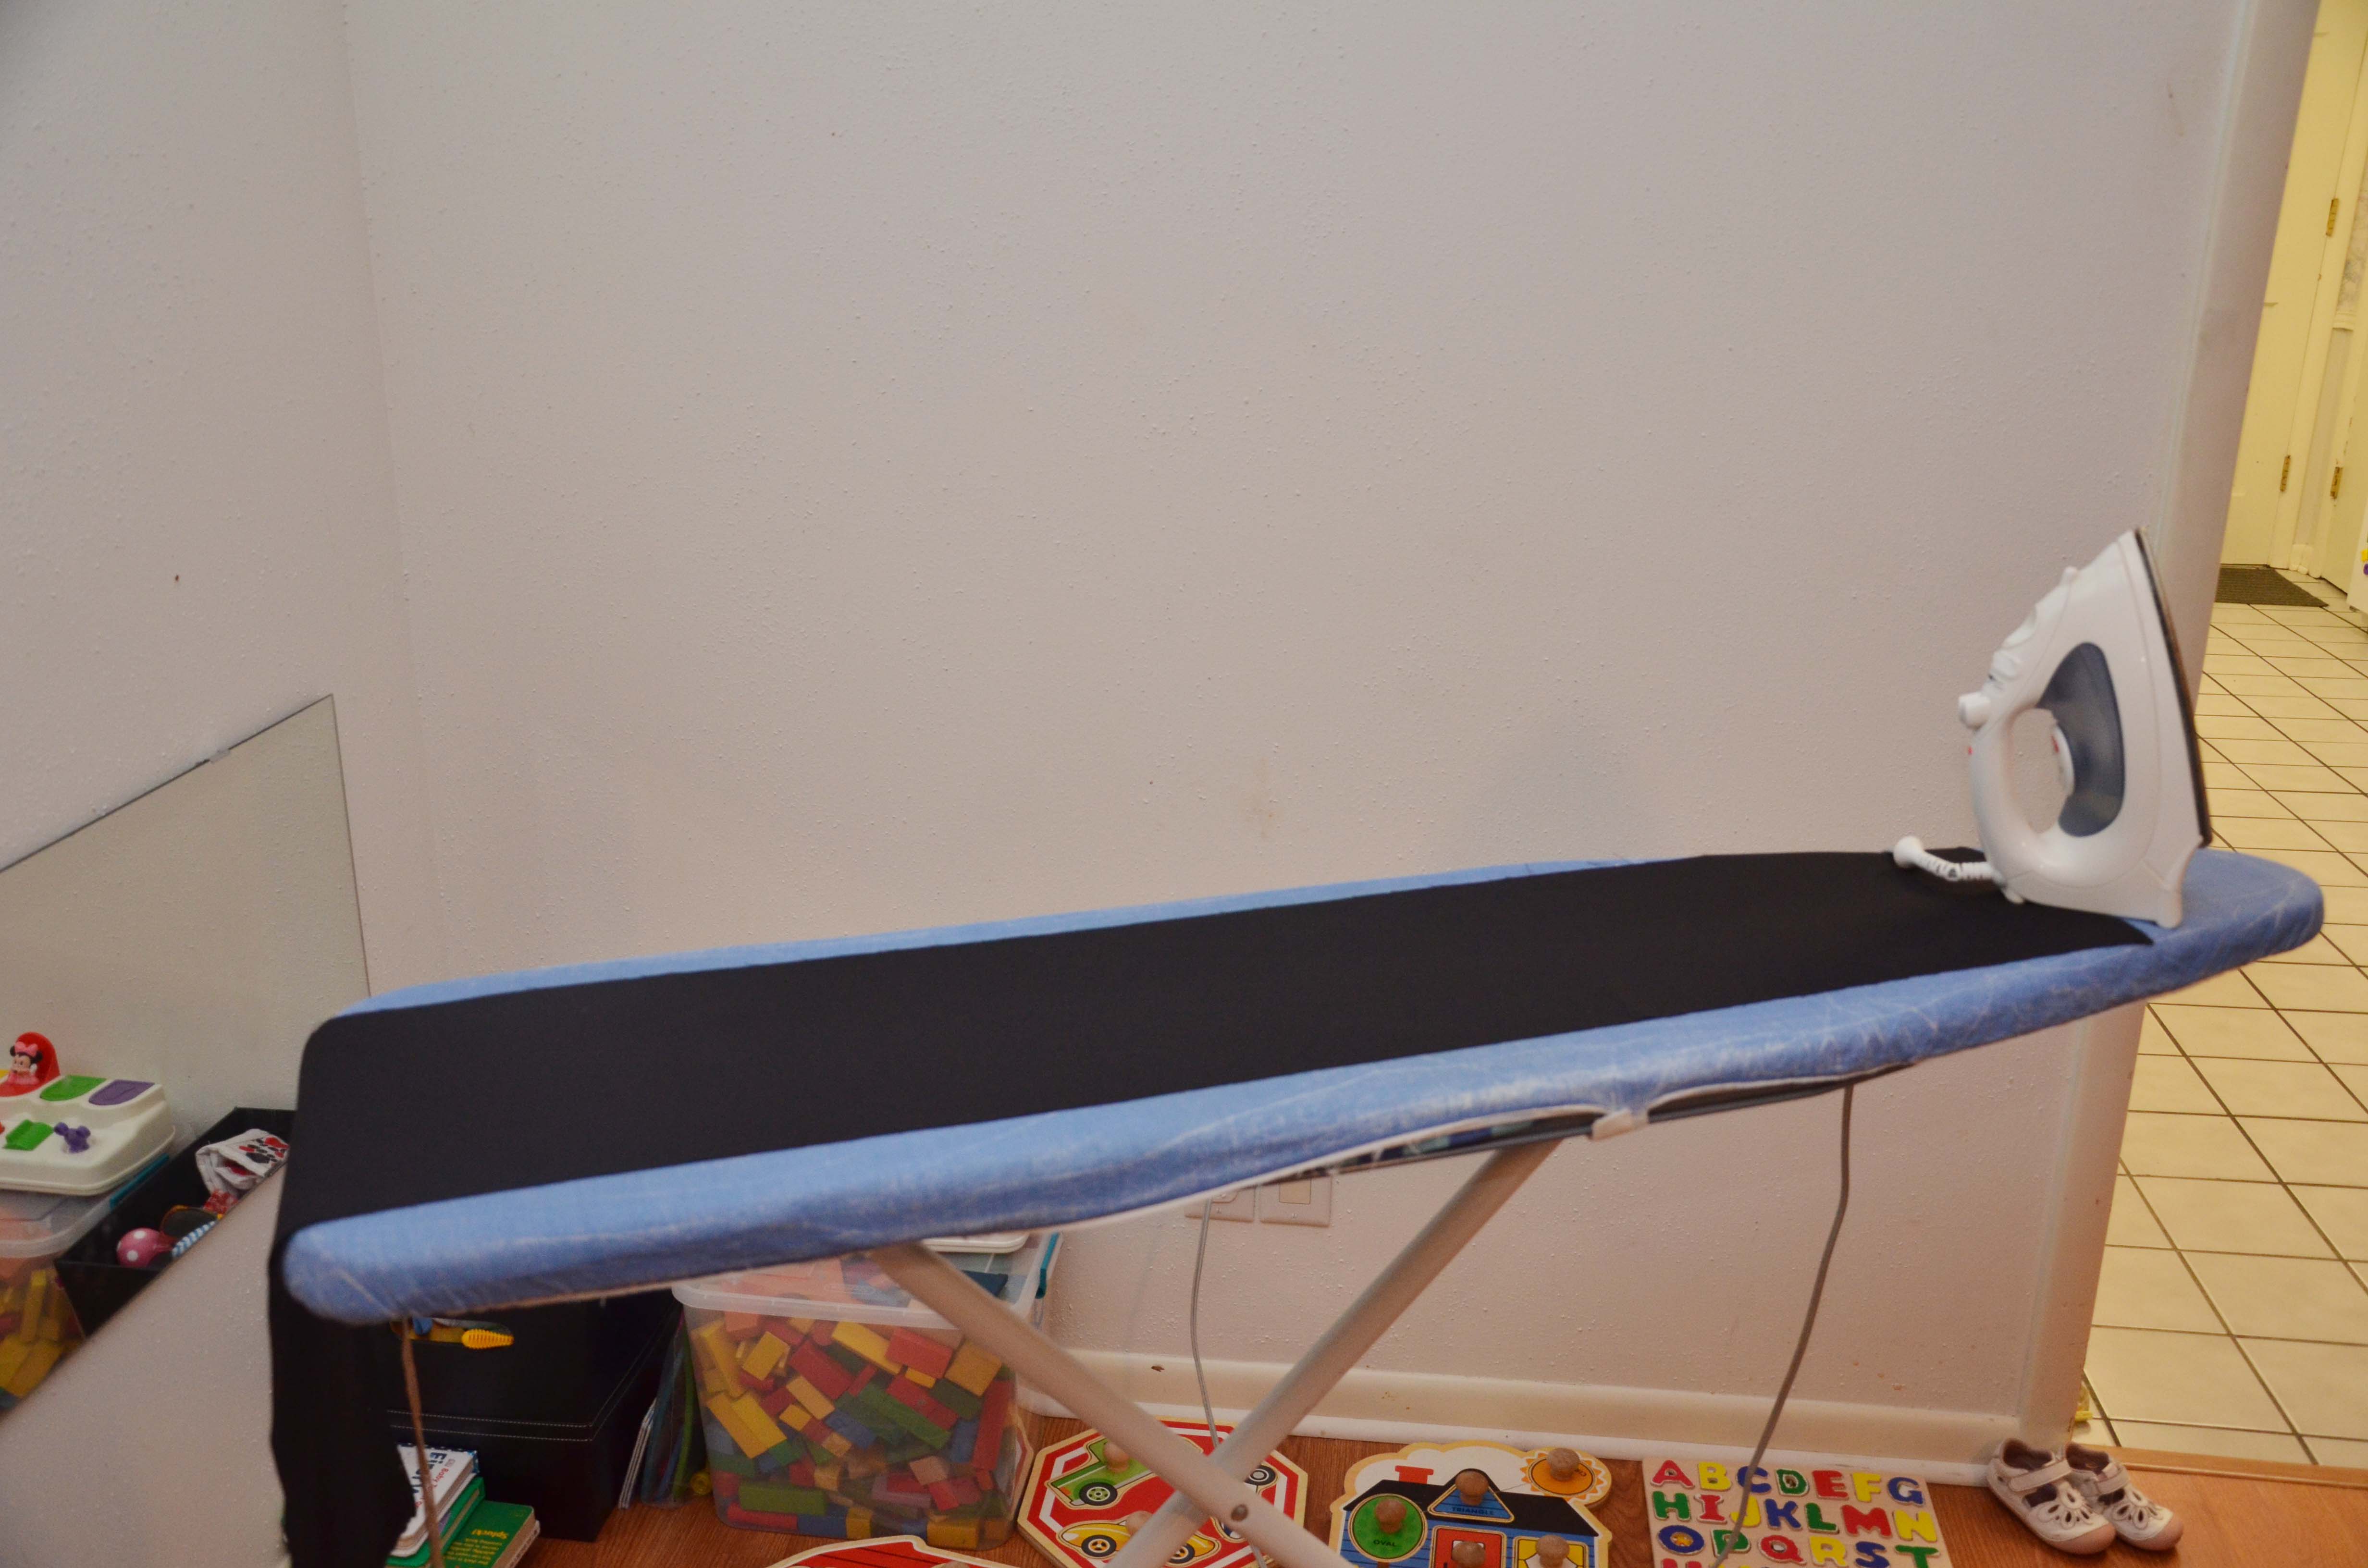
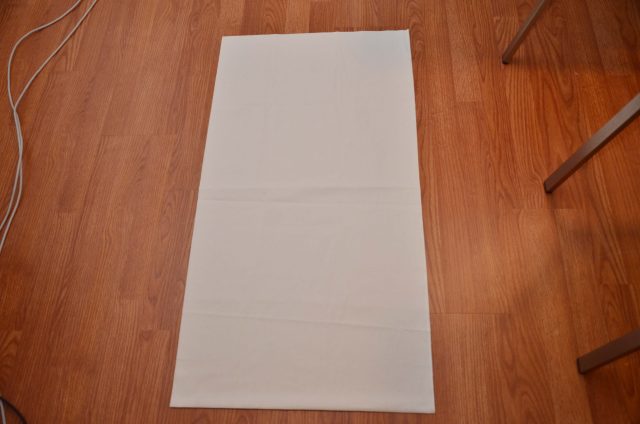
First I ironed my fabrics which is always the step I like least of sewing, but makes such a huge difference!
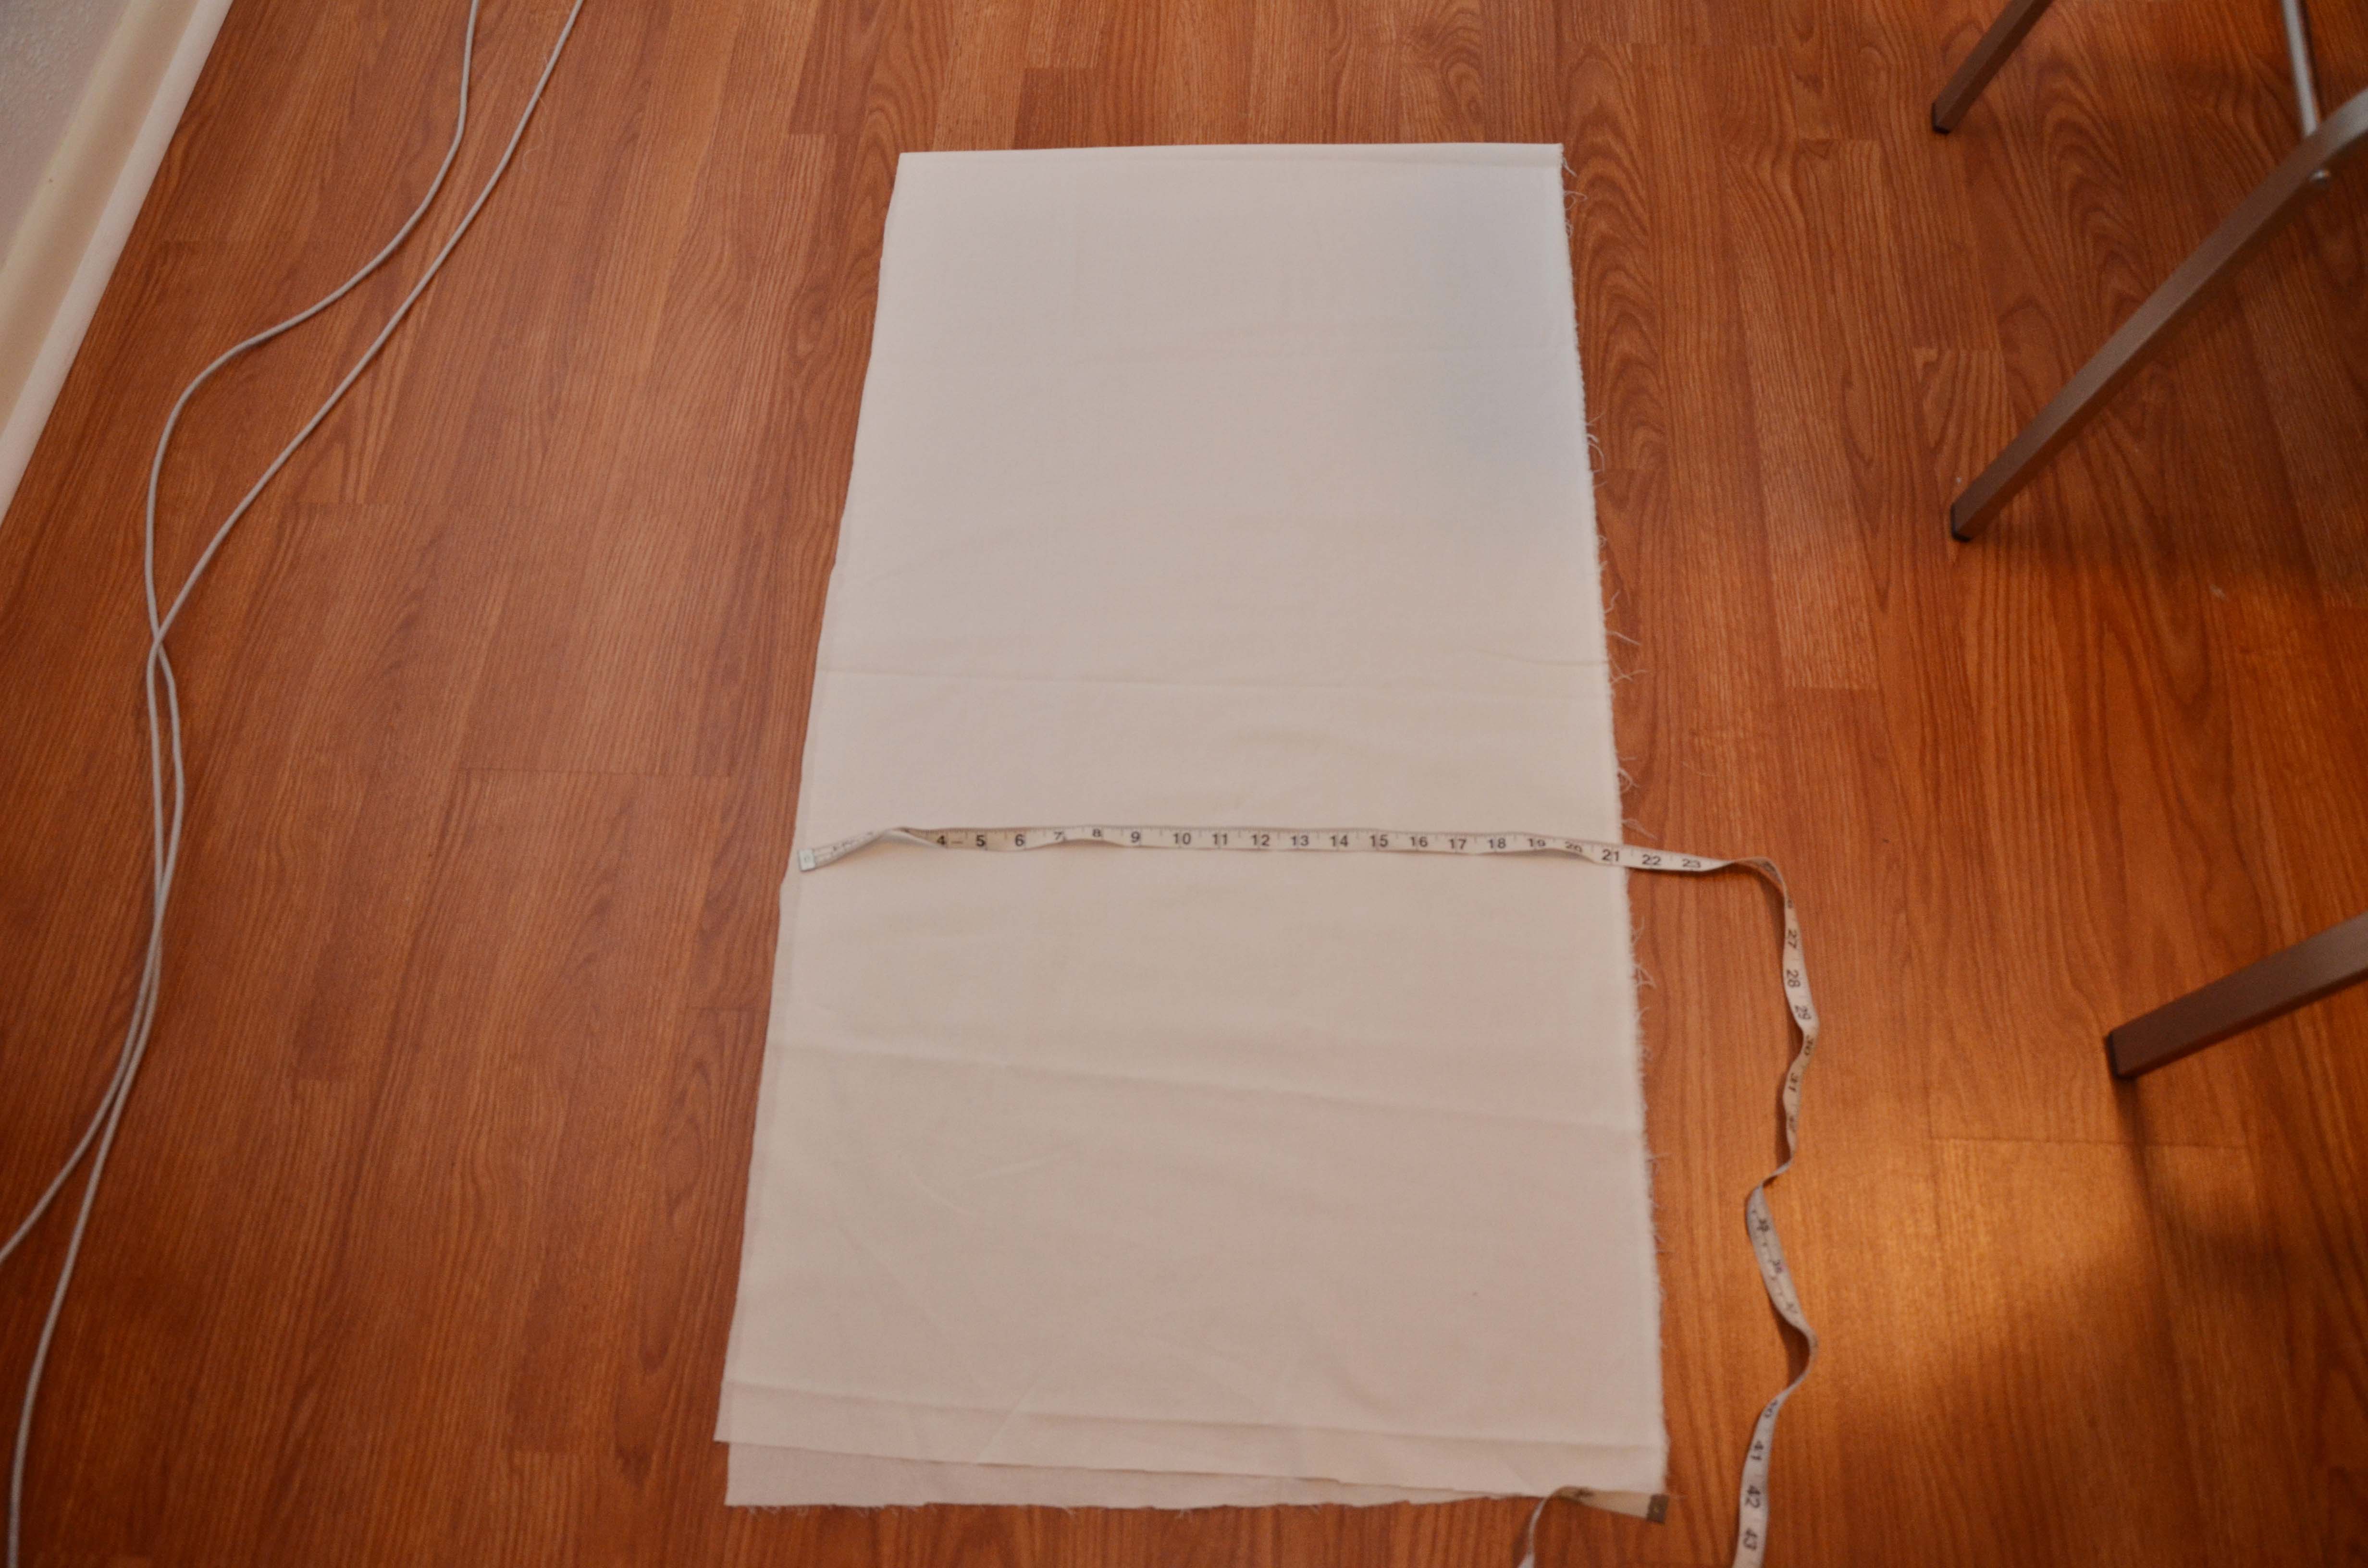
I cut my main background piece to 41″ tall by 21″ wide. This gave me half an inch to fold under on the edges. I doubled up my muslin fabric since it was pretty sheer, but if you have a thicker cotton fabric, this probably won’t be necessary.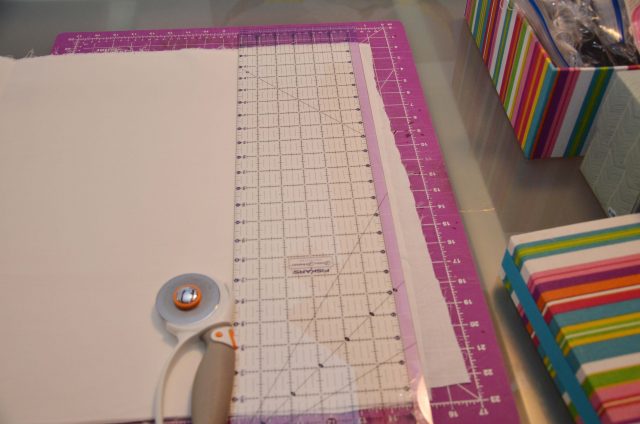 Cut off all of the raw edges so you are working with nice square edges.
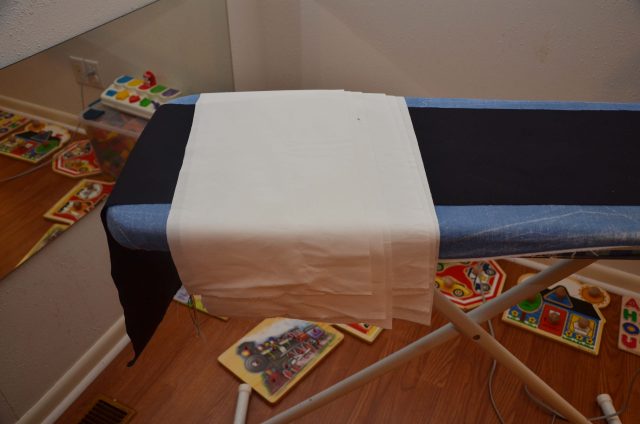
 Here you can see my back panel.
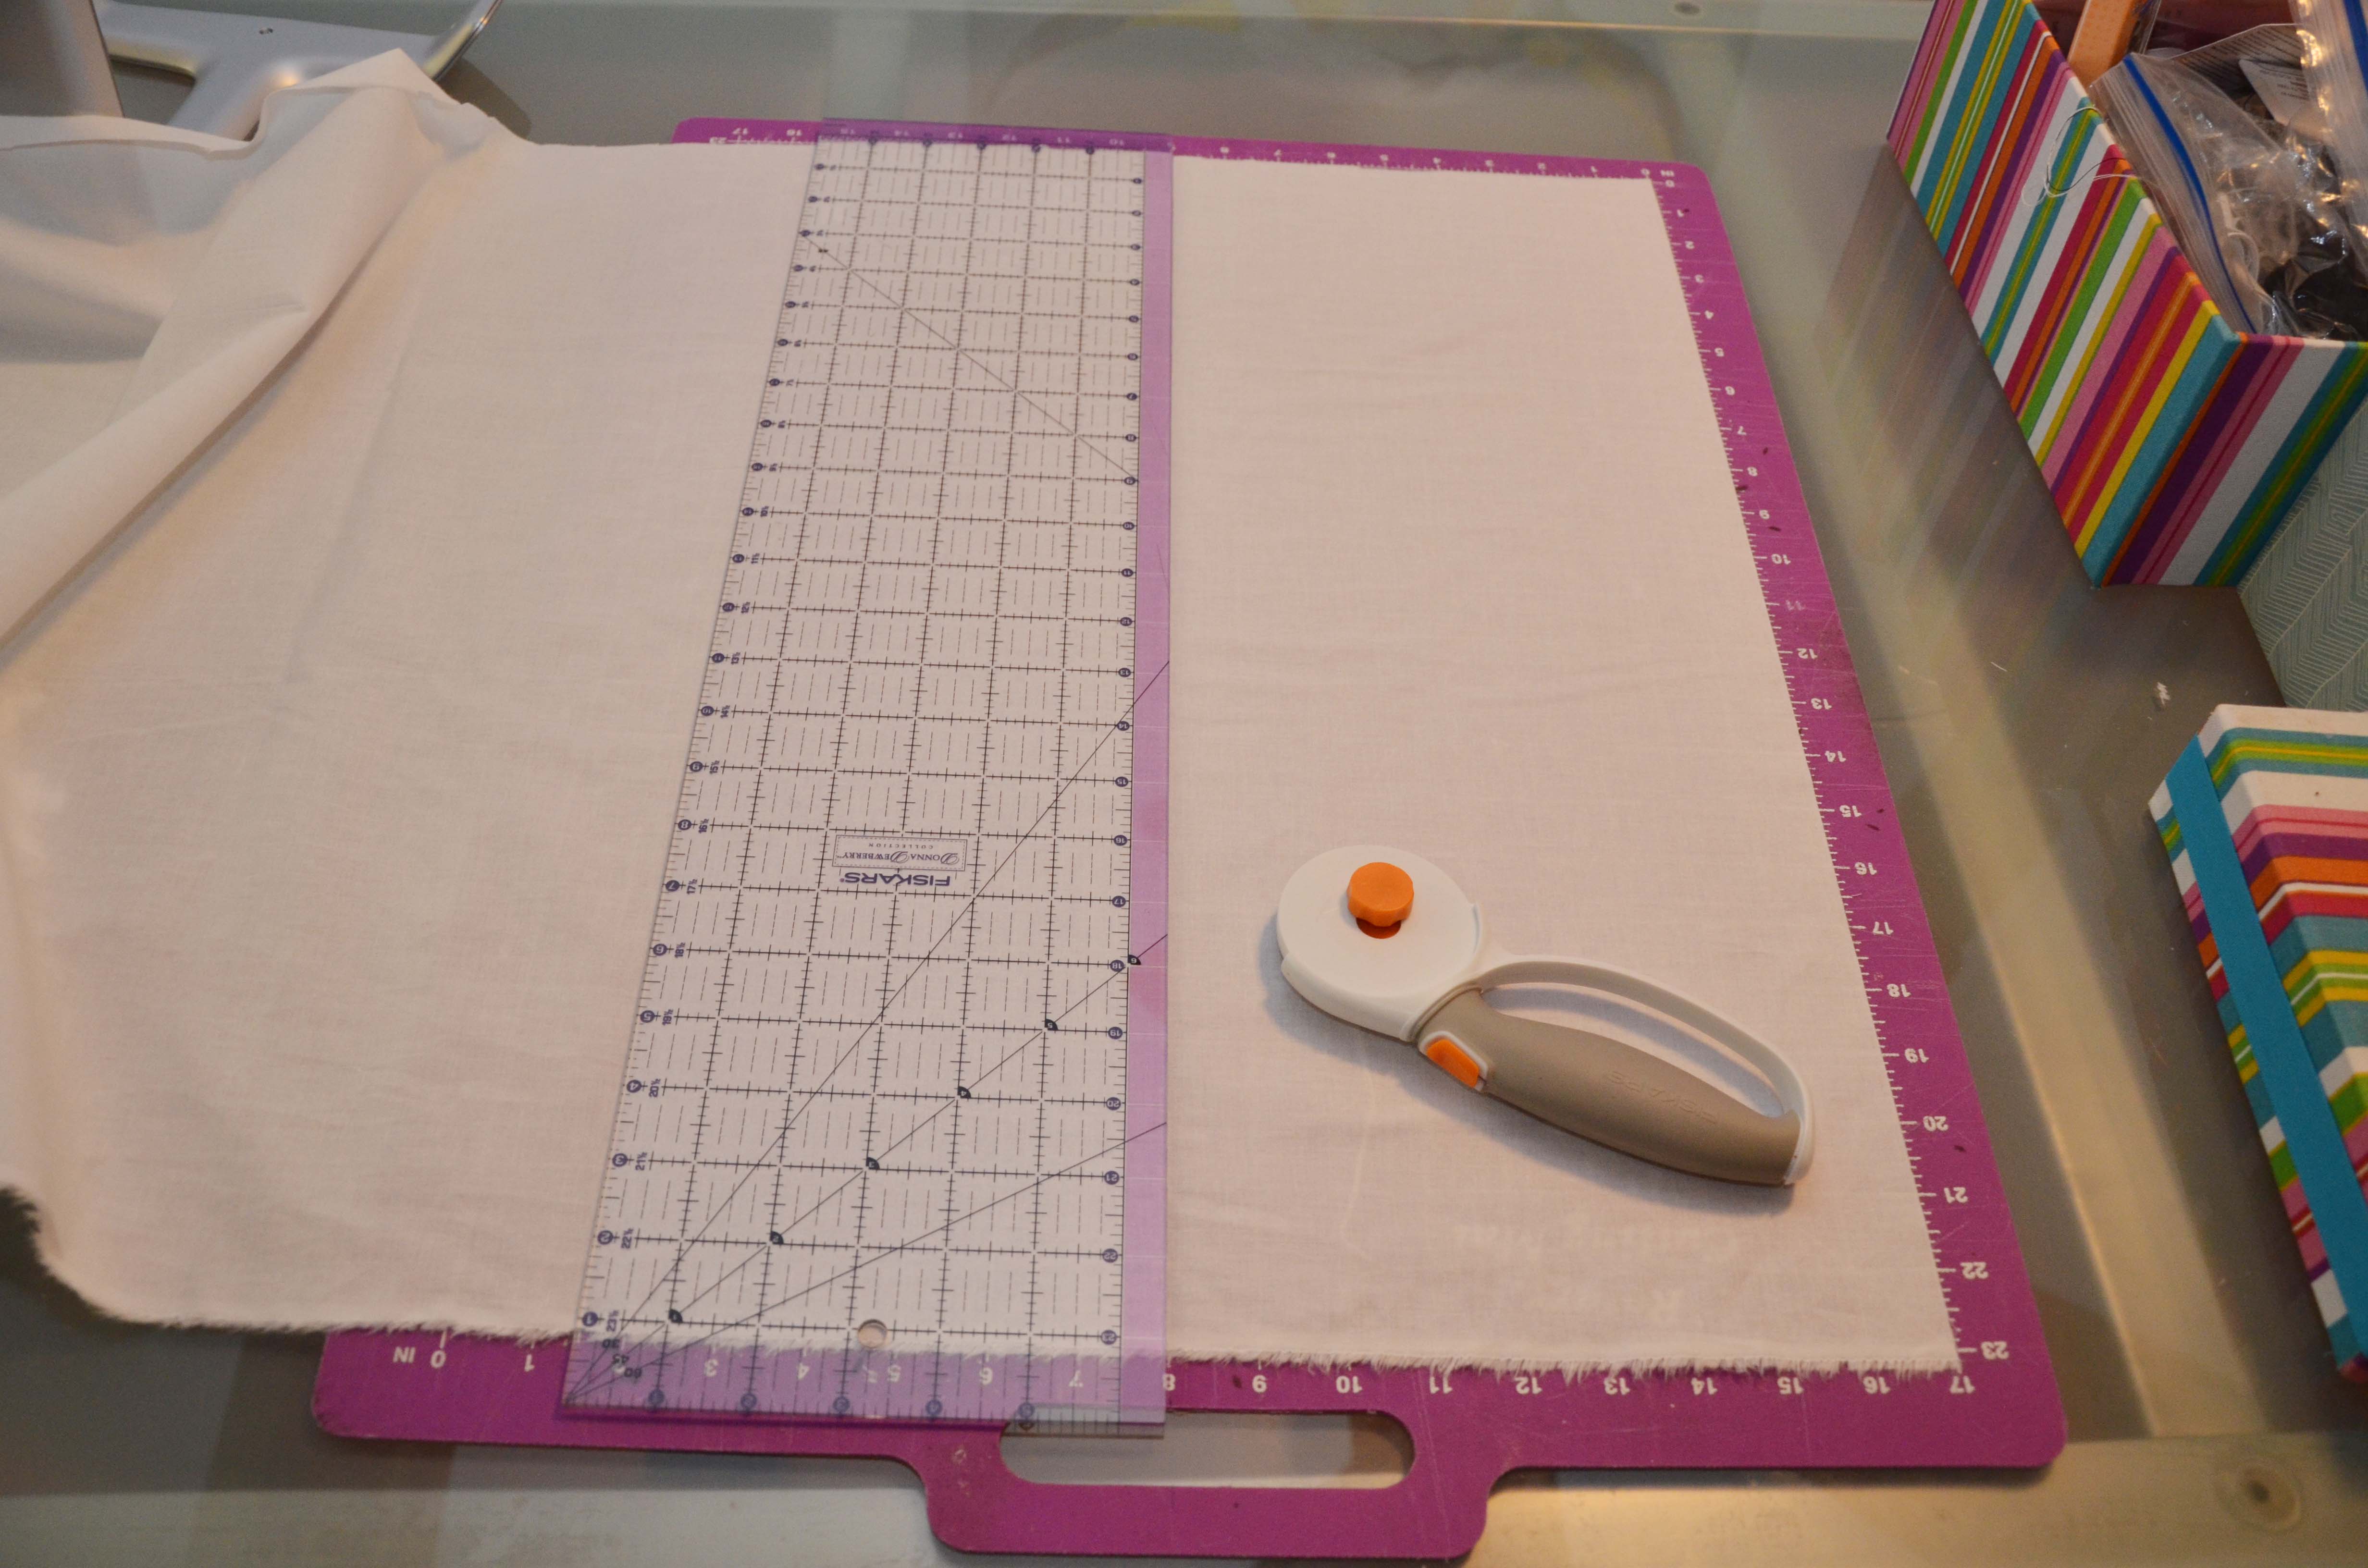
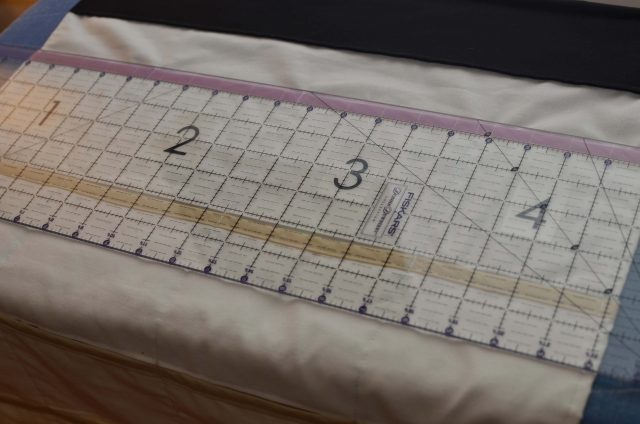
I then cut the 26″wide(can be shorter, but just a tad wider than the back panel so you can fold it over to hide the edges) by 8″ tall strips.
 After I had these six cut I ironed them again.
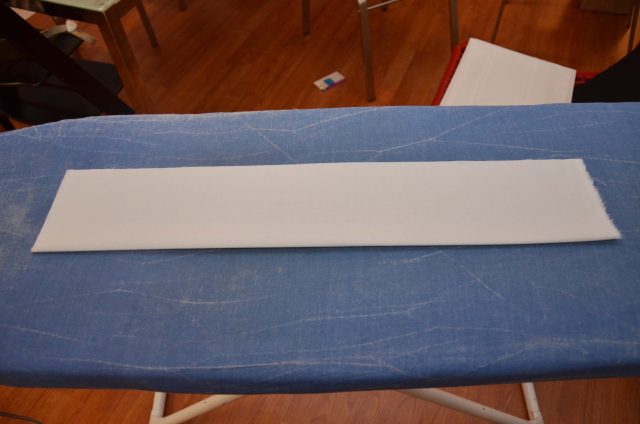 Iron them folded in half (hot dog style) since I wanted each of my pockets to be close to 4″ tall.
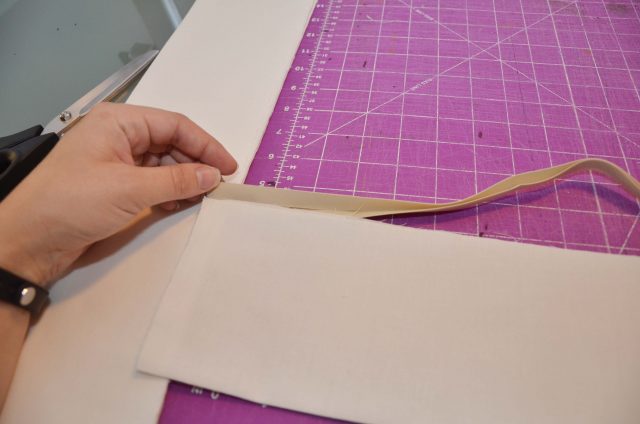 Then open your bias tape, and put it on top of the pocket strips to his the raw edges.
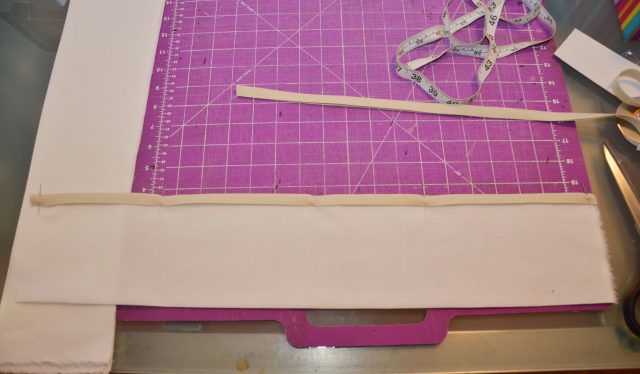 Pin them in place.
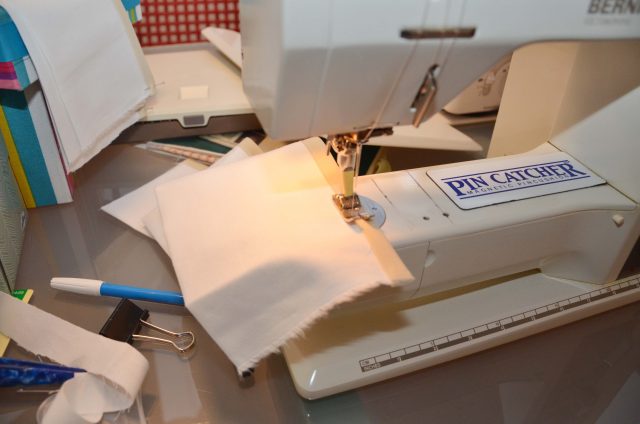
Sew the bias tape to the top of each of the strips with white or beige thread.
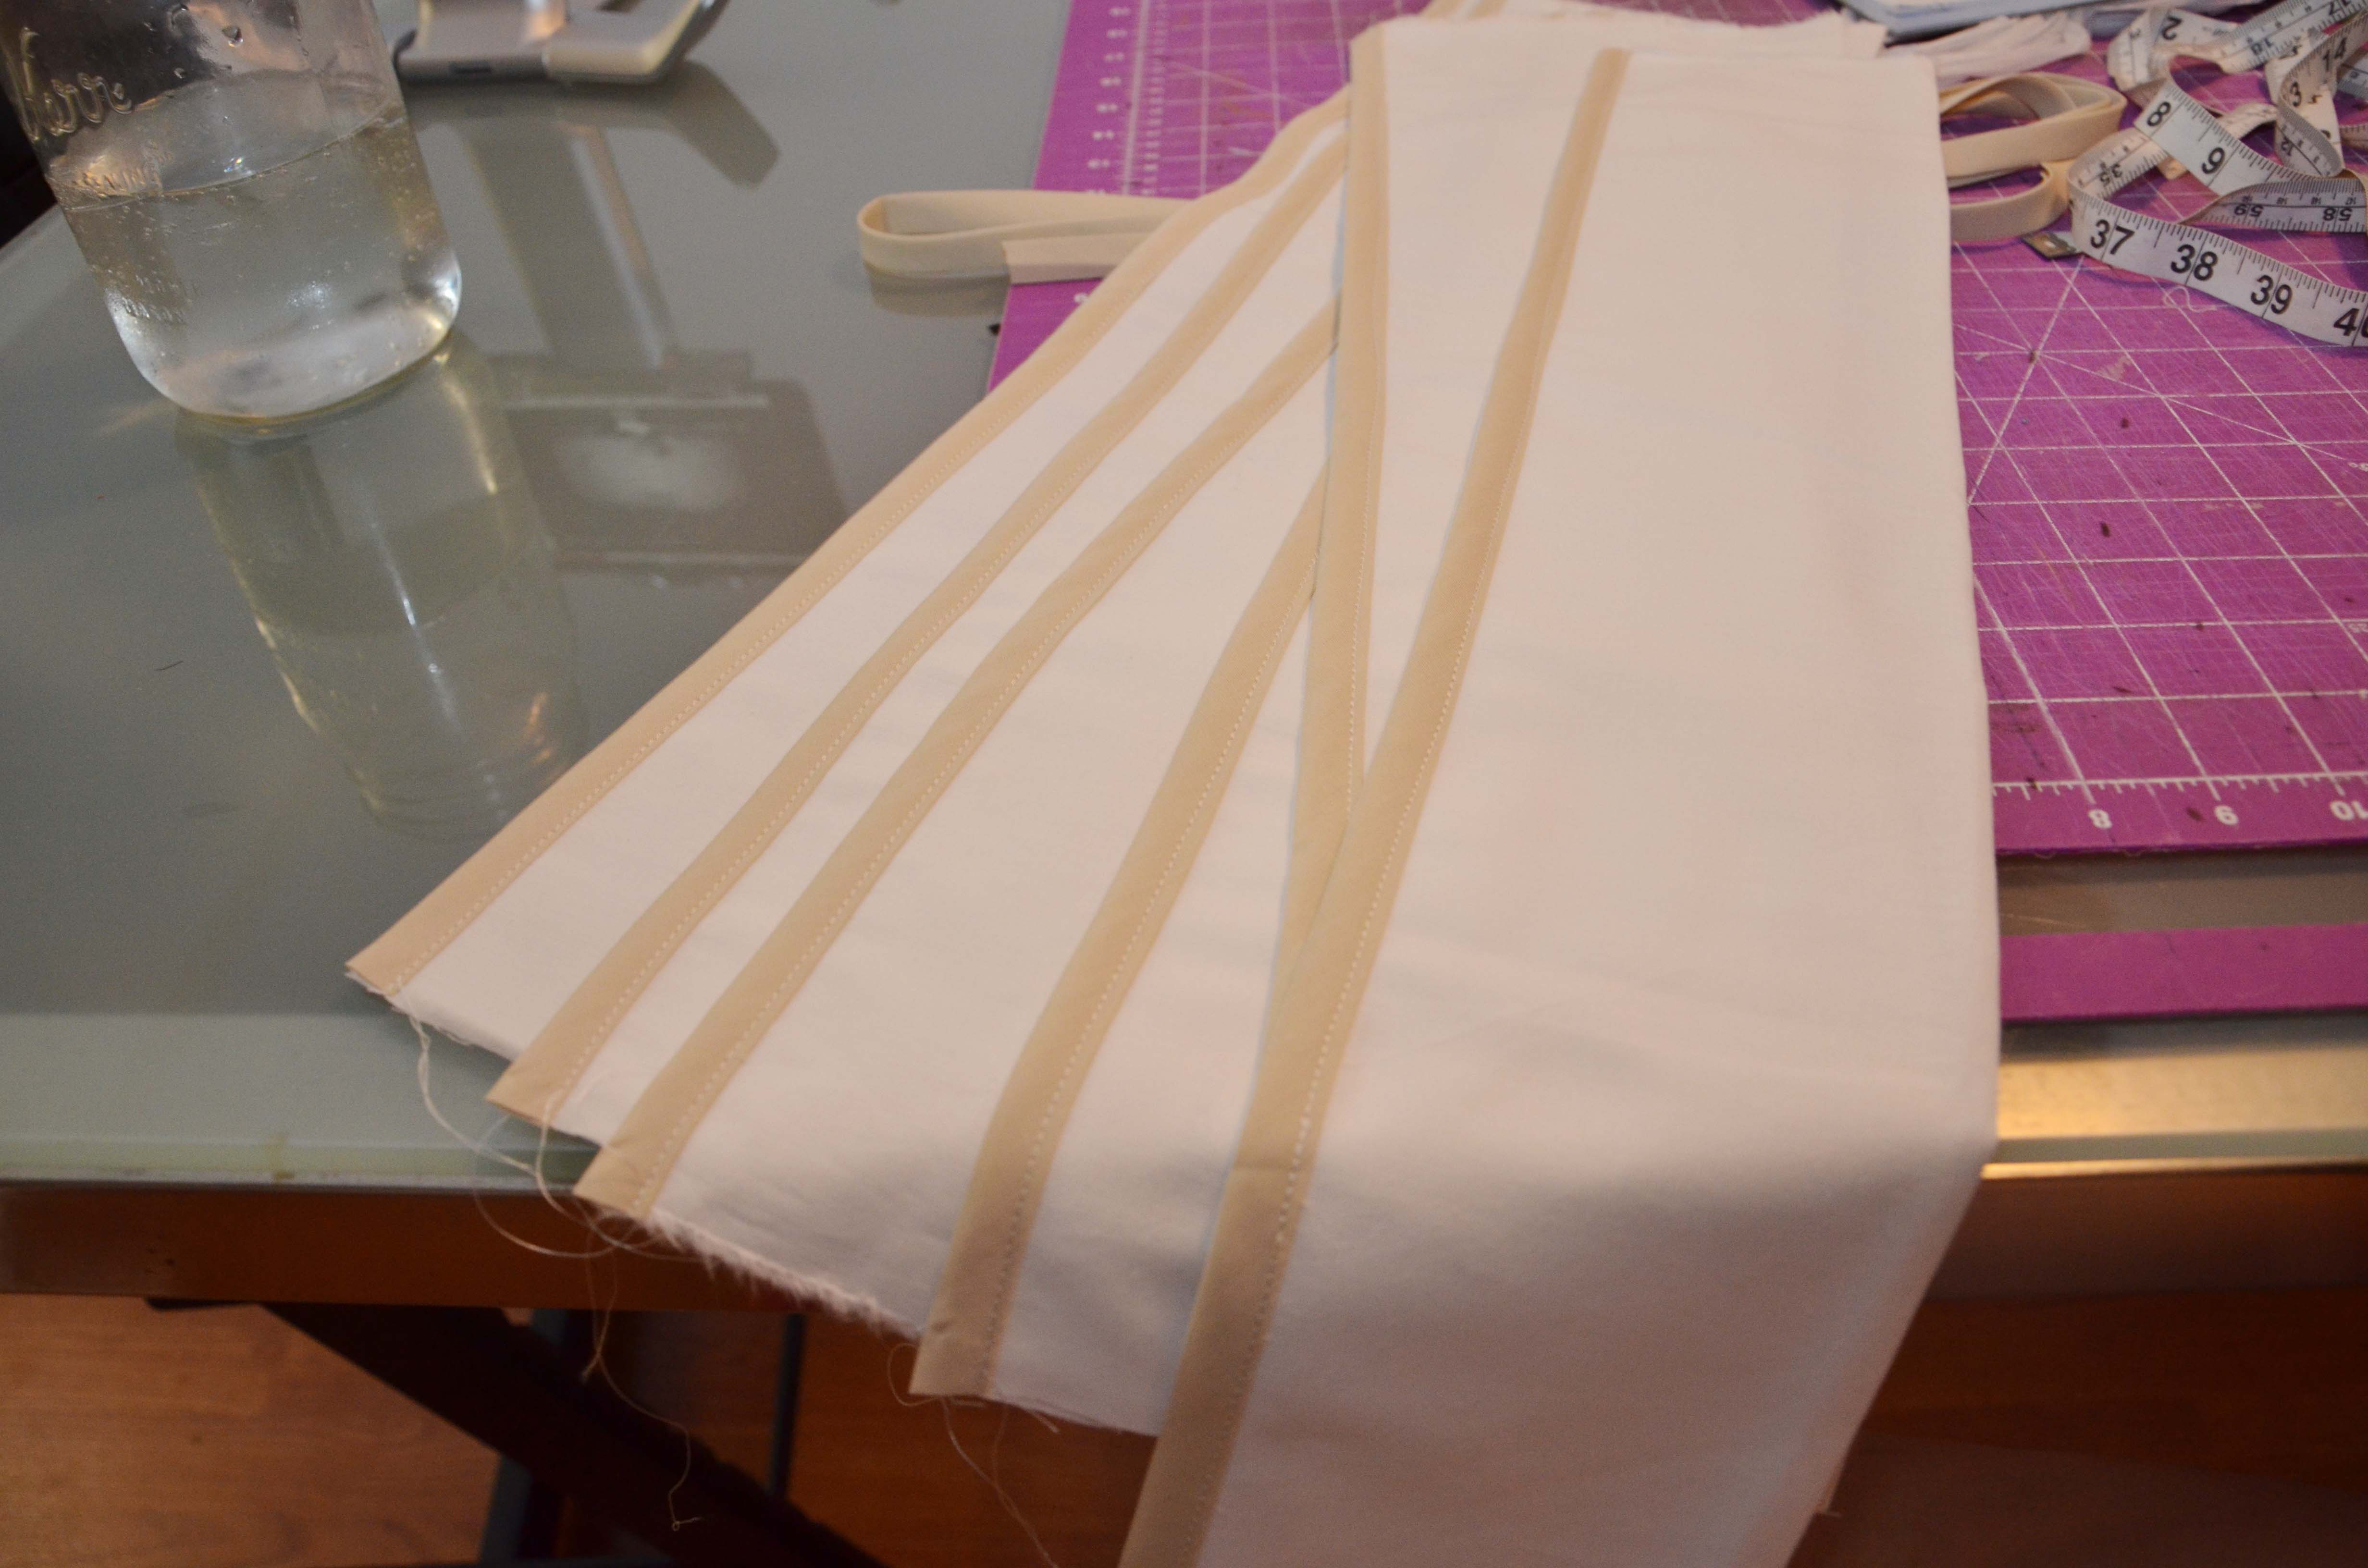
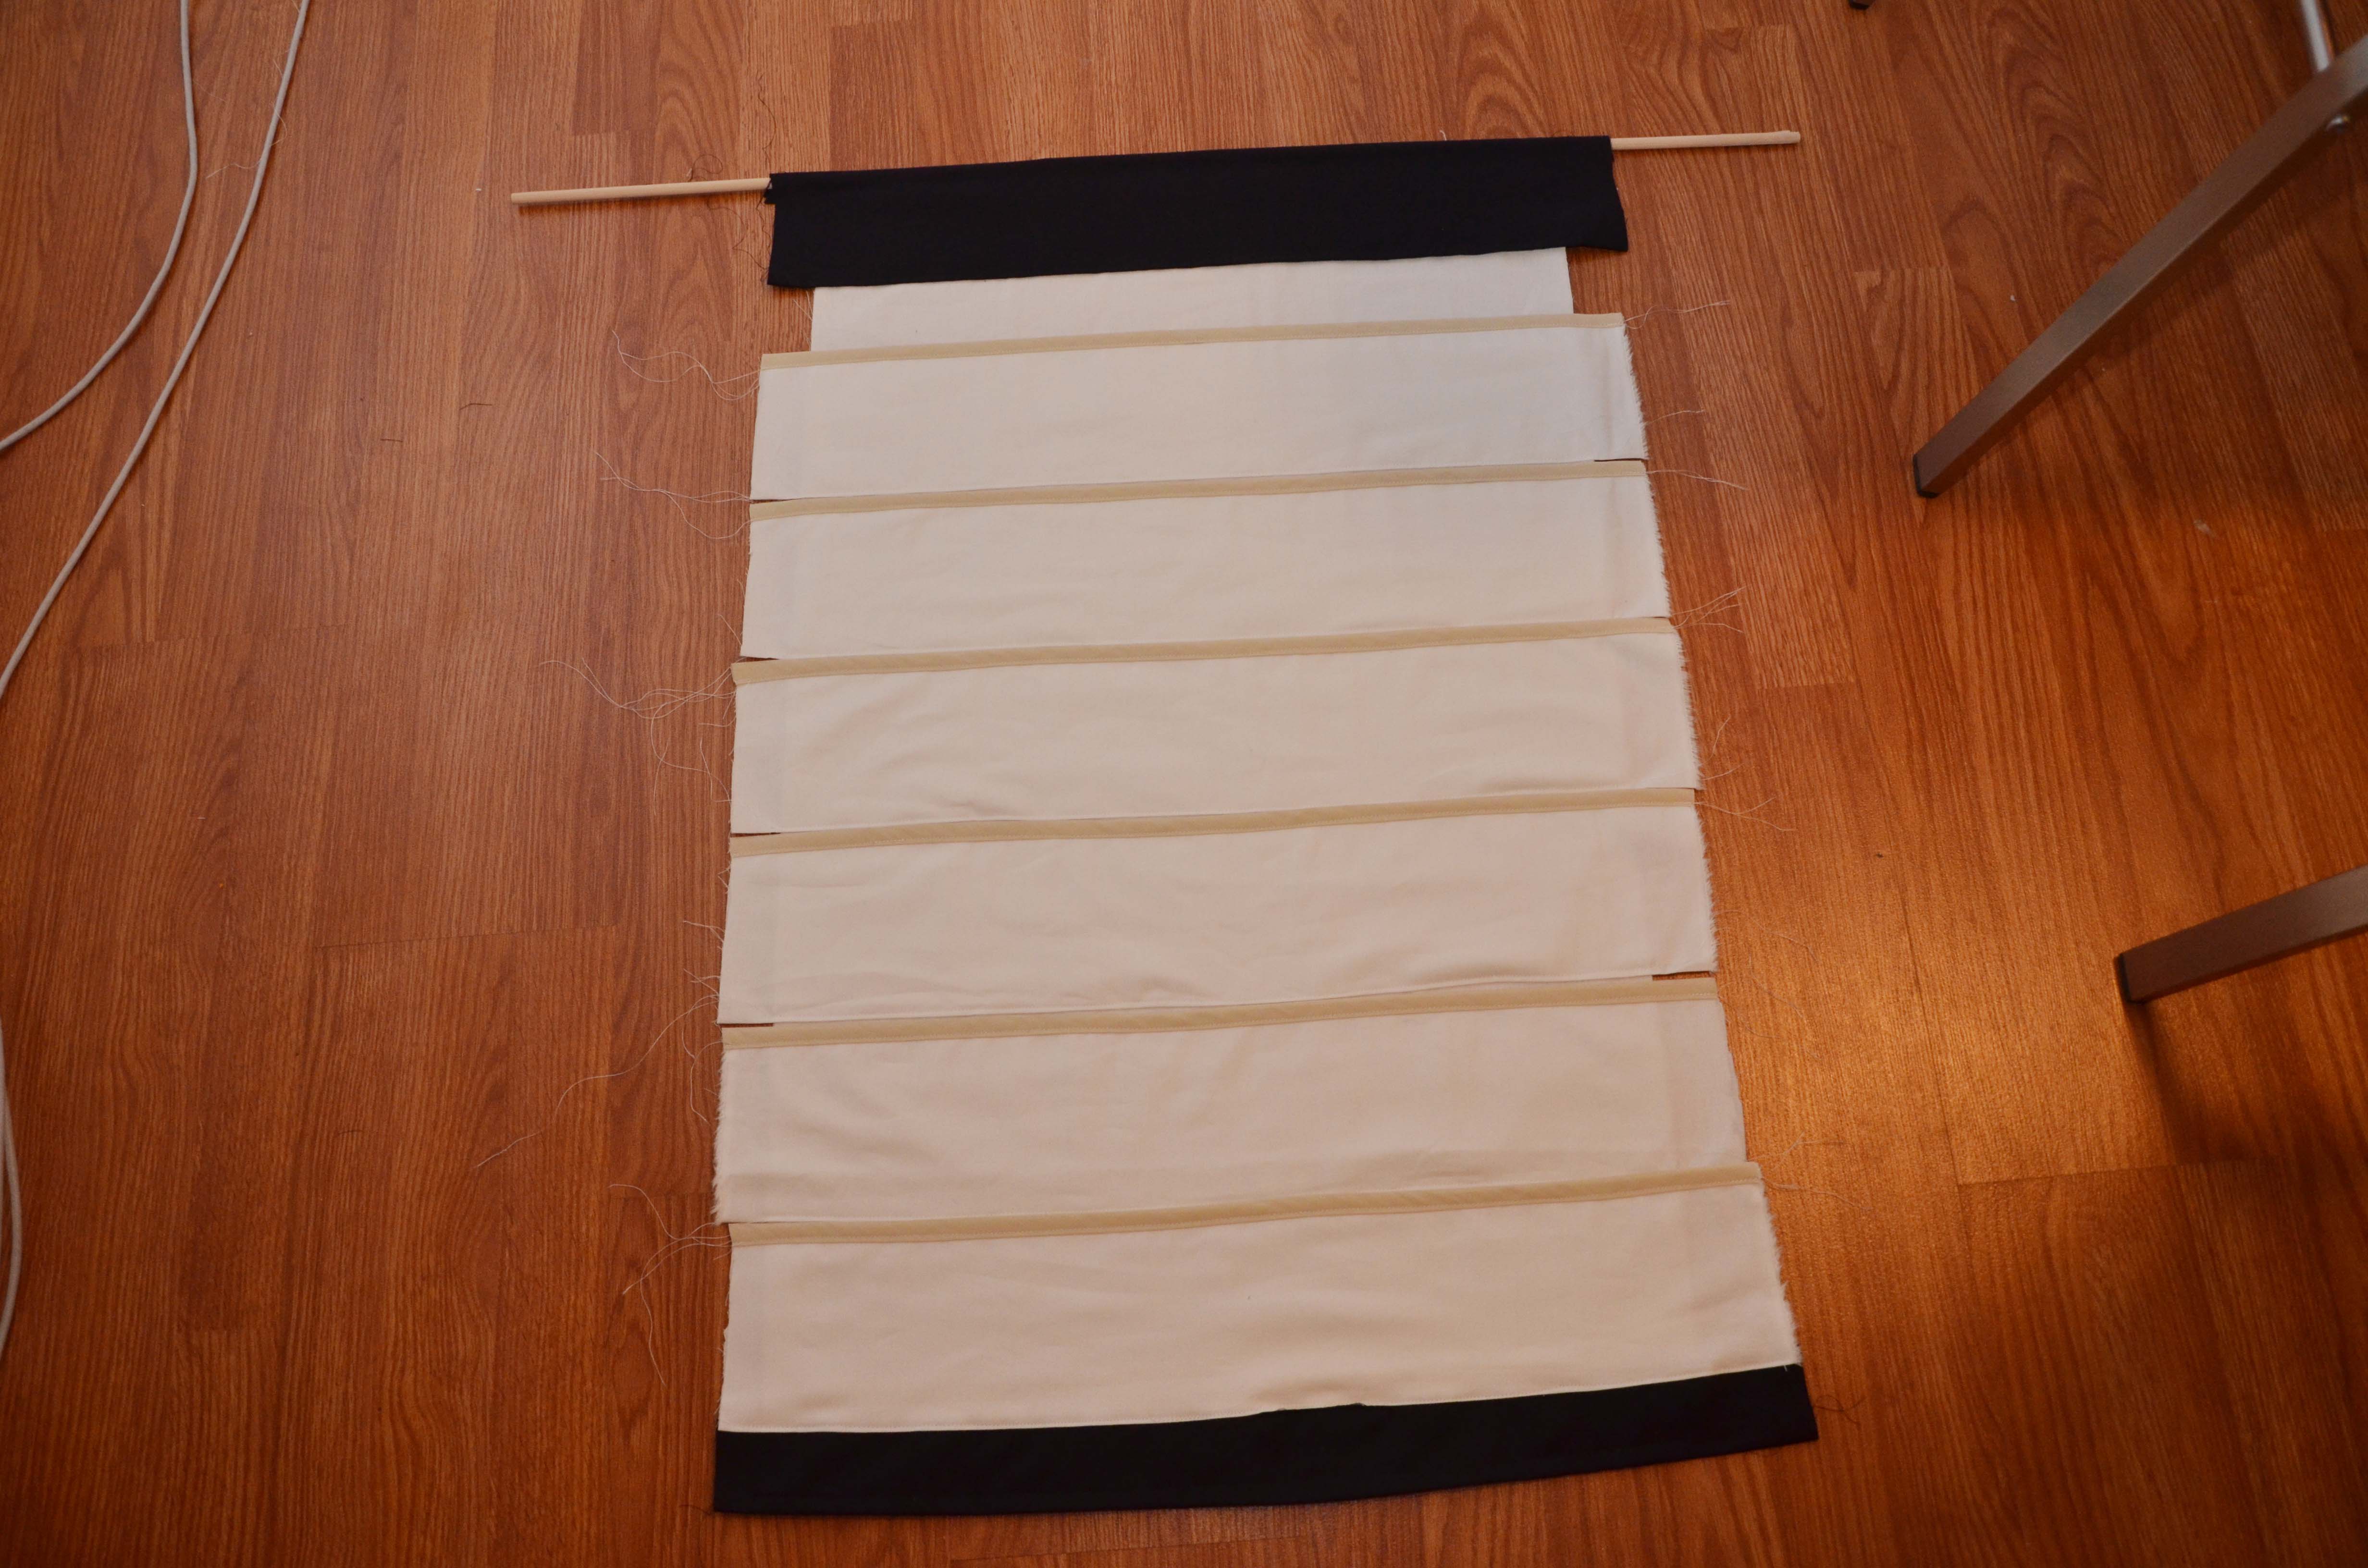
 Now you can lay those onto your back panel.
For your black piece of fabric, I cut them to be about 28″ wide and 8″ tall for the top one and 28″ wide by 6″ tall for the bottom one. I wish I had switched where I sewed on the two, but that is personal preference. I ironed them in half, and then ironed down a 1/4″ hem on the front and back so the raw edges were underneath. 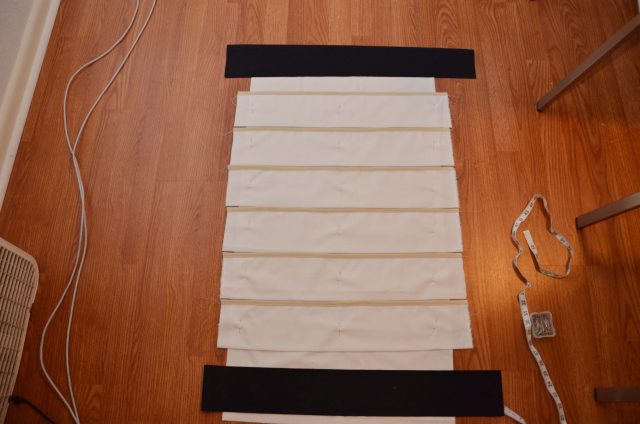
I used the black fabric as almost large biased tape to hide my raw edges on the top and bottom.
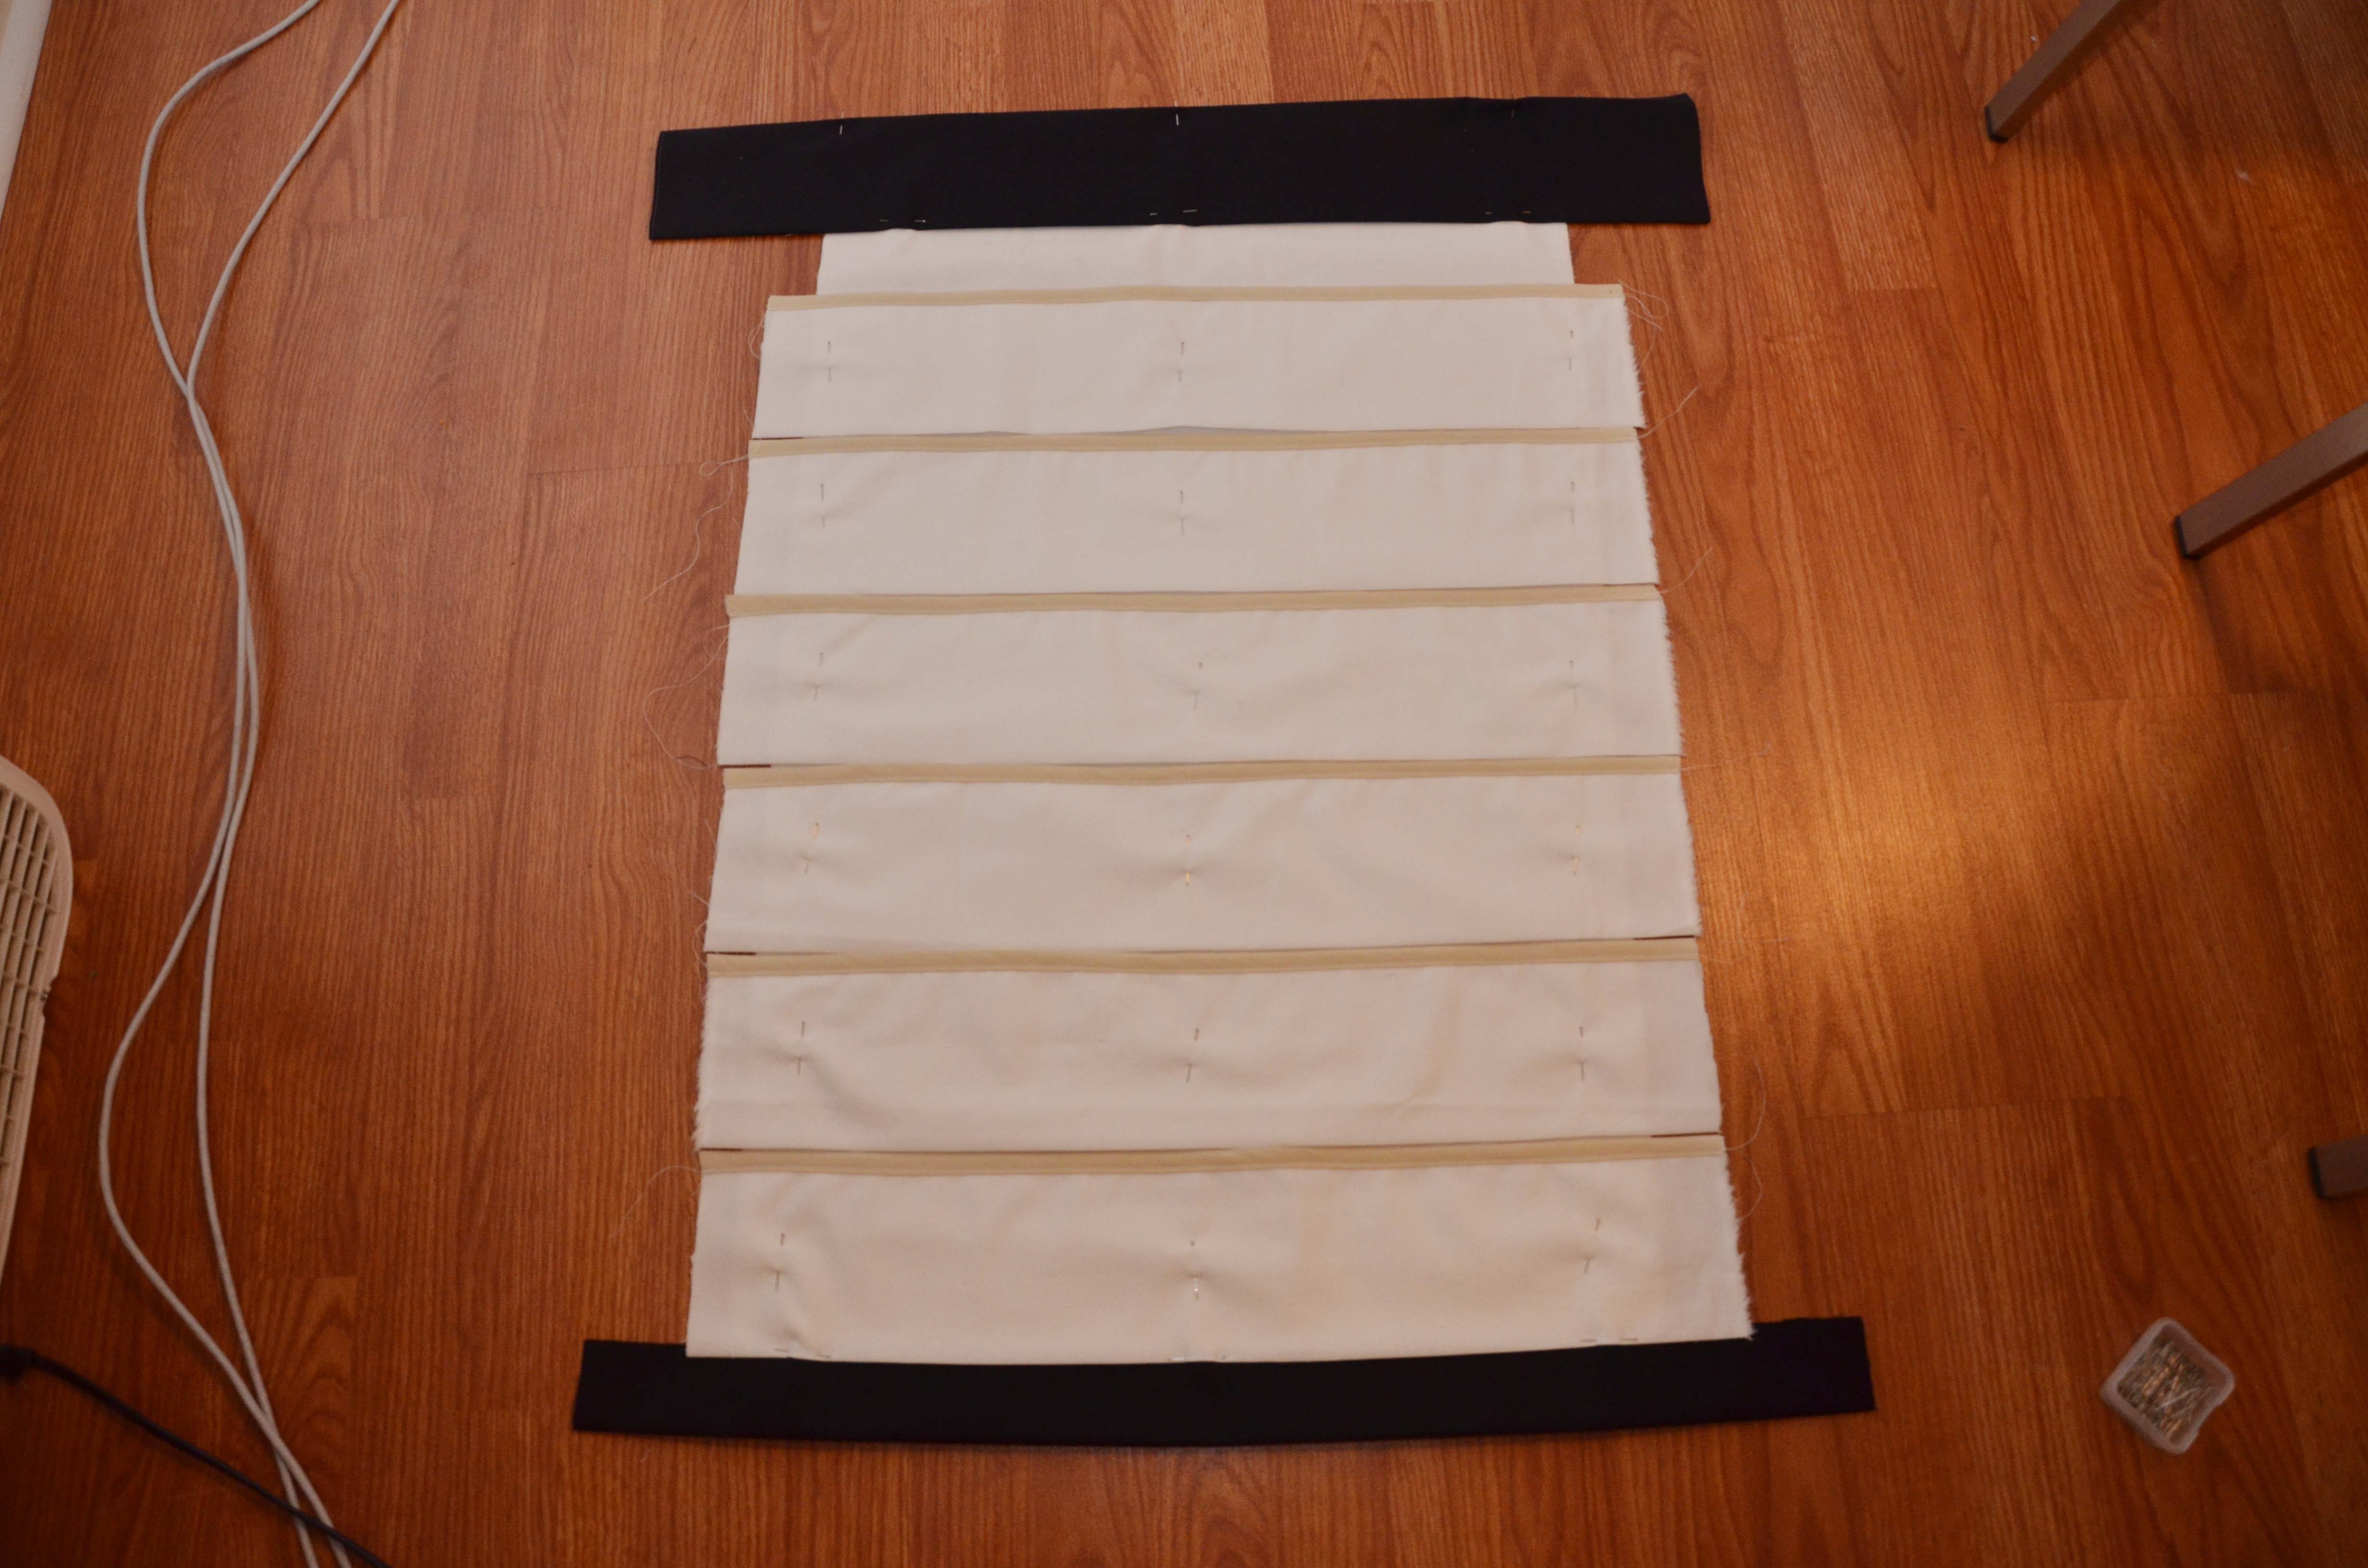
Then I pinned all of my pockets down.
 Next I sewed the bottom edge of each pocket piece without hitting the bias tape of the pocket below. That way they all still open.
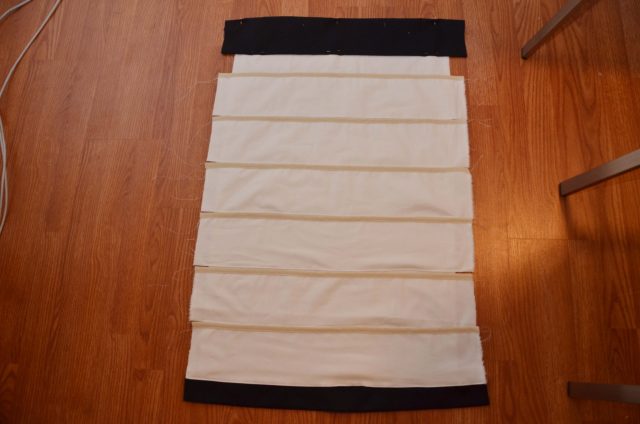
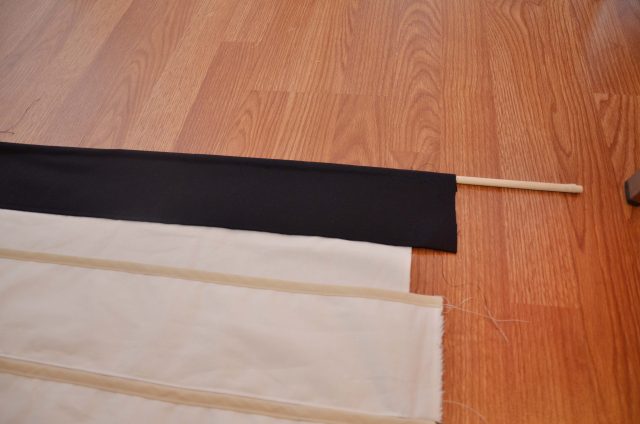 Next, I sewed on the black top and bottom portion, then I sewed a channel that was wide enough for the dowel rod to fit through. I wish I would have hemmed the black portion in at the top so it wouldn’t have been a raw edge around the dowel rod, but again learn from my mistake.
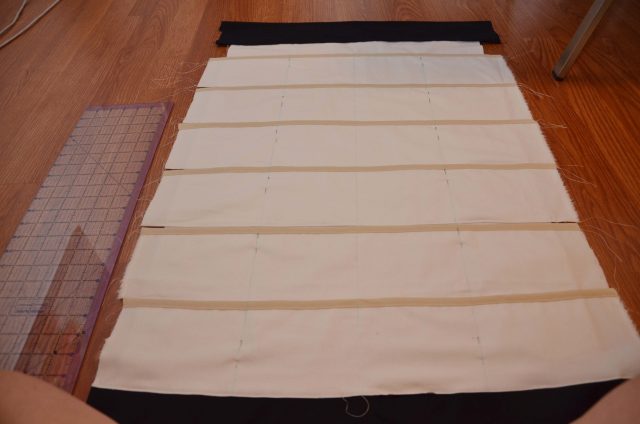 Here I measured and pinned to have 4 pockets on each row to equal my 24 pockets. I then pinned and drew a line with my marking pen. The first line I did 5″ from the left edge, then a line at 10″ from the left edge, and then a line from 15″ from the left edge.
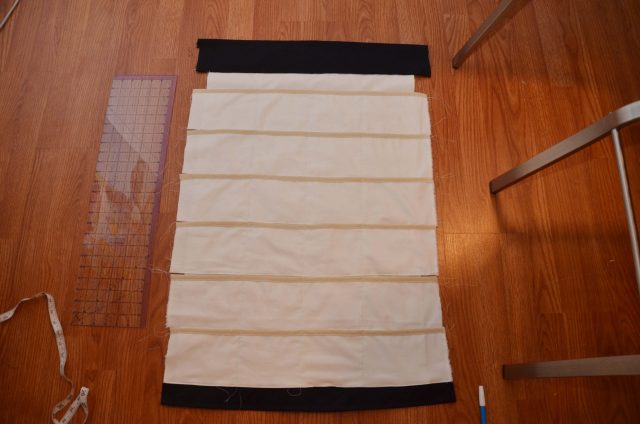 I sewed straight down from the top to the bottom of each line so each pocket was separated.
I then folded under the sides and sewed the edges to give it a clean look. I decided to to do the little tabs on the calendars above due to lack of patience to do it, but I do love the look of it.
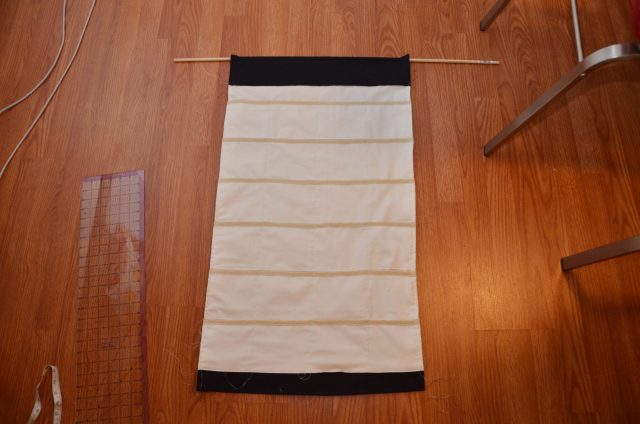
 I manually had to turn under the portion of the top black and hem it since it was too raw around the dowel rod, but it worked out.
 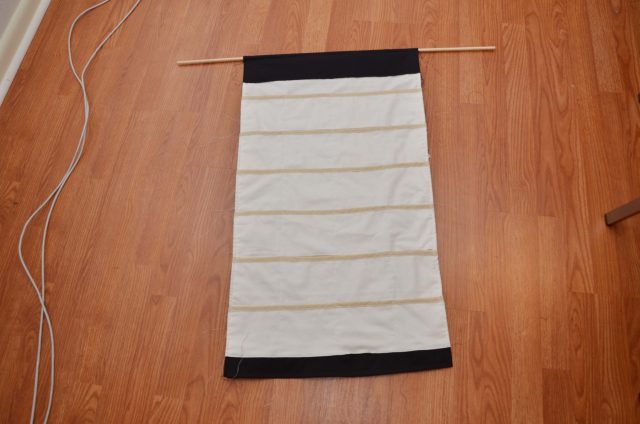 Start trimming threads.
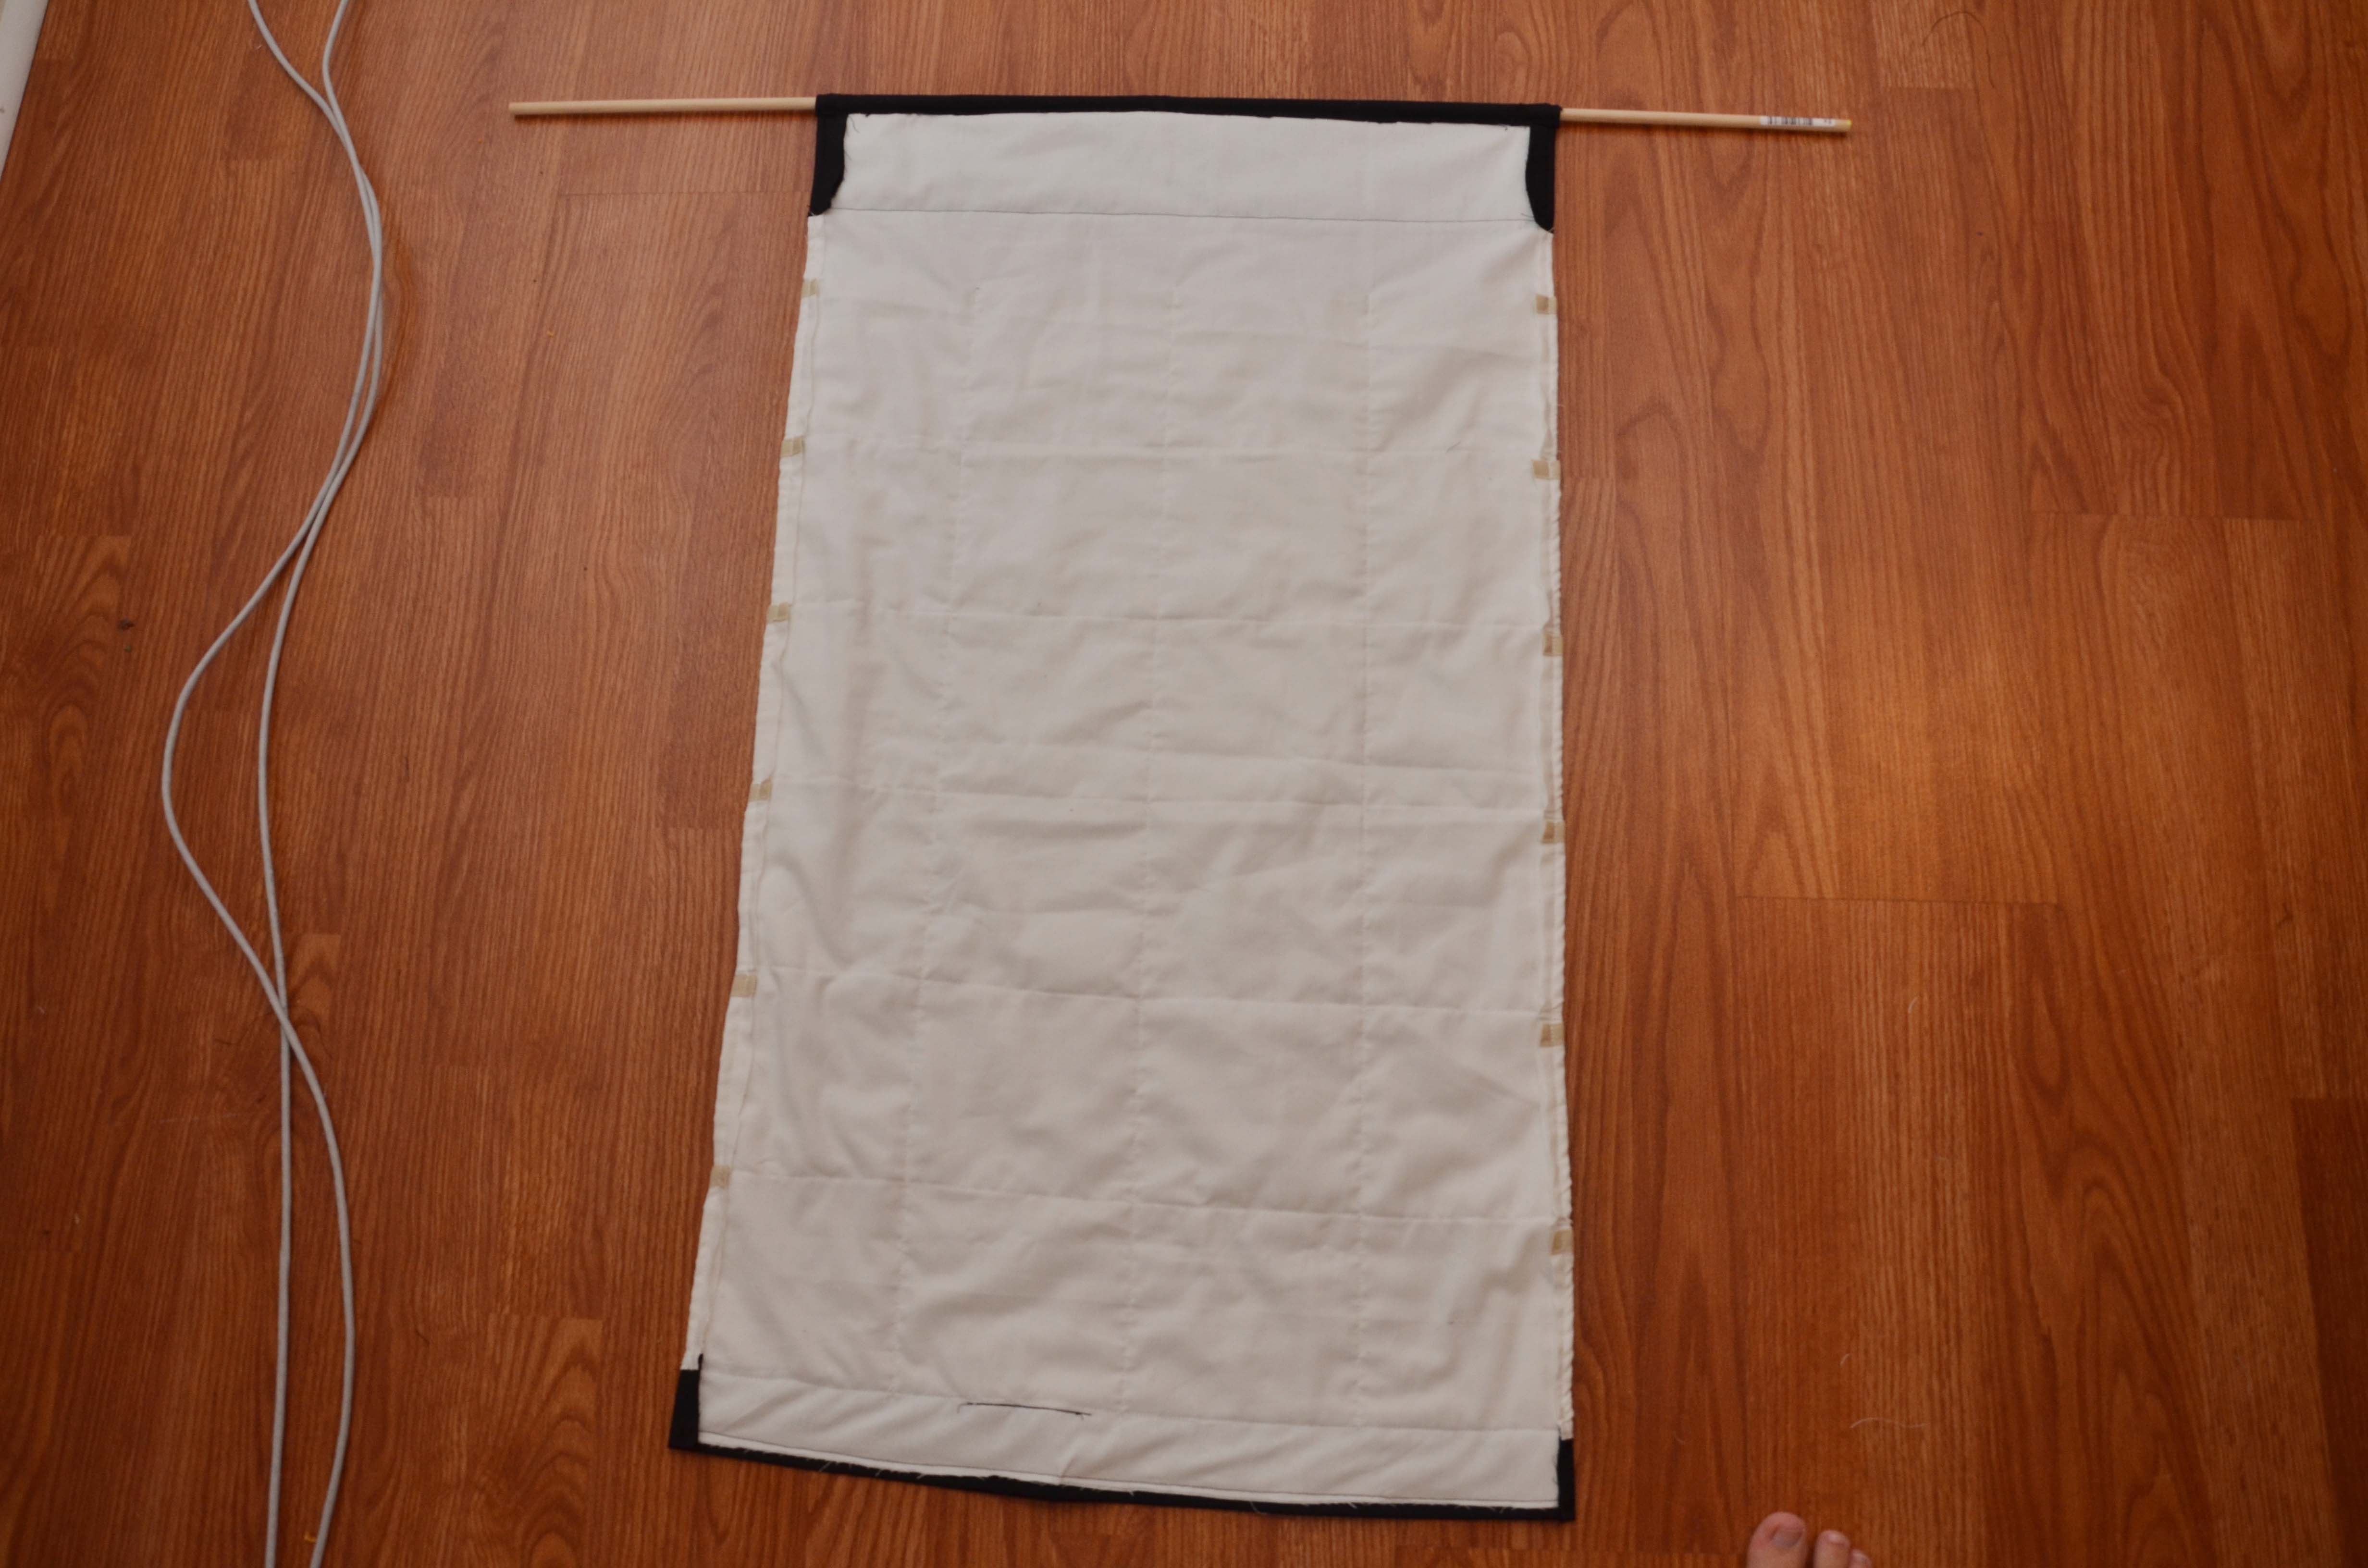
Clean up the back as well. I slowly and carefully cut off the excess fabric so it would hang better.
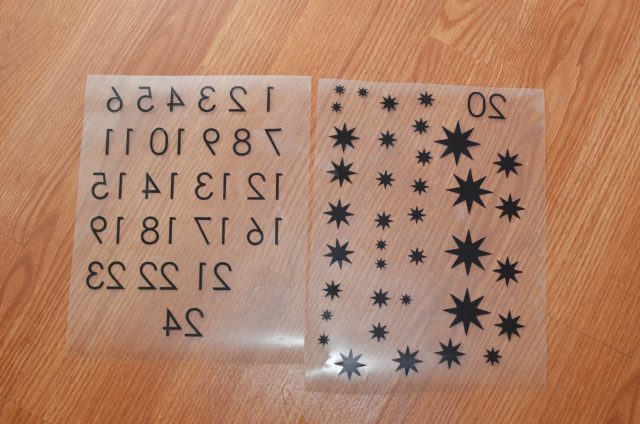 I then had a friend use her Cricut to cut out the numbers and stars that I needed for the calendar from the iron on vinyl. However, if this isn’t an option, you can trace the numbers on to the back of the vinyl and cut them out by hand which is doable if a little bit time consuming. Or you can paint them on with the freezer paper method which you can google.
 I then centered each number on each pocket.
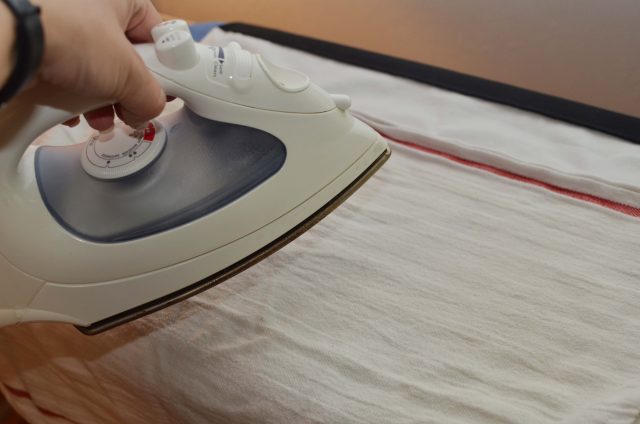 I then followed the instructions on the package and ironed on the numbers one row at a time with my iron and dish cloth.
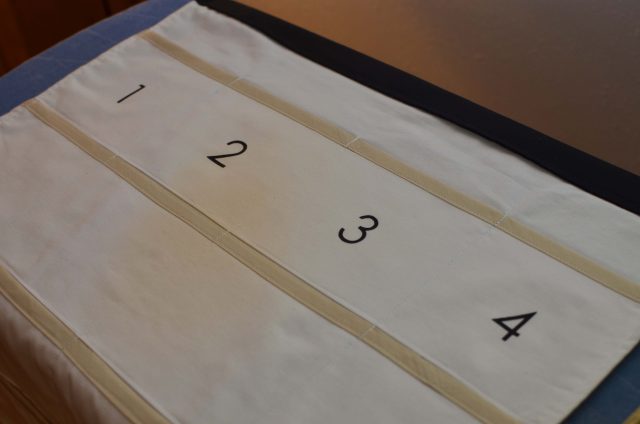 Be careful with muslin as if a hot iron is on it too long it will start to discolor. I didn’t realize it until it was too late.
 Next I decided where I wanted to place the stars on to the calendar.
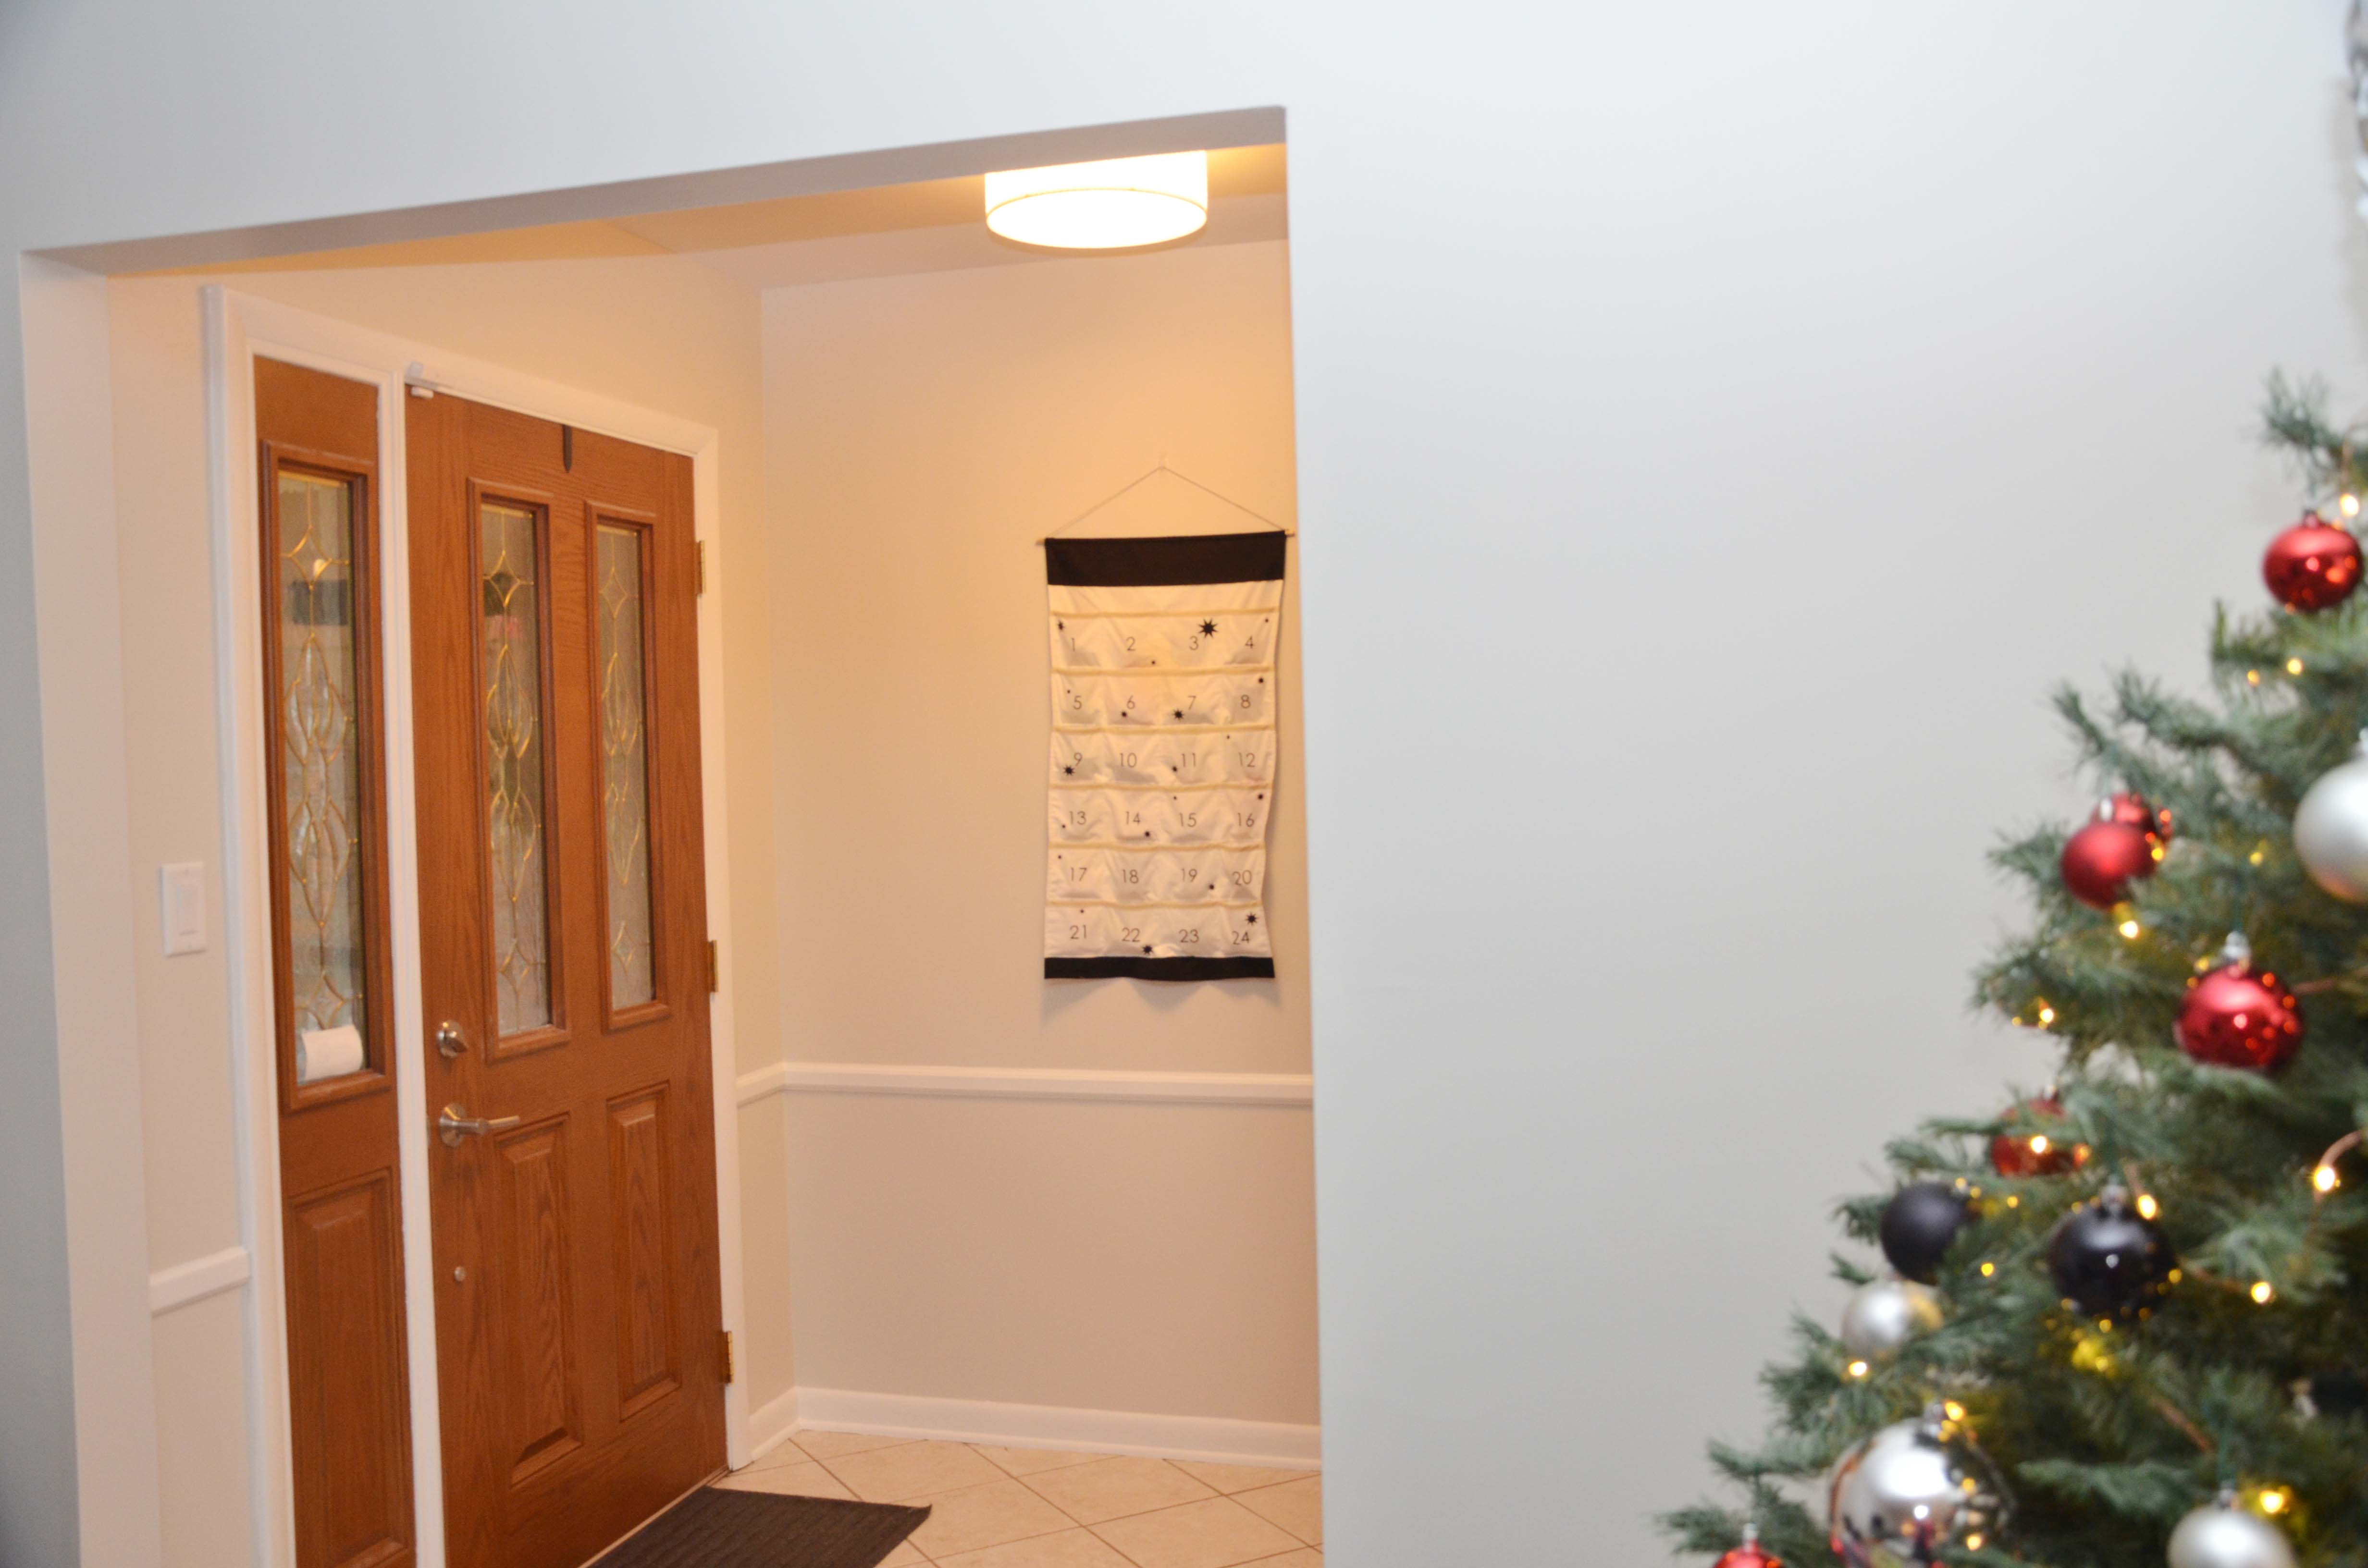
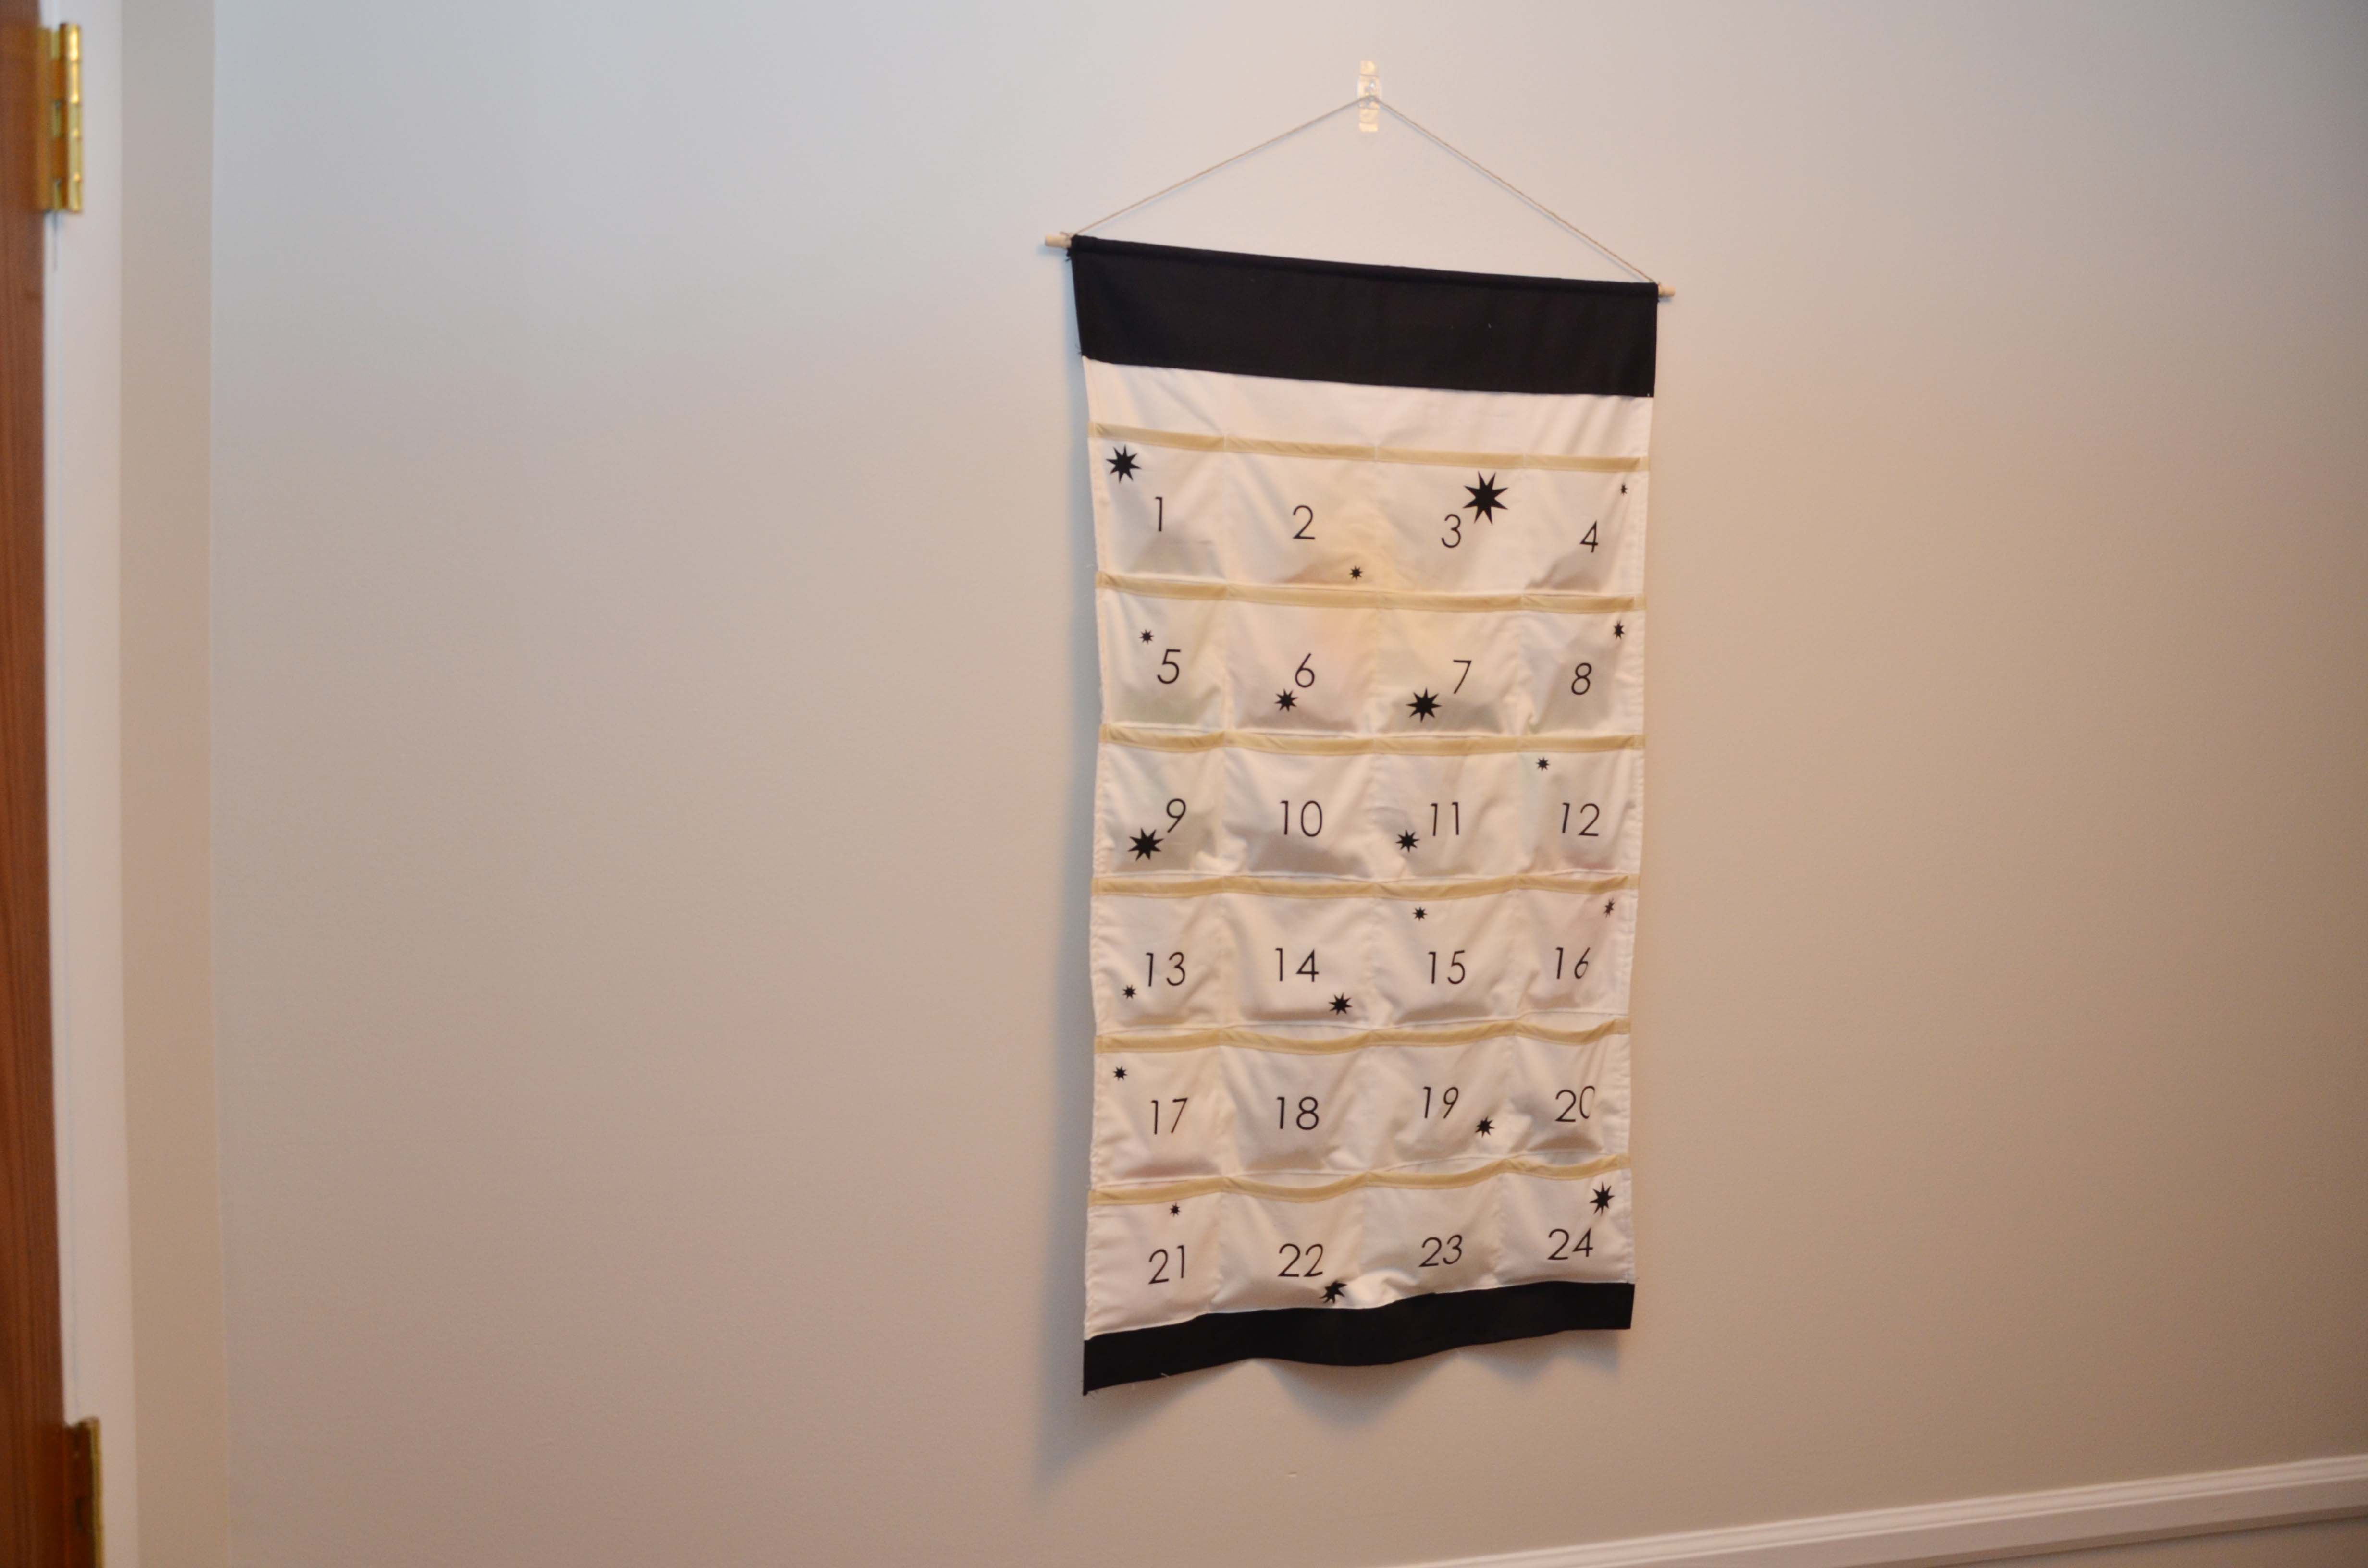
I am so happy with how it turned out, and it has held up really well. The first year, we filled it with candy and chocolate we normally don’t buy before we had kids. Then with just one daughter, we filled it with mini toys, fuzzy socks, bath tub crayons, expanding wash cloths found in the dollar section of Target. We don’t do stockings, so this was our version at that point. Now, I printed out family activities to do each day as a family which I much prefer over candy/chocolate or toys.
Free Printables
Advent-Calendar-Bible-Verses
Advent Calendar Numbers(The numbers I used for my calendar above which was cut with the Cricut)
Advent Calendar Stars (The stars in the three different sizes I used in my calendar also cut with the Cricut)
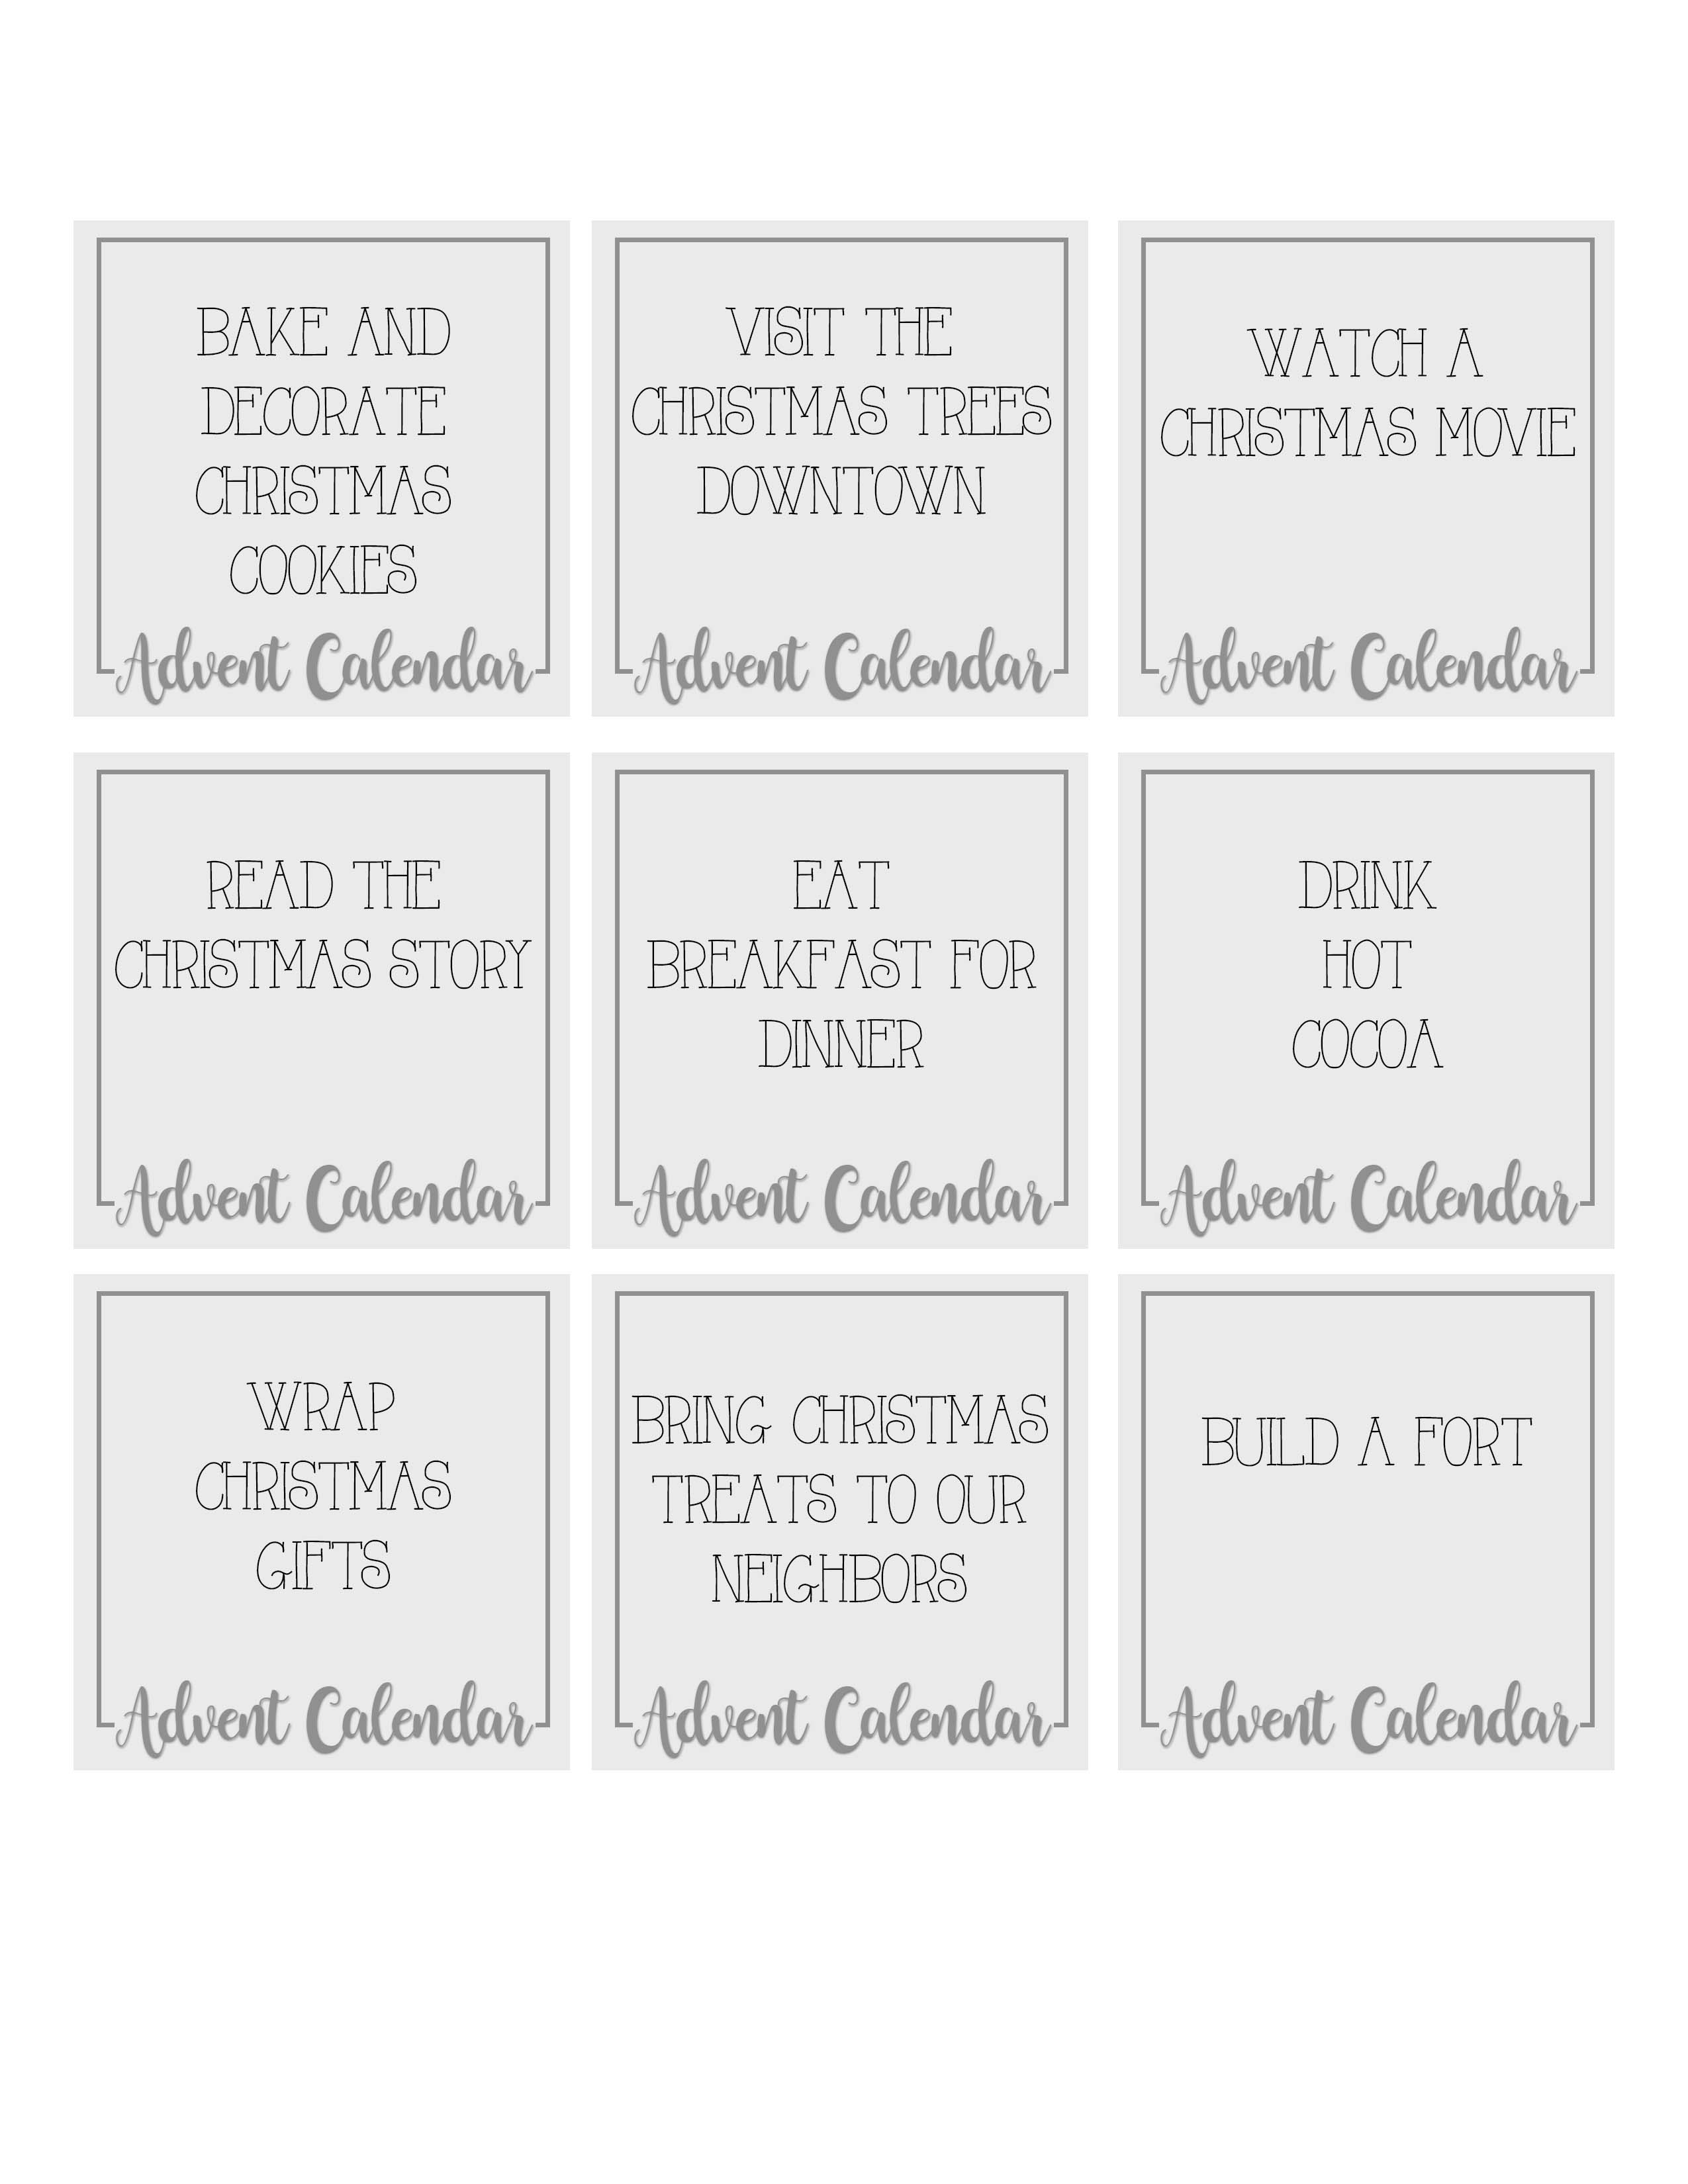
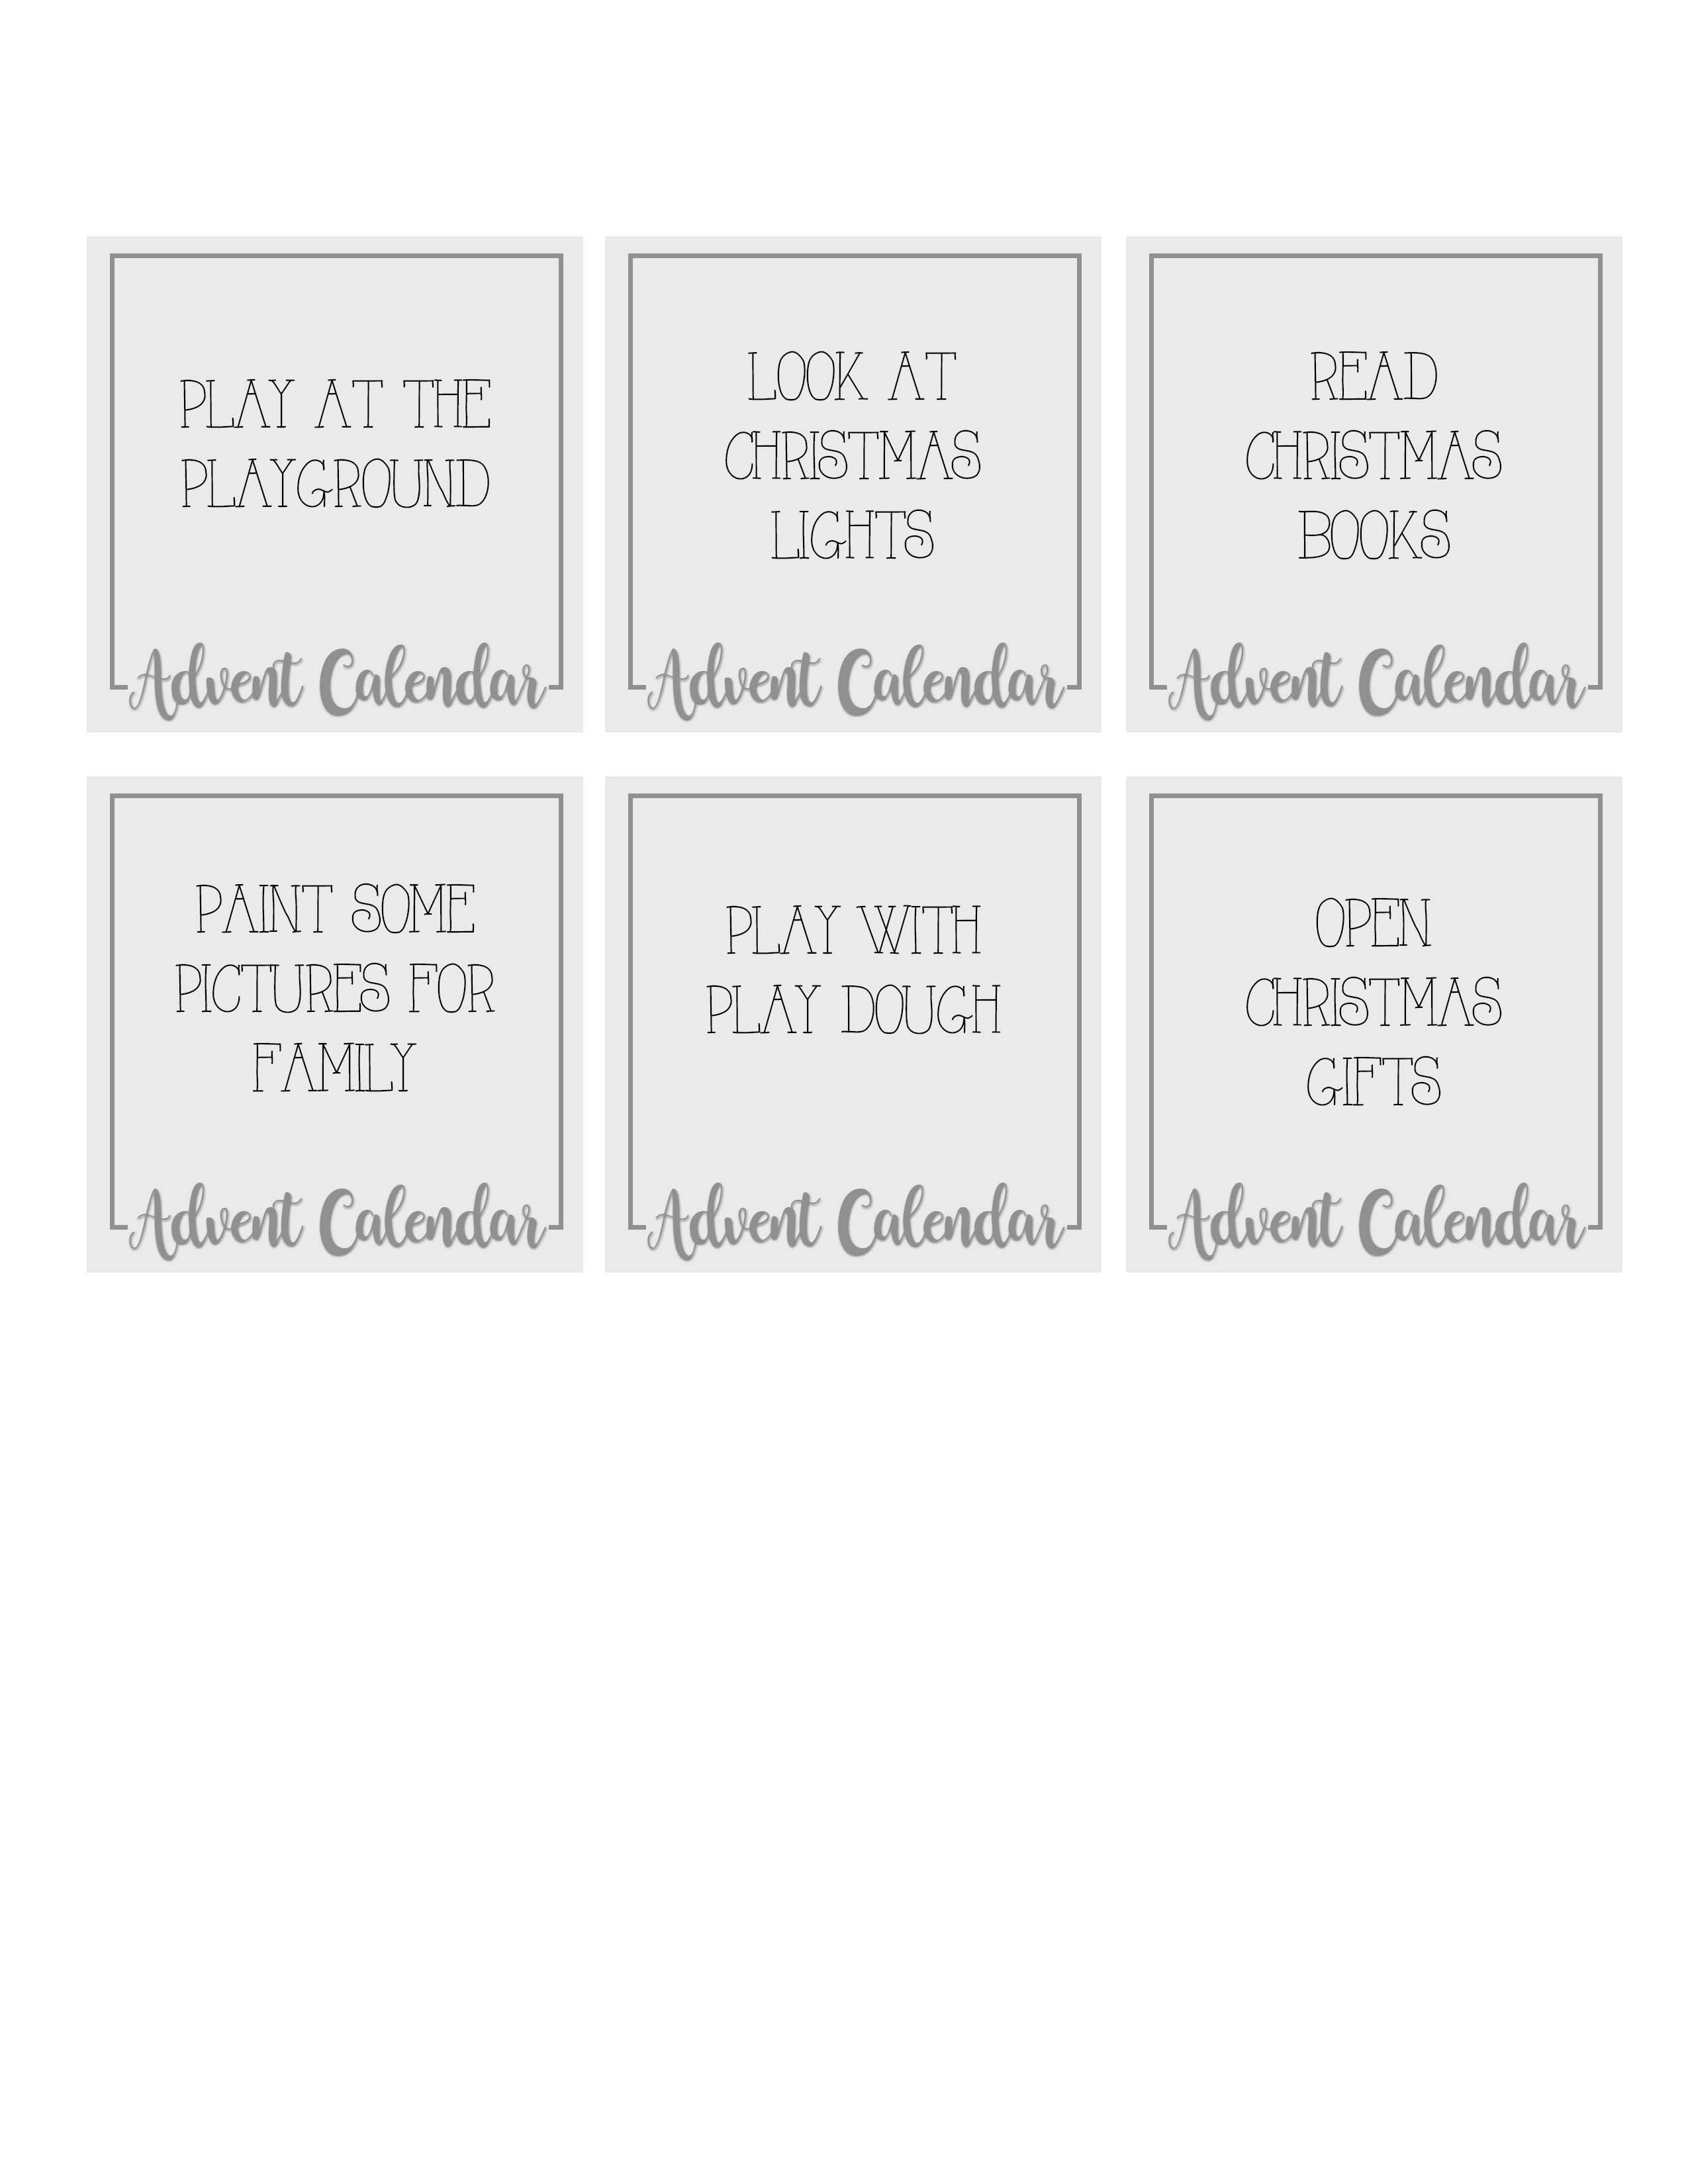
Below are the cards I cut out for our current advent calendar with the activities we do. Just click on each picture, then right click and print or save the image.
If you want the blank card design, here are the two versions that are blank.


Below are two other advent calendar tutorials that I used to help plan how I wanted to make mine. Theirs are slightly different in construction, but might be helpful to read or if you want to tweak my design to fit your taste.
http://theprojectlady.blogspot.com/2013/11/tutorial-for-making-musliin-christmas.html
http://www.makeit-loveit.com/2015/11/sew-simple-advent-calendar-christmas.html
I would love to hear what activities you like to do as a family during the advent time!
Post May Contain Affiliate Links.