

So we currently have an Ikea dresser which has held up very well considering we bought it used. We have wanted to build ourselves some real wooden bedroom furniture,but for a while we didn’t know where we would be living or how much room we would have whenever we did get a house. So, now that we have a house, we still plan to build ourselves new bedroom furniture. However, our current set still functions very well, so we haven’t really gotten to that point since there are so many other things that are a higher priority for us. Our ikea set is made with particle board which has held up well, but the drawer bottoms are a cheap thin almost cardboard type material. So even though I don’t put super heavy stuff in it, over time it does tend to sag. So, we started looking up a way to fix it without having to get rid of the dresser. Some tutorials pretty much show building a new drawer and attached it to the existing face frame which would be doable,but just overkill for how much longer this dresser might actually last us.

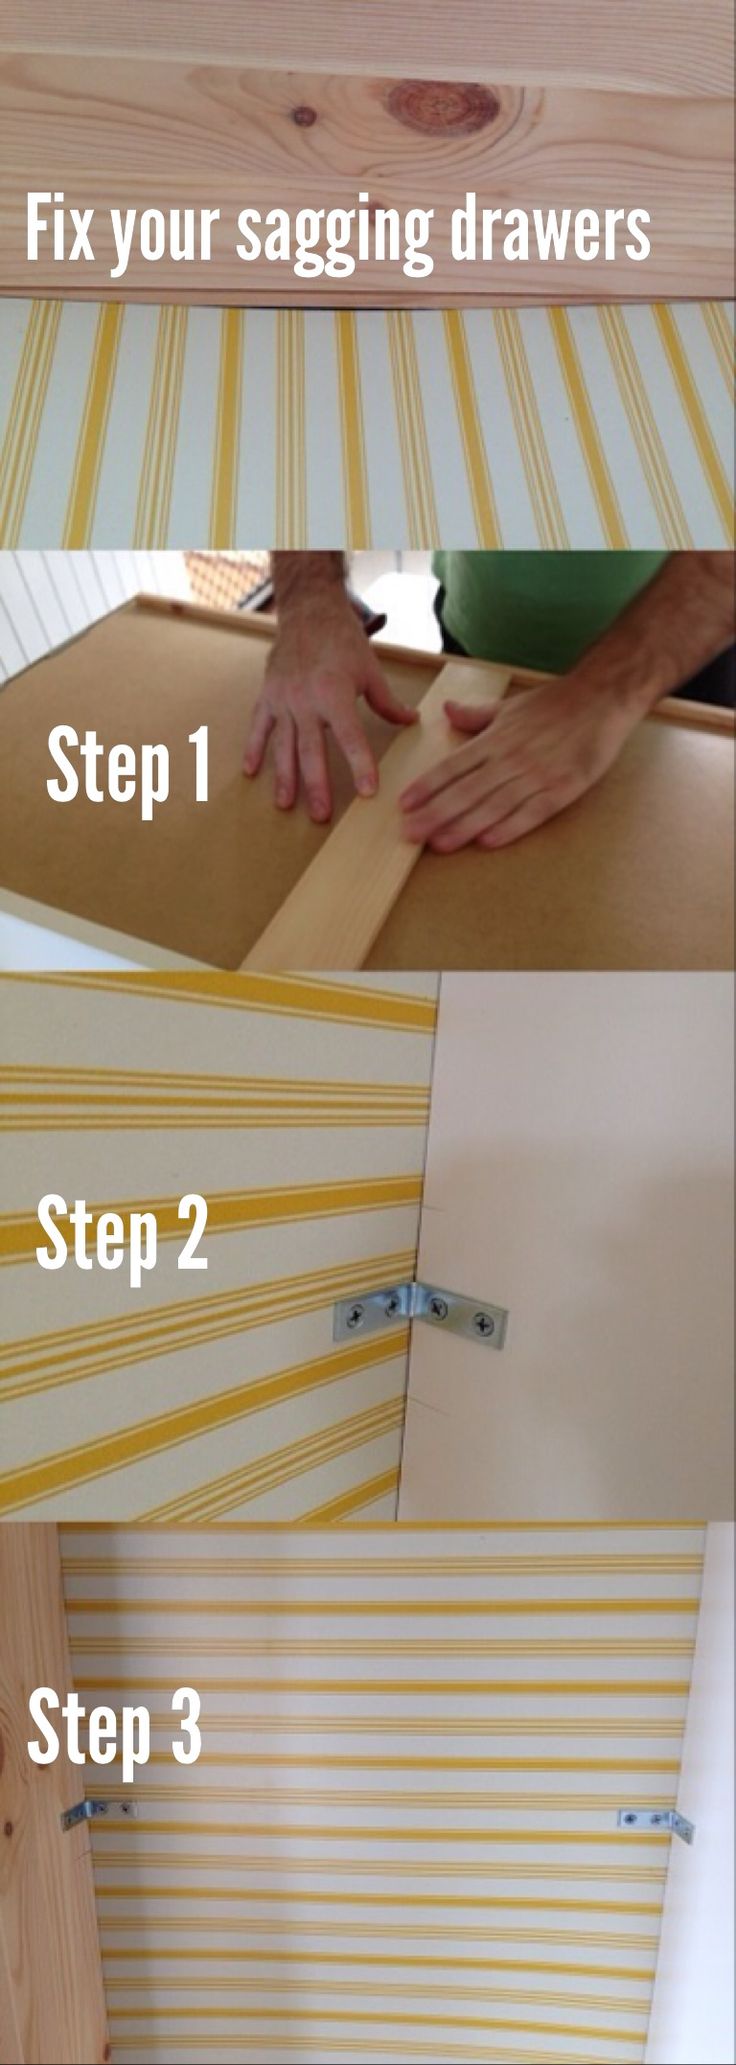
So, we followed this tutorial instead.
We had six drawers total to do, and I’m pretty sure that it took about an hour to make a cutting template, cut the wood, screw in the brackets, and vacuum everything out. This could be a one person job, but it went faster for us having us both working on it to make sure the drawer bottoms were completely flat. We didn’t want to screw in the wood only to have it scraping on the bottom whenever you opened or shut the drawers.
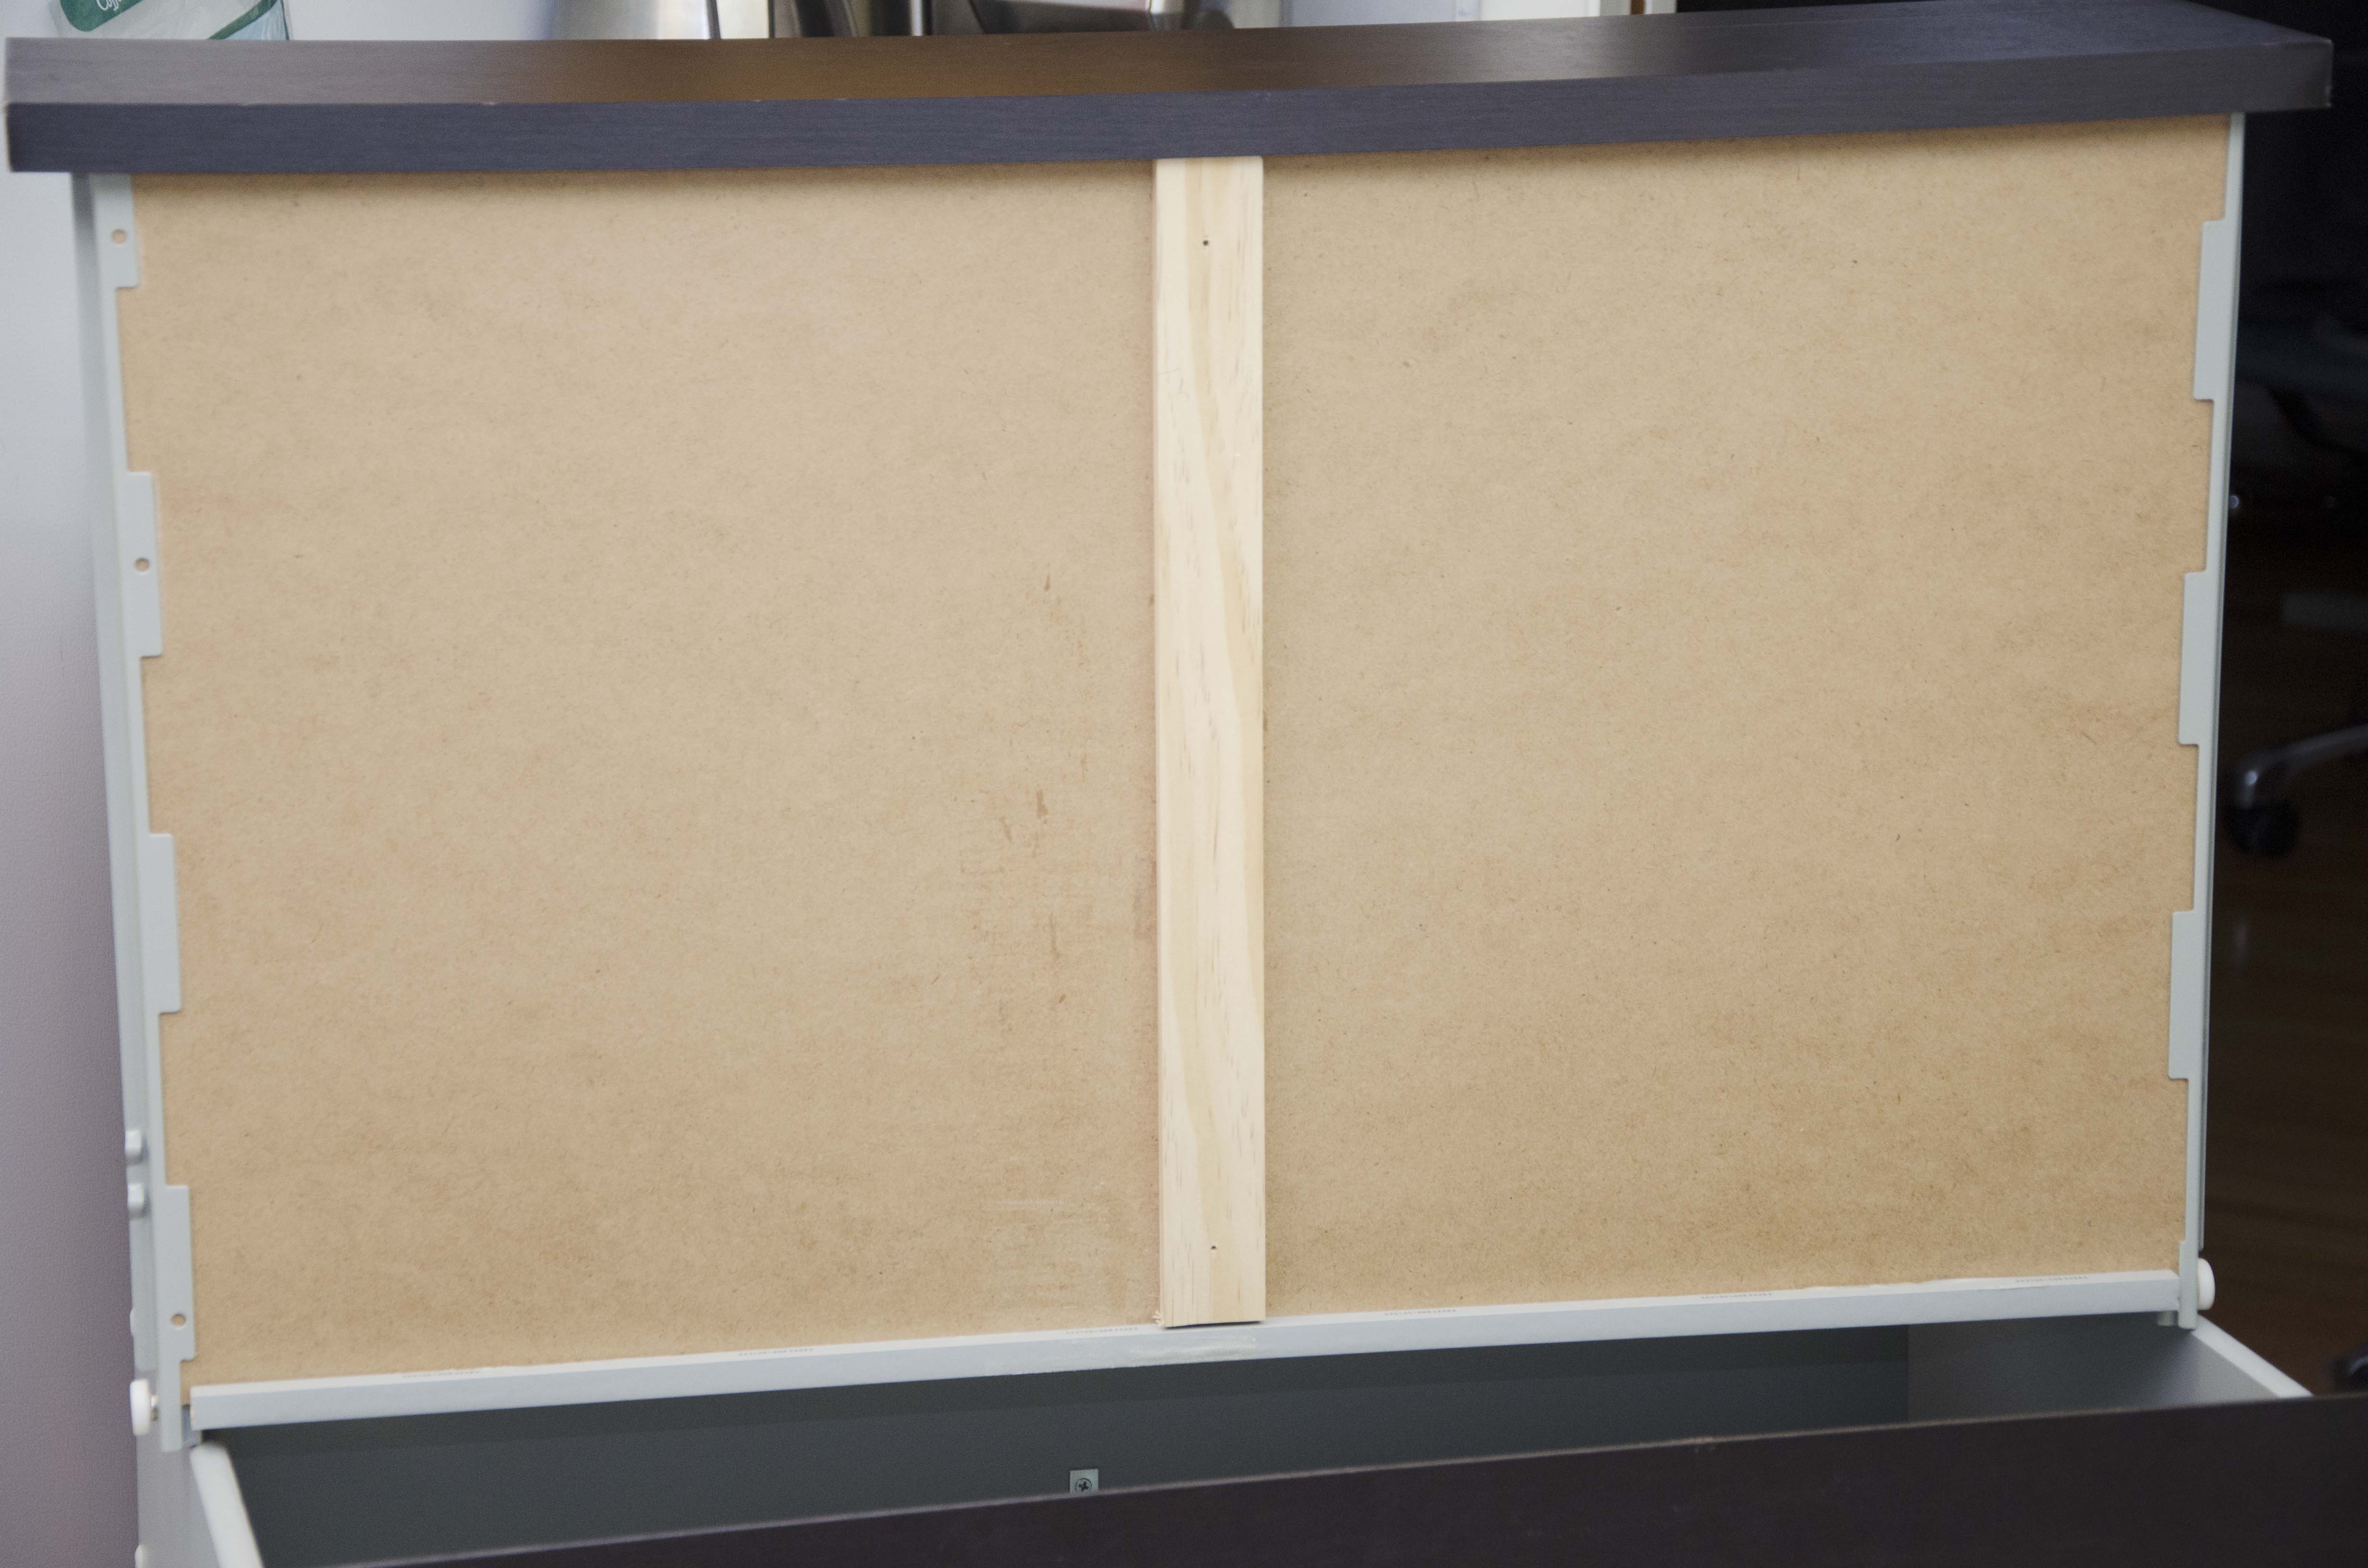
Here you can see the bottom side of the drawer. Only two of them were actually sagging, but we figured we might as well fix all of them while we were at it. A few tutorials fixed these drawers by putting some E6000 glue onto the edges and letting it dry, but we didn’t see that actually fixing the issue. However, you can always add some glue the whole way around if you want double protection.

Here you can see the brackets on the inside of the drawers. We actually had the brackets and screws already from previous projects, so the cost for us was less than $7.00 for just two of the wood pieces that we bought and cut down to size.

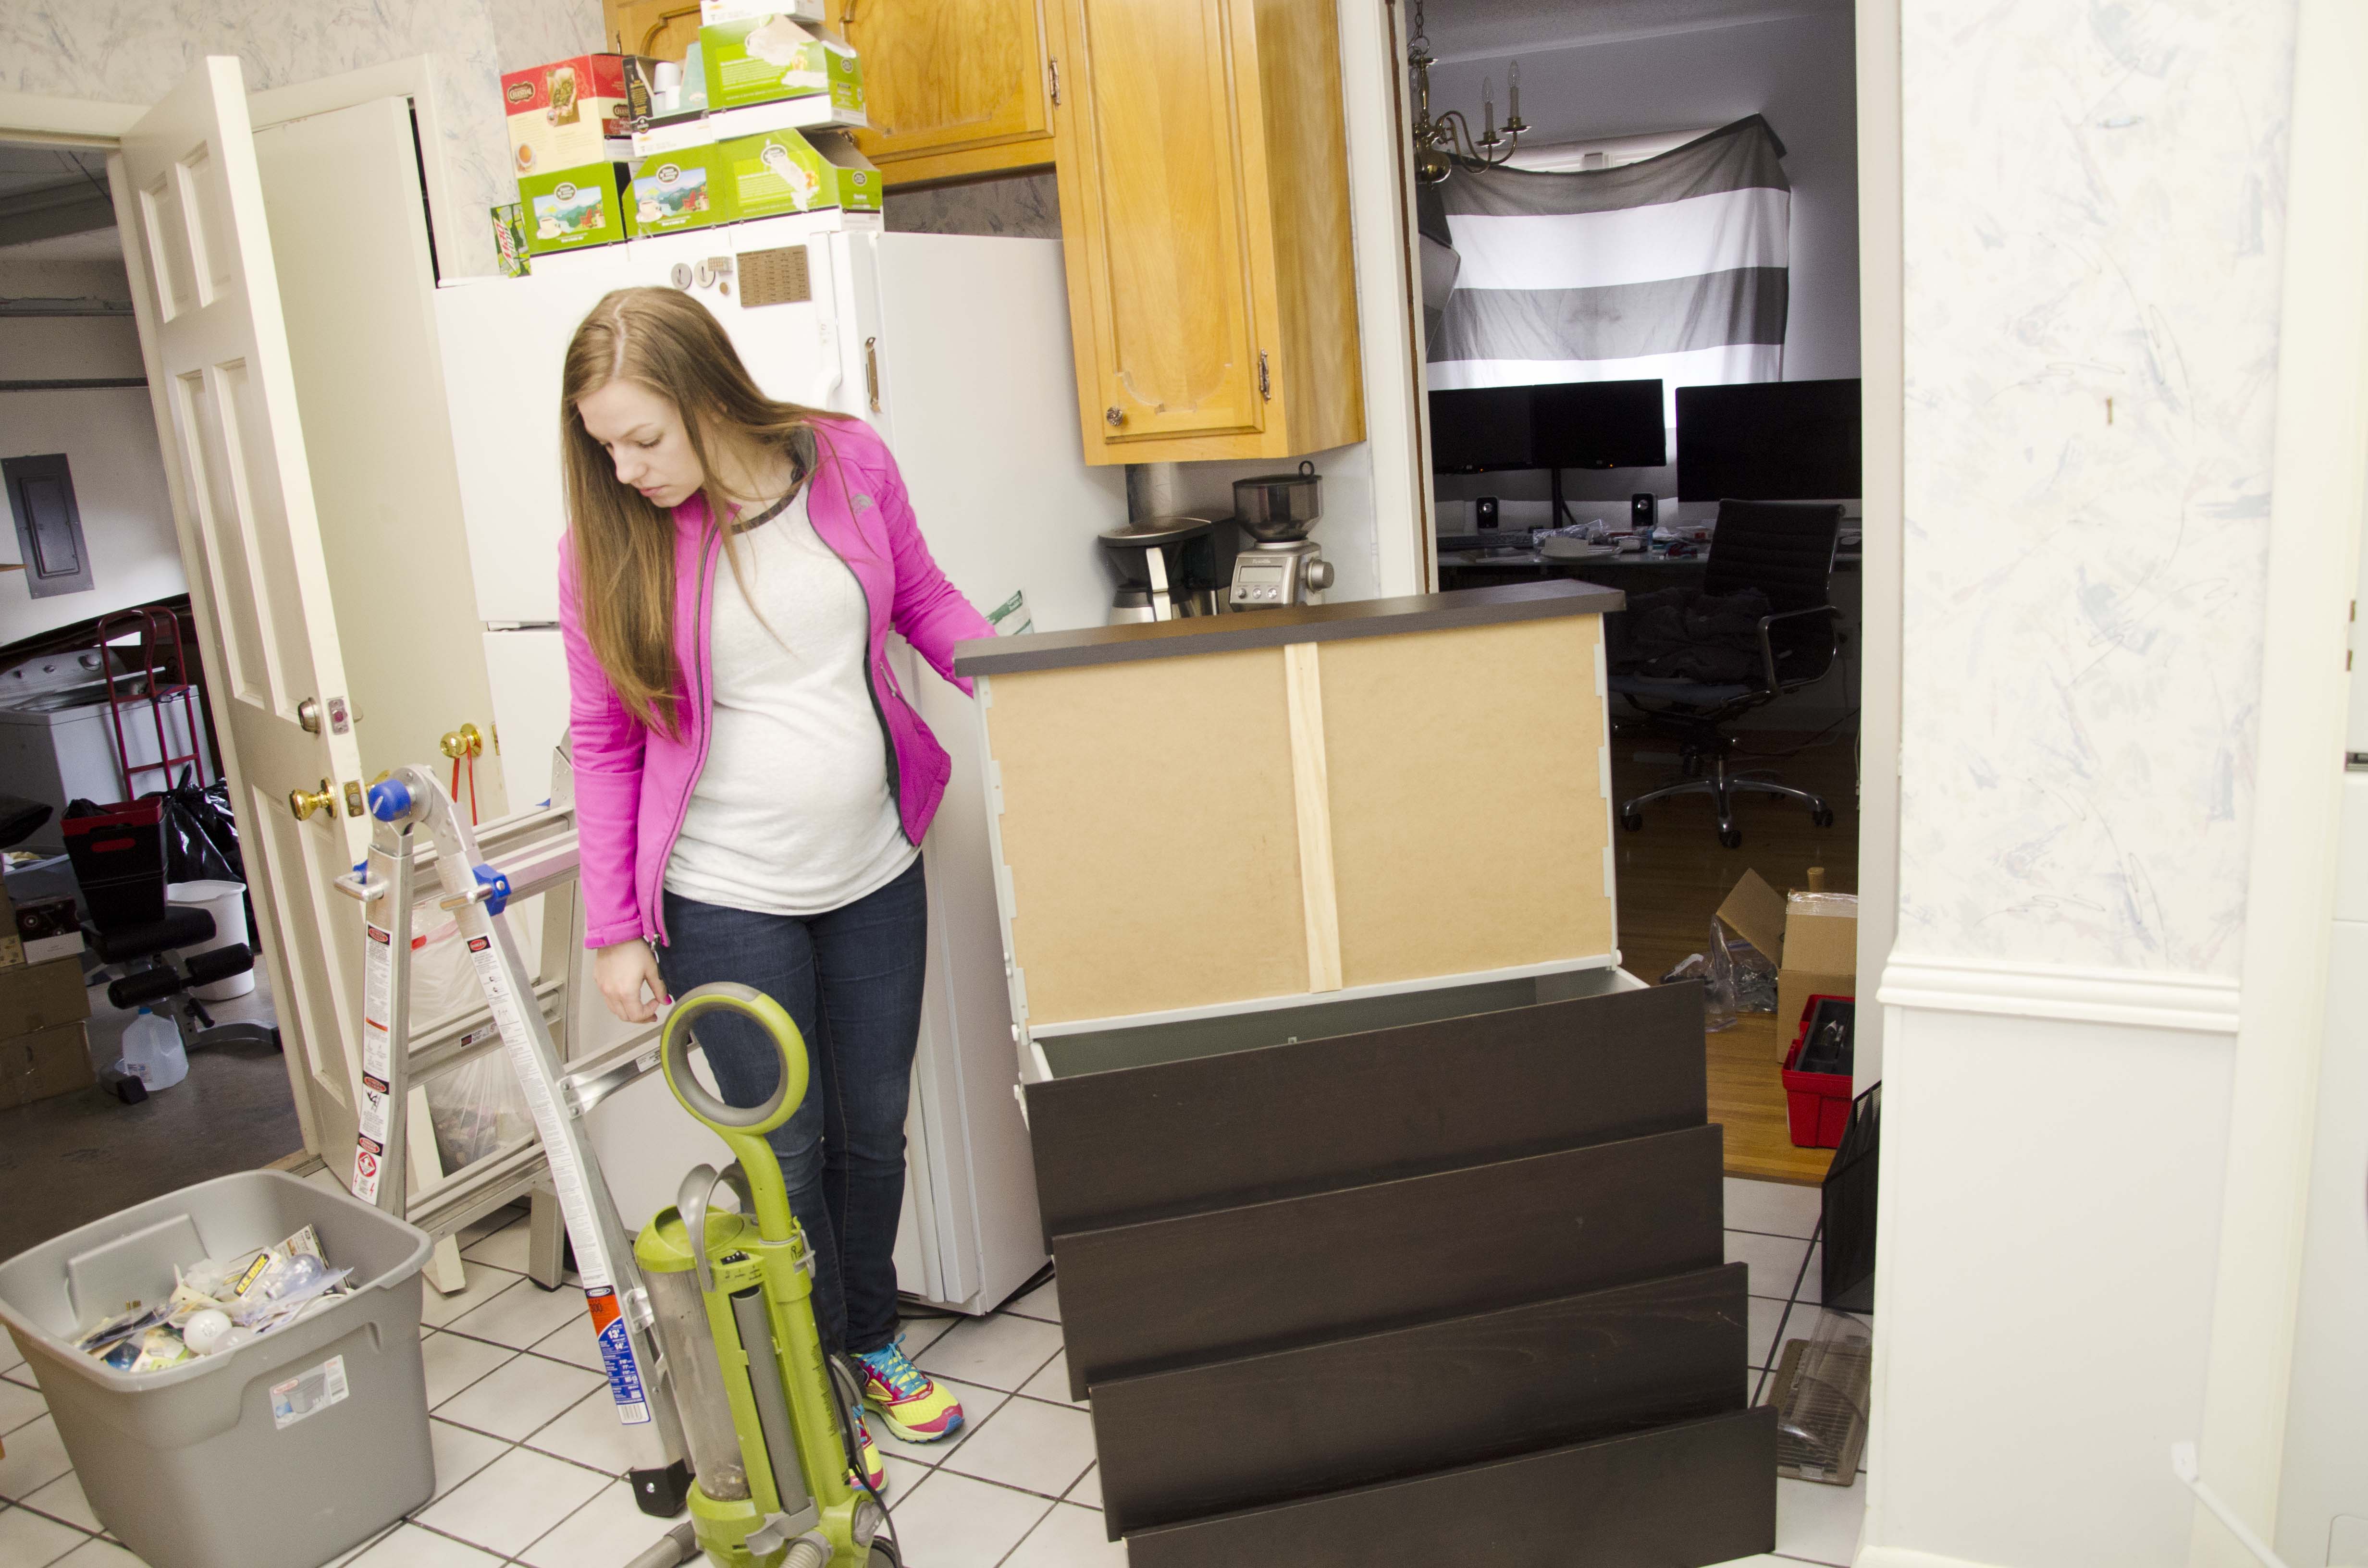
I know I look ecstatic here, but I didn’t realize he was including me in the photo. 🙂 We did this before a lot of moving in, because it is hard to move in without a place to put your clothes. We still have to figure out a system for Grant’s clothes because he isn’t a fan of drawers and prefers shelves. So, we will probably have to build him some shelves in his closet since the wardrobes we used before don’t really fit into our master bedroom without looking weird.
But anyway, this was an easy, cheap, and fast solution to a problem we were having. Eventually we will upgrade all of our furniture to real wood, but that takes more time, money, and lots of design and thought. I also know a LOT of people have Ikea furniture, so if you need a quick fix for now, this has done the trick for us. Please let me know if you have any questions or if something is unclear on this.
15 comments
nice tutorial! I found the UK strap method as well but for the same reasons you mentioned it doesn’t solve our problem here. now the tricky part for me is to find the timber that fits under the drawers. Thanks for the detailed tutorial!
I just wanted to say thank you for sharing your Ikea hack. It’s exactly what I was looking for. I even have the same dresser (based on the pictures). I was considering something more drastic but think your method might be just what I need. If not, I bet I could use it as a starting point.
Thank you for your hack! Any chance you remember what size you had the wood pieces cut to? Particularly thickness (so that it would still fit into the dresser?
Thank you!
Kaela,
We got pieces of wood from the trim section at Home Depot. They are around 16 3/4″ long but I would measure each drawer before cutting. 1 9/16″ wide and 7/16″ thick. Let me know if you have any other questions.
Kaela,
I double checked and I think the piece of wood we had was just 3/8″ thick. But you are talking a difference of 1/16″ here. Hopefully that answered your question. Thanks for checking out our blog.
Thank you so much for this!!! I just completed this project this past weekend and my dresser is like new!!!
I’m so glad that we could help!
Sorry, Ill start again from Valencia. Thank u so much fr your tutorial on fixing distressed drawers which is applicable to any drawer, not only IKEAs. Its bn very helpfl and Im still mounching on an idea so the inner brackets wont b needed
Thanks so much for the idea! I have a bundle of wood lathes I bought from Home Depot for a gardening project, and I think they’ll work nicely. Appreciate the time you took to post.
Sorry meant to say “wood laths.”
Hello, I am thrilled to have come across this ! Can you recall what size brackets and type of screws that you used ?
Meghan, we use existing brackets we had,but you could use either of these types of brackets or even single hole ones if you prefer. Type 1, Type 2. Then we used 1/4″ long screws for those brackets. I hope this helps, thanks for reading the blog.
Two questions. First do you think it would work just using gorilla glue (a wood glue) on the bottom instead of the “L” brackets? Second, (which made me think of the first) does clothing ever get caught on the “L” brackets inside the drawer?
Andrew, I am not sure if the gorilla glue would hold it enough with enough weight on top of it. We have never had the “L” bracket catch on clothing or anything so we still feel that is the best route to go. However, if you decide to try gorilla glue, please report back so we know if it works just as well. Thanks!
Not a regular but stumbled here by accident. I had the same problem years ago and I used some wooden strips about 8mm thick (couldn’t use any thicker) to go across the bottom of a IKEA Malm drawers. I didn’t use L brackets but the thought did cross my mind when trying to think up of a solution. I used a screw bolt in several places to strengthen the bottom and it worked. Since I used rounded screw bolts, it was never an issue for clothes catching. I didn’t even know people made Ikea hacks at the time online. I was in Ikea recently and noticed their latest drawers are far more solid and sport thicker bases.