

I have always been a sucker for the french tipped nail look. There are many ways that you can get this look with gel nails. I know that Sensationail sells their own kit that has white tips that get stuck on, and I have seen people do it successfully. I however tried it and couldn’t get one single nail to work. So, below is how I do this look, it takes a little longer,but for me it is totally worth it.

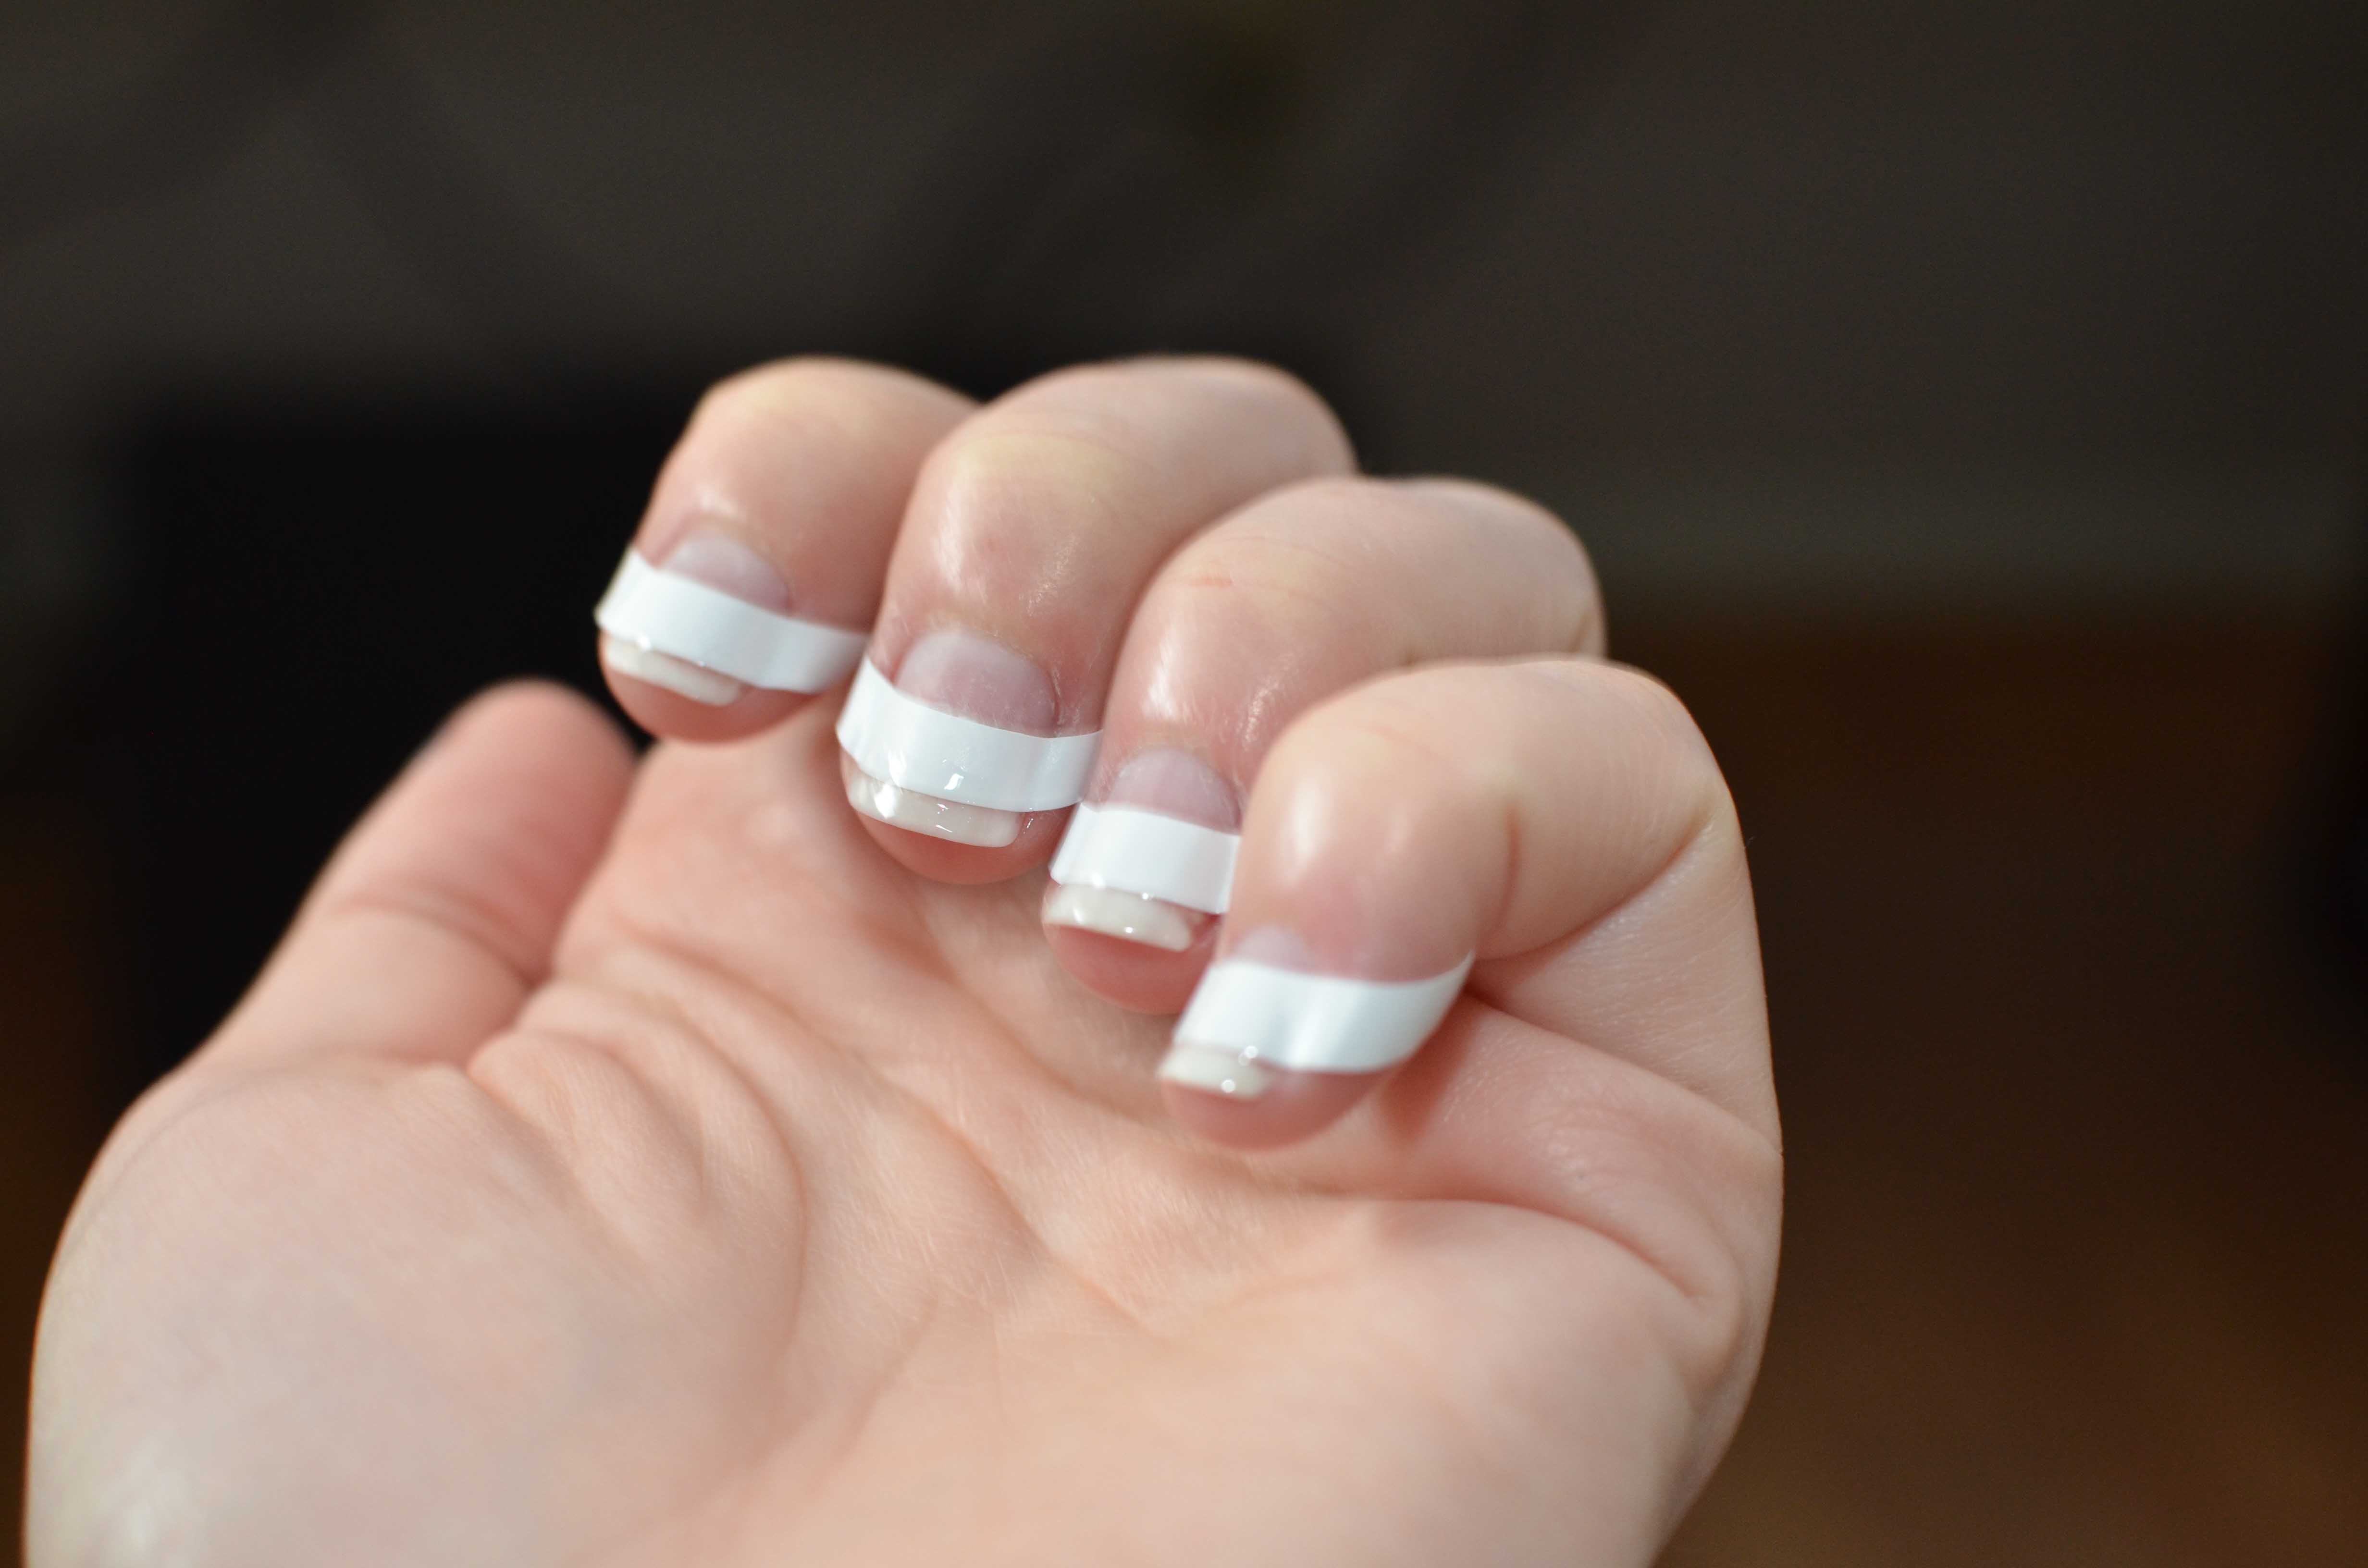
Here you can see my DIY French Tip Gel Nails. I used the following tutorial as well as THIS tutorial which shows how I keep them from chipping.
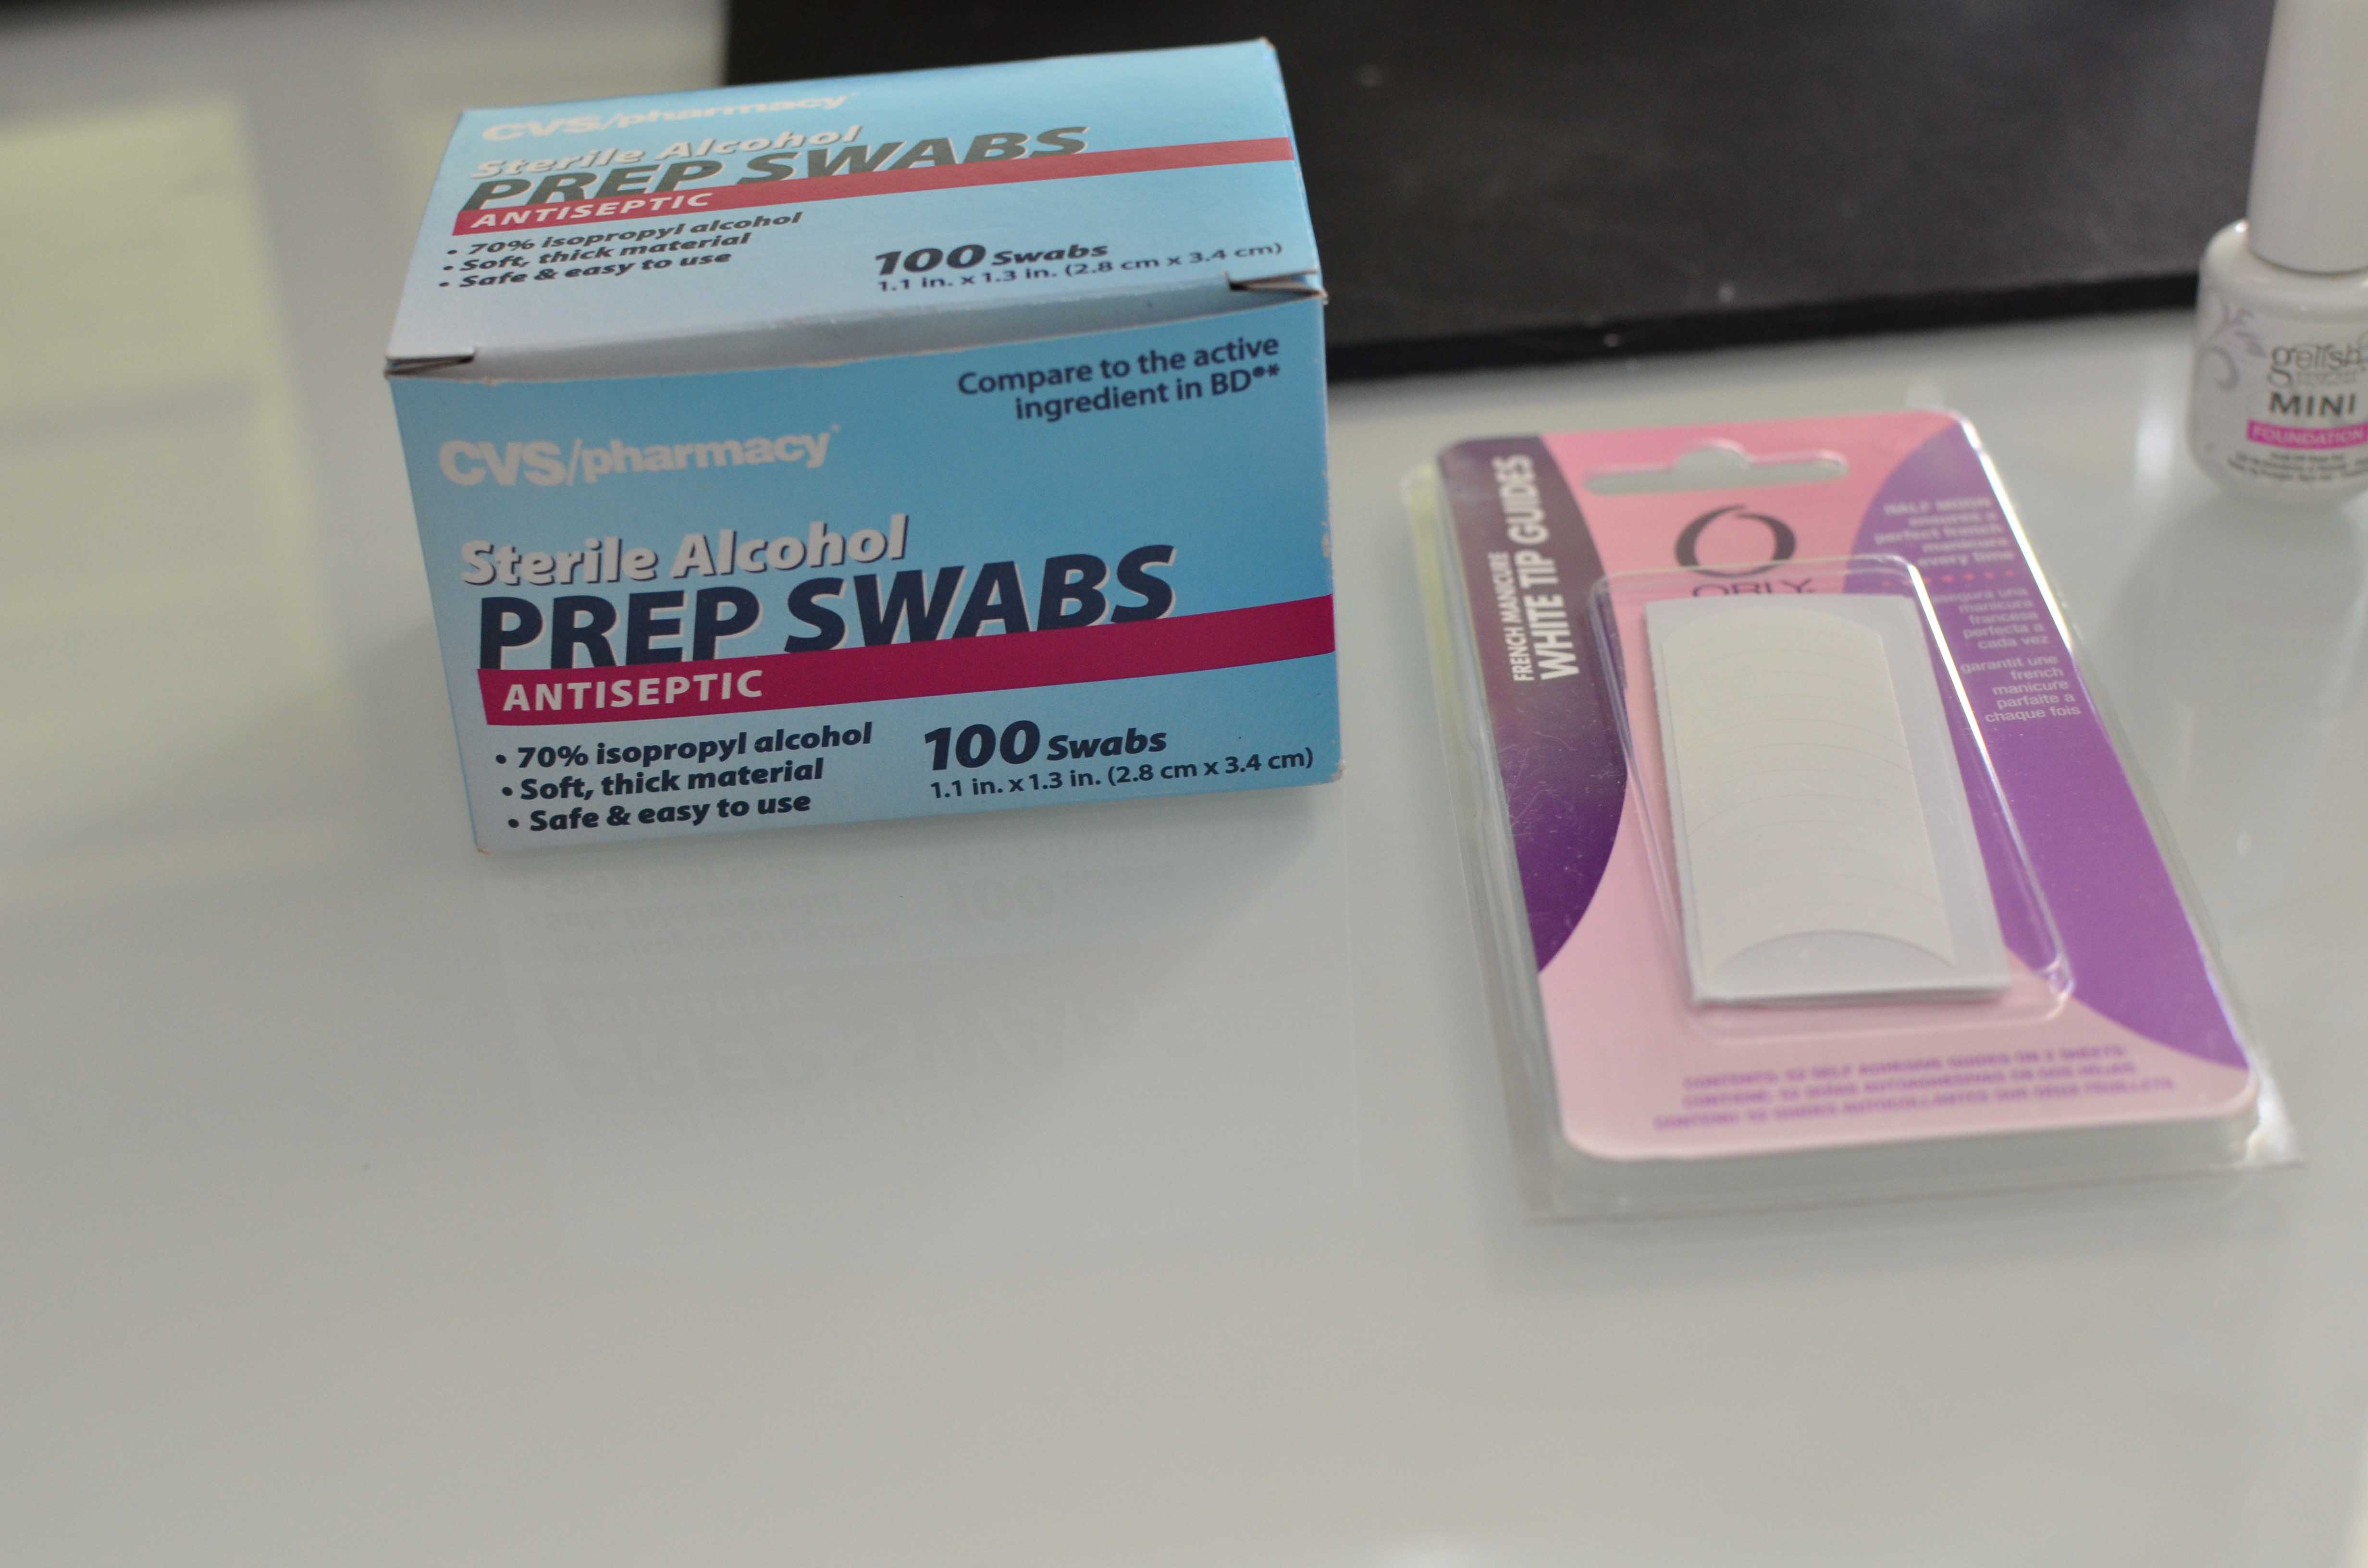
I prefer the alcohol swabs since you can get a lot for very cheap over buying rubbing alcohol and then lint free pads. I also use the white tip guides from Sally Beauty. They are a vinyl material rather than paper and are very durable. Orly French Manicure Tip Guides
One of the bloggers I read, buys her from THIS SELLER on ebay which carries different versions which are fun.
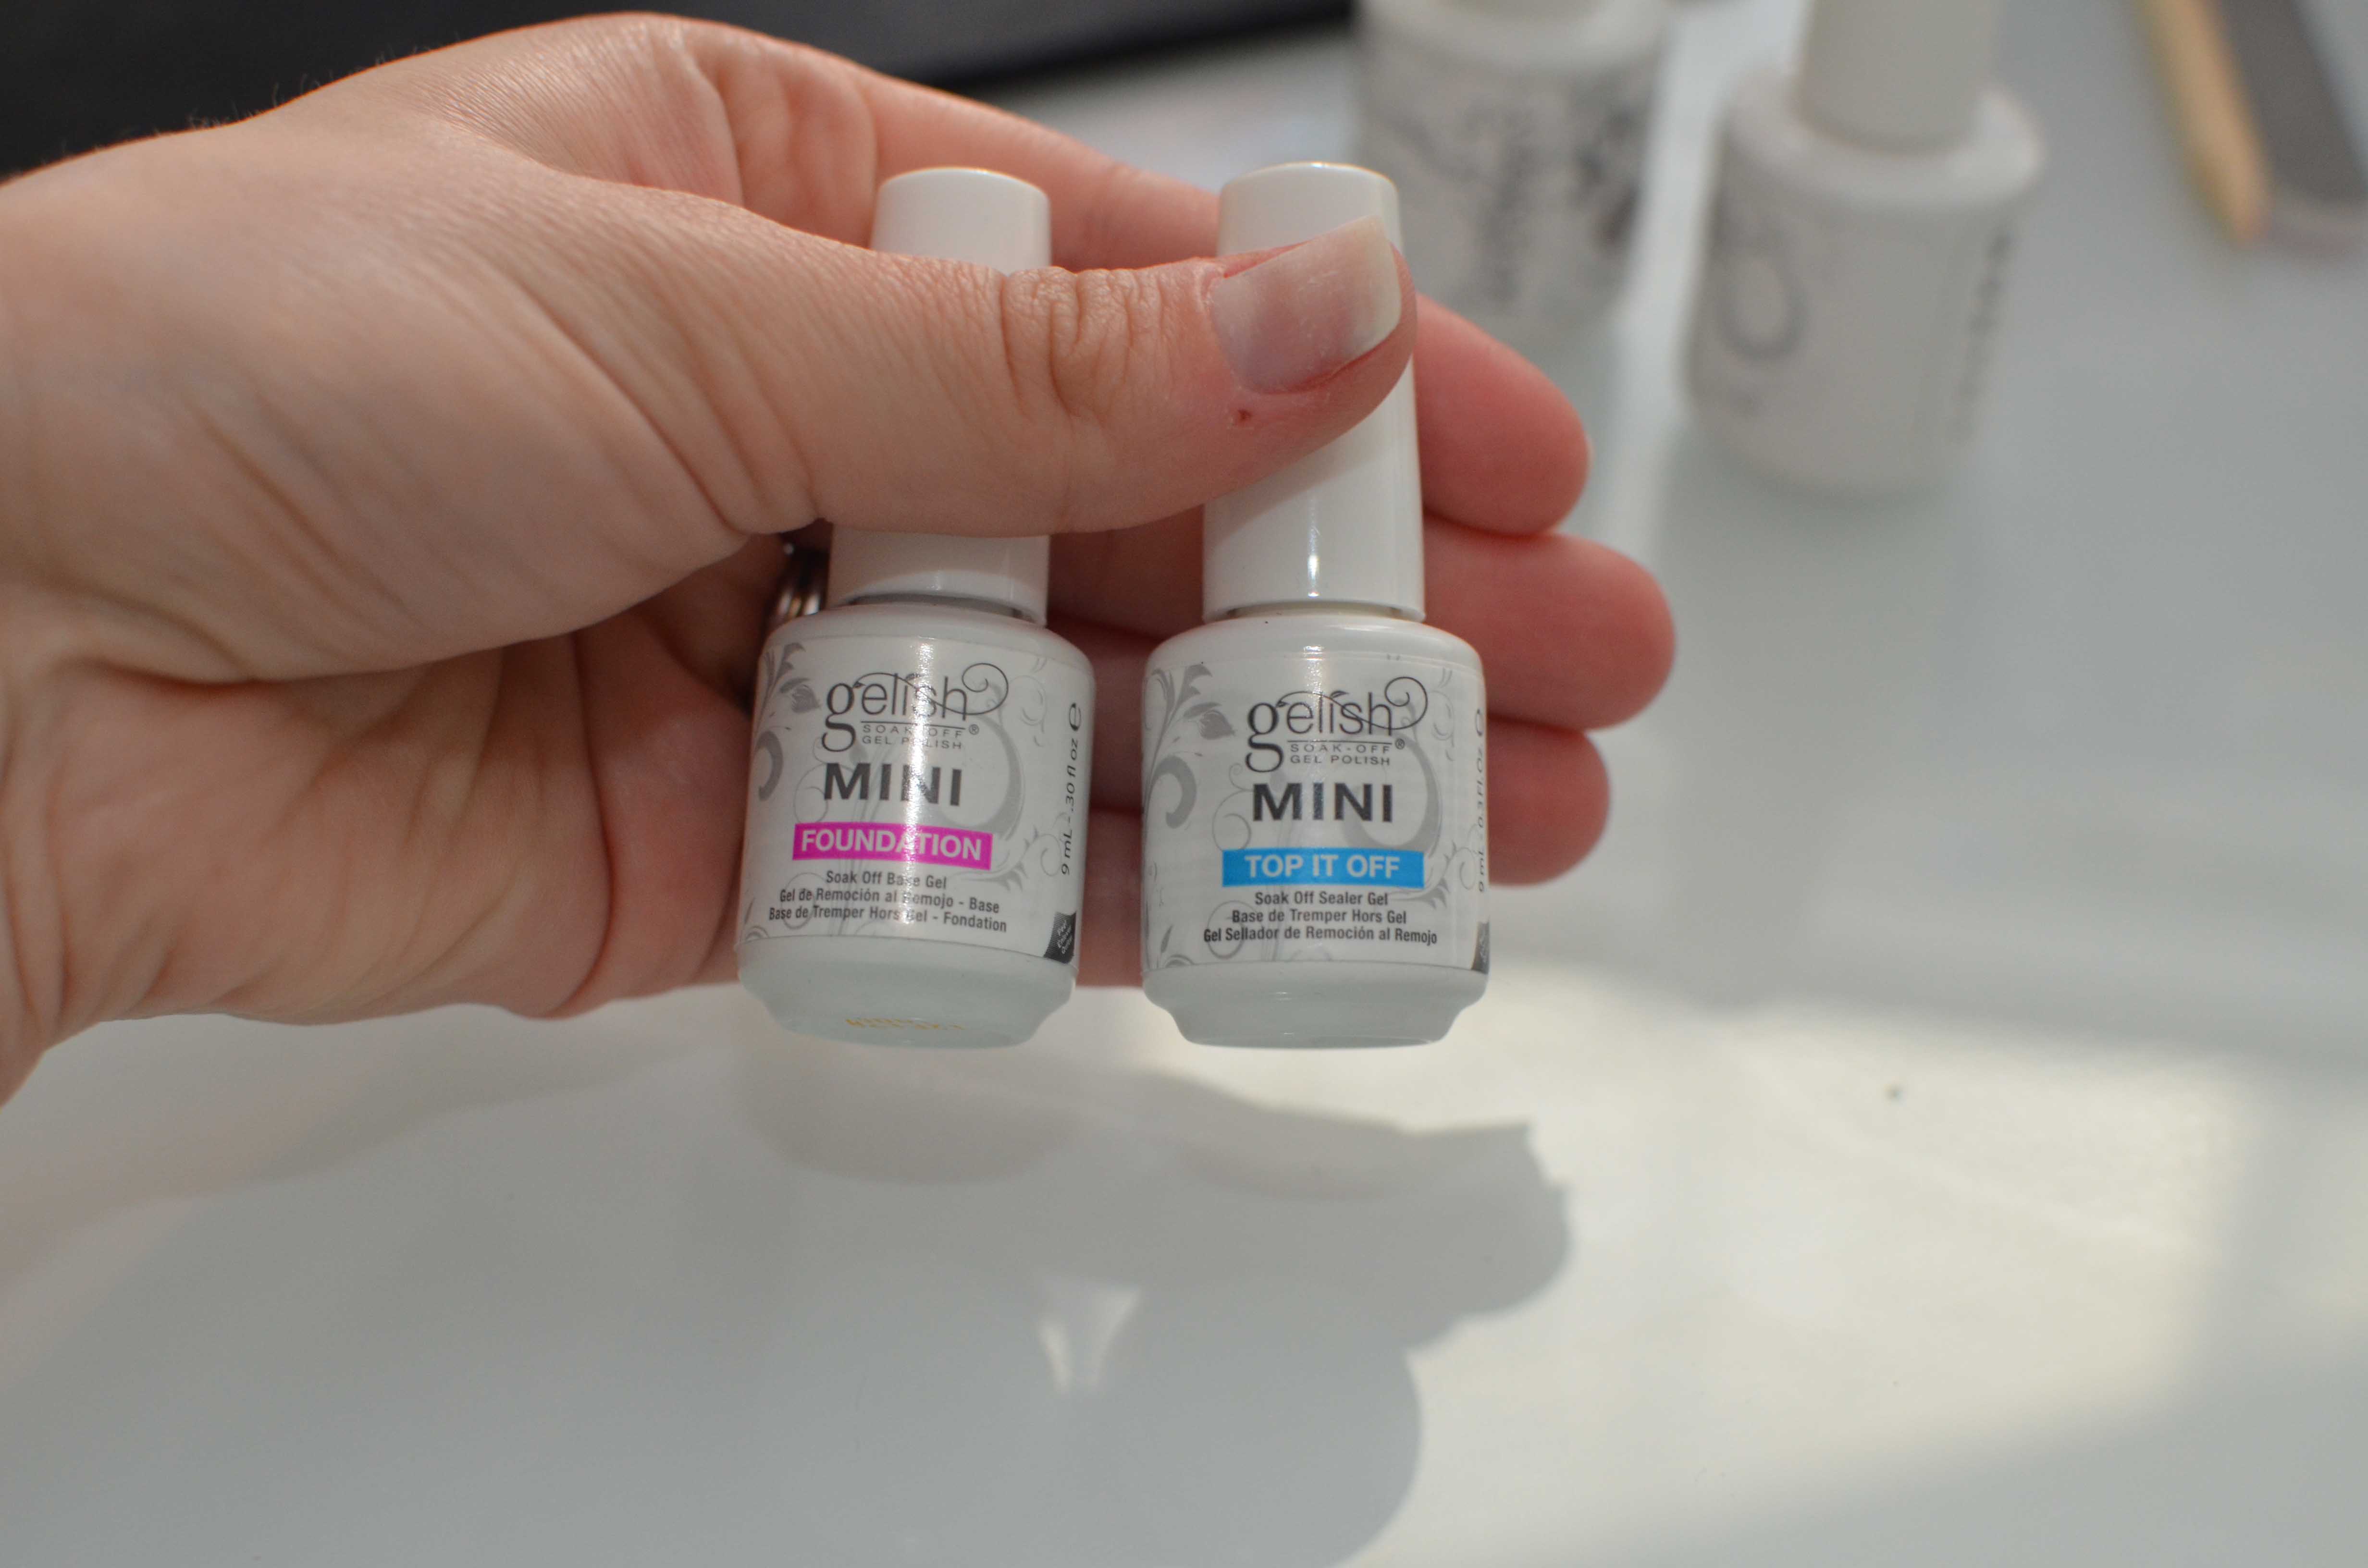
For this look, I used Gelish Mini Harmony Gelish FOUNDATION / Base Gel or Sensationail top/base kit
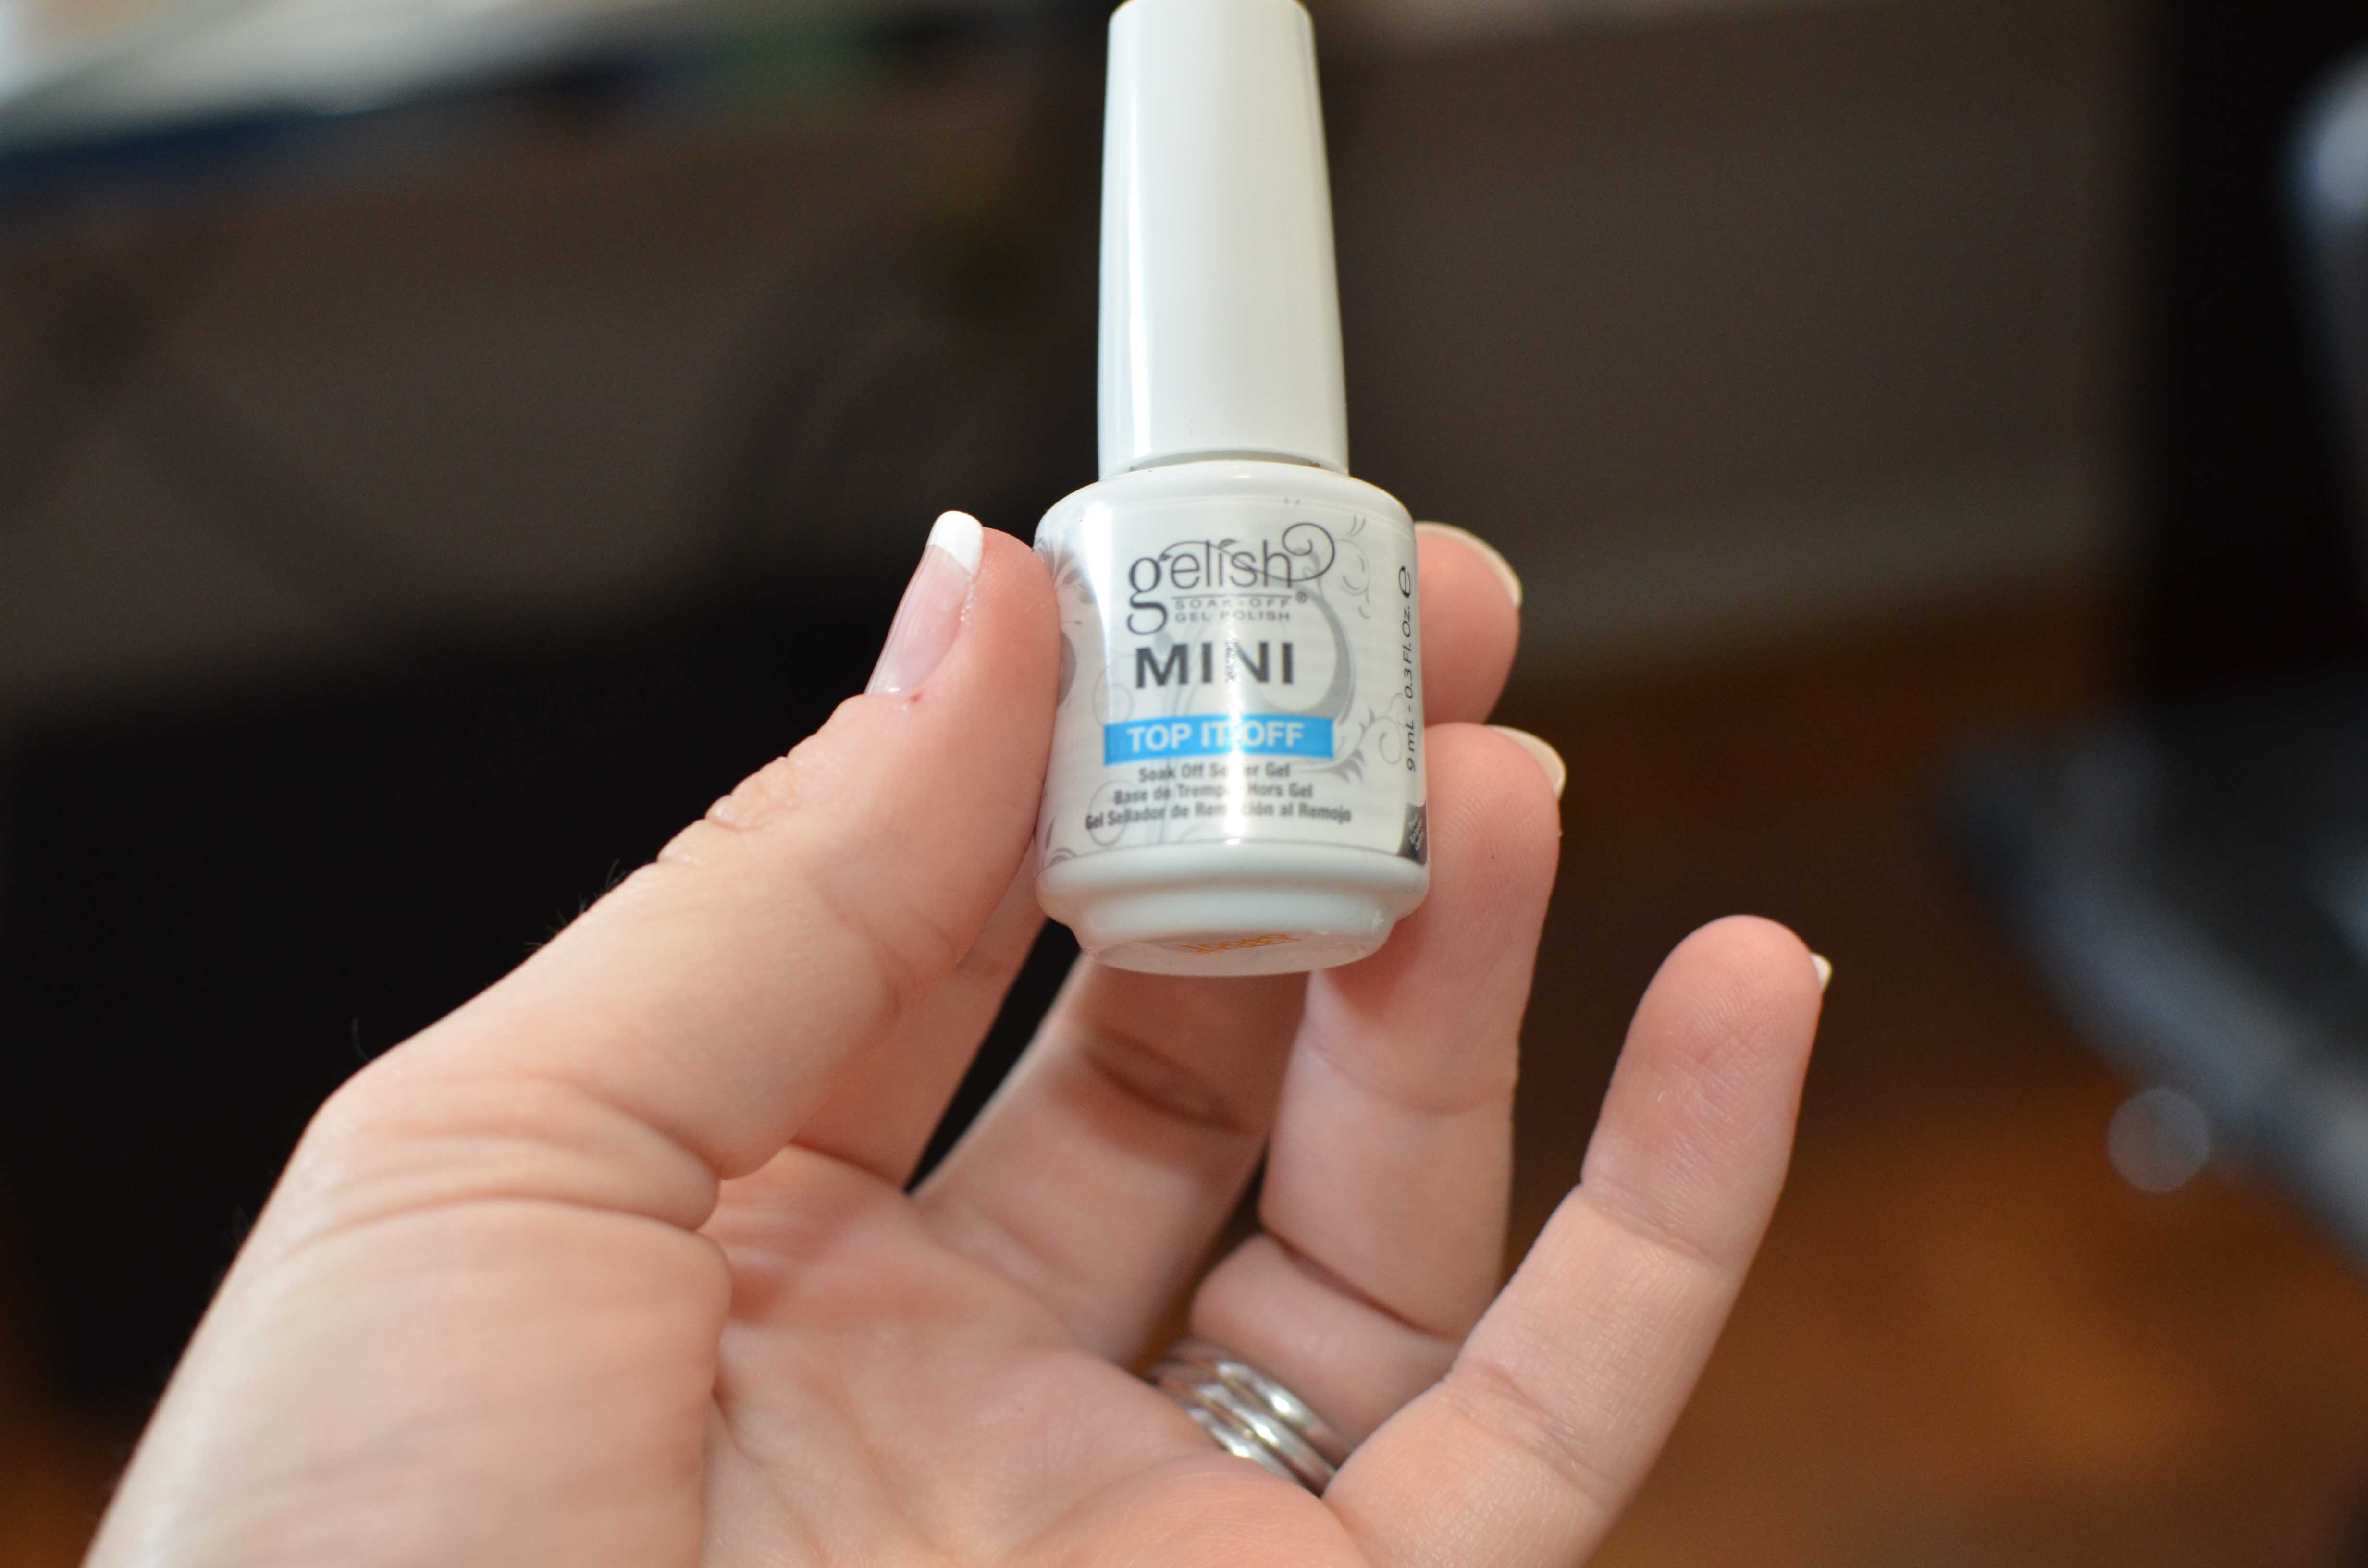
and Gelish soak off sealer gel top it off ,but you can use whatever top and base coat you prefer as long as it is for gel nails. You can get Gelish locally at Sally Beauty. However, they are more expensive than the larger bottles online and are the mini size shown in this picture. But if you are just getting started with Gel Nails, this might be the perfect option to start with. Even the minis last a long time. Lately, I have preferred the Sensationnail top/base kit which can be bought at any Walmart, and the whole thing costs $10.
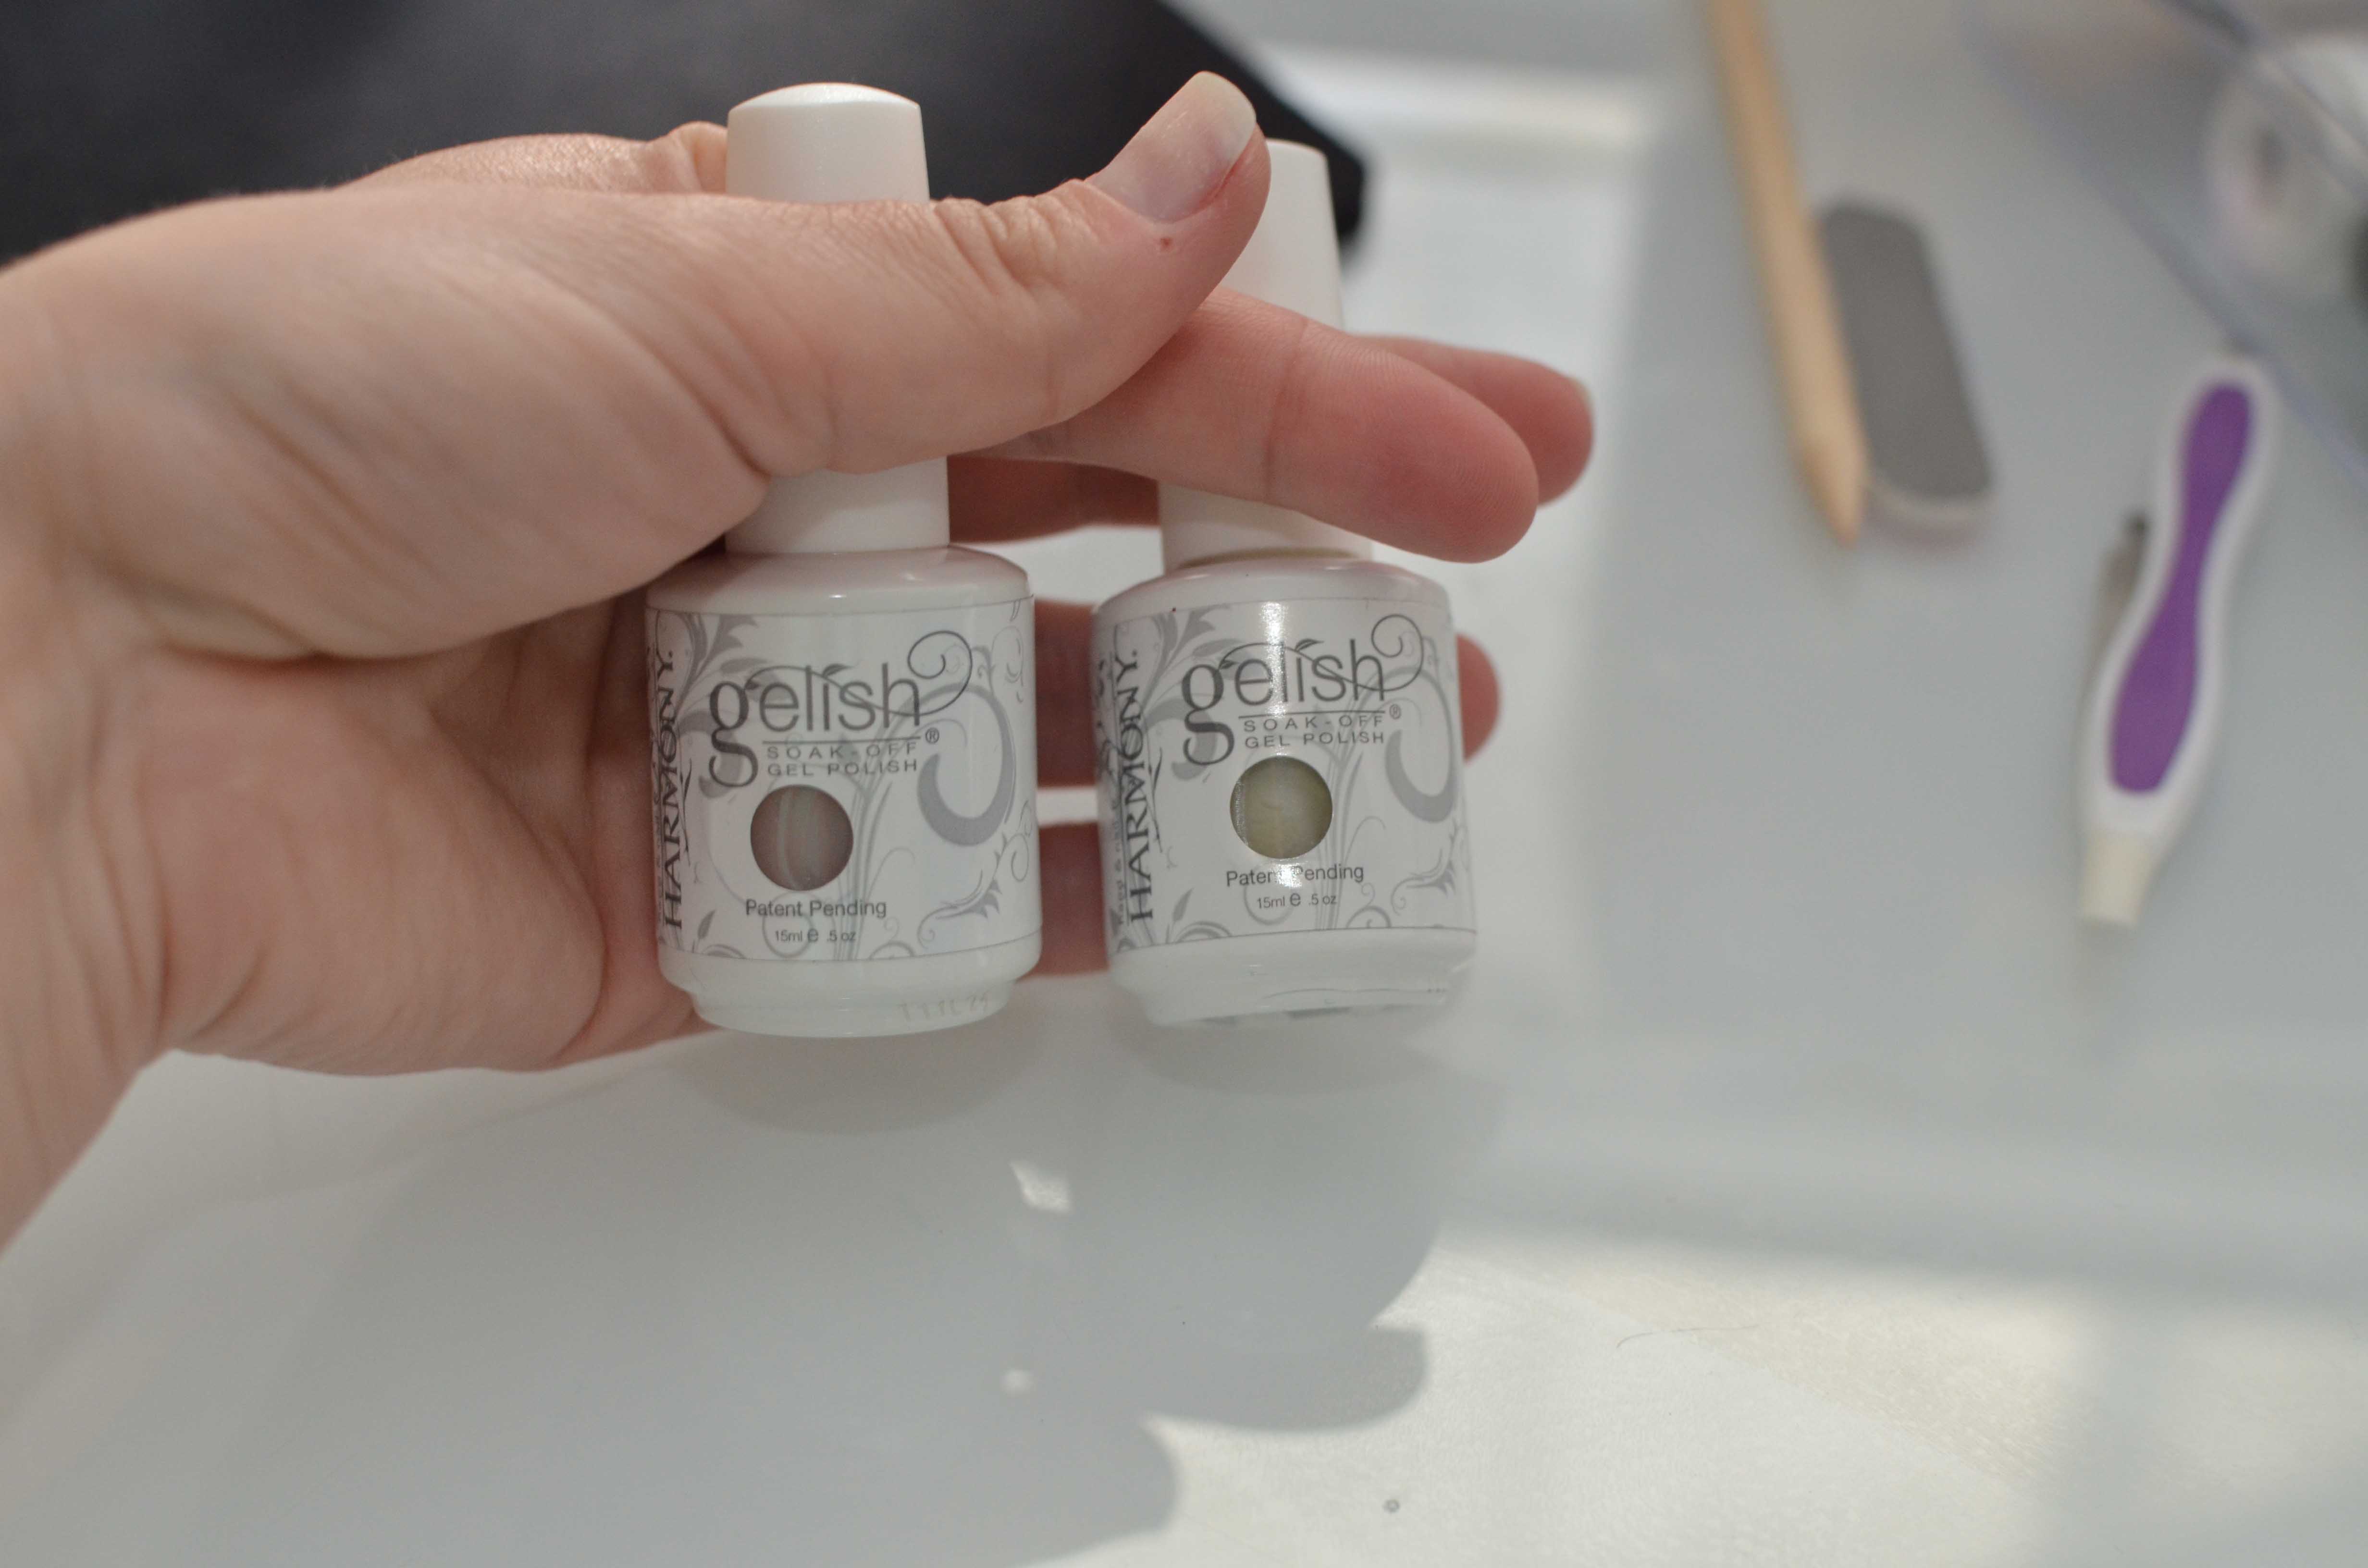
For my colors, I used Gelish colors as well, but you can use any white, clear/pink colors you want. Well, any colors really since you can do them in whatever colors you prefer.
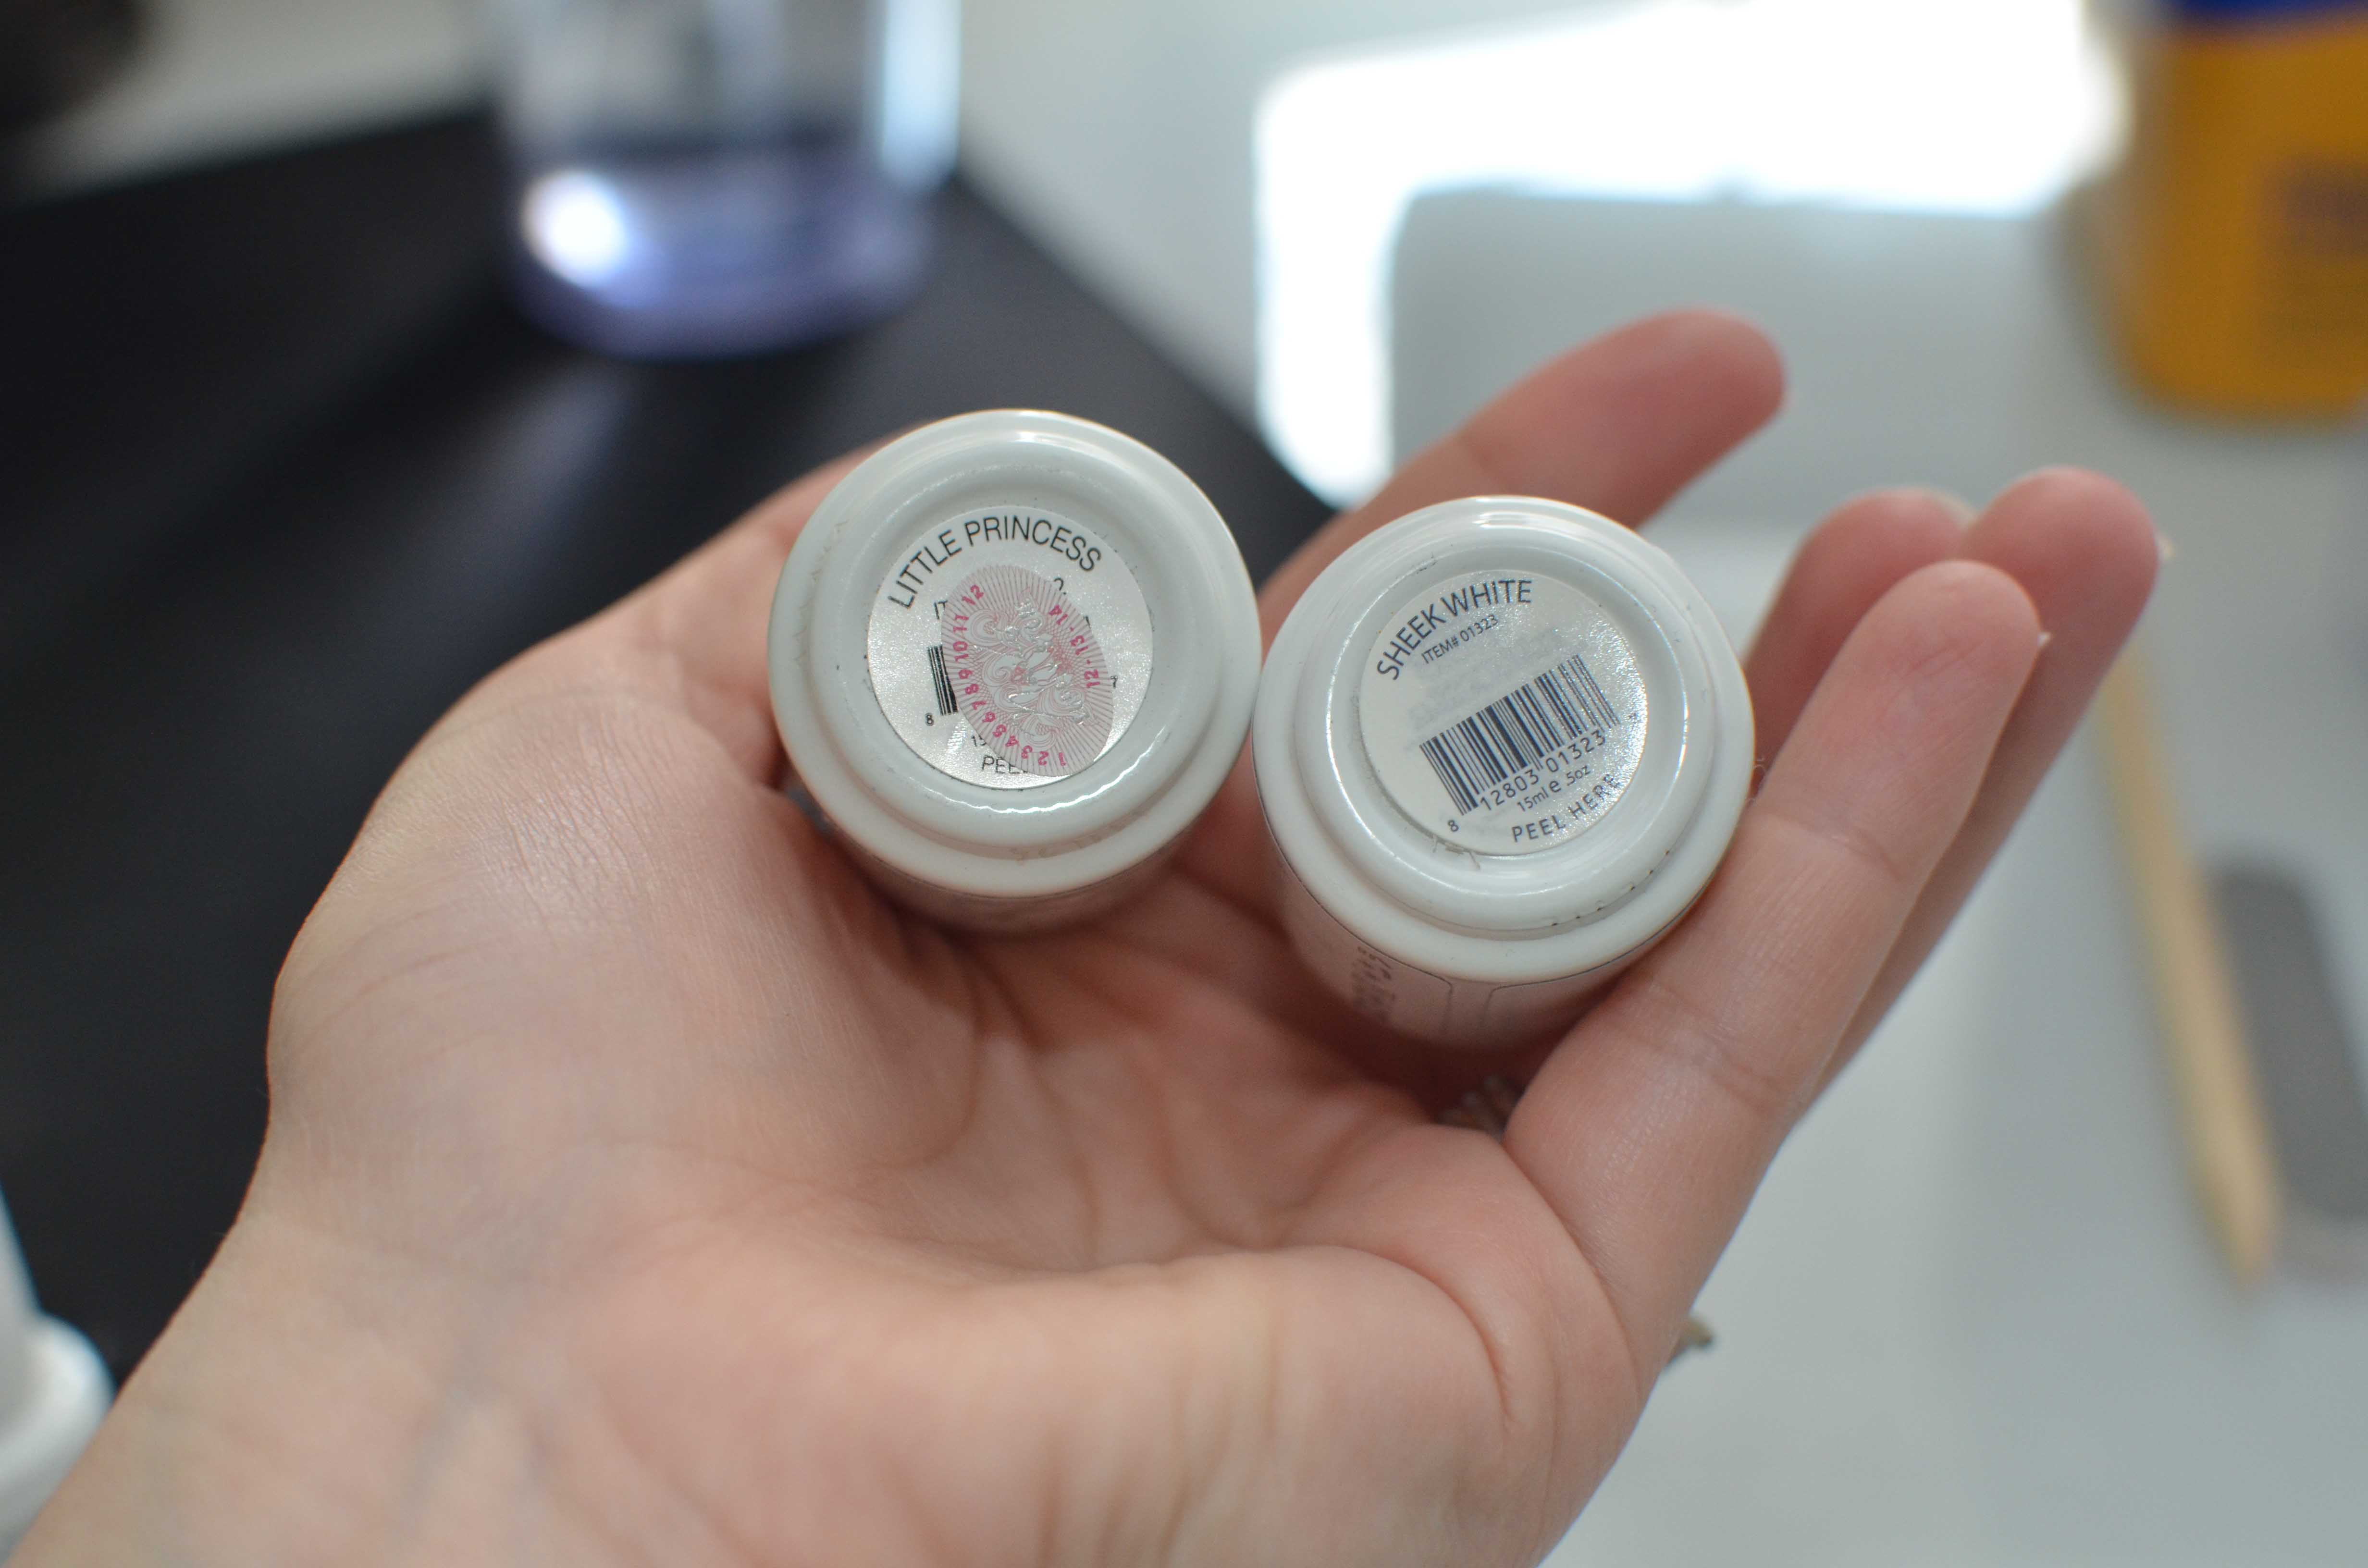
I used Harmony Gelish Uv Soak Off Gel Polish -Sheek White (0.5 Oz)
and Harmony Gelish UV Soak Off Gel Polish Little Princess or similar
both by Gelish.

File, shape, and clean your nails like normal.
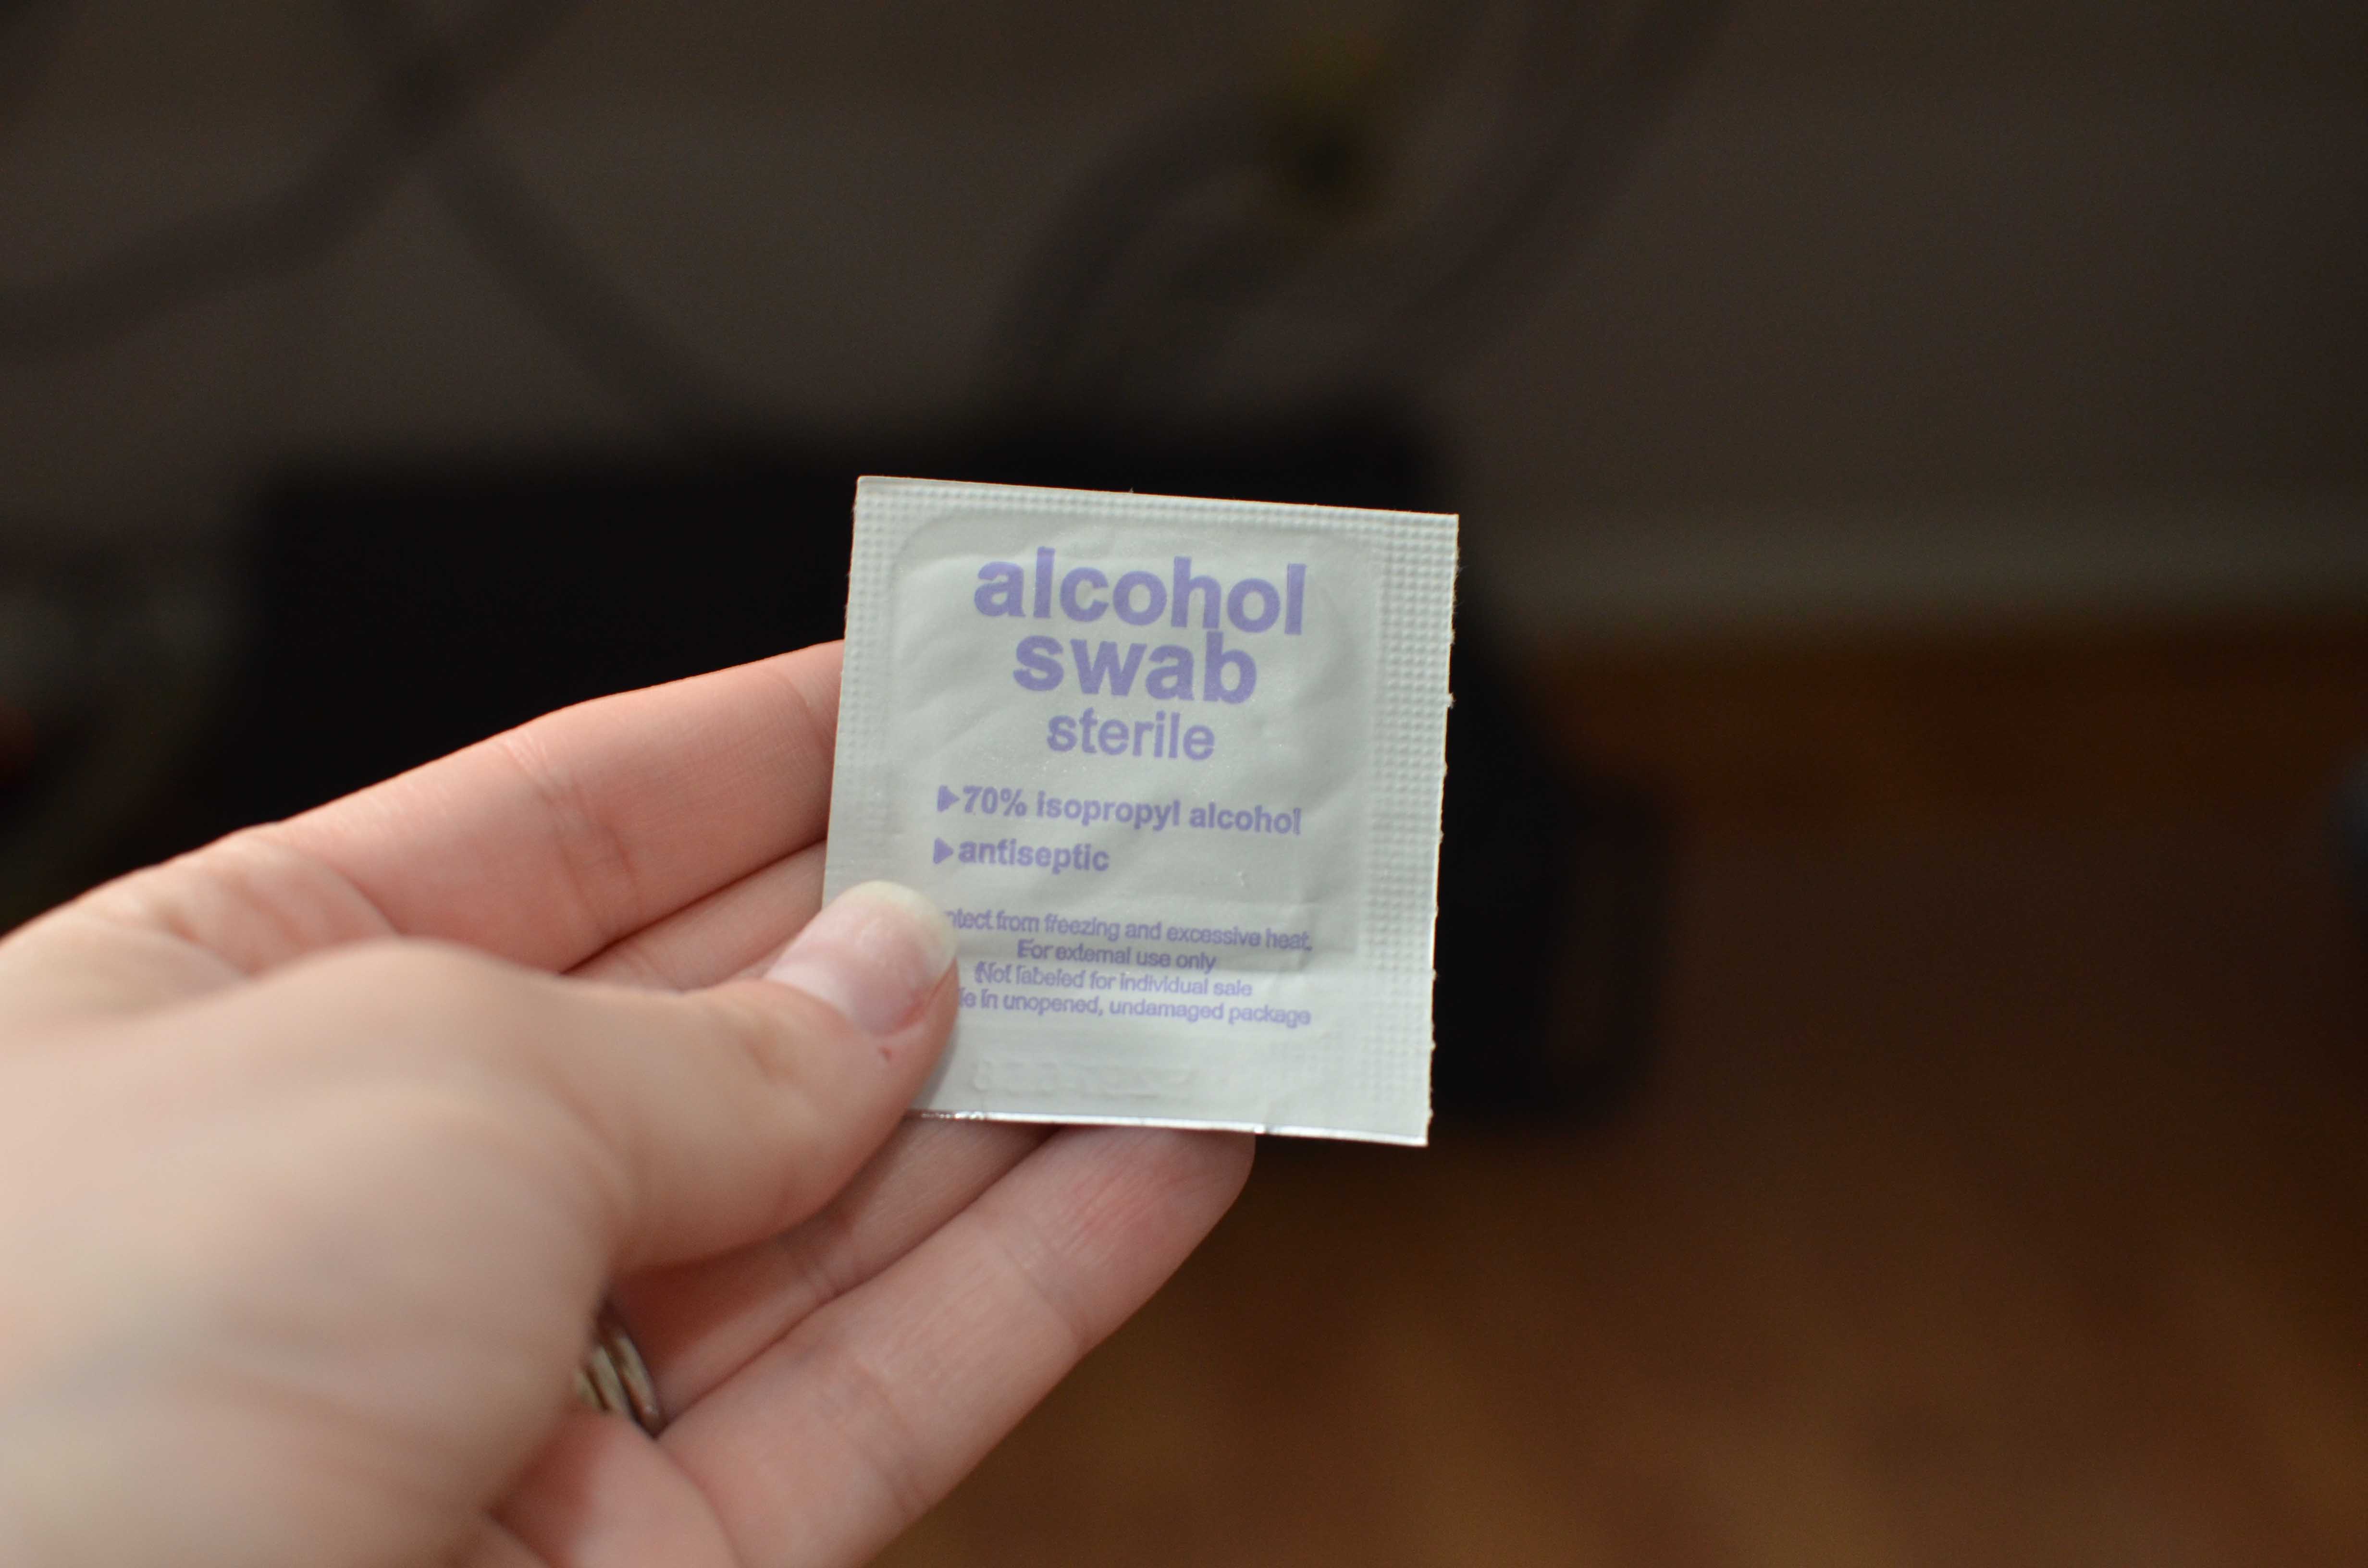
I always use an alcohol swab on the nails that I am about to paint or rubbing alcohol with a paper towel.
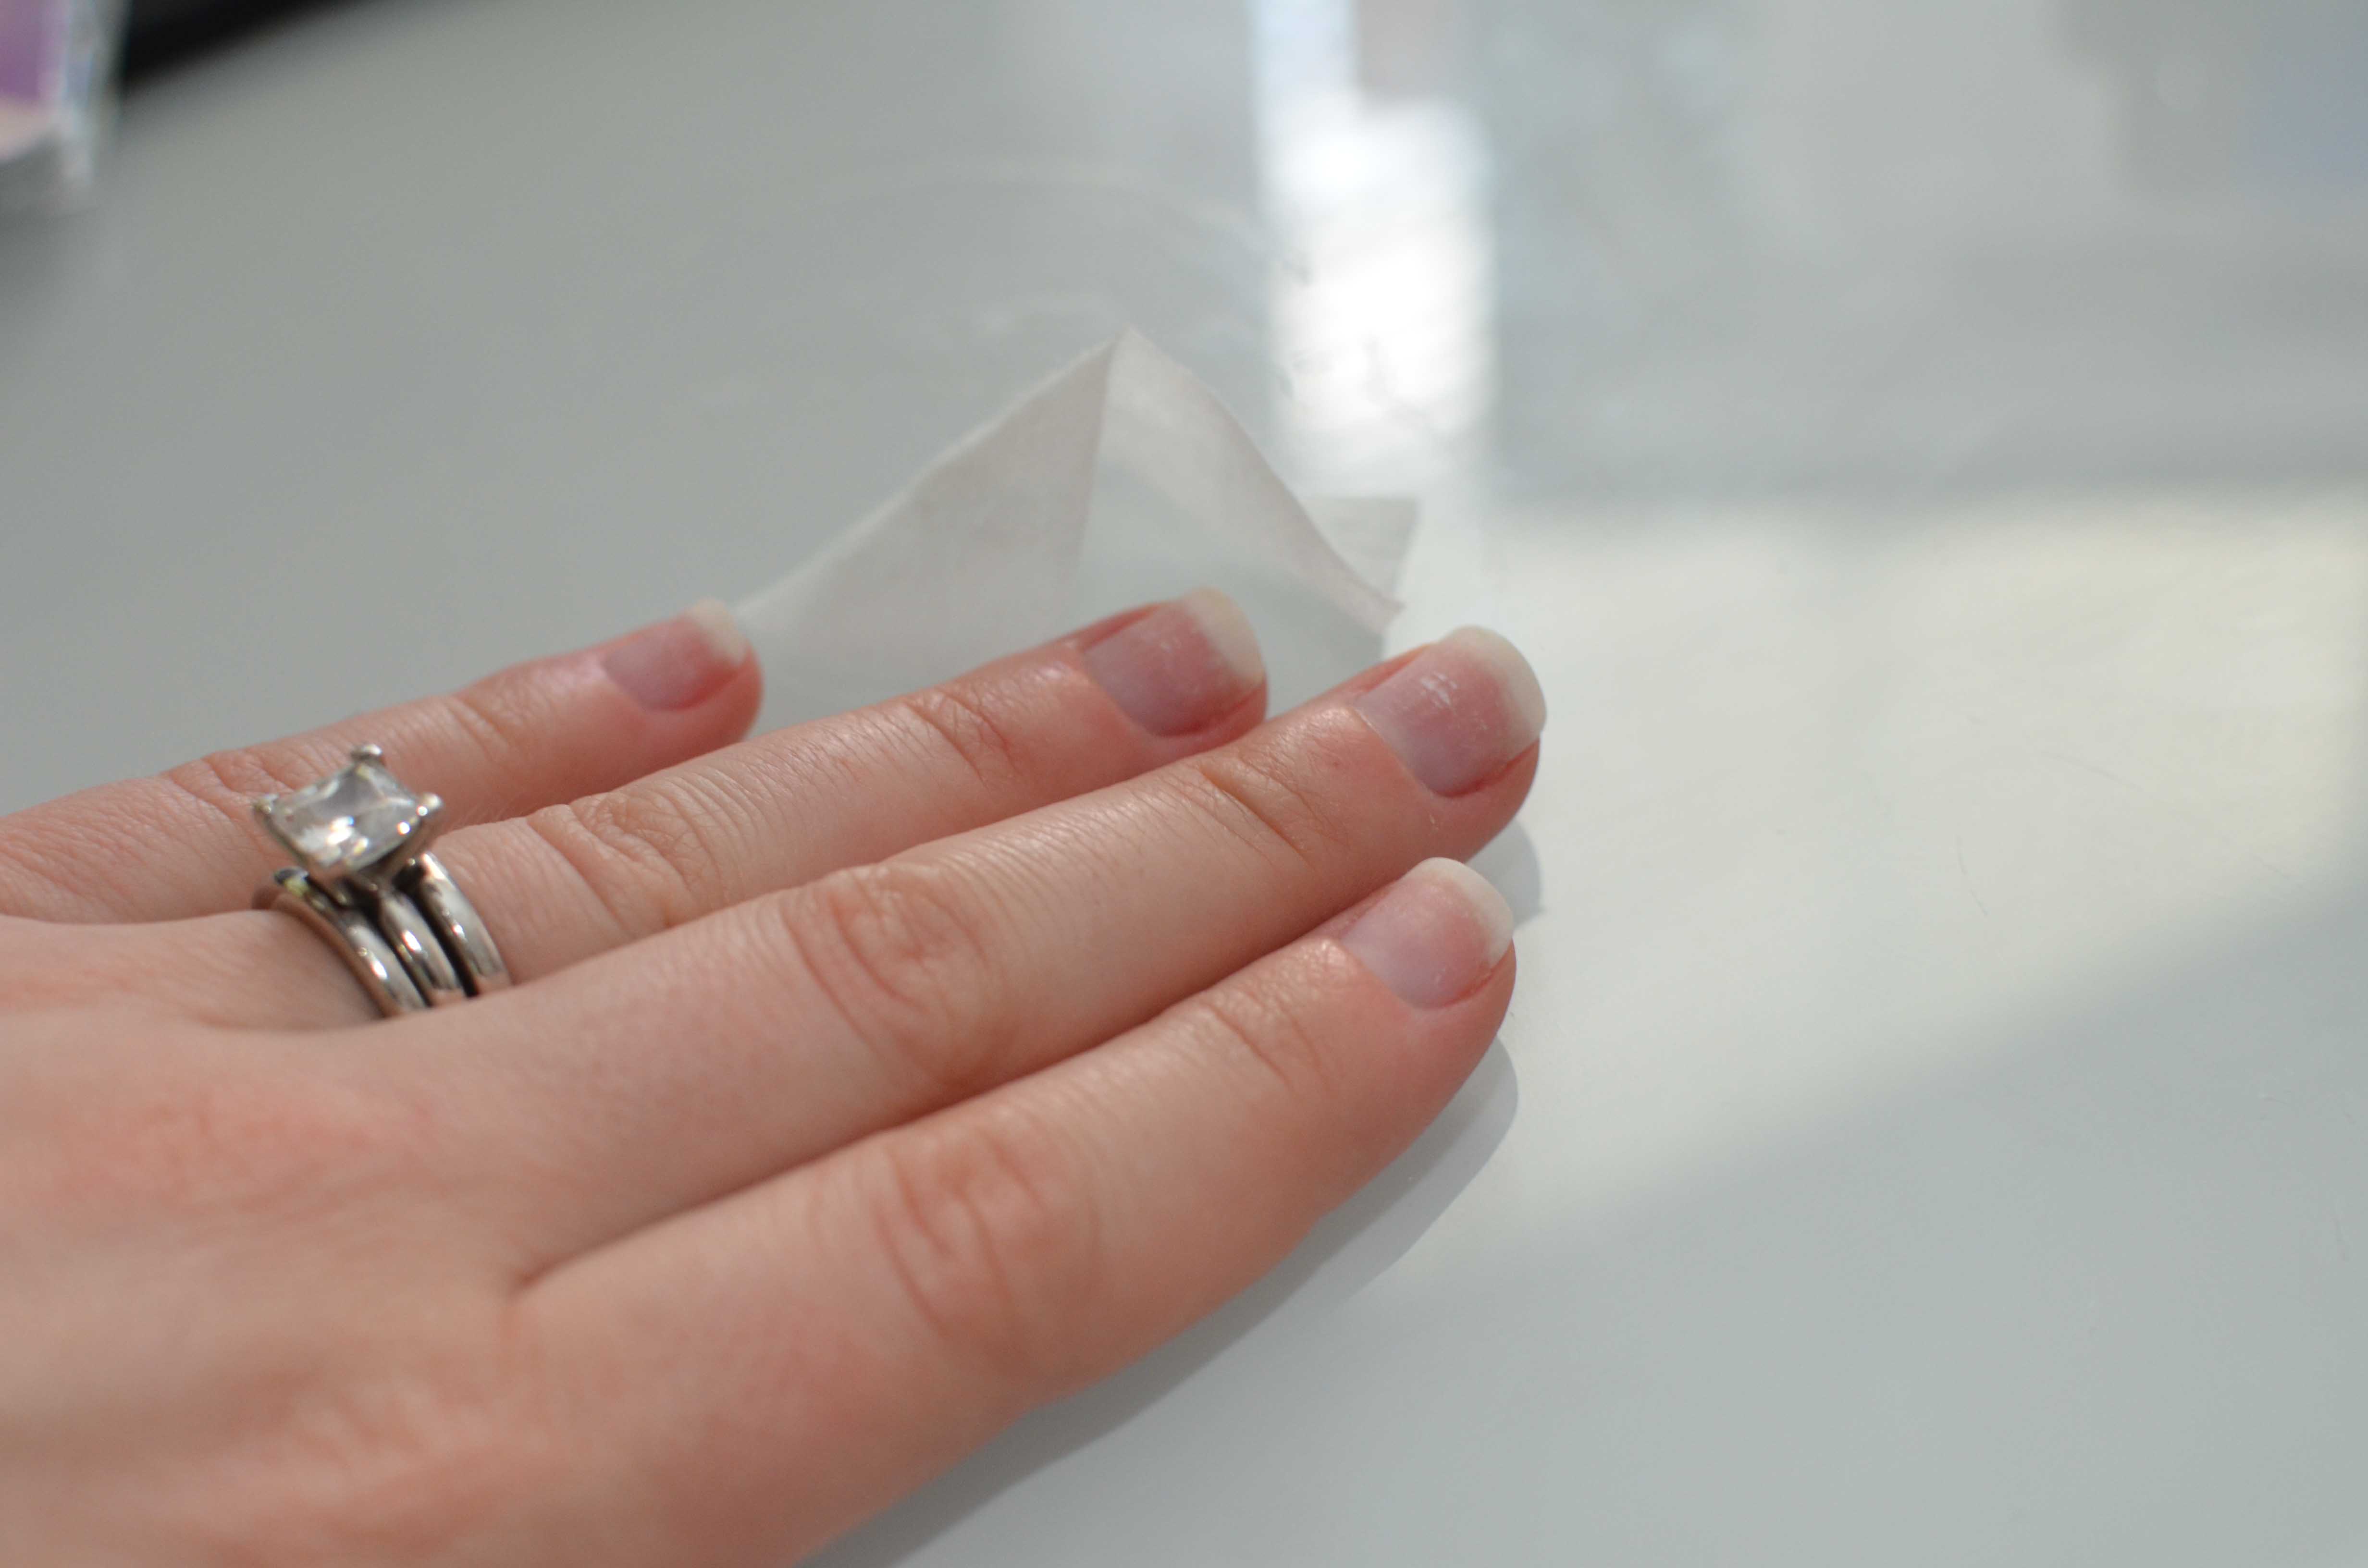
This way there are no oils left on the nails to keep the polish from sticking.
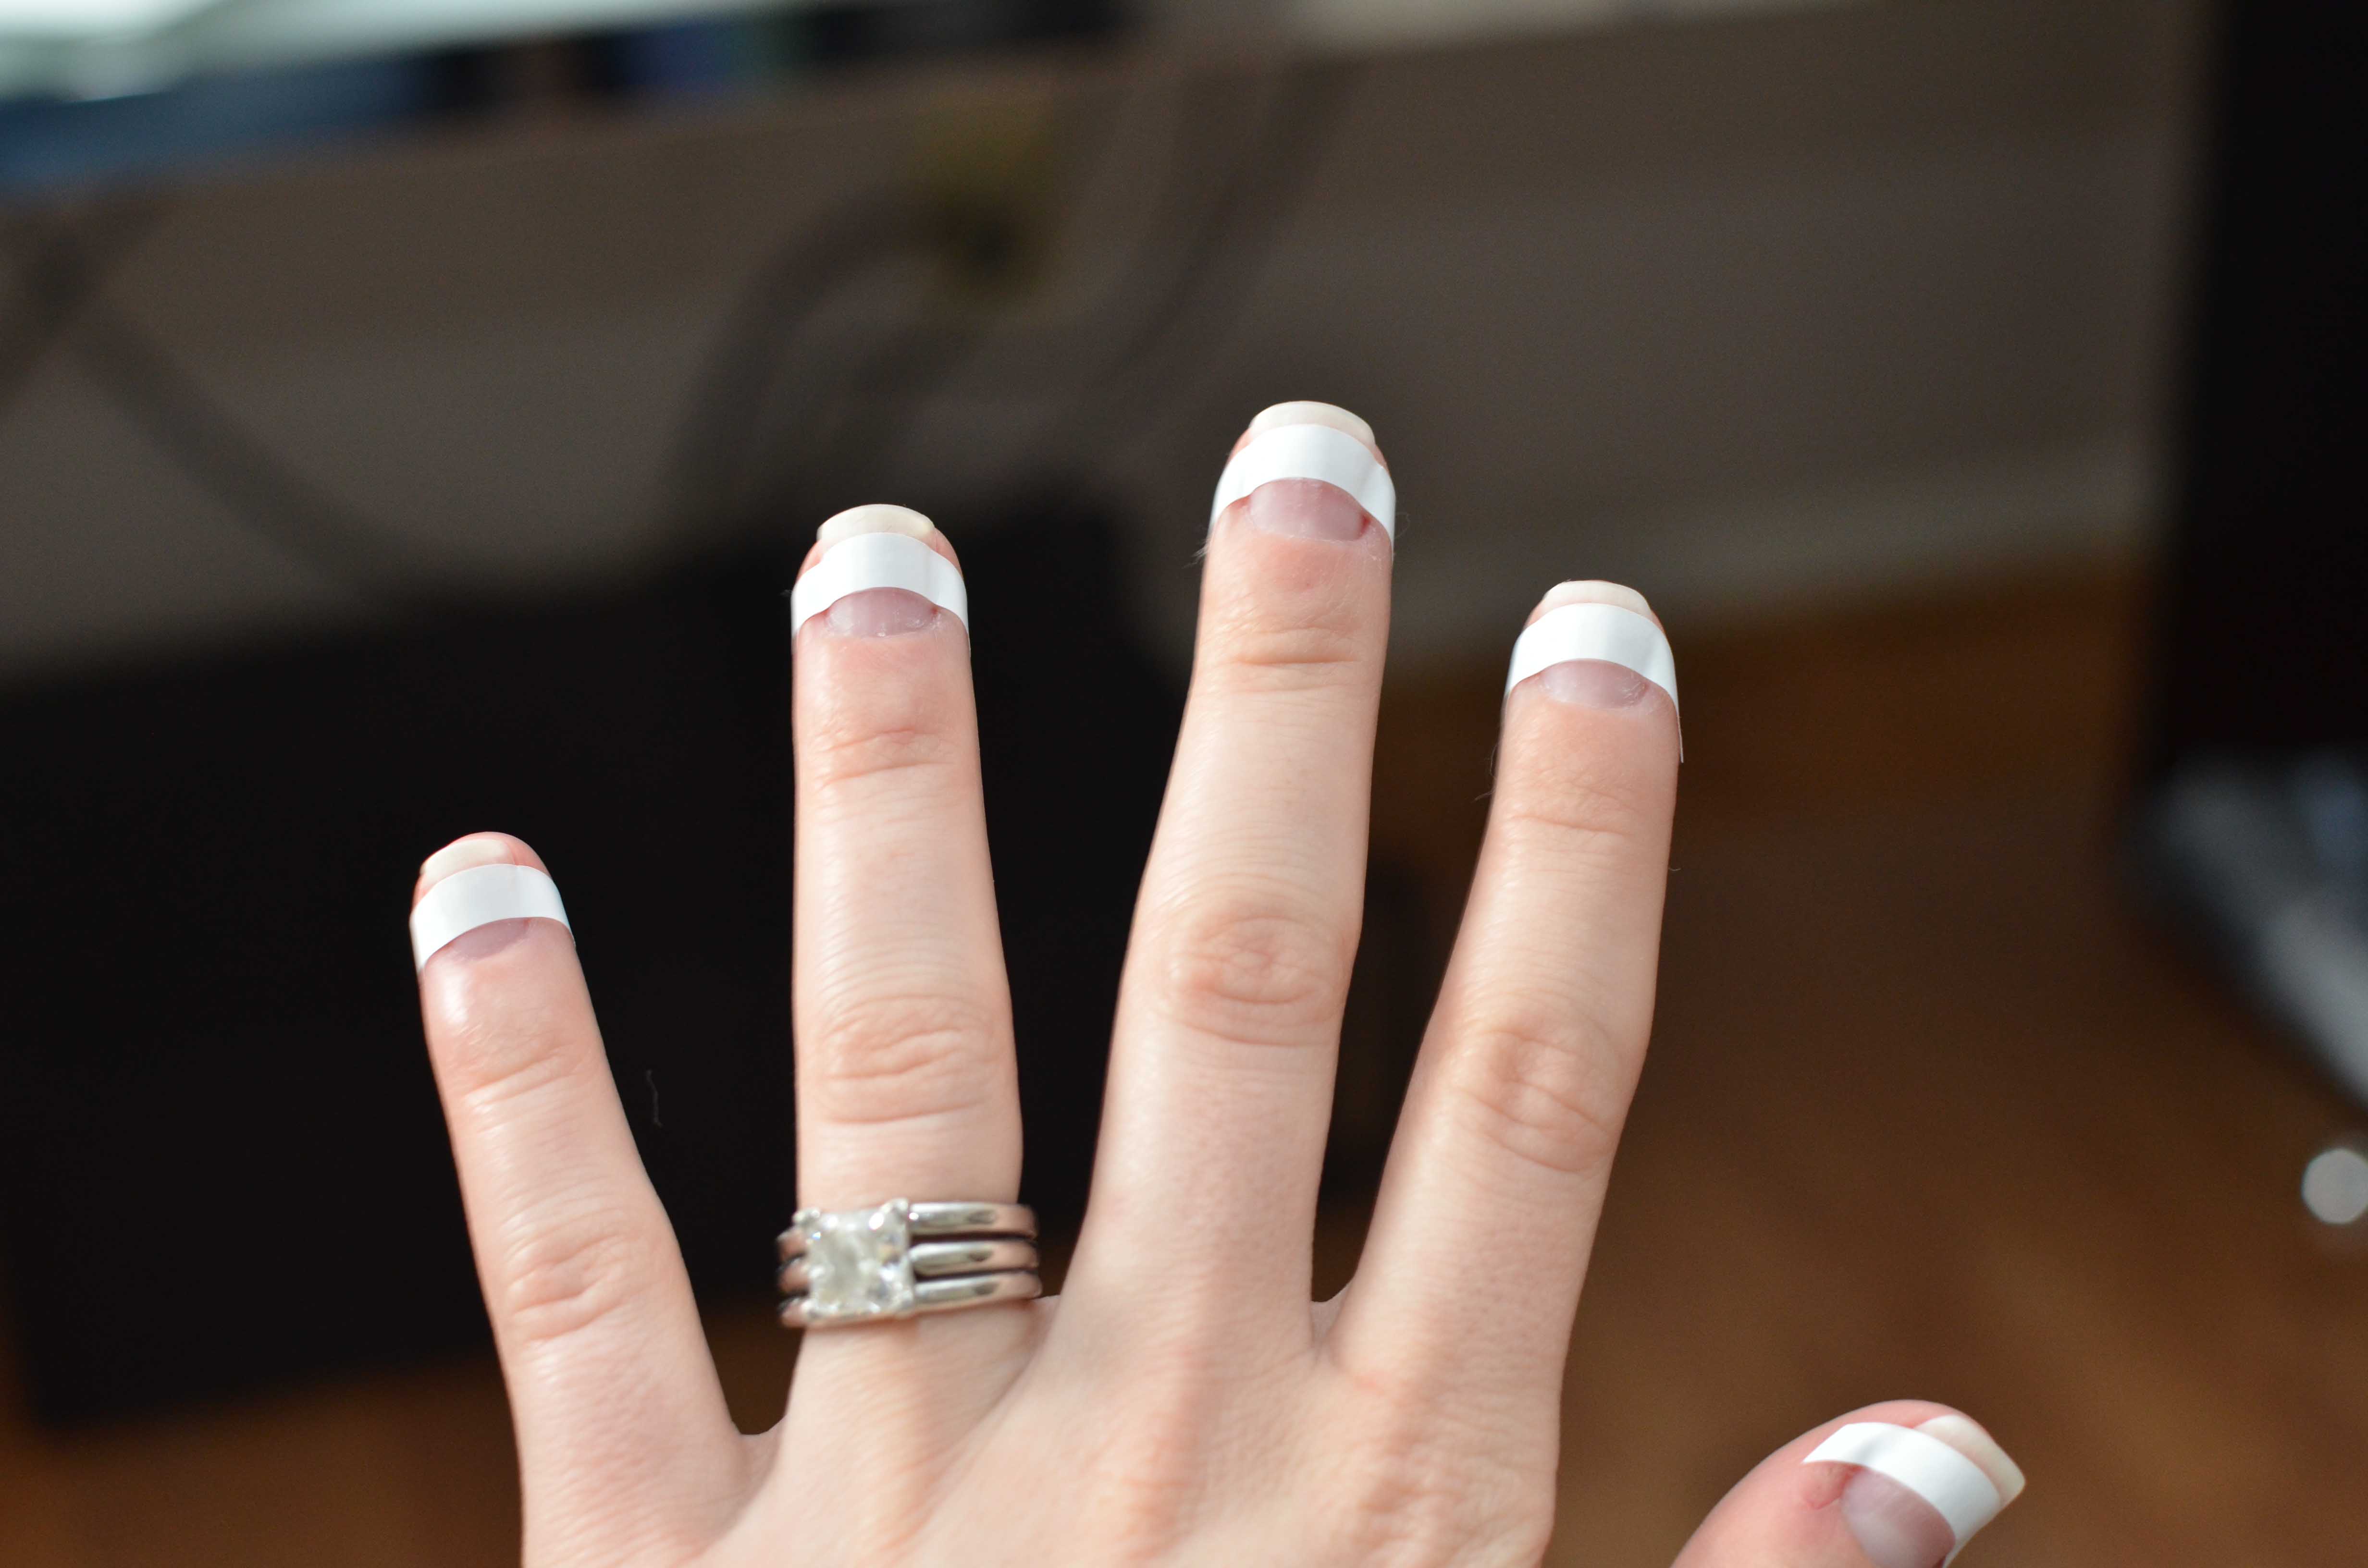
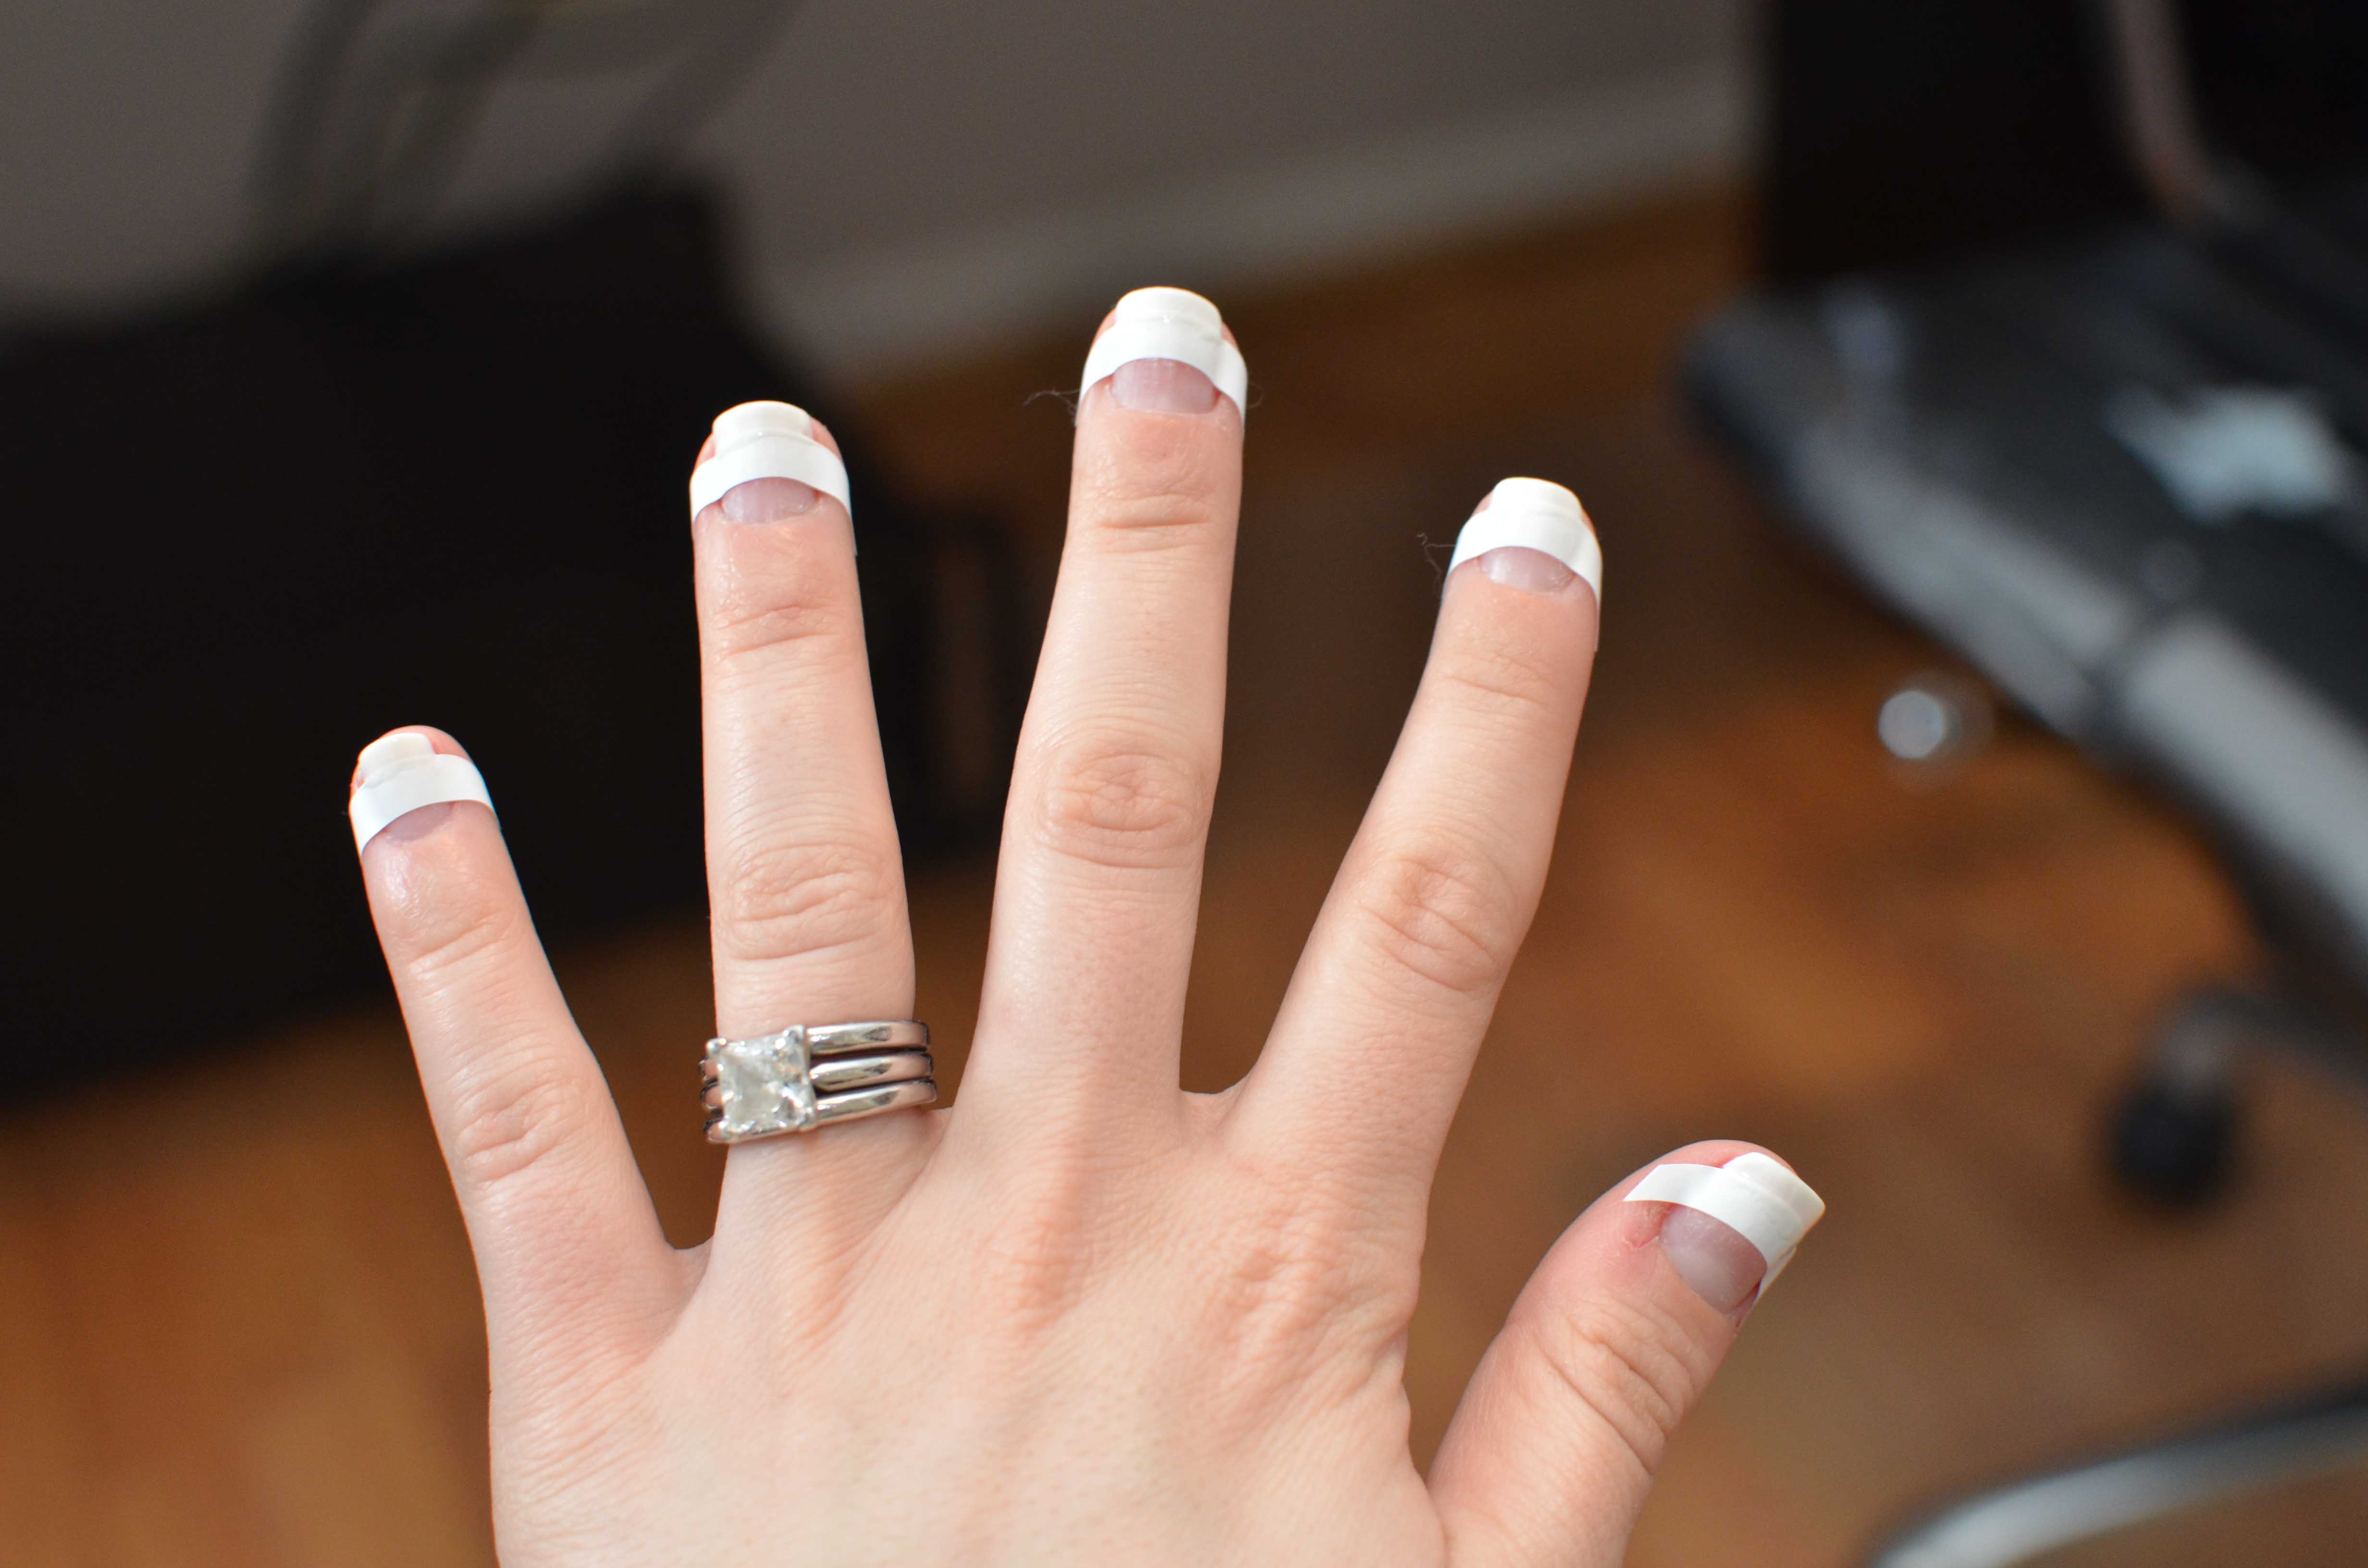
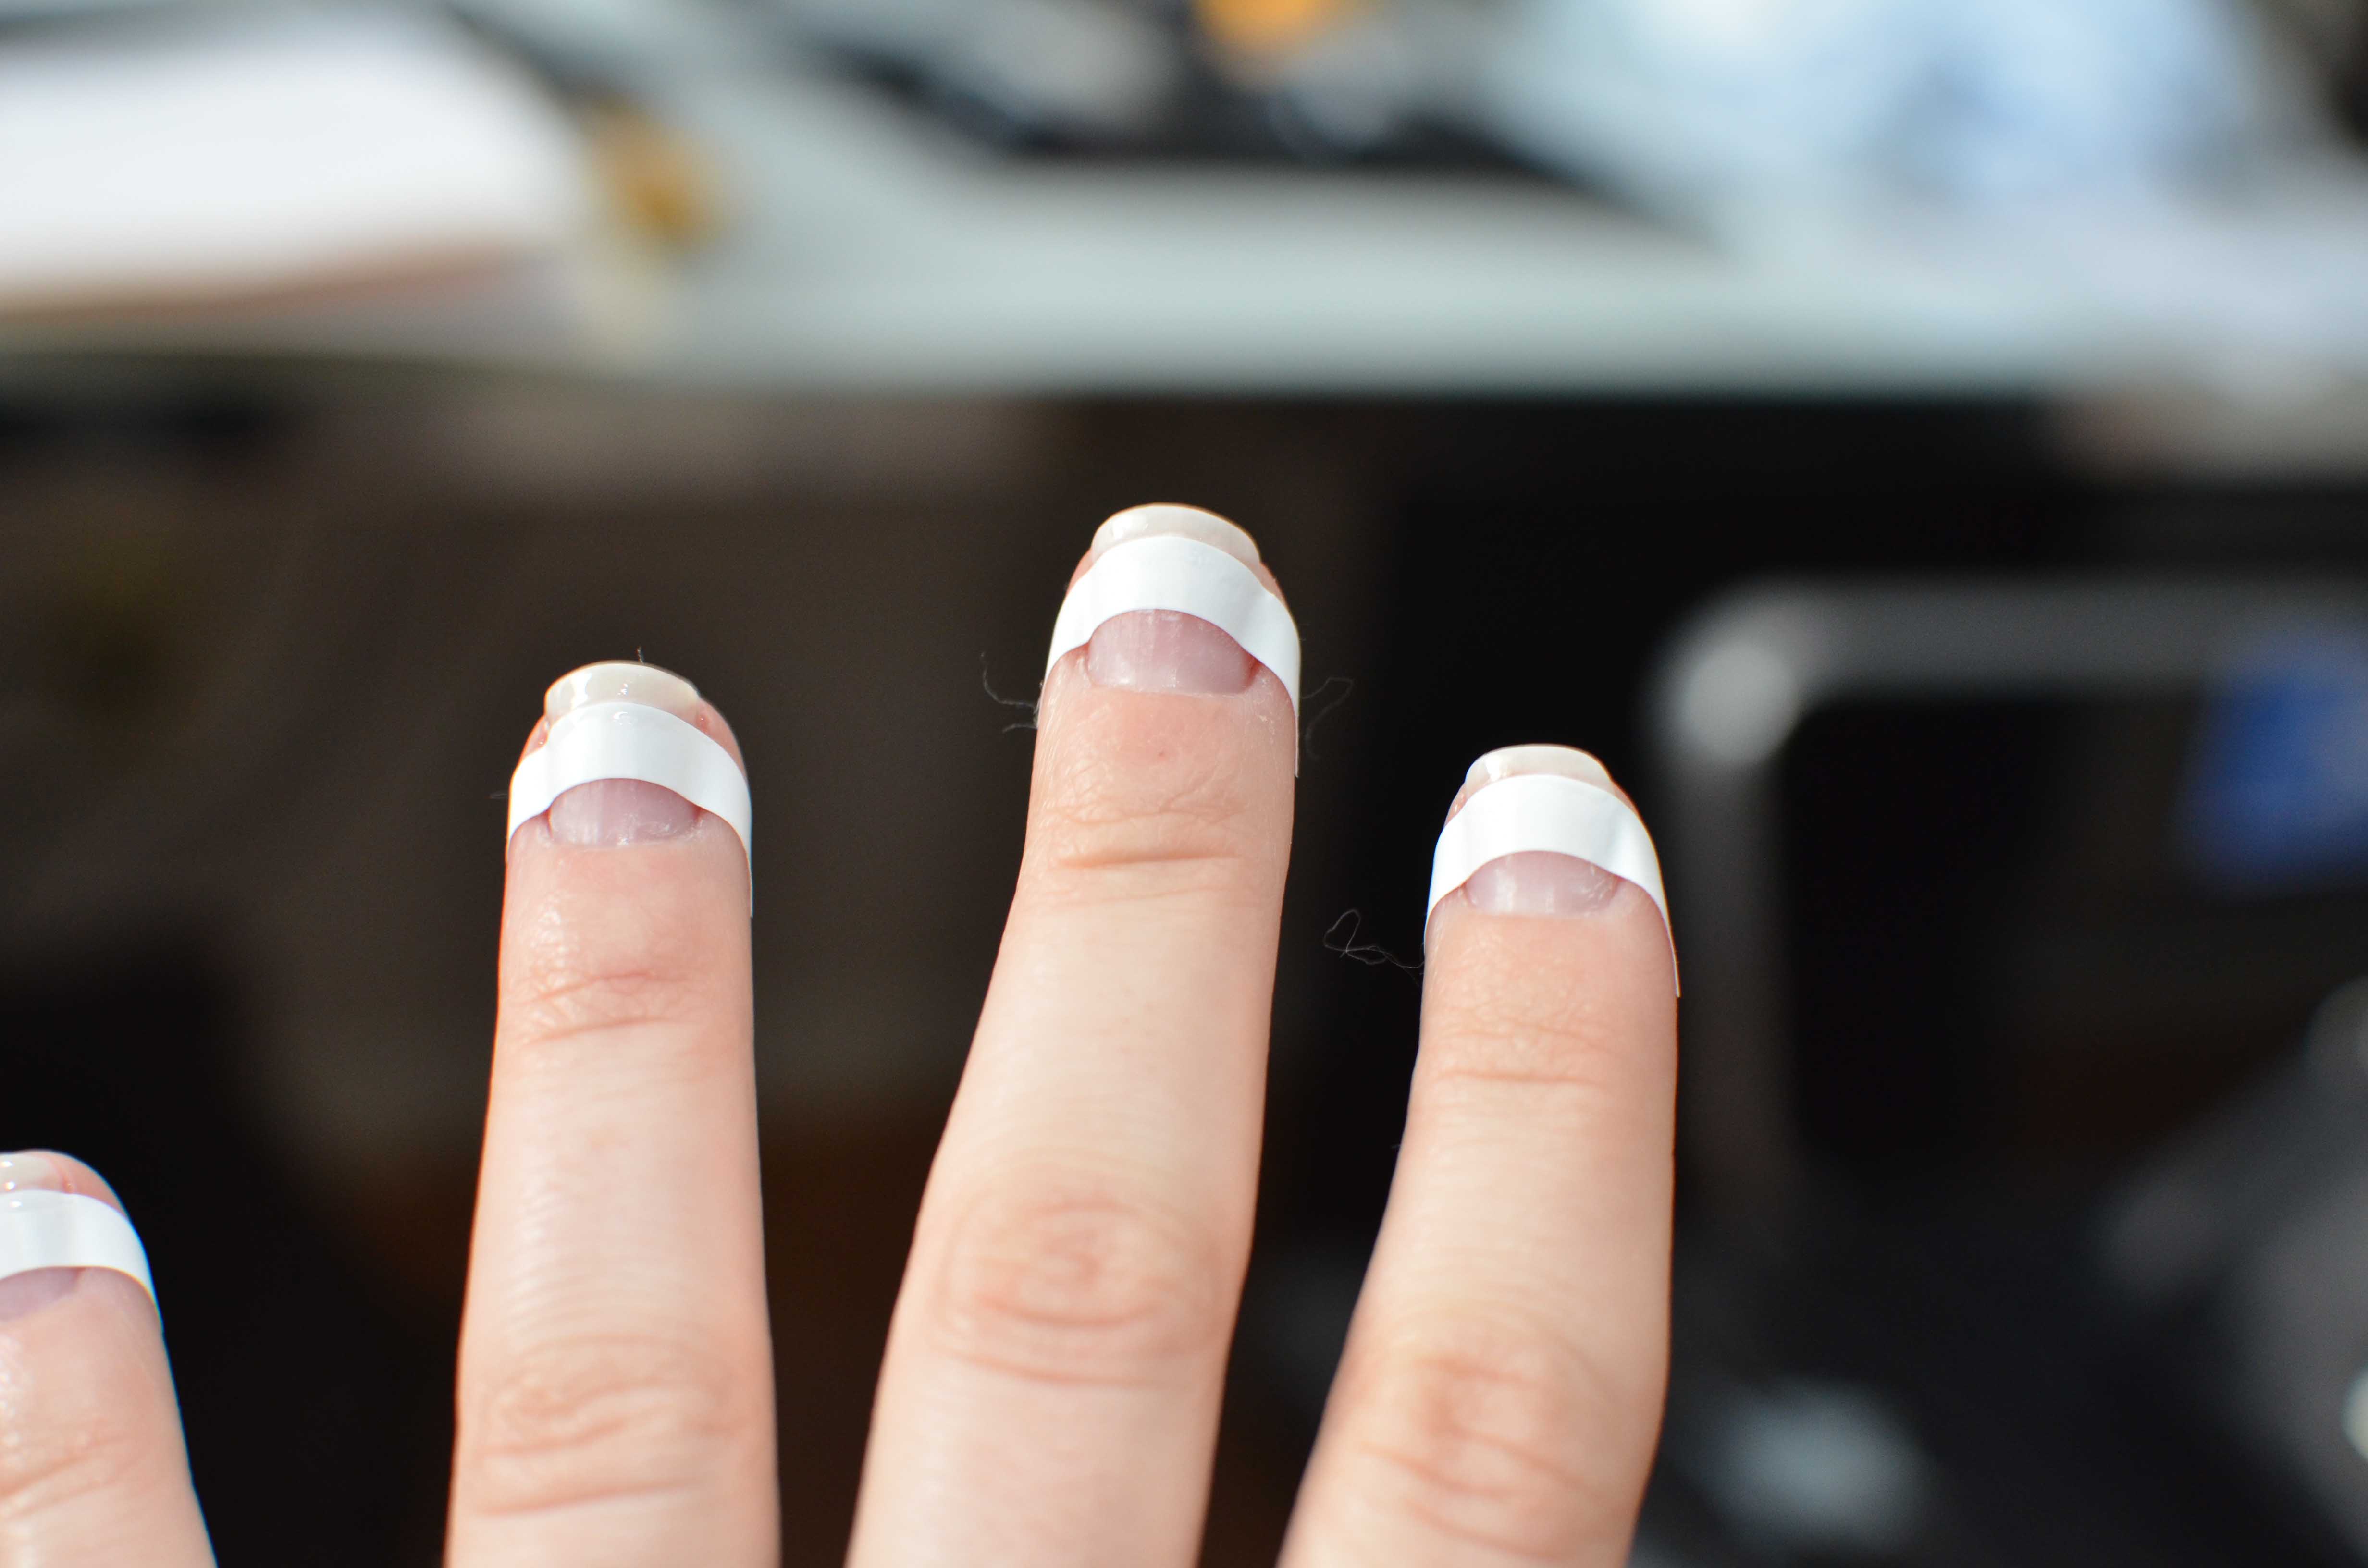
I then put on the guides making sure to crease around the nail so polish doesn’t bleed underneath.
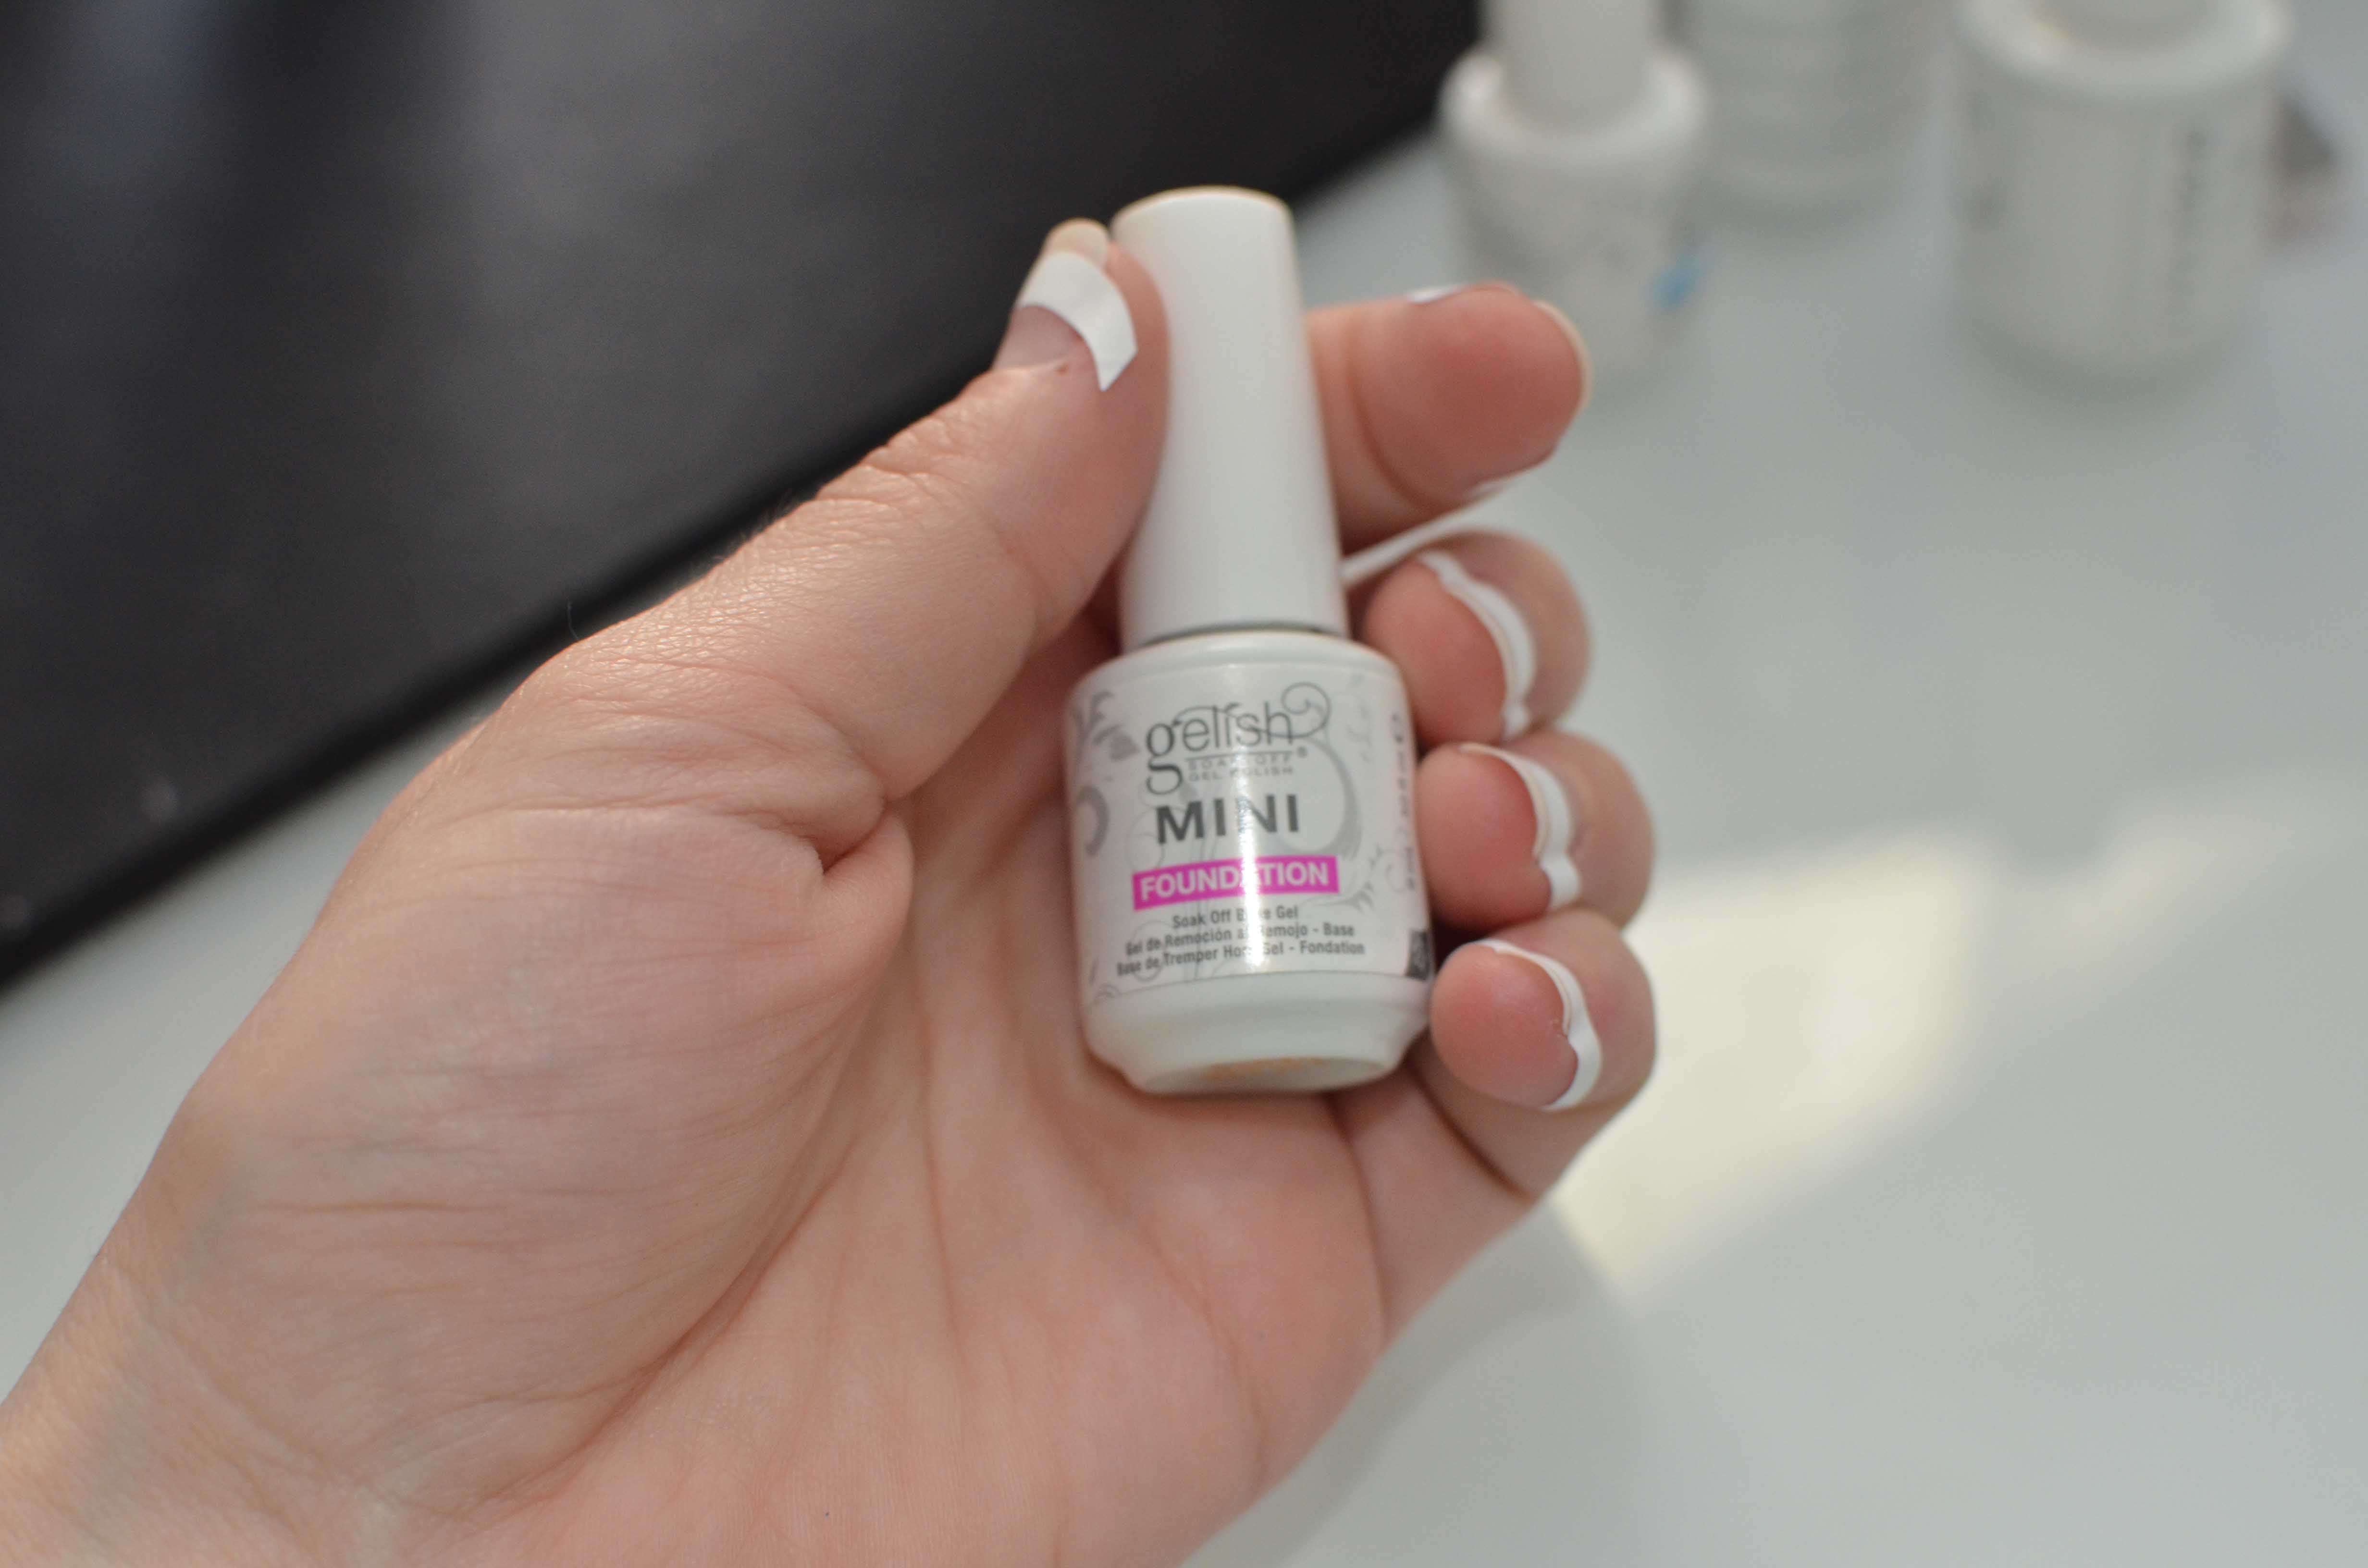
I start off with the foundation.
Polish only the portion that you want white which is the very tip.
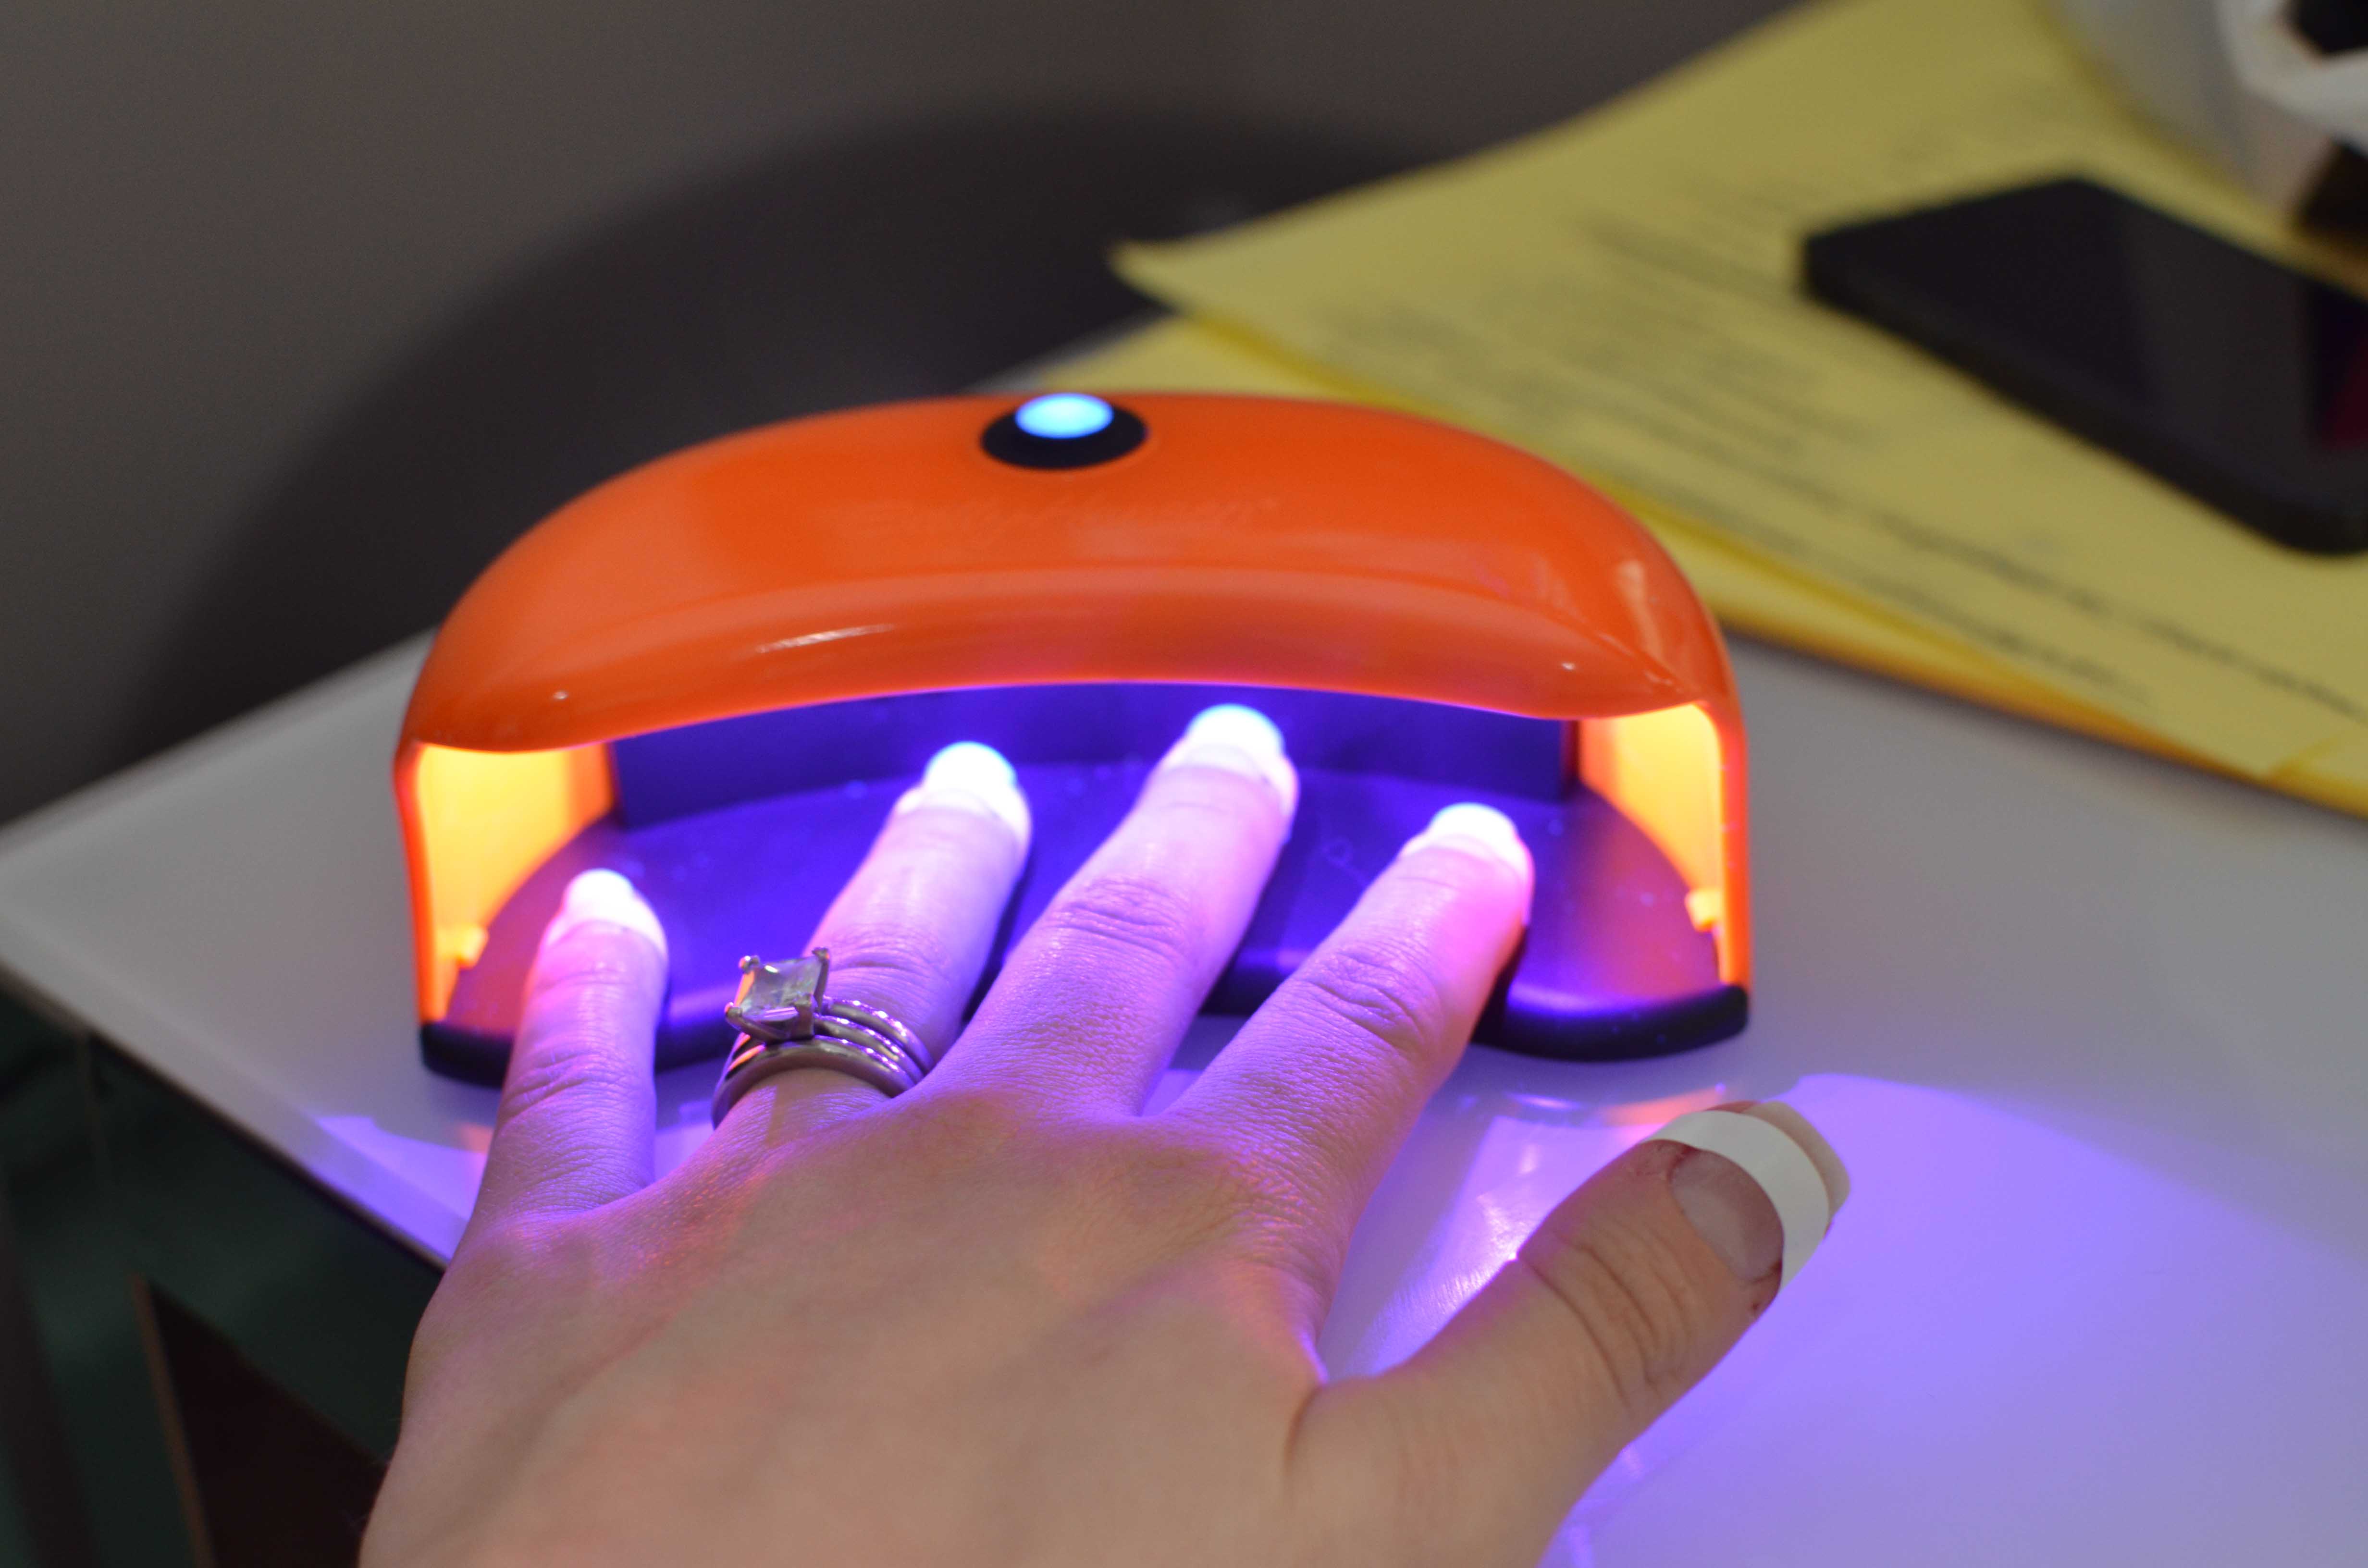
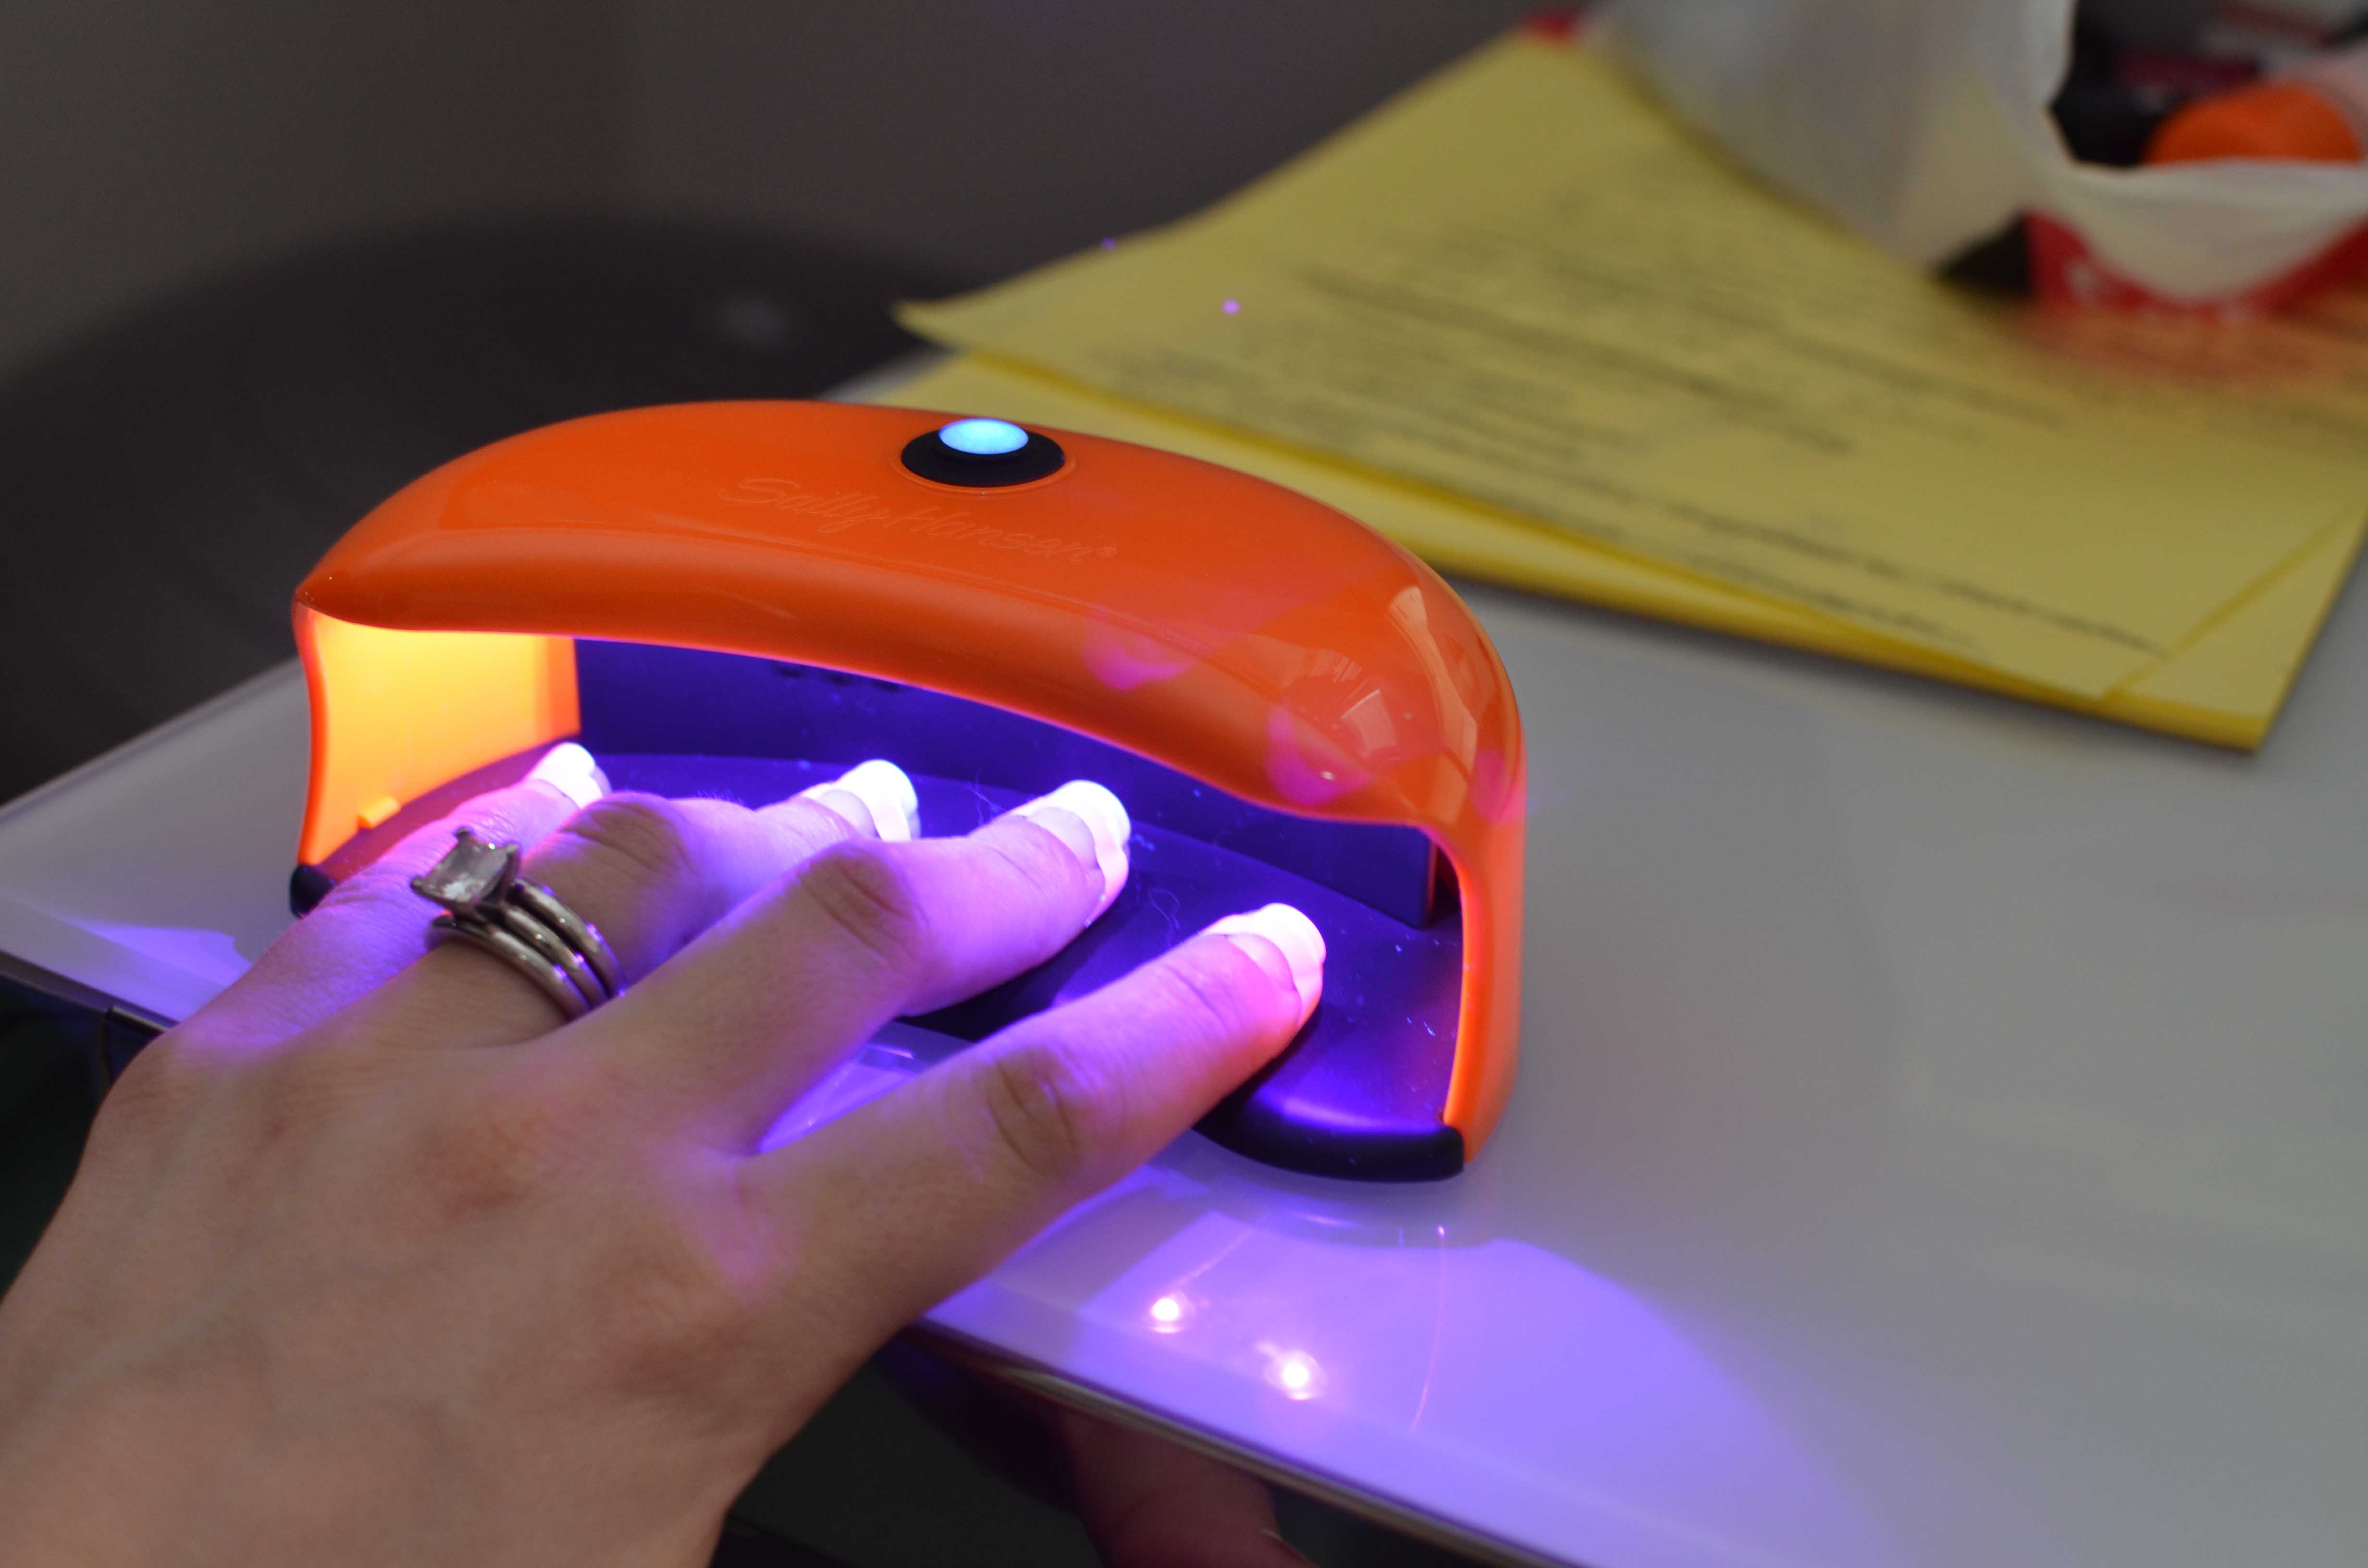
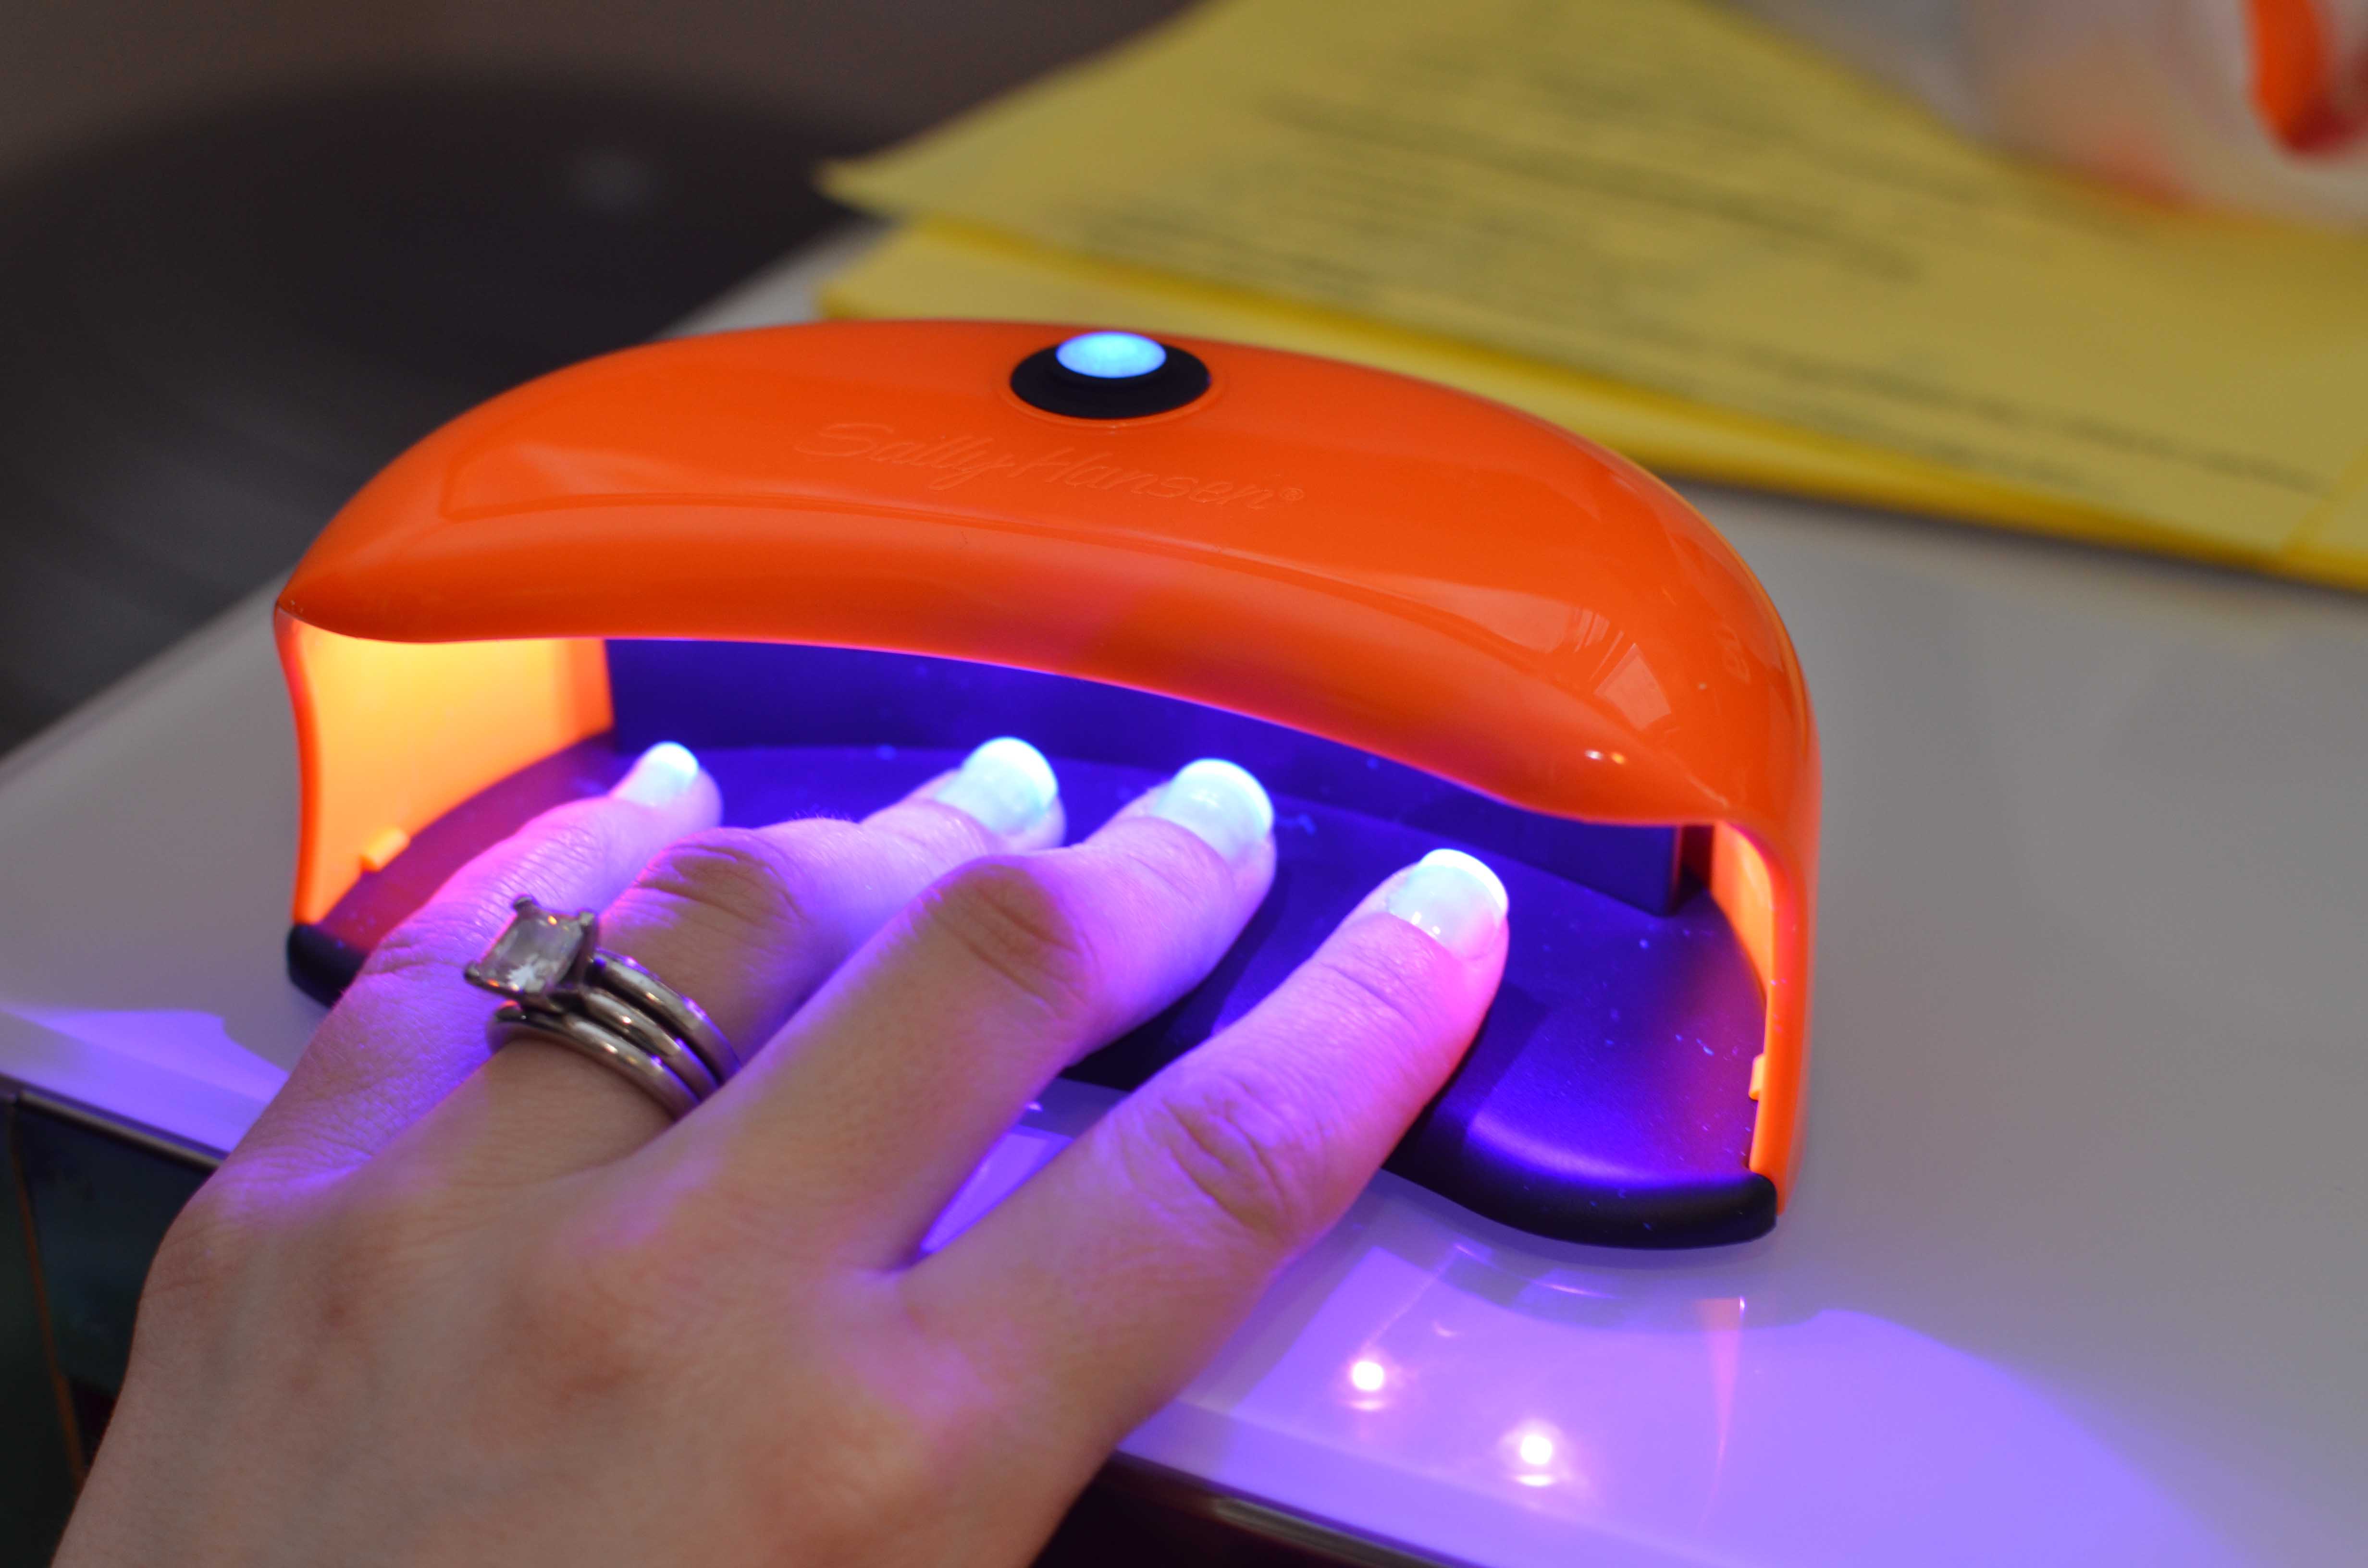
Cure for 30 seconds under your LED light.
Then do your first coat of color, I did the Sheek white from gelish.
Cure for 30 seconds.
Then do the second coat of color, and cure for 30 seconds. If you do something other than white, you might need more coats.
Then remove the guides, I normally don’t have issues with white being underneath the guides. However, if some polish got below you can use a q tip dipped in rubbing alcohol to get it off. Since it wasn’t cured since it was under the guide it will come off with the alcohol. If there is a stubborn spot, you can always use acetone, but honestly if there is a small spot I can normally wipe it off with my finger.

Then get the foundation polish again.

Paint the whole nail again including going over the white again.

Cure for 30 seconds.

Then use your other color of choice or skip this step and just use the top coat and cure.
I used little princess and wanted very little color so I only did one coat, but if you want a pink or more tan color you can do that or more coats.

Cure for 30 seconds between coats.
Then use the top it off to seal your nails.
Seal them well with the top coat.

Cure for 30 seconds.

Use a swab to get off the tackiness or rubbing alcohol and paper towel.
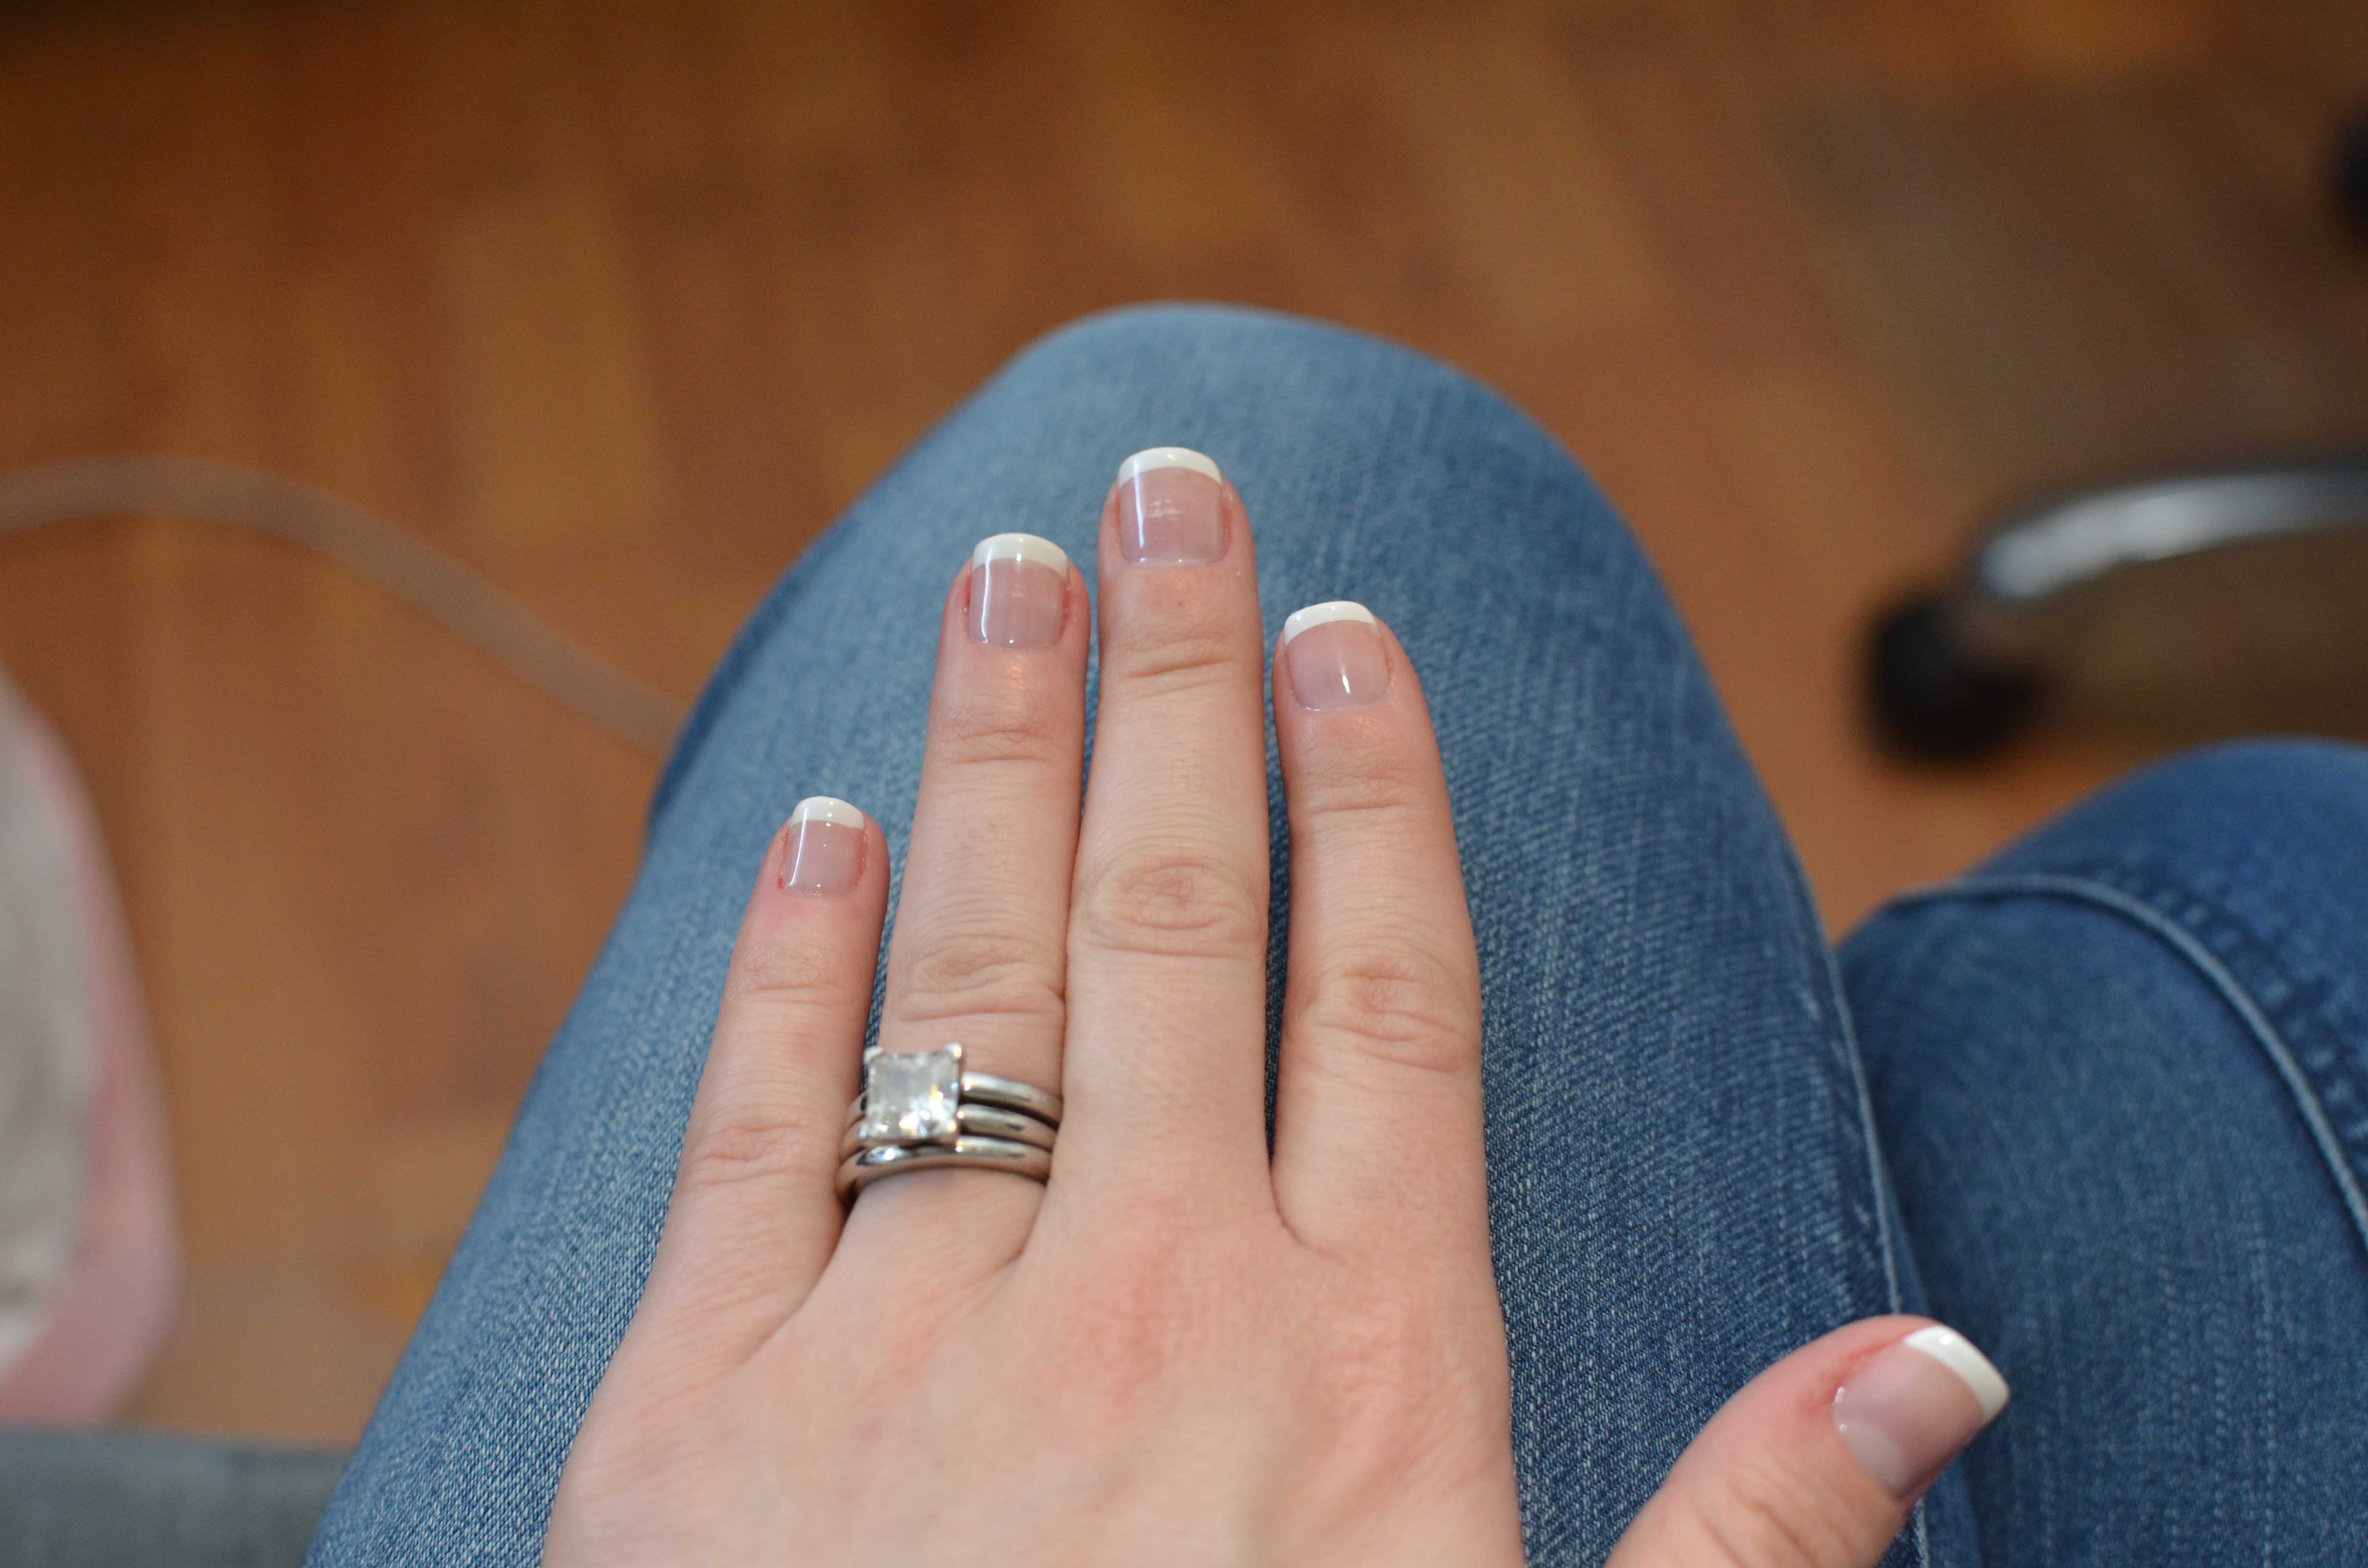
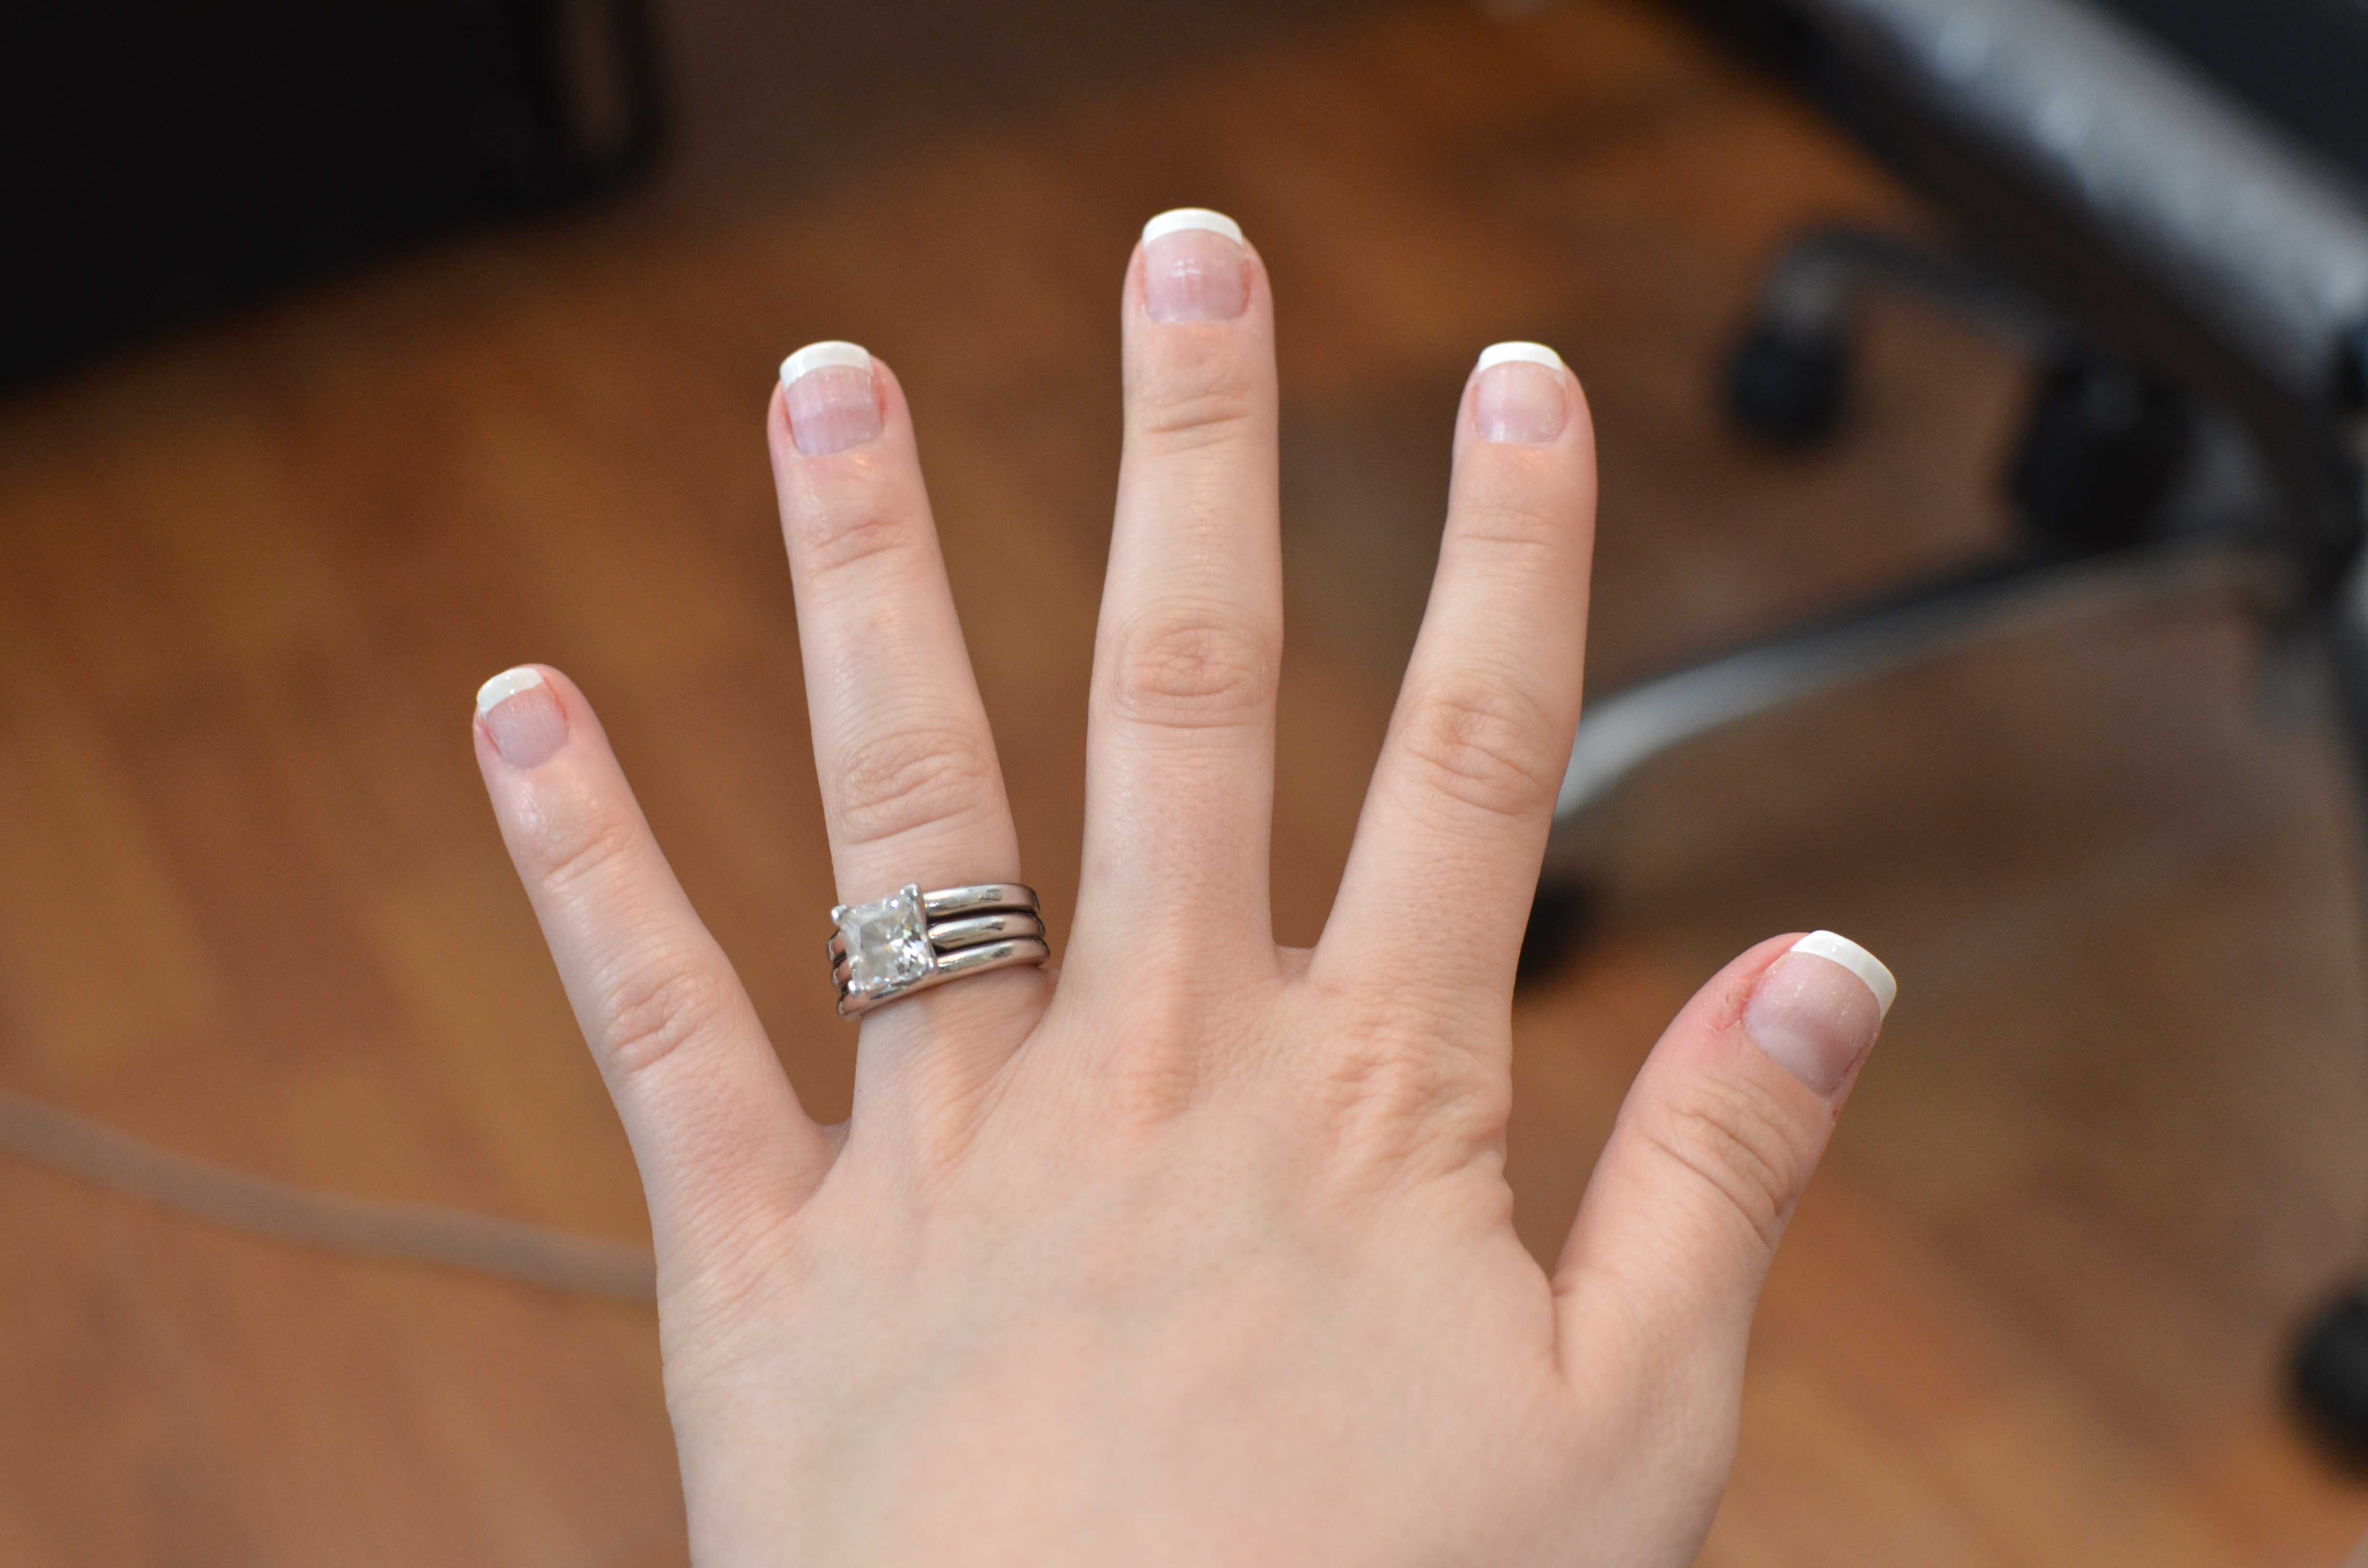
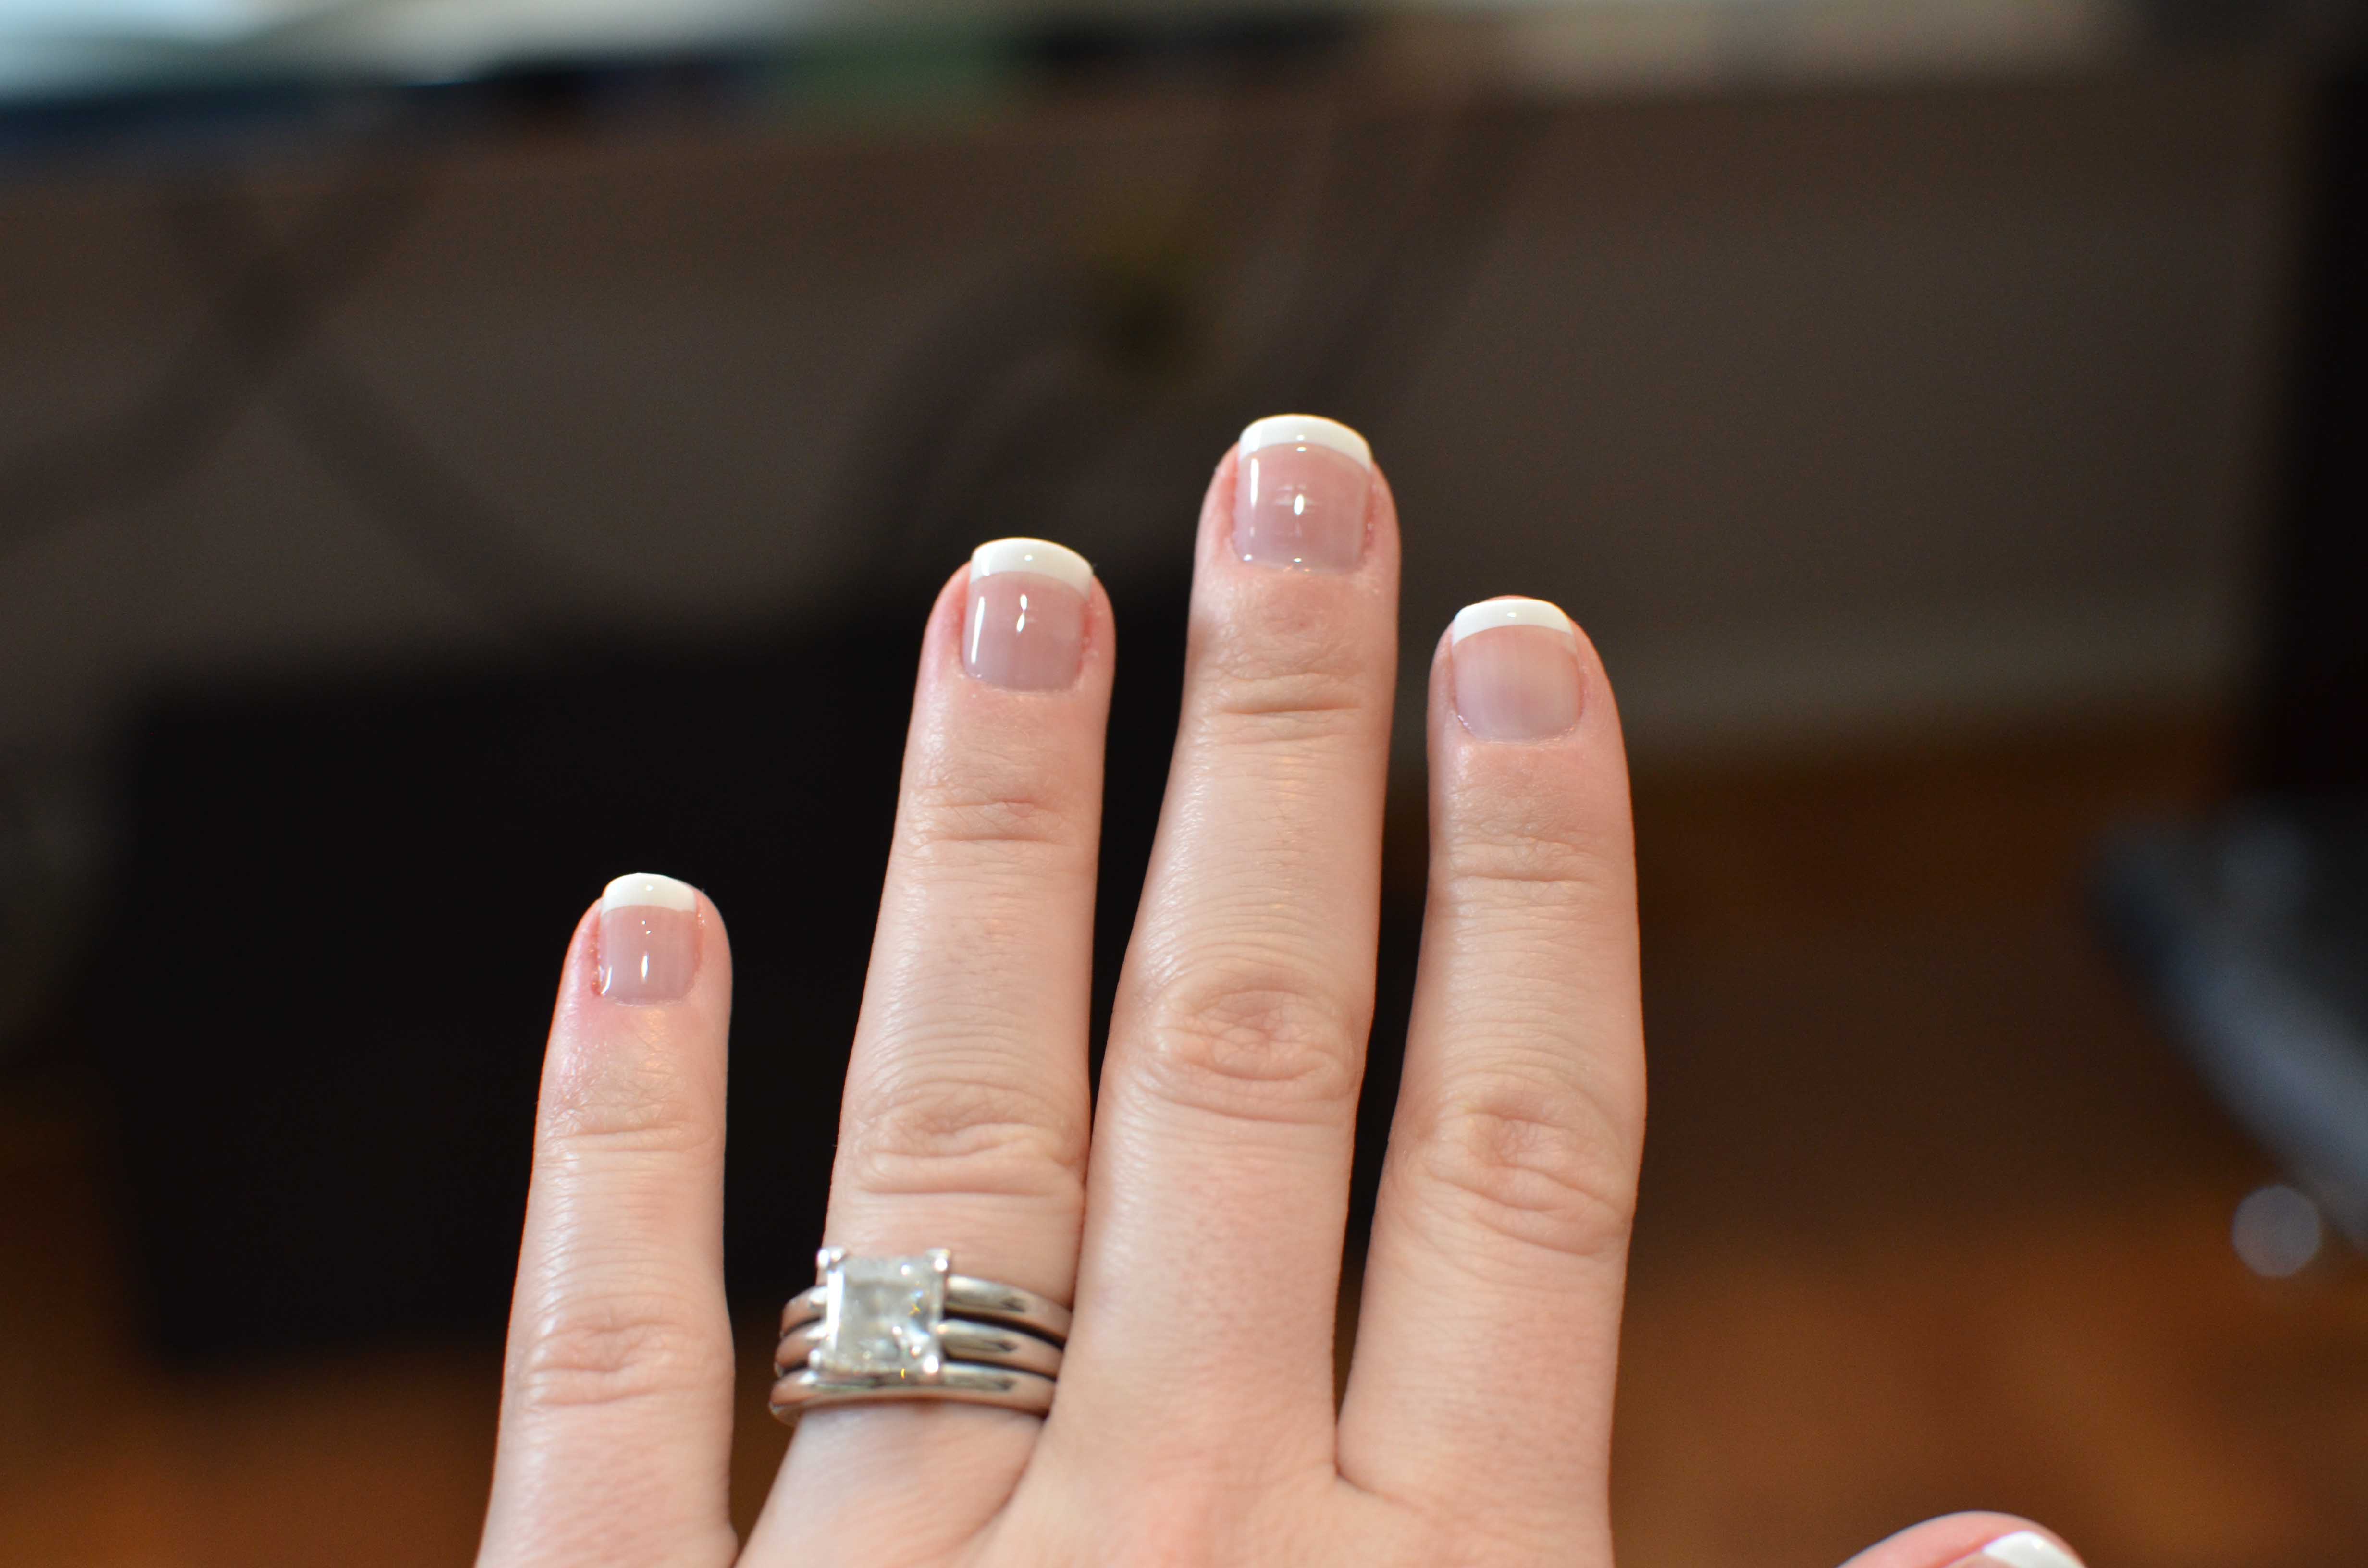
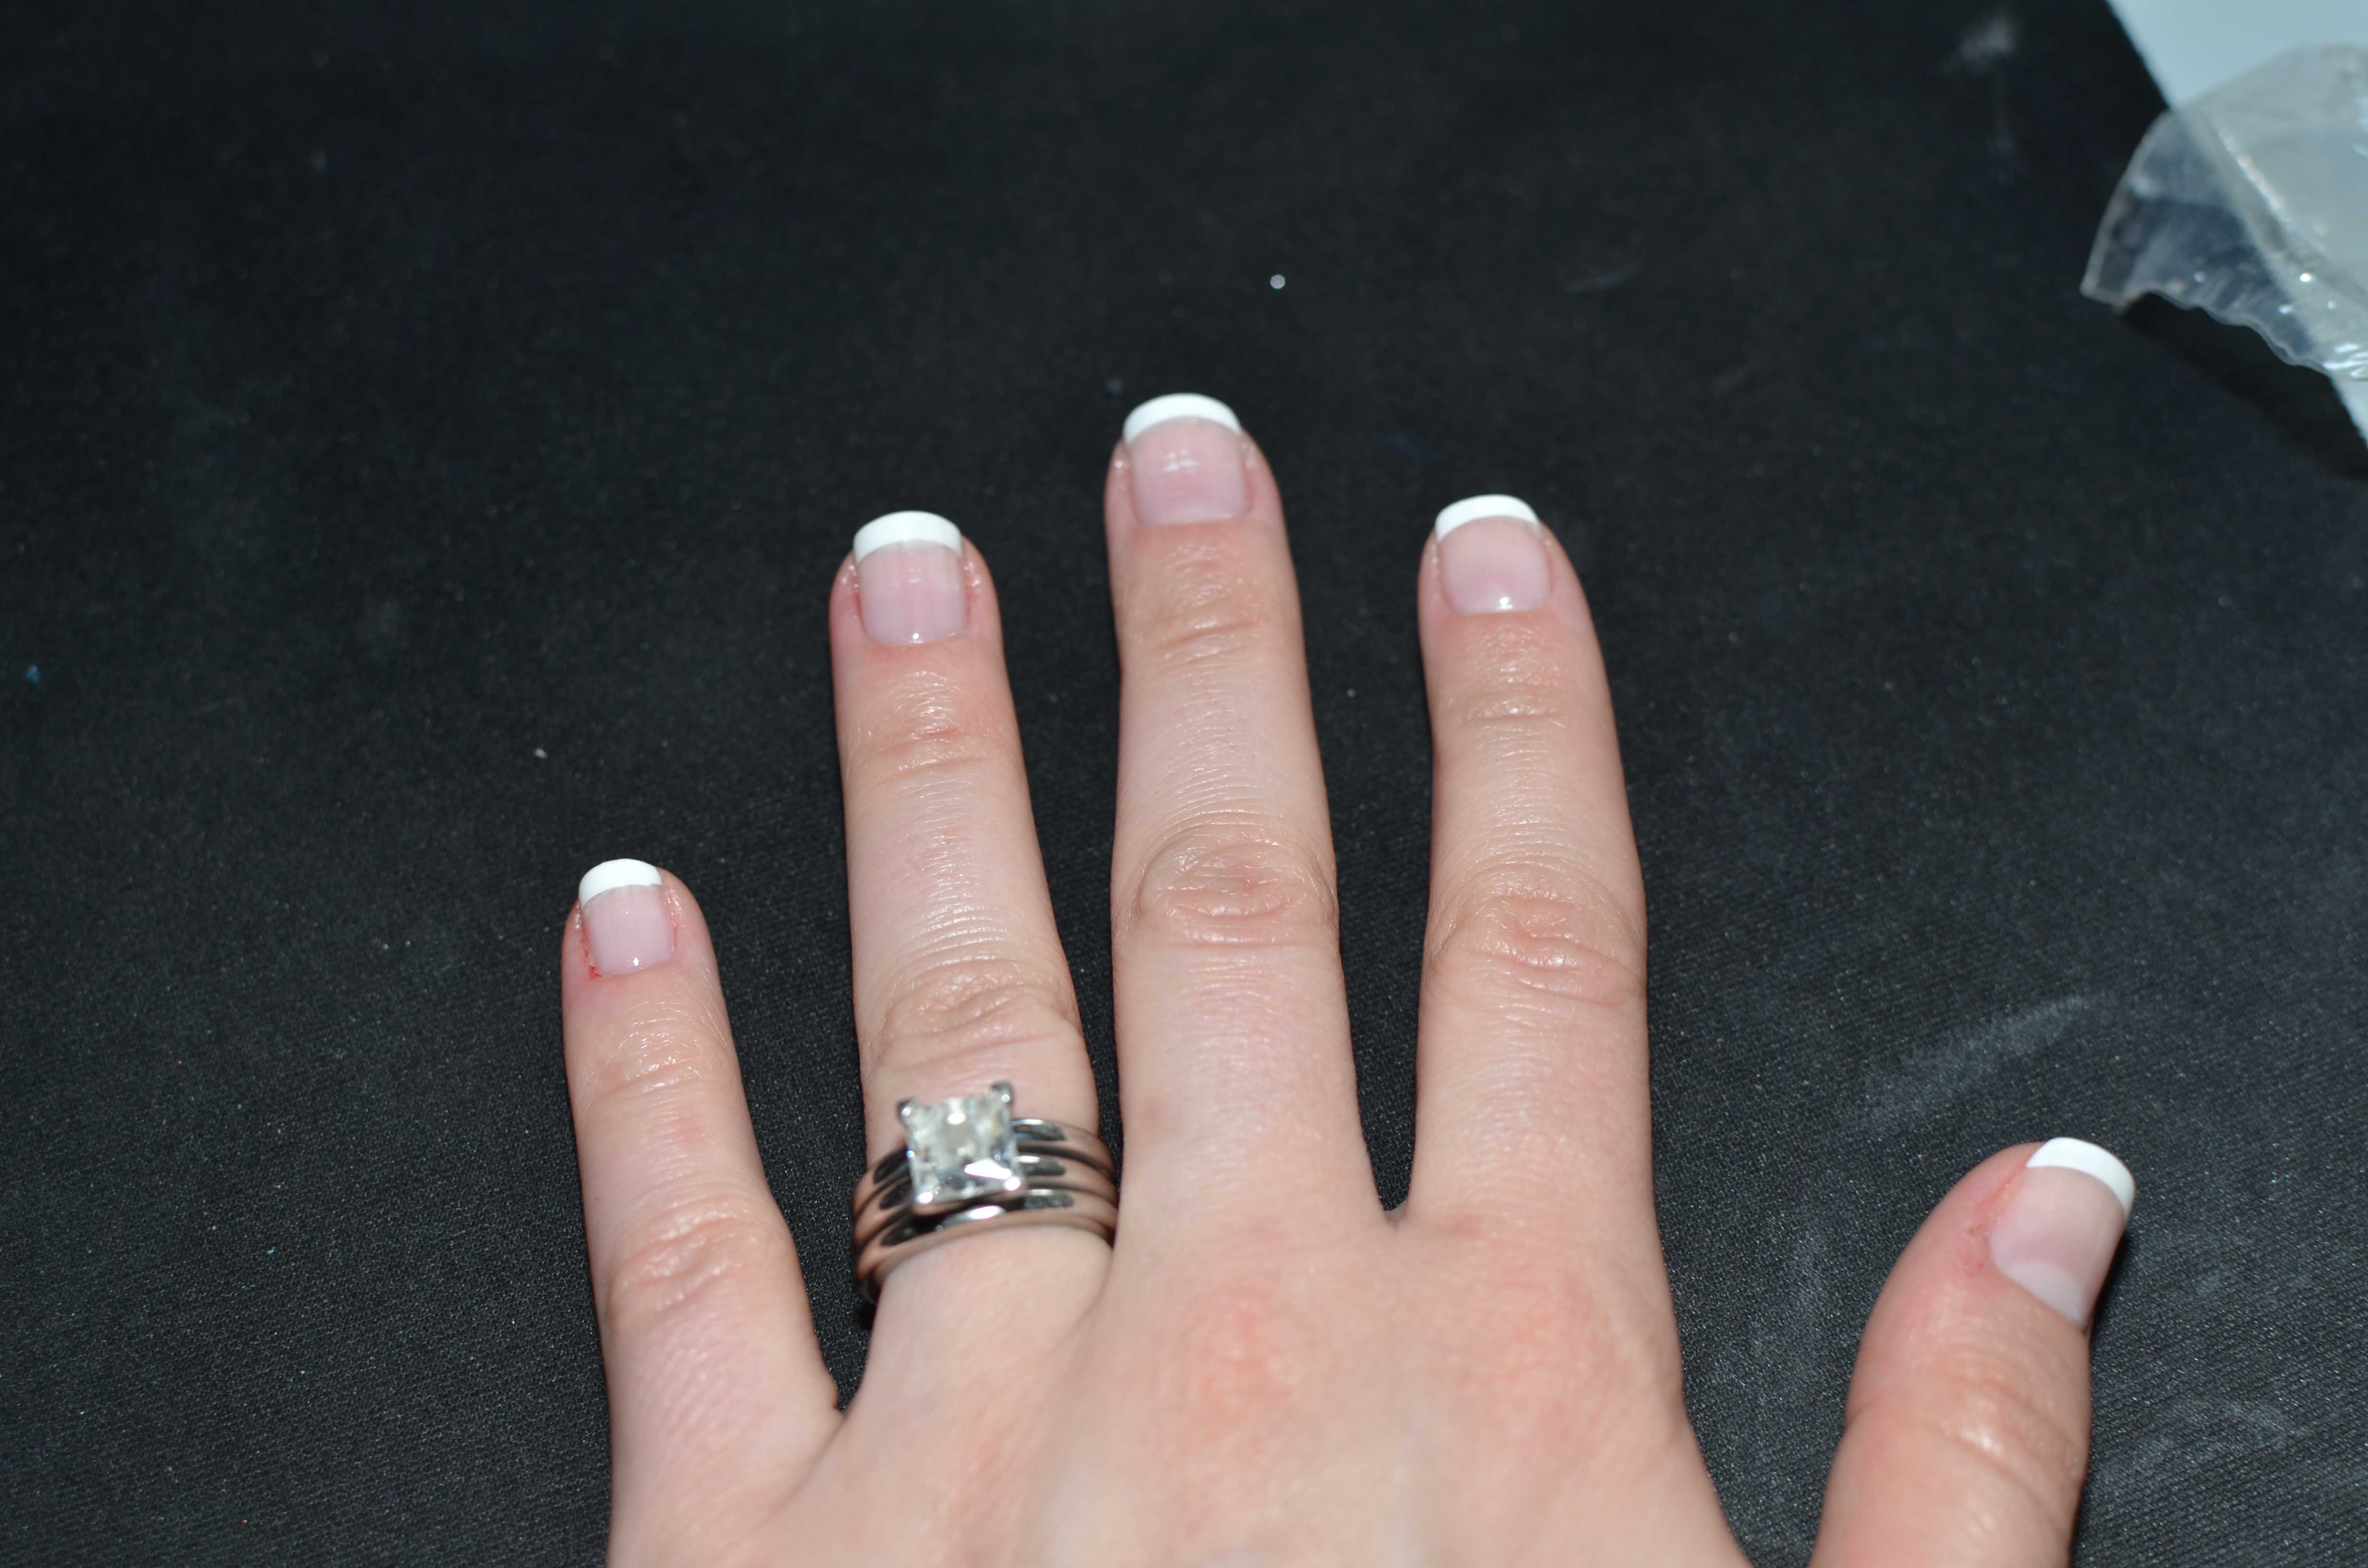
And there you have the french tip.
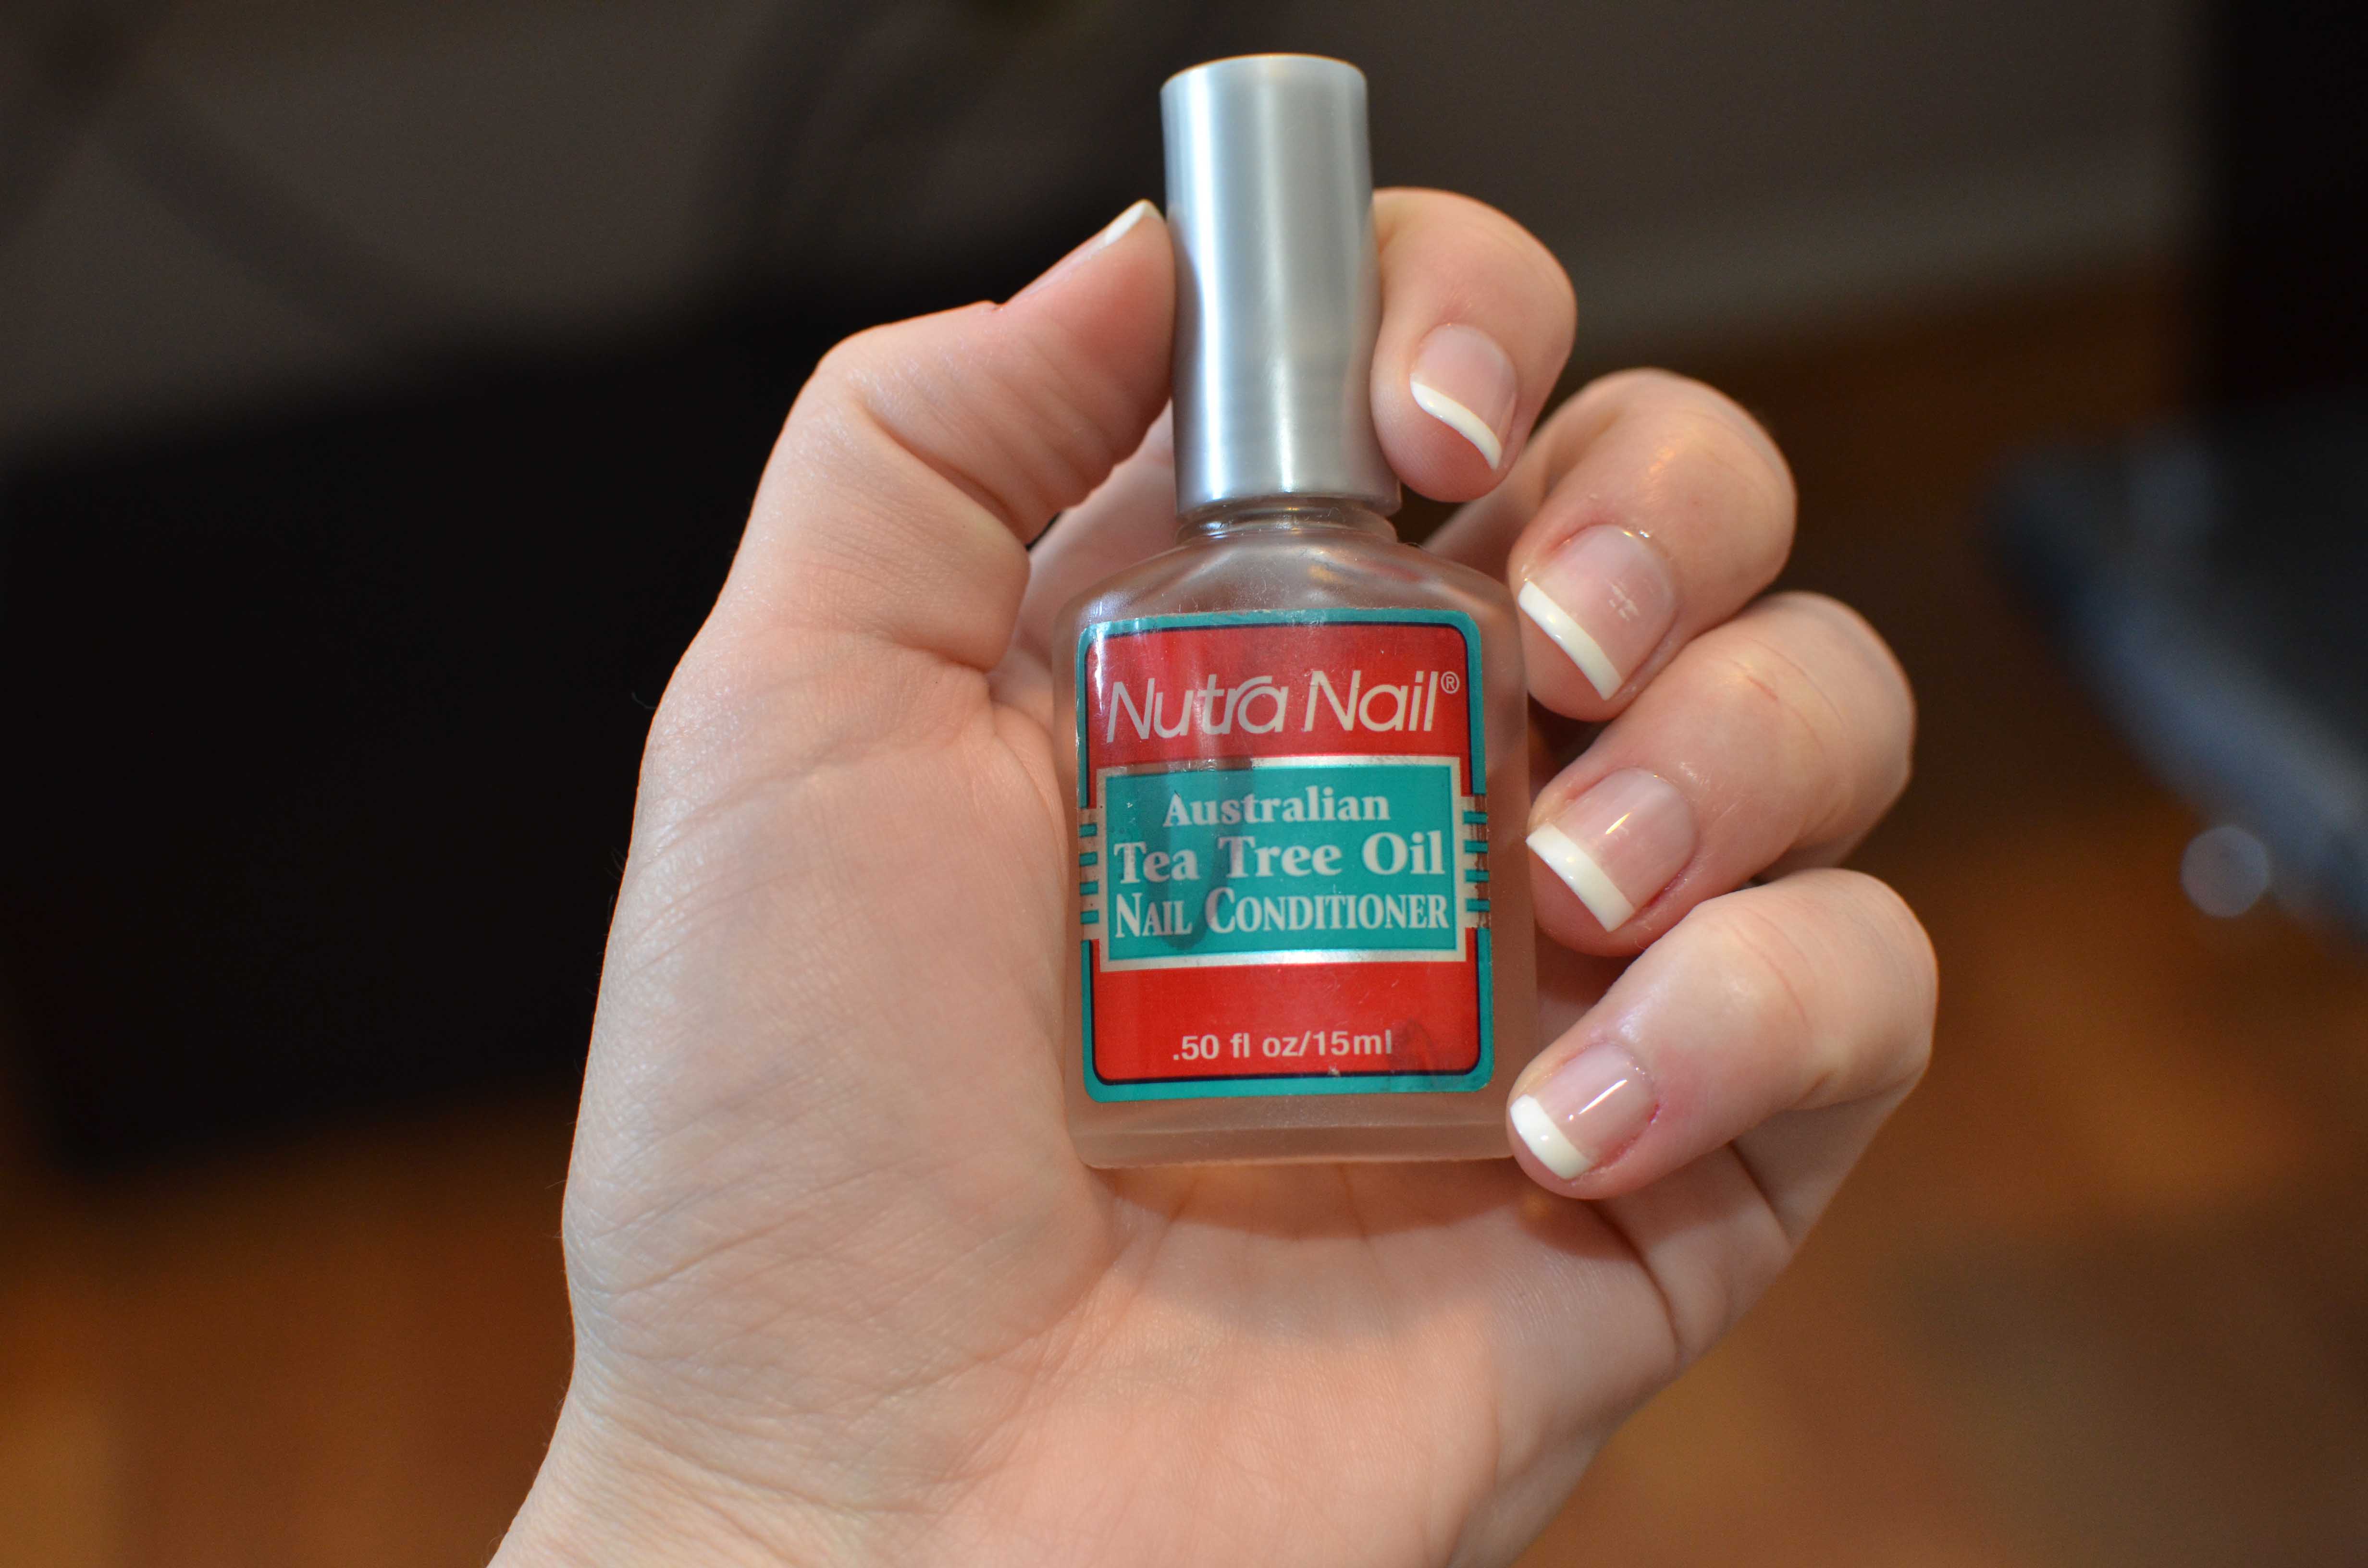
I like to use some Nutra Nail Australian Tea Tree Oil – Nail & Cuticle Conditioner – 1291
right after I am done or the Essie nail oil. However, coconut or olive oil would work fine as well.
Paint just the cuticles and then massage in so your nails are nice and moisturized.

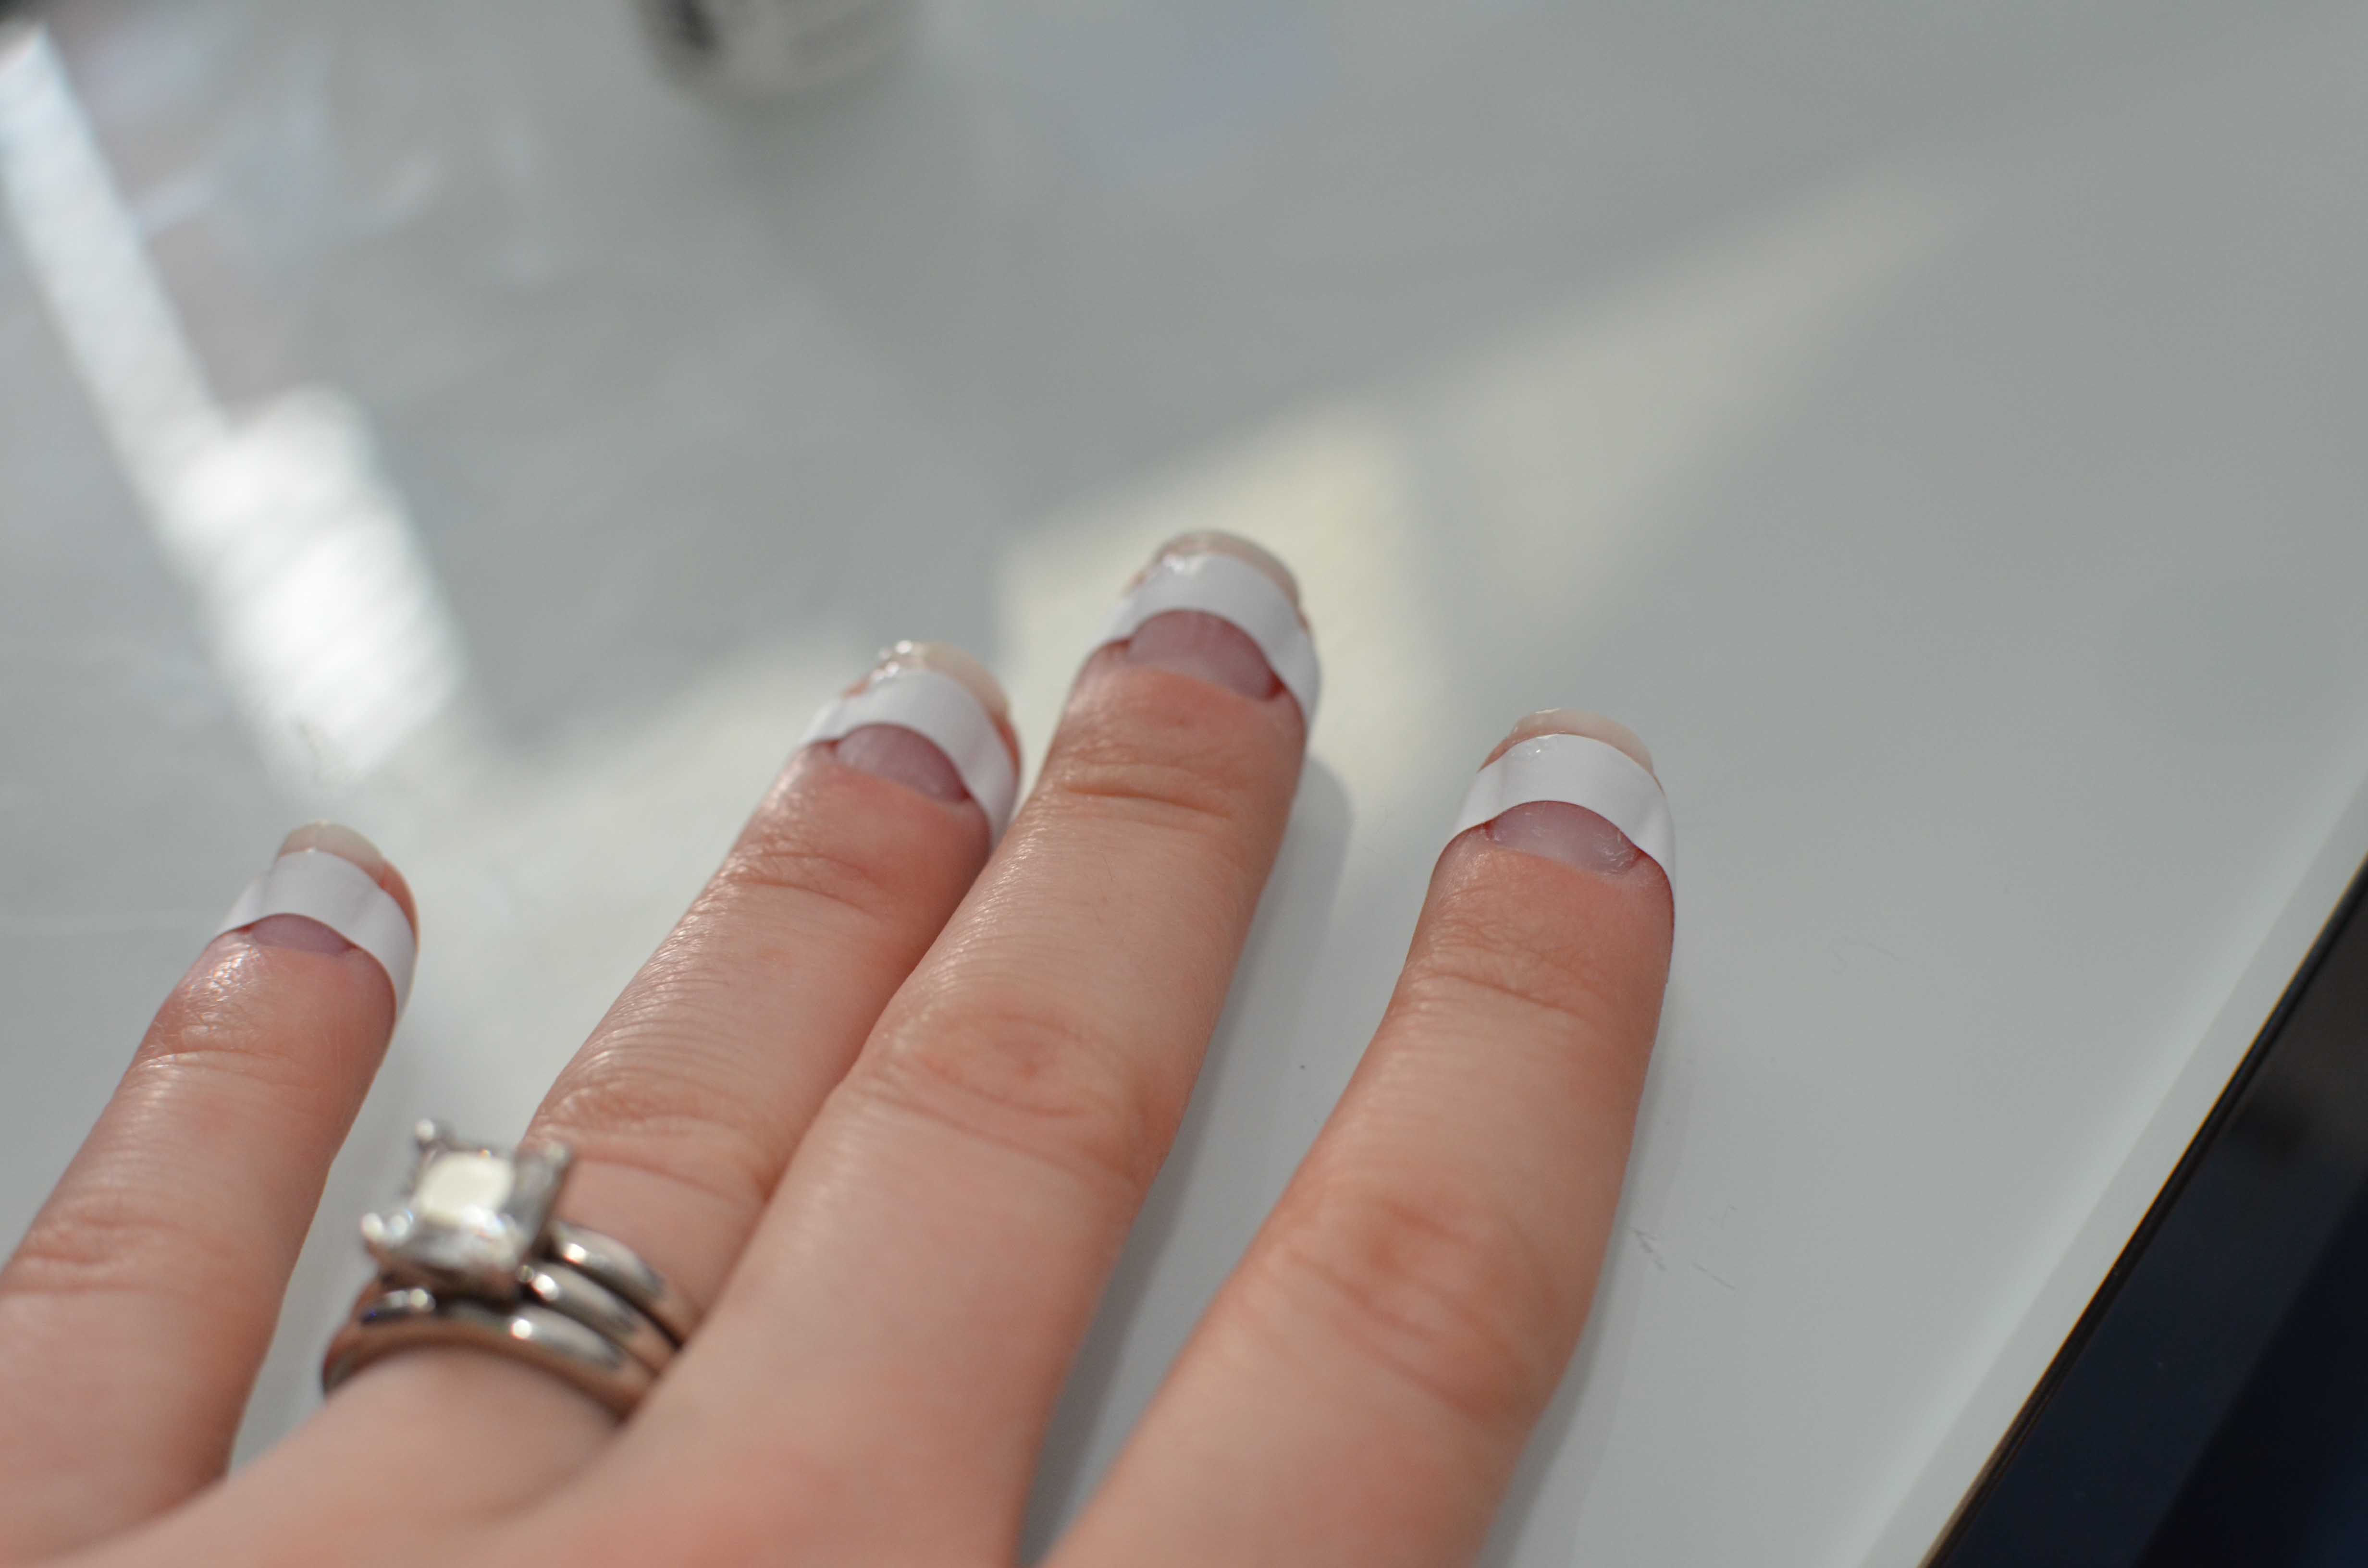
The reason I do this method is because from the side you can see the tips are not a lot higher than the rest of the nail. If you wanted to do a french tip with different colors you have two options. You could paint and cure the complete process with one color. Then redo the whole process using a nail guide, but I don’t like this method because the tip is a lot higher than the rest of the nail. Granted if you wanted a darker base color it wouldn’t be possible using my method.

If you don’t like the idea of a nail guide, a lot of people will do the foundation or base coat, cure, color, cure, and then paint their tip color on like normal and then use a STAR NAIL Nylon Gel Brush Flat Tip #6
dipped in rubbing alcohol to make the tip look great, then add the top coat and you have beautiful tips in whatever color you prefer. I just don’t have a steady enough hand for that. I might be able to do it amazingly on one hand, but I’m not so sure on the other.
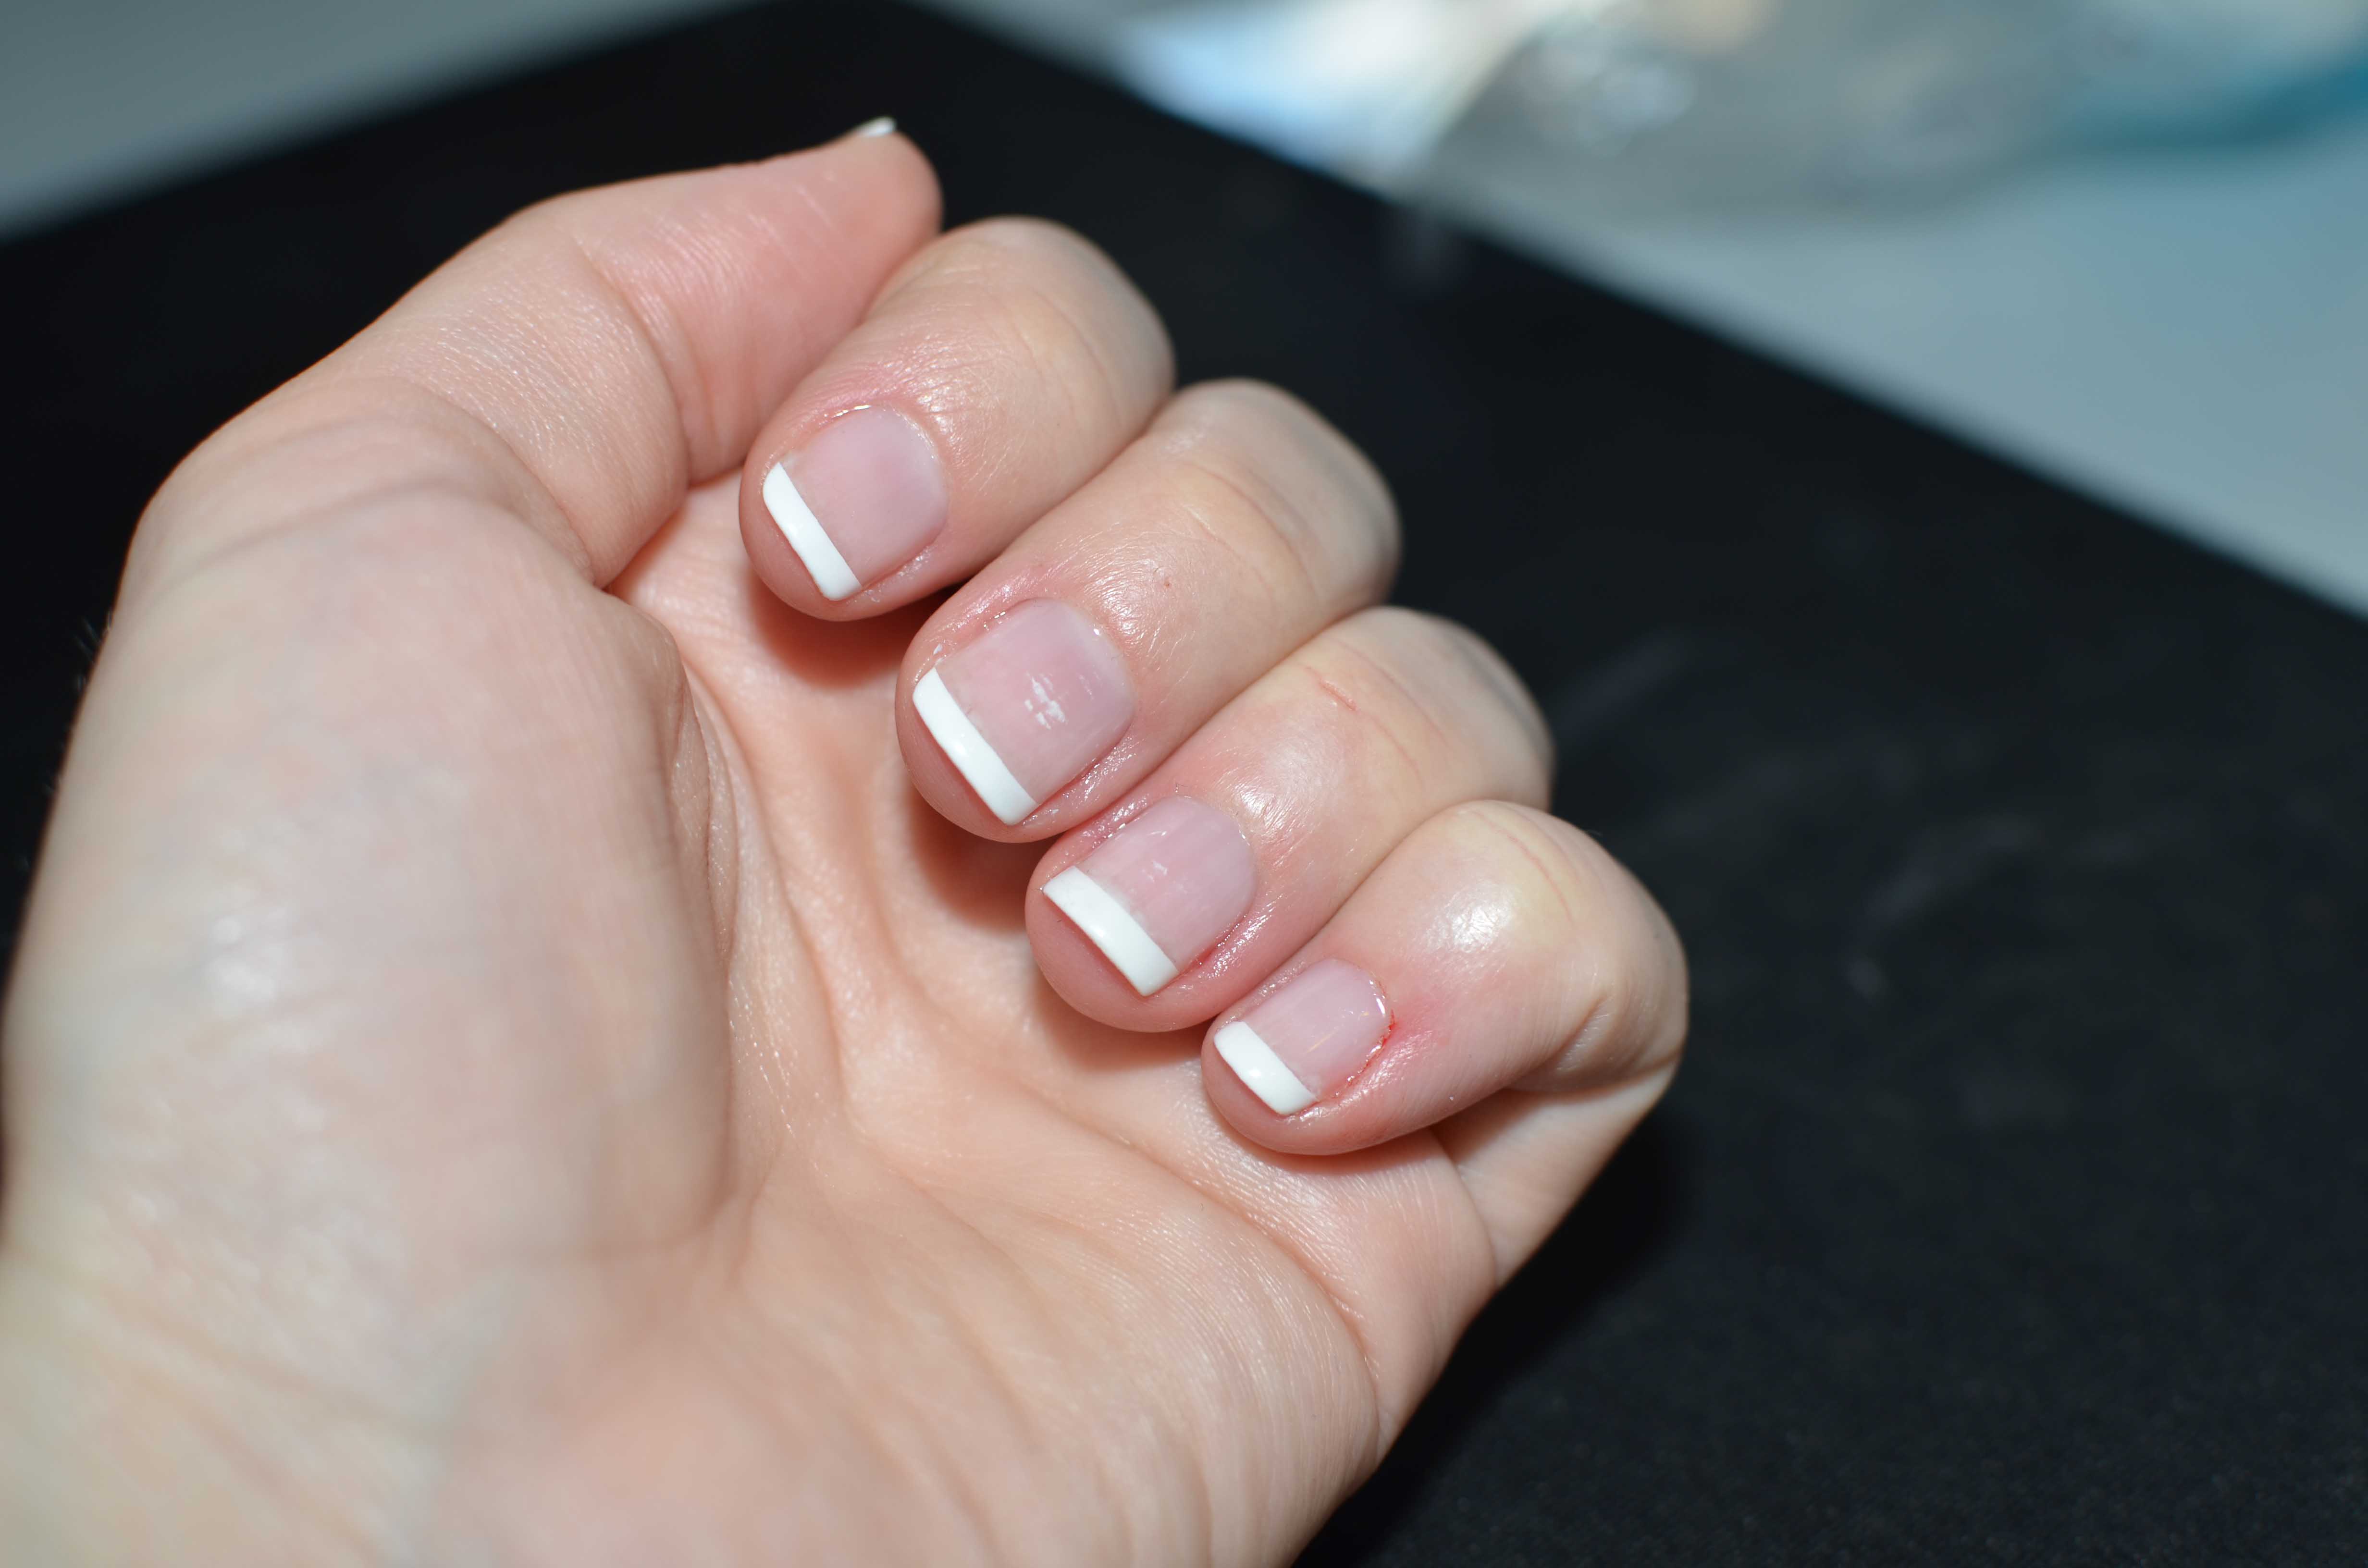
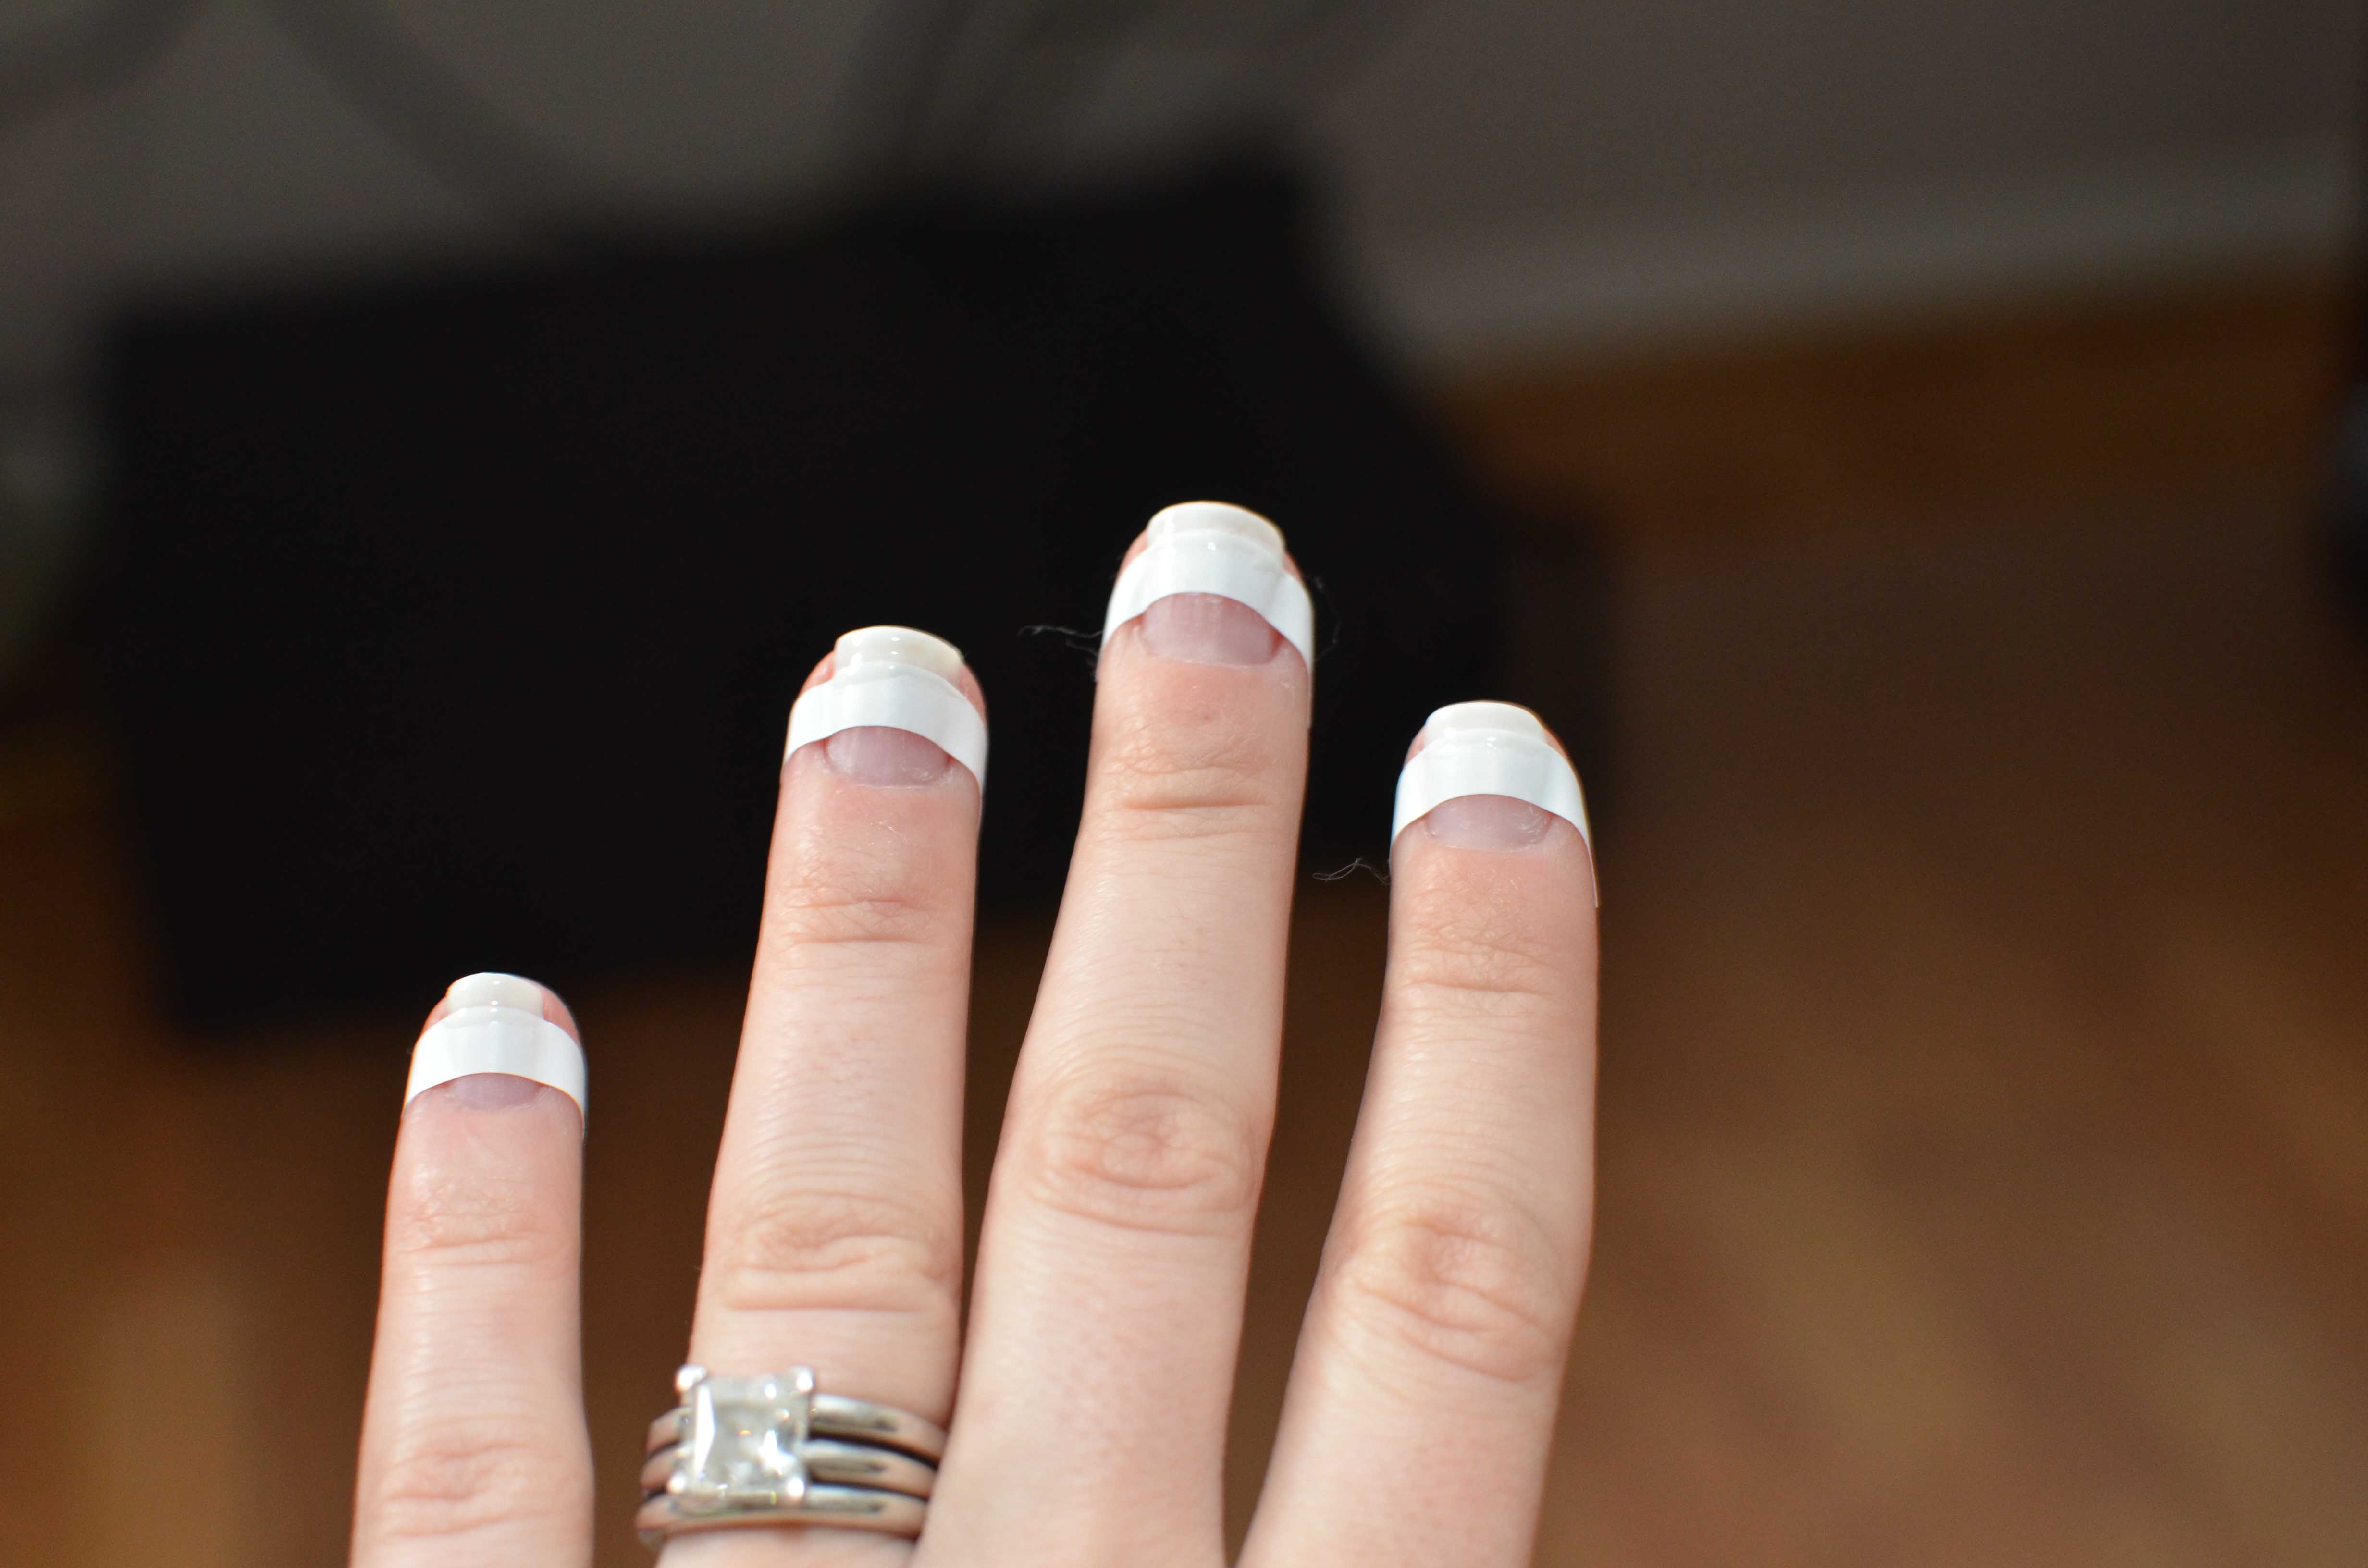
Here I feel the shaping is the hardest part to make them look good.
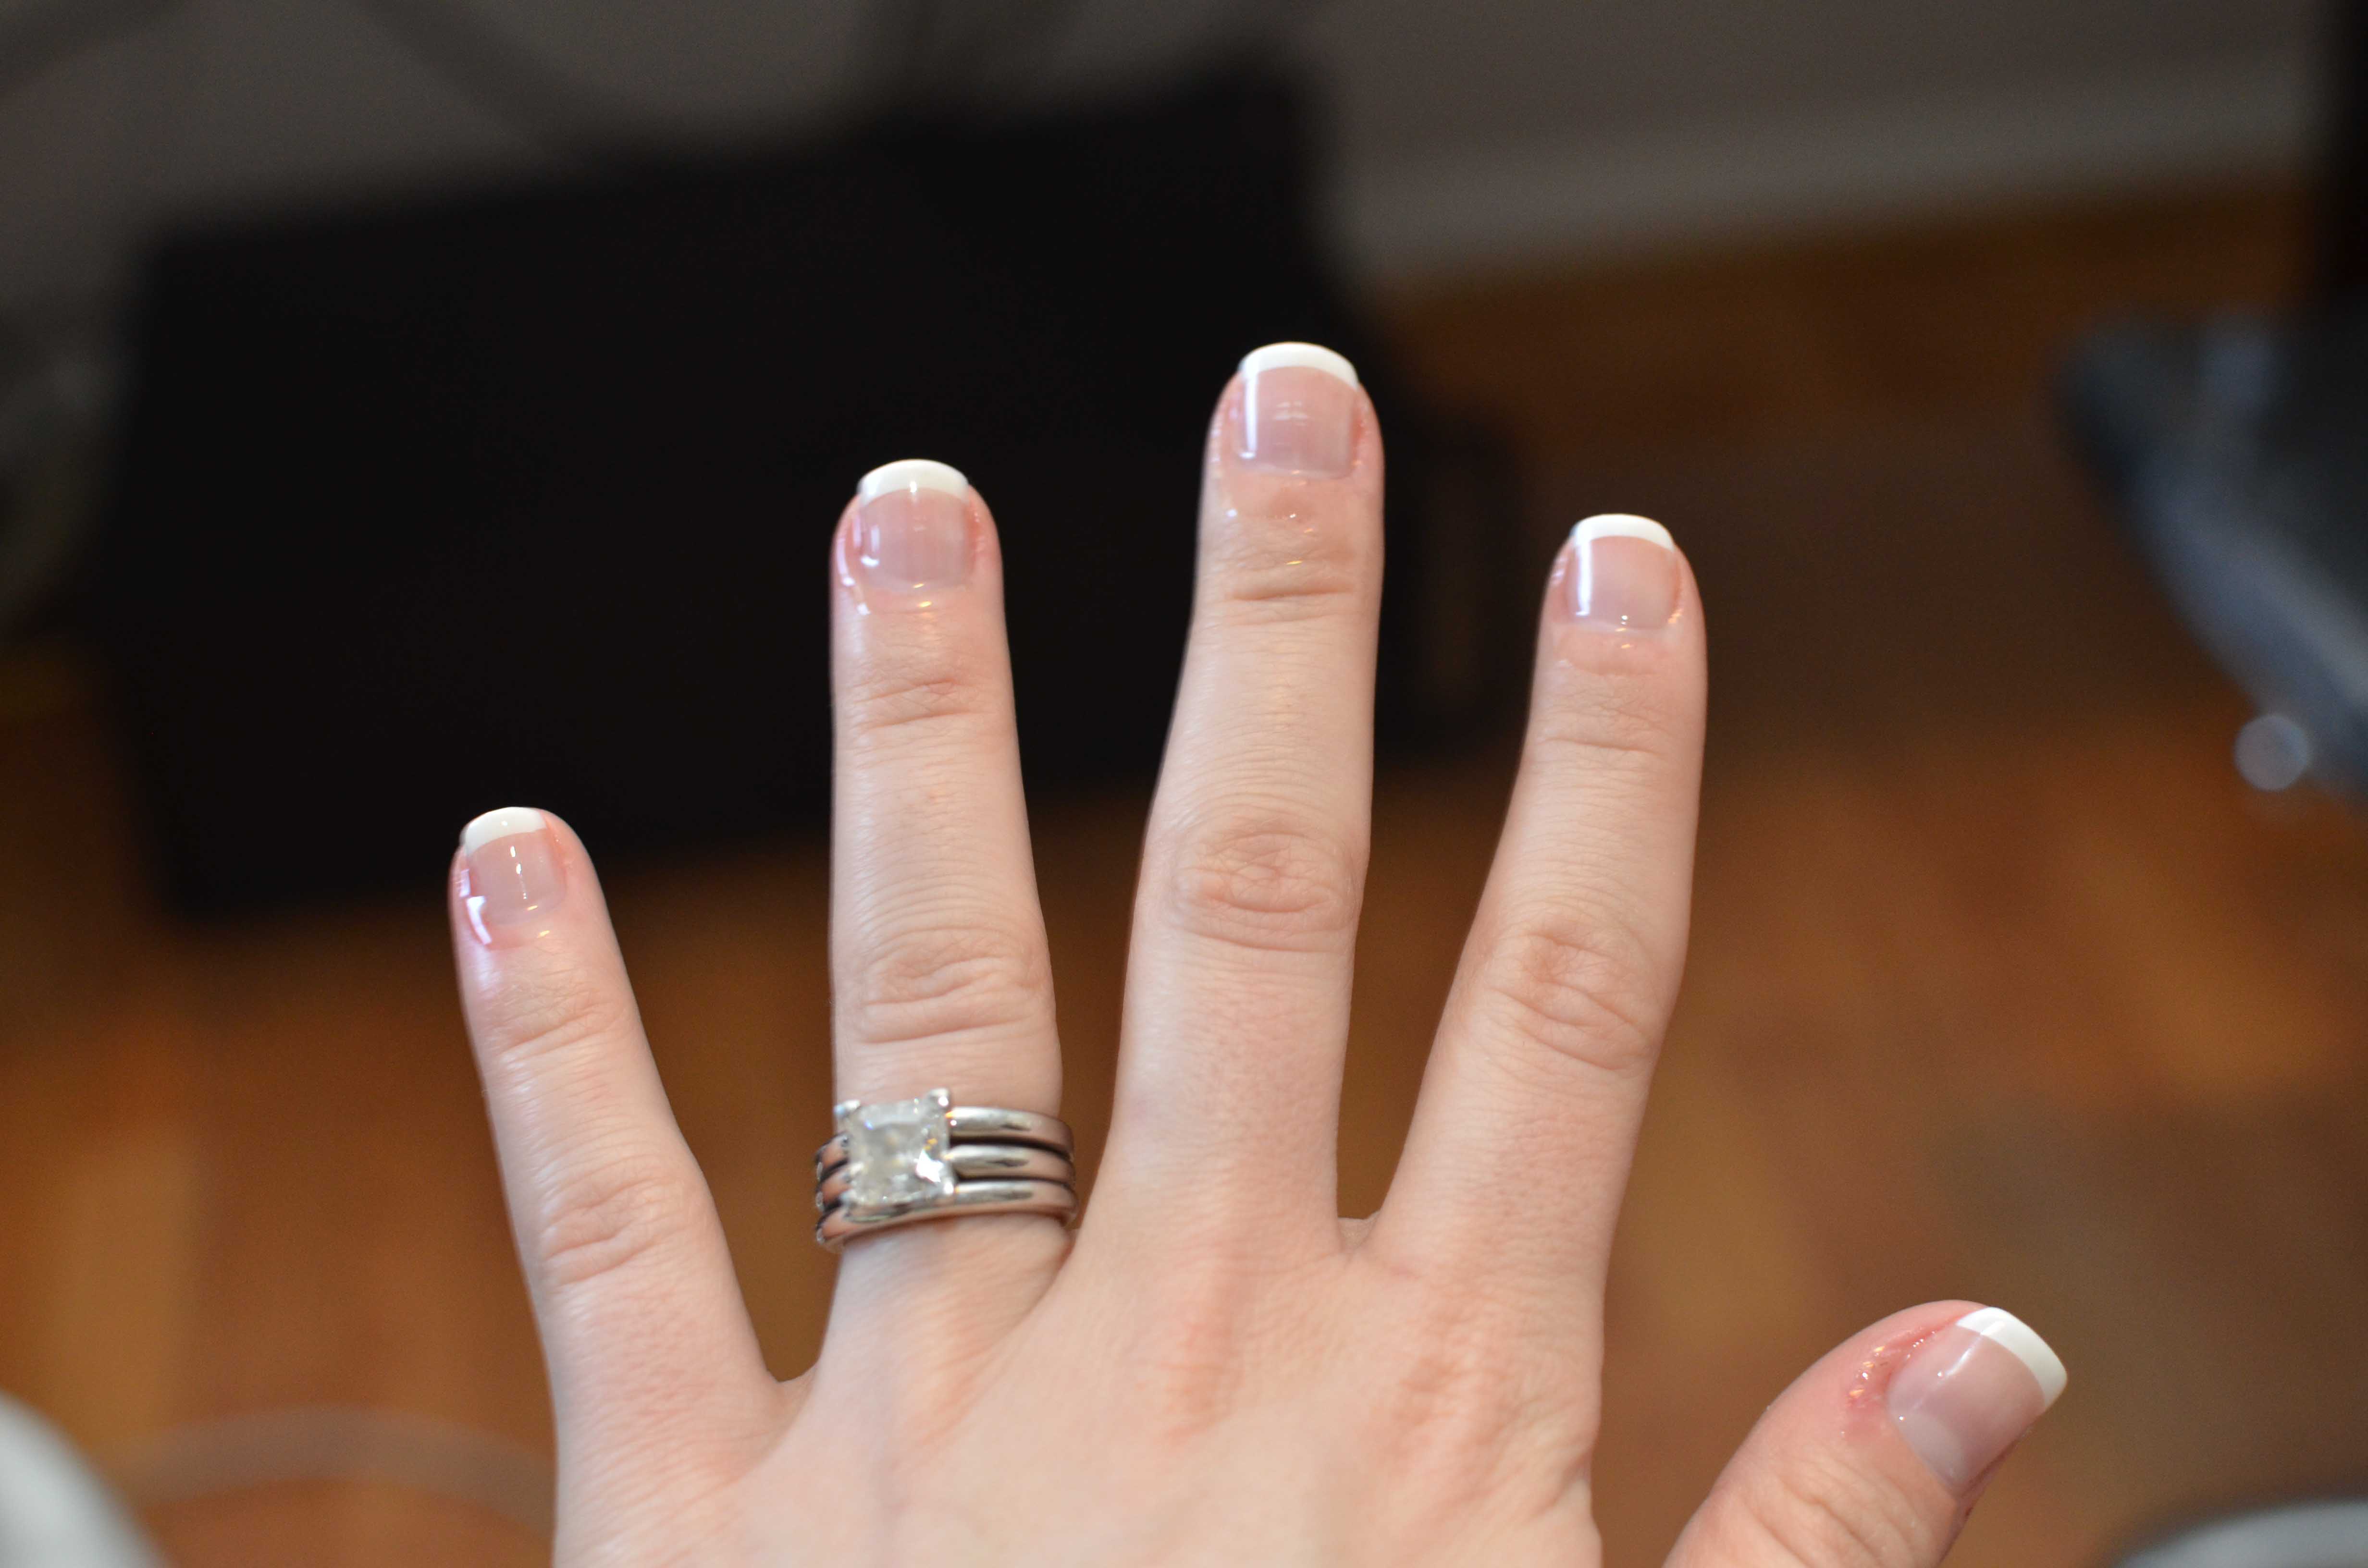
After I have conditioned the skin around the nails.
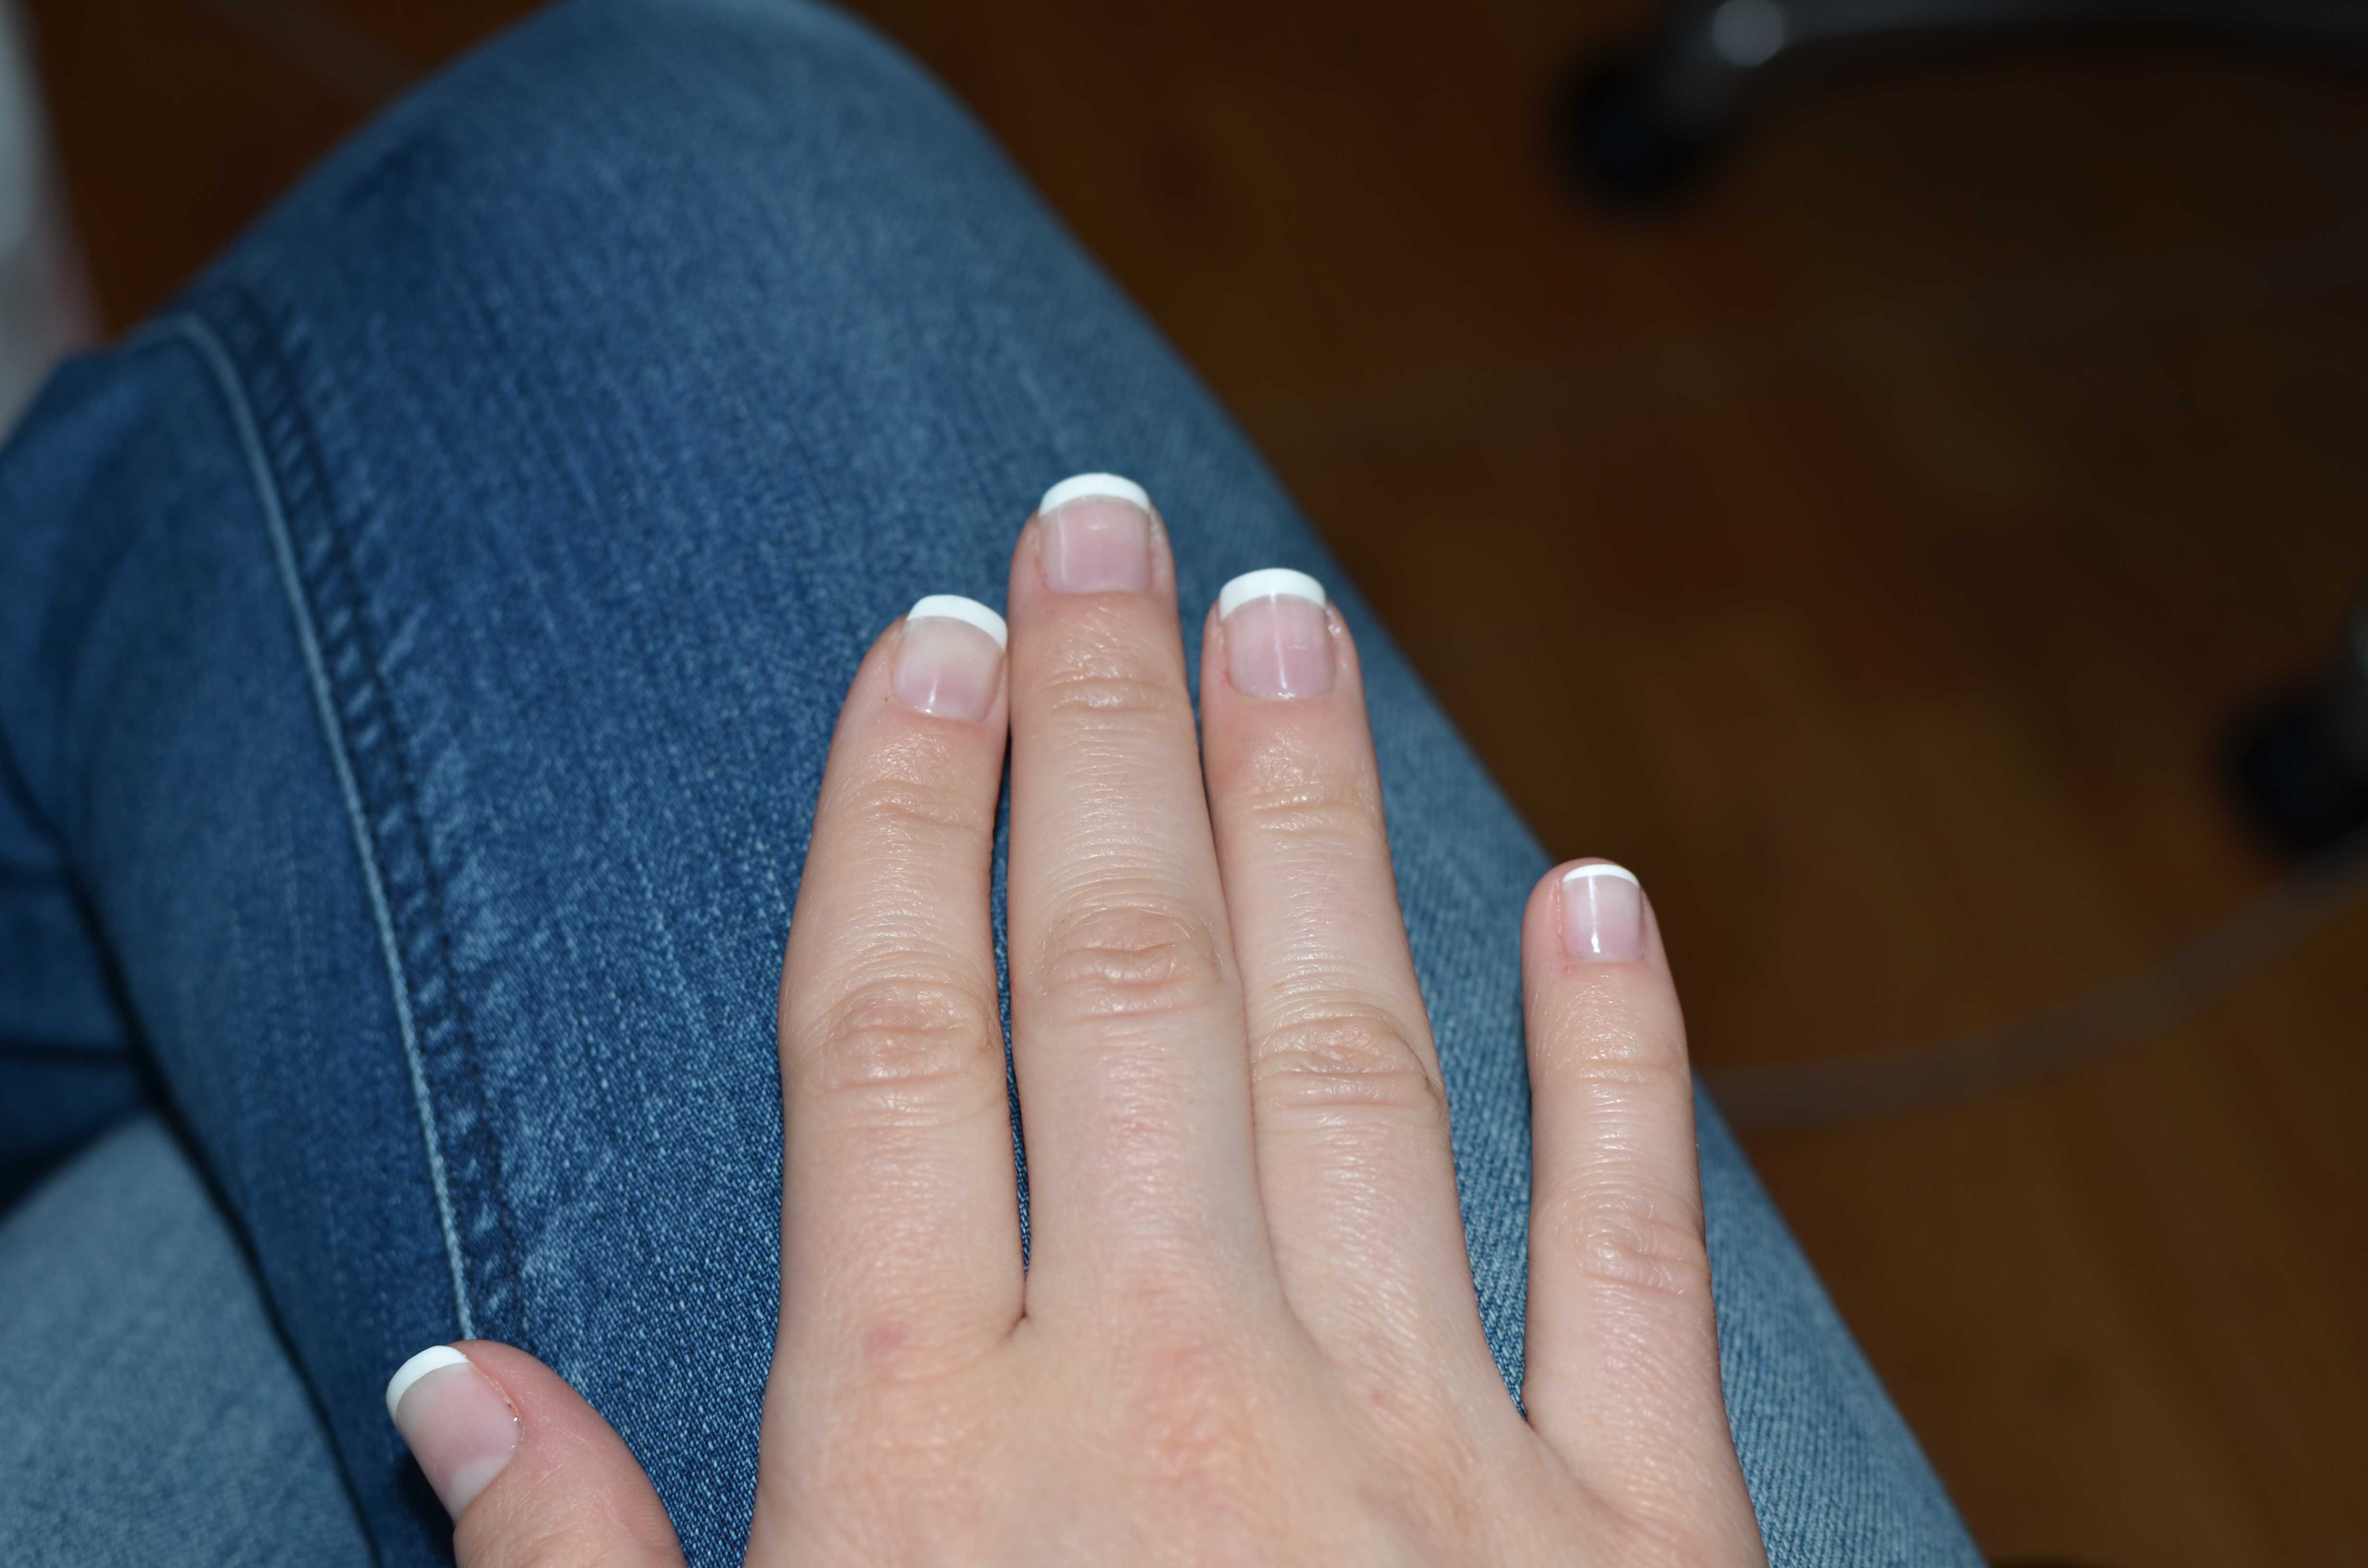
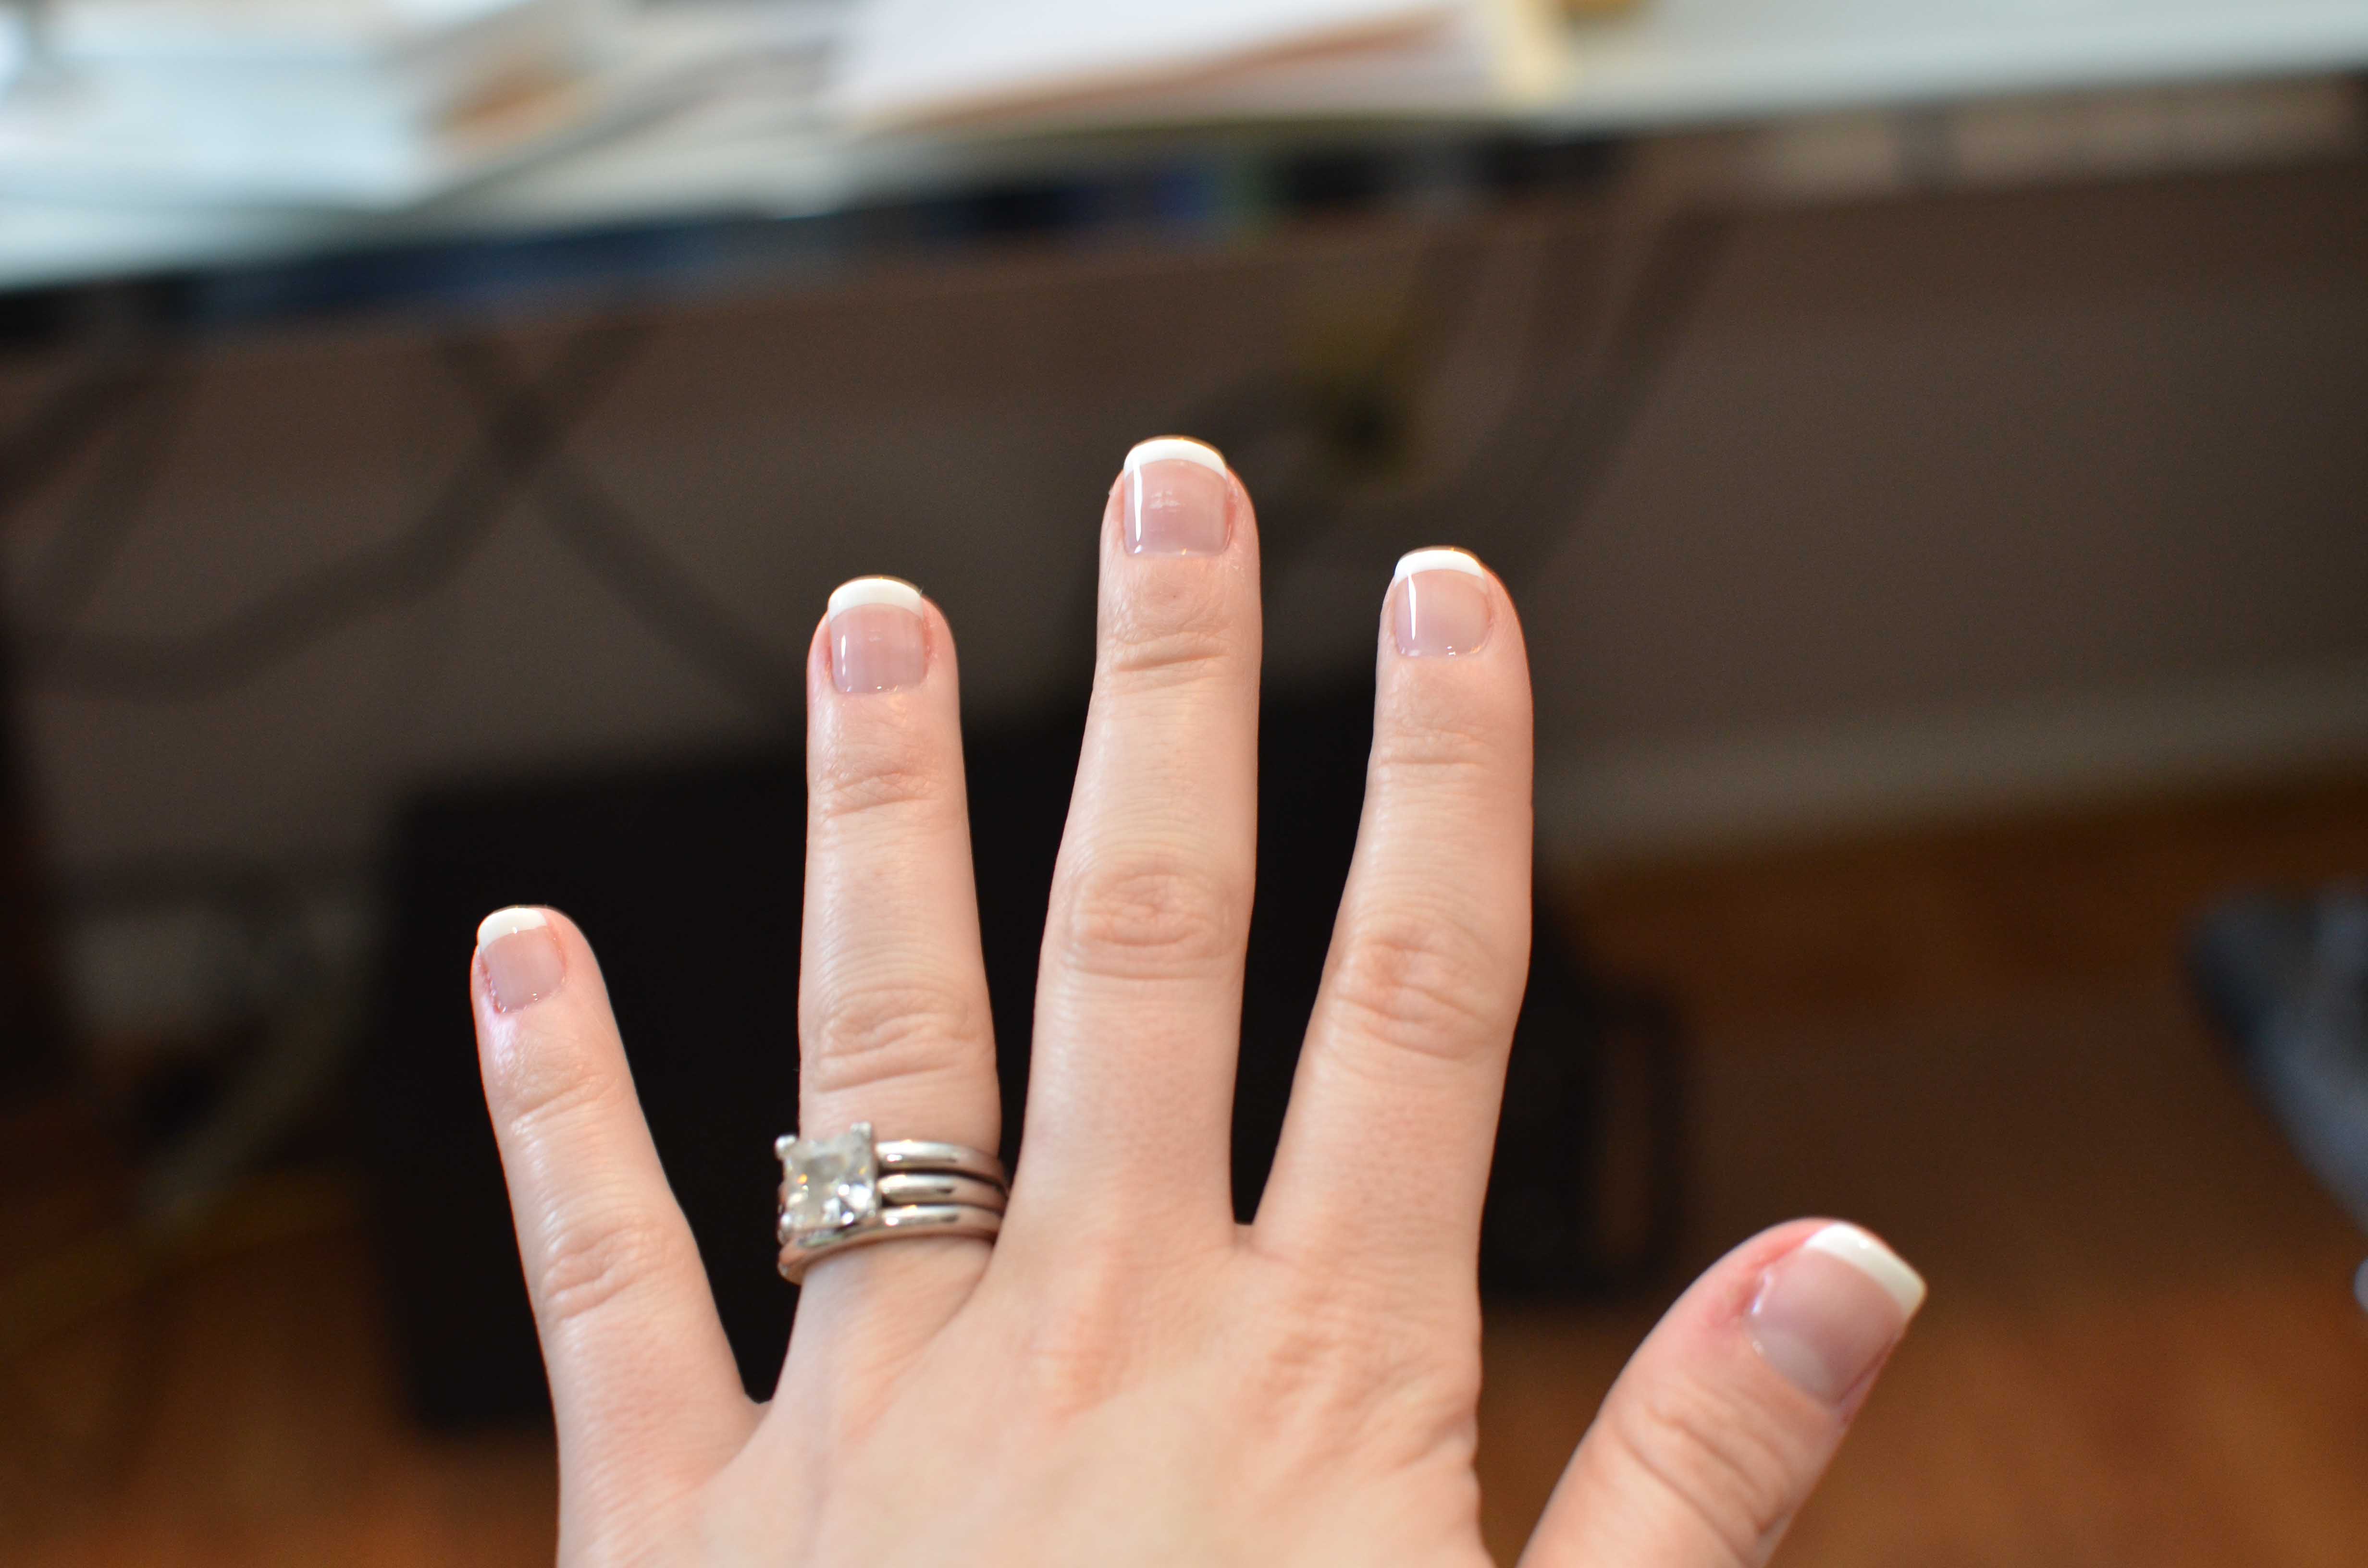
Here is my right hand, the nails aren’t as perfect since my pinky nail broke, etc. but with the guides I am able to make both hands look pretty good.
I hope this tutorial helped, let me know if you have any questions!
40 comments
Love this! I featured it here: http://www.housewifeeclectic.com/2013/05/creative-showcase-creative-features-and.html
Hi! I just found this post through a Google search and I am so glad I did! The “tips” I bought to do this with are terrible but I wasn’t really sure how to go about using the paint since you aren’t supposed to touch the tacky layer… I didn’t even think about doing the white first! My nails look great now. 🙂 Thanks!!
I am so glad that my tutorial helped! I too couldn’t get the gel french tip kit things to work, and it took me forever to think of this way.
I love this! thanks for including this tutorial. It’s wild to me that someone would pay $60 in a salon for these when you can do it at home!
How long do they usually last before you need to re-do them?
Thank you!
Bri,
If I do a good job of not getting the clear polish on my cuticles then it will last for at least 7-8 days. I am super rough on my nails so for normal people it will last a lot longer. Also, I have finally tried the CND polishes, and those stay on for the full 2 weeks, so I am still using the gelish colors,but using the CND base and top coat so that it stays on as long as possible. https://thesimplehaus.com/2013/09/cnd-shellac-nail-review/
Thanks so much for posting this! I too had problems with those (expensive) nail stickers and this works much better for me!
thanks for a great tutorial, I’m new to doing my own gels and LOVE french Manicures and couldn’t work out how i could do this with the stickers!
Brilliant! I have the guides but knew I could not place them on the sticky foundation without messing up most likely. This will work! Thanks!!!
Thank you so much for this! I just free styled my French and while they look ok I know they could be better….. just want sure how. Thank you!
This is a great tutorial, thanks for sharing! Have you ever done artificial tips (glued on) and then used gelish or whatever other gel polish over? I want to do the tips so I can lengthen my nails but I’m not sure what to do. Thanks!
I have never used the tips, but I would just add them like you normally would, and then paint the normal way gel nails are done. I don’t see any reason why that wouldn’t work. Good Luck!
What uv light and gel polish do you use for this? I’ve tried multiple DIY gel nails and none have worked…!
I used the Sally Hansen LED light ( http://www.amazon.com/gp/product/B00A3WR5C6/ref=as_li_tl?ie=UTF8&camp=1789&creative=390957&creativeASIN=B00A3WR5C6&linkCode=as2&tag=warfieldfamil-20&linkId=LXSBICRG7ZVPKWG7) in this tutorial which I got from that kit . I have used their kit and it worked well, but I prefer the CND & Gelish for base and top coat. The sensationail colors work well too though. For the tutorial above, I have linked each of the polishes I used, which happen to be the gelish polishes. I think the biggest key to getting gel nails to work are not getting any polish on your skin around your nails, make sure you cure for long enough, and follow the directions. Let me know if you have any other questions.
Pretty! This was a really wonderful post.
Thank you for providing this info.
[…] DIY French Tip Gel/Shellac Nails – 12,119 views this year […]
[…] How to do French Tip Gel Nails. […]
[…] https://thesimplehaus.com/2013/05/diy-french-tip-gelshellac-nails/ […]
Don’t the color coats and top coat get 2 minutes each time to cure?
Gret,
I think it depends on the light you are using as well as the brand of top coat and colors. I tend to do just the 30 seconds that my light recommends for everything but the top coat I normally do it twice.
Did you have to get a different light for the CND polish? I thought it needed a UV light.
Love your tutorial and I can’t wait to try it!
Thanks!
I always used the LED light and never had issues with it. On the back of the box they say different time amounts to use depending on if you use LED or UV lights.
Hello, do you not need primer with gelish? I am just wondering if I can apply primer over the white tip once I have wiped off the residue
I do you a primer or a PH Bond now,but in this tutorial I didn’t. I normally do the alcohol wipe, then the primer(PH Bond), then the base coat, the white coat, and then pull off the white guide tab. Once the tab is gone I do primer again mainly the part of the nail that doesn’t have polish. Then I do the base coat followed by the color or top coat. Let me know if this makes sense and if you have any other questions.
Hi…great tutorial….I was wondering how to get the nice neat white tips using gels or shellacs….question for you…I have seen pictures of the soft pink nails and gold tips….have you ever tried this technique with gels or shellacs? I’d love to try it….and just so that I understand….you cannot put the tip guides on top of a gel or shellac coat that has had the sticky film taken off? Thanks
Shelly,
Great question! If you want to have say a soft pink base, you can paint your nails like normal. (ph bond, base coat, 1-2 coats of the light pink that you want, and then wipe with rubbing alcohol after curing) Then, the nail will be more smooth and not tacky. After that you can put the white tip guides on your nails, and do the process again with the gold gel polish,but just above the tips. (ph bond, base coat, 1-2 coats of the gold gel color.) Then remove the guide, and do a top coat over the whole nail, cure, and wipe off with rubbing alcohol. Let me know if you have any other questions with this.
thanks for quick response…..the only problem I worry about is having so many coats on my nails it will take a while to take off……so I can’t put 2 coats of pink on….wipe the sticky film off….place manicure guide strips, then paint on the gold gel (2 coats), then finish everything off with a top coat?
Shelly,
The method you describe would work just fine. I have come to realize the more coats of gel the faster the changes are of it coming off. So I don’t think it coming off easily will be a problem.
[…] DIY French Tip Gel/Shellac Nails […]
Wohh exactly what I was looking for, thanks for posting.
I never would have thought of this myself because I use Gelish nail gel and have for years. I can’t free hand a decent white tip and couldn’t figure out how to use the french tip stickers with Gelish nails. You are BRILLIANT! Thank you so much for sharing! Carol from Okemos, MI
I notice that you do NOT use the Gelish PH BOND before you start anything.
Is this necessary? Or is that the reason you use the alcohol to clean the nails off for the first step?
Also, I am using all Gelish products but recently the polish is starting to actually peel off of my nail, after 1 week, where as before, I could hardly get it off soaking with acetone. I am not doing anything differently. And as well, it is hard to get a shine after doing my nails, even after curing and cleaning with alcohol.
Please advise. Thank you.
Corrin, since this post, I have gotten the gelish PH BOND. I use it now every time after the alcohol just to make sure my nails are more oil free. At the time I didn’t use it, but I haven’t noticed a huge difference in using it and not using it. I would say either alcohol or the PH Bond is a good idea to prep your nail beds, but I don’t think both are. Have you tried using the strengthening gel I mention above? That was the best thing that helped me. As well as making sure your coats are very thin, and that you cap each nail tip well. I hope this helps!
Hi, I got the gel you suggested and it is still doing the same thing. Peeling off.
Could it be the LED Lamp I am using? The good news about it peeling off, is that it comes off in one piece, in stead of having to soak it off and scraping it off. So, do you have any other recommendations?
Corrin, I am really sorry to hear that! It could be the light, but I do not know for sure. If you do buy a new light, let me know if anything changes. I know that mine peel when I am too rough on my nails, always soaking them while washing dishes, or while I’m doing DIY projects. If I wear rubber gloves while doing dishes my nails last a lot longer. Also, if you paint them where the nail polish pools in the edges around the nail near the cuticle and sides, this can make it easier to start peeling off. Or if it touches your skin it will peel off faster.
Hi ,
Now , the polish is sticky , so I figure, I’m not curing it long enough. Then wopen it with alcohol , still sticky . I’m ready to give up.
Corrin
The polish will be sticky after curing, but it shouldn’t be sticky after wiping it off with alcohol. I would suggest curing it longer to see if that is the issue.
You can also try buffing your nail before starting to let the polish adhere better.
[…] DIY French Tip Gel/Shellac Nails […]
I love your guide, but I’m a little confused. After you have painted the white tips and you are ready to add the pink base colour do you paint this all over the white or just up to the white?
Louise,
I am sorry for the confusion! After the white part has been painted. Then I do a clear base coat over the whole nail, then cure. Once that is done, then I do a coat of the pink over the whole nail. You could try to do just below the white,but I found that too time consuming. Also, my pink was so light that the top of the nail still looked white. Then cure, do one more coat of the pink and cure. Then top coat cure, and wipe off with Alcohol. I hope that makes sense.