

Grant and I were invited to a coworker’s Halloween party, and we had nothing to wear….So, Grant found a sweet instructables, and this is what happened. We bought our supplies at Home Depot, Walmart, Target, and Joann Fabrics, but I will try to link as many of our products used online since that is so much easier these days. We started our costumes Friday night right after work until around 1 or 2am, and then all day Saturday from 9:00am to 8:15pm. We were planning on leaving to go to the party at 8:30pm.
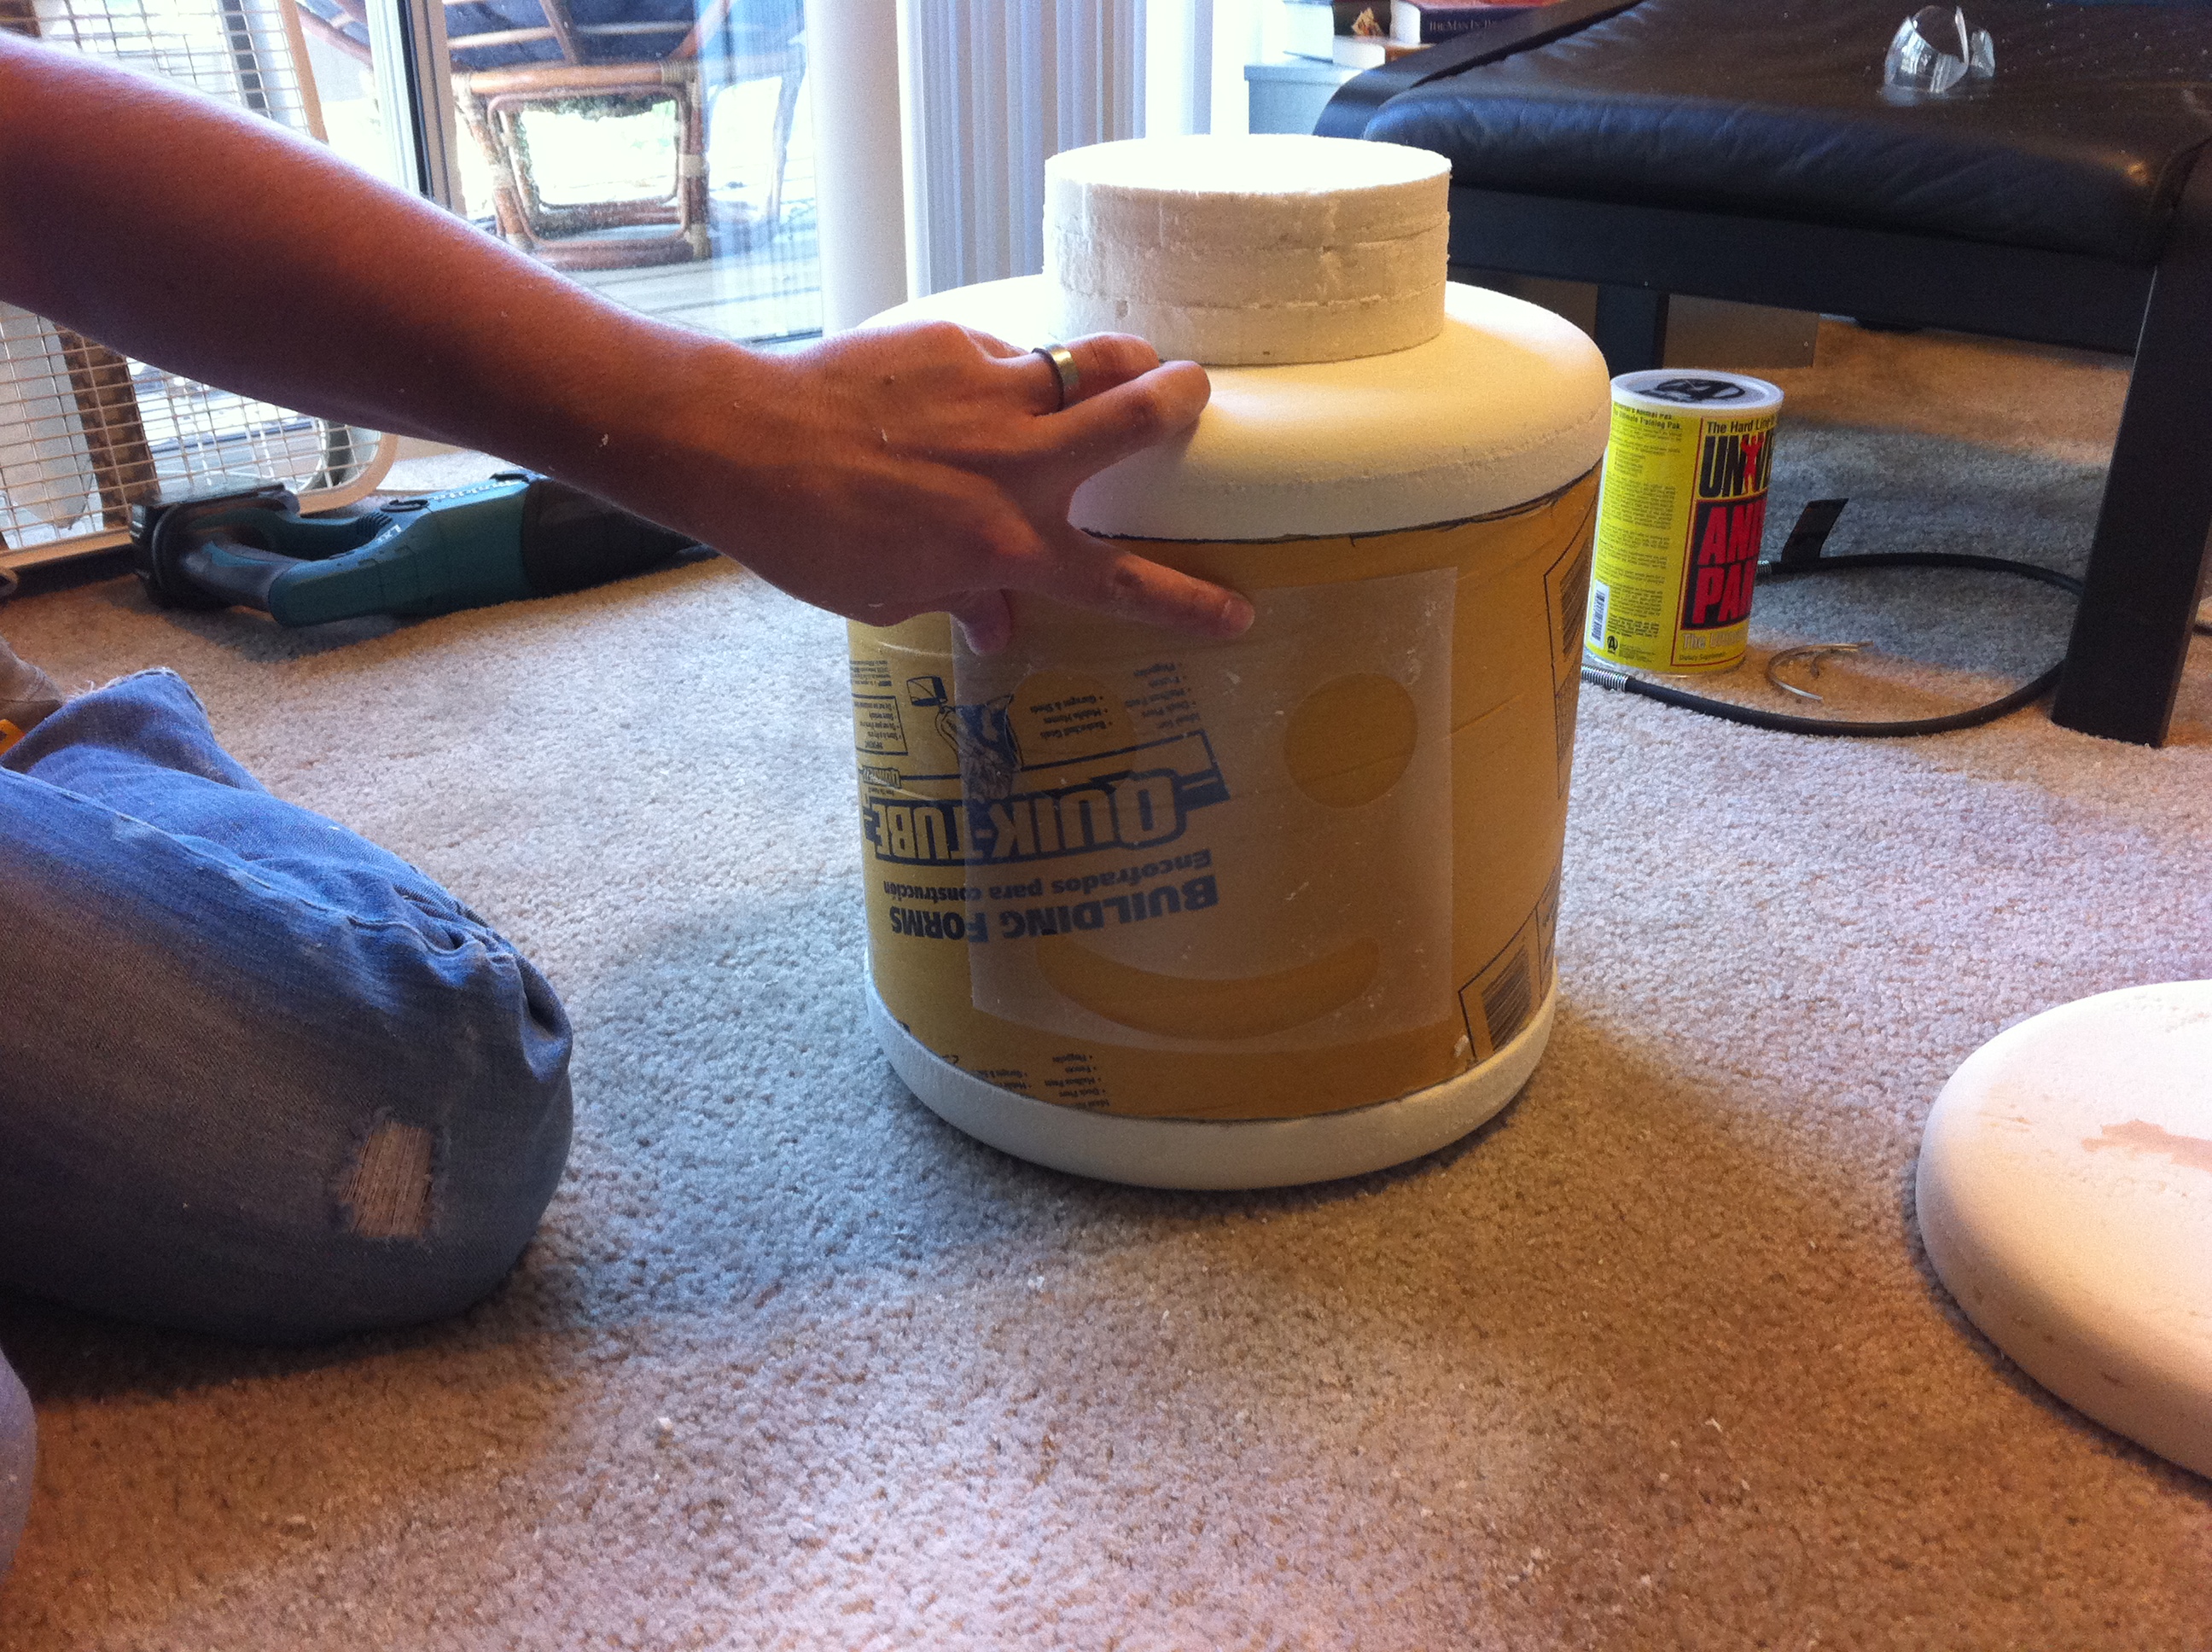
In the picture below, you can see the round yellow tube, which was the base of our Lego heads. It is a long construction tube, that Grant cut with his dremel into the correct size.

This is when we first started, we had to take the foam you see in the bottom left hand corner of this picture and make disks, it took a while to get a system that worked the best, but no matter how much we vacuumed, we had foam sticking to everything. You can see the disks that we made in the picture above in the bottom right hand corner. I am picking up trash.

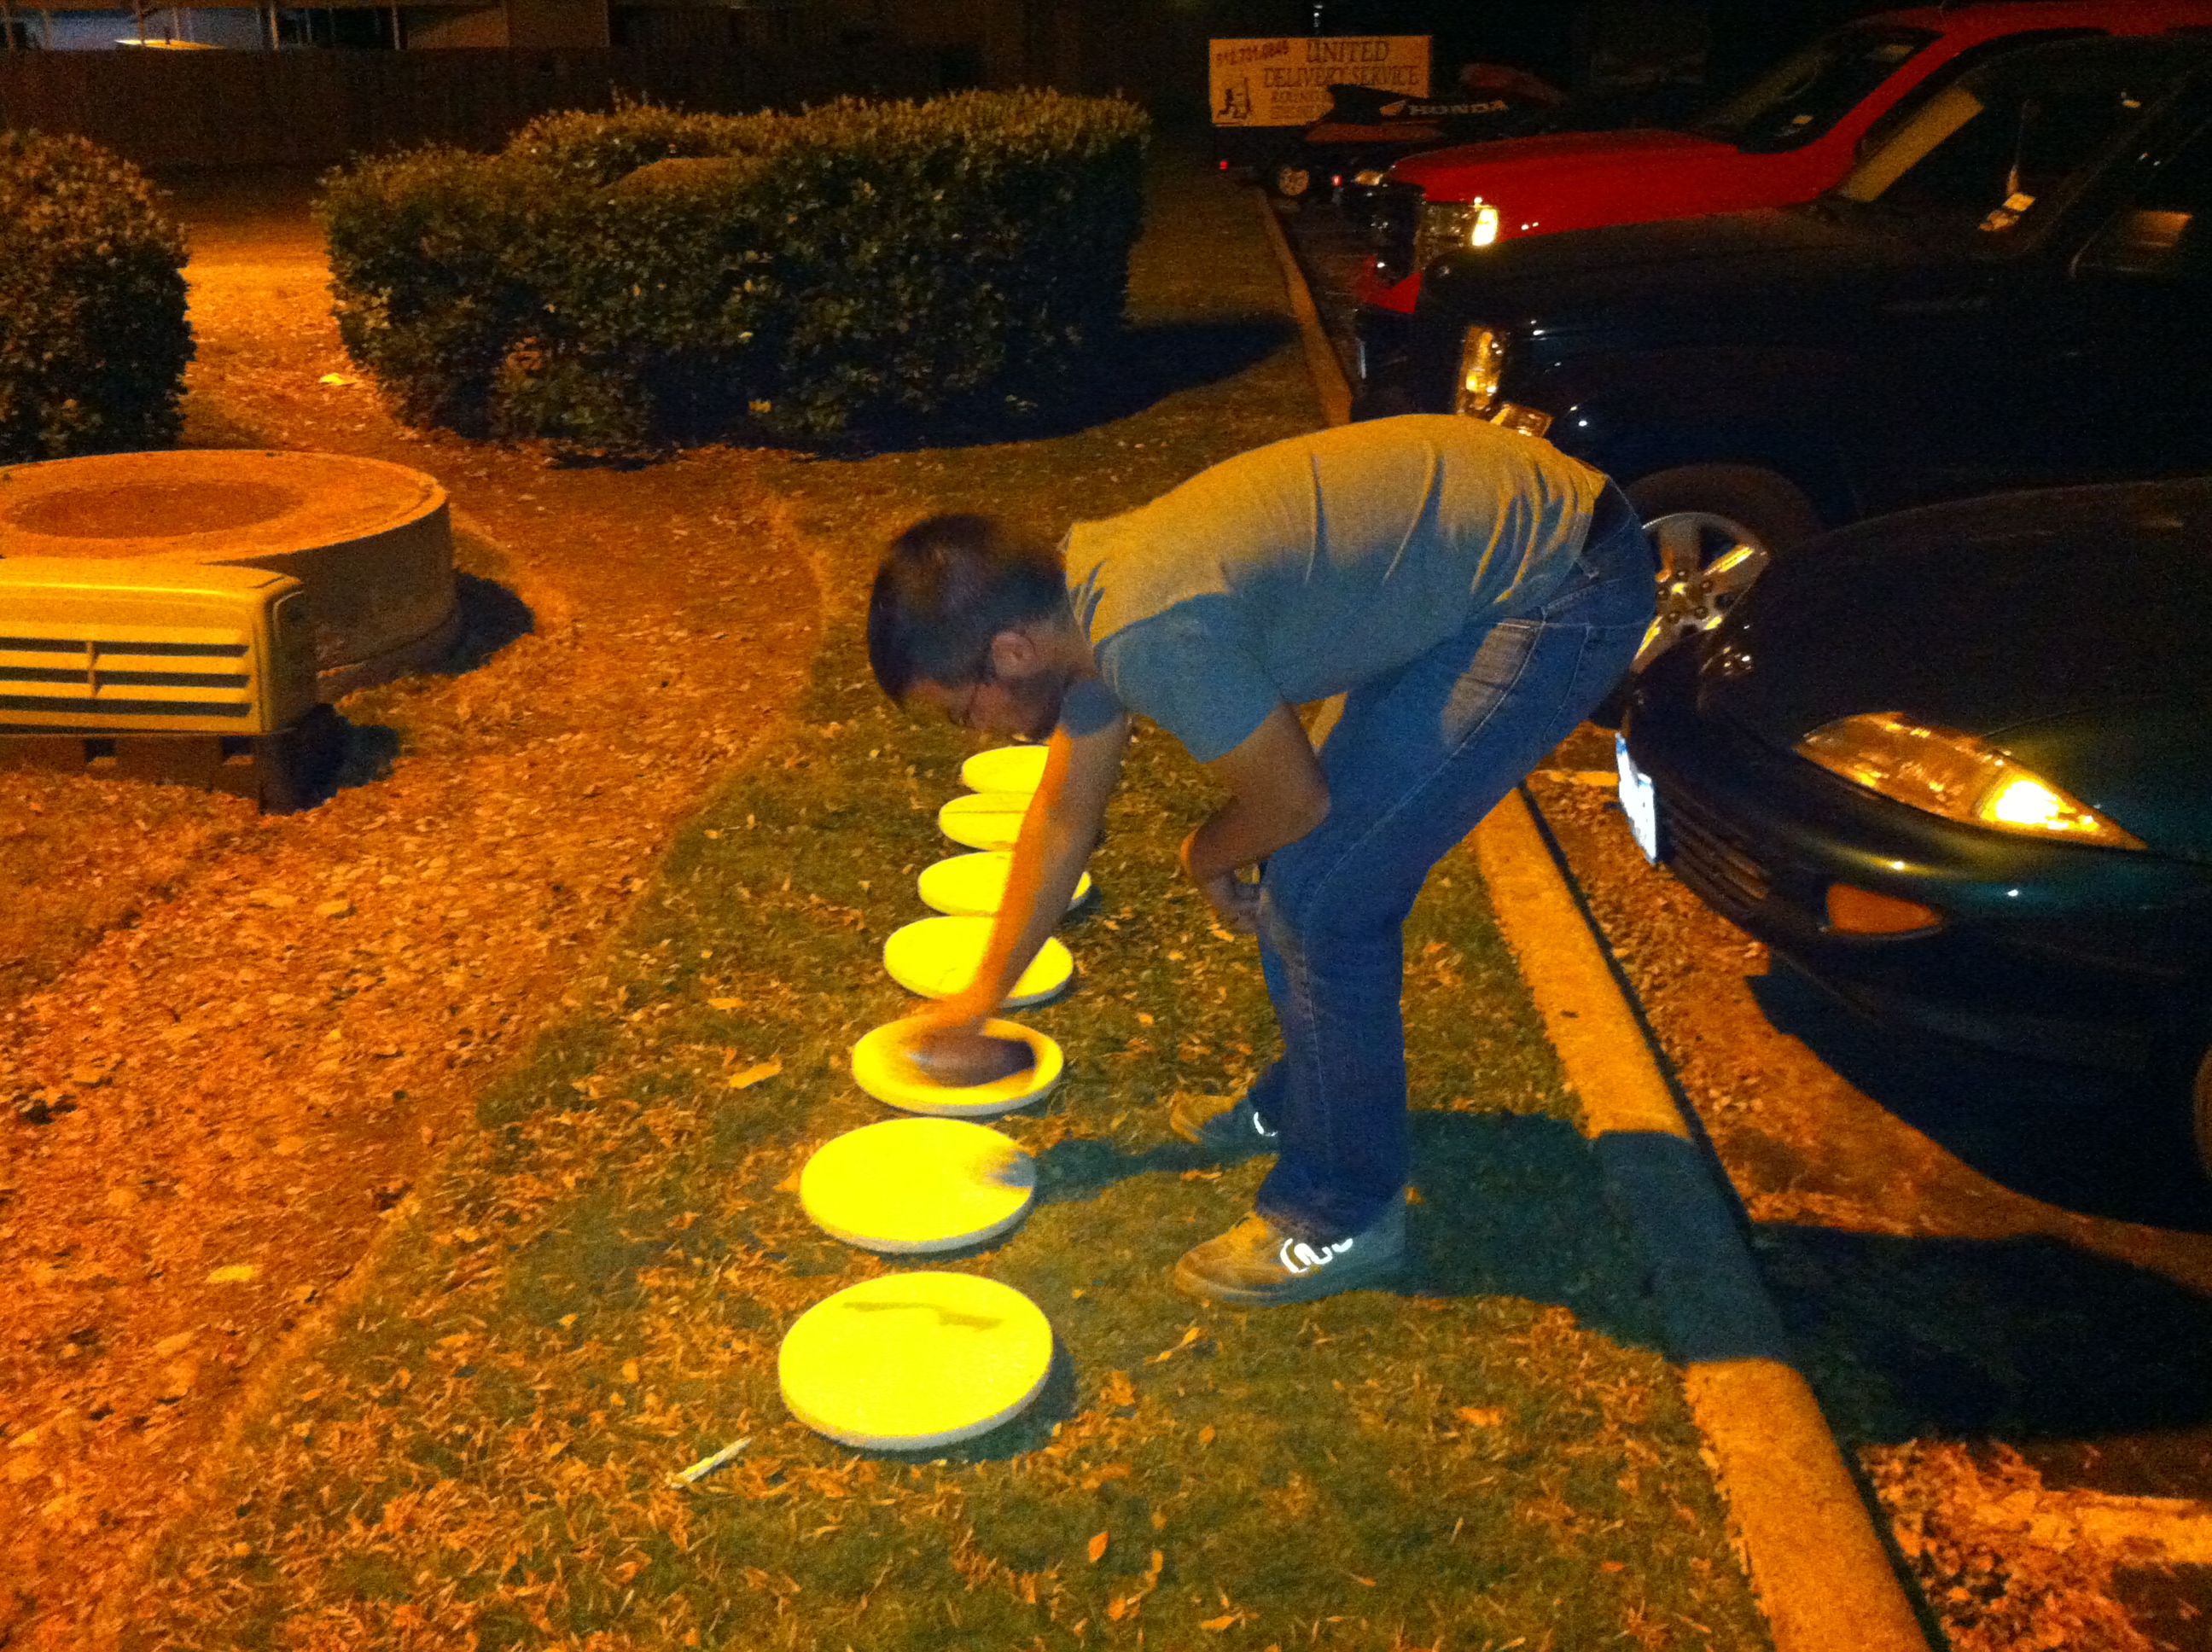
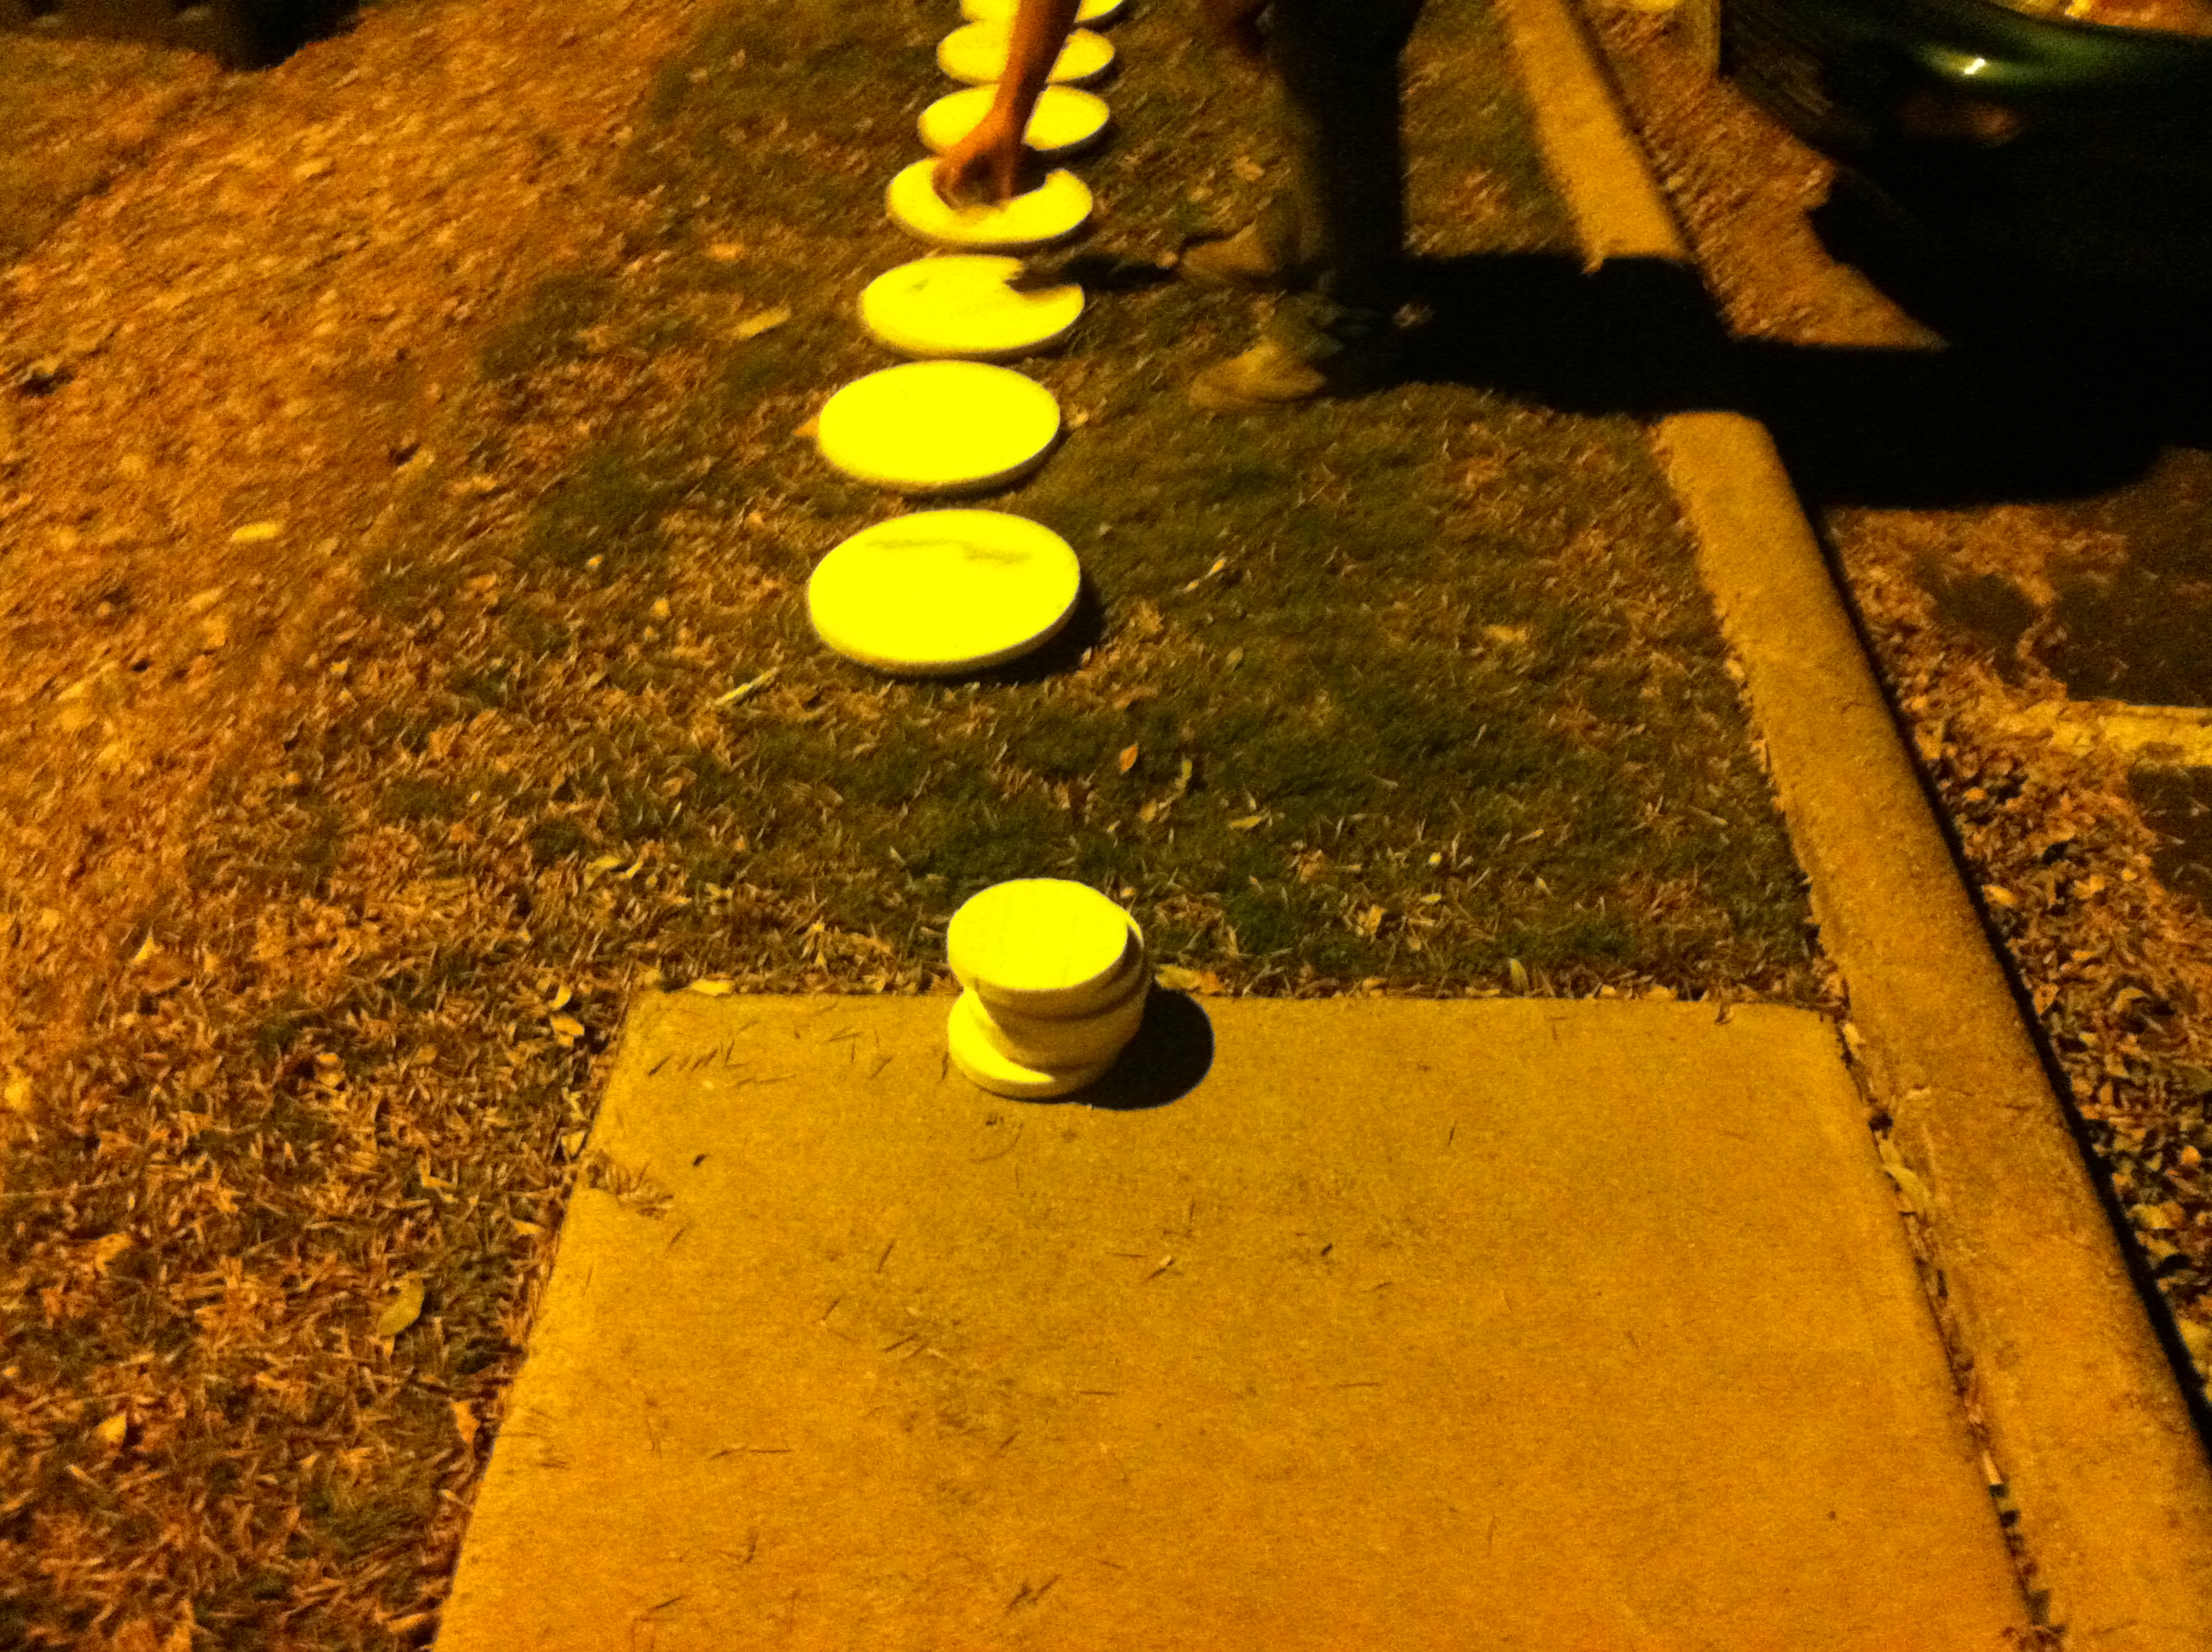
We then took the foam disks outside and sprayed them with spray glue so that we could stack them.

As you can see it is late at night, so this was Friday night.

After the glue dried, you can see Grant sanding down the foam giving it the curves on the top and the bottom of the tube portion.

You can see how many of the foam disks were stacked. Three small ones for the top knob, two larger ones for above the tube, and two larger ones below the tube. Here you can see the template that we used out of plastic to trace the face and later cut out.

The heads are starting to take shape, now you can see the rounded top portion.

Here is Grant cutting out the faces.

Woot!!!

We then had to cut the hole out that our heads would go through on the bottom, and you can see how messy our place was, and some of the bottoms with the large hole cut out of them too.

We then had to cover all of the foam with tape; spray paint sometimes eats foams, then we had to tape the top and bottom portions to the tubes.

We build awkward bases for them to sit on, so we would have an easier time spray painting the heads.

Here you can see them both, and behind it is a running trail, we actually ended up turning one the other way, so the runners could see what it was. We had a few neighbors talk to us, telling us how cool they were. The spray painting of the tubes took a while, and this was the portion that we were nervous wouldn’t get completely done. The tube needed a lot of coats to completely cover all of the writing.
 We had bought foam at JoAnn Fabrics that went inside the heads to keep them from tilting, and so that the eye holes were the right height compared to ours. We also put black fabric on the inside of the eye and mouth holes that you could see through, but gave it a better look.

In this picture, you can see the words on my head, but after the party the next day, we did more coats on them so they looked better.We found long sleeved shirts to wear underneath our bodies, and then rubber gloves to wear as well.

Much better, here you can see them without words. The bodies were made of sink boxes that my work always throws away. My boss thought it was funny that I asked to have them, and then of course spray painted.

We then wore our costumes to go trick or treating with Tanya, Wilson, Mia, Ally, and Emmi!!! We had such a blast. I felt like a celebrity, which was weird and slightly annoying. Everyone kept wanting to take pictures with us, and one little kid told me I had to keep my hands in the shape of a “C” to be authentic.

As you can see in this picture, your range of vision looking down wasn’t the best, so I think I took out one or two trick or treaters by accident, but either way these costumes were a success!
For the technical tutorial that we used, http://www.instructables.com/id/LEGO-Man-Costume/ .
15 comments
I really enjoyed reading about y’all’s costumes! Thanks for posting this! Your costumes turned out GREAT!
Grant, this reminds me of our packaging tape body casts. We spent way too much money and time for those things. But they were a blast.
THIS IS SO GREAT…. thanks for taking the time to put into instructions…. we are planning on building SIX of these for our family!! We ALWAYS do themes as a family and this was just PERFECT for this year!! THanks again!
I hope yours turn out great too!
Wow – you did a really great job!
If you dont mind my asking, what kind of tape did you use to cover the styrofoam before painting it?
We actually just used what tape we had on hand. We were kind of rushed. So the tape was just plain old packaging tape. We tried hard to not have it bunch up as best as we could.
[…] is as that will spoil the surprise. But what I can share with you today is this awesome tutorial on how to make Lego people costumes featured over at the Warfield Family […]
I love this! Thank you for sharing! I’m revving up for halloween this year, and this I’ll do a take on lego wonder woman!
This is impressive that you spent so much time making the Lego heads and it paid off– they look awesome! Would spray primer have helped so that not so many coats of yellow paint were needed? Could I link to your post from my costume blog and use one of your images?
Thank you for the comment on our blog. YES! The primer spray would have made it go sooo much faster,but we were spray painting newbies at the time. I would be perfectly fine with you linking to our blog. Thank you for asking!
Thanks! Here’s the link from my site. From what I read, it sounds like people are willing to pay you to make these if you ever want to go into business…. 🙂 Thanks for sharing! http://www.thecostumeresource.com/halloween-costume-idea-diy-lego-costume/
[…] couple from their tutorial here said they spent over 12 hours on their Lego costumes, so be prepared for a trip to Home Depot, […]
[…] thesimplehaus.com […]
[…] Lego Costume Construction – 10,929 views this year […]
Thanks for the idea, we did this for Halloween 2016. Kinda followed your guide (with the foam and concrete forming tube. Went a little extra and made hands out of PVC pipe so they look like the real lego hands. Used expanding foam for the inside and formed it a little so it was a good fit. Made it easier to put on and take off and allowed more movement of the head when it’s on. Used plastic mesh behind the eyes and created the faces with black vinyl contact paper to keep the lines clean. One caveat, kraft foam is a PITA to work with. Next time I do a foam project it will be with high density insulation foam. Not to mention, you have to make sure you seal the foam REALLY well before painting it. I used about 8 coats of Modge Podge and then a coat of Plasti Dip. Just about to “modify” the heads so we can get some circulation in there as they are hot as hell. Also put a liner inside the head so OUR heads weren’t rubbing on the foam. They turned out pretty well and again, I thank you for the awesome instructional.
These are AMAZING — thanks for taking the time to put up instructions!!! <3