

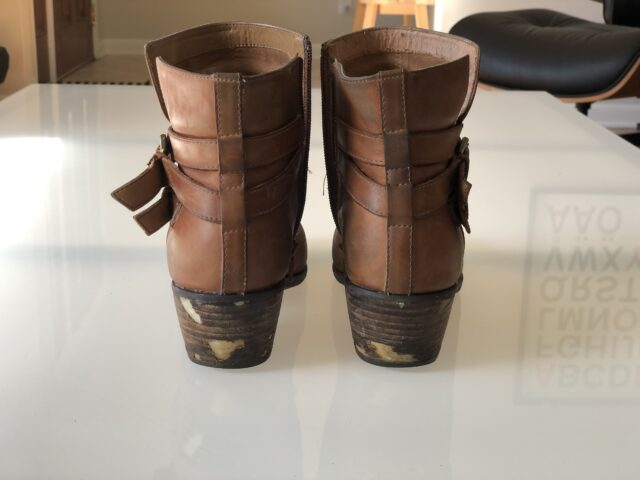
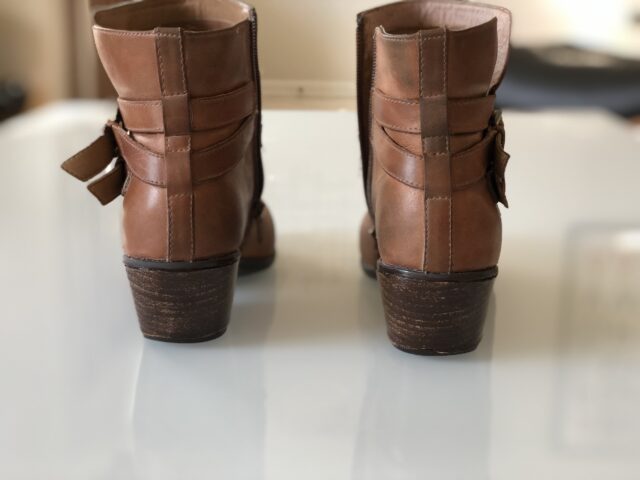
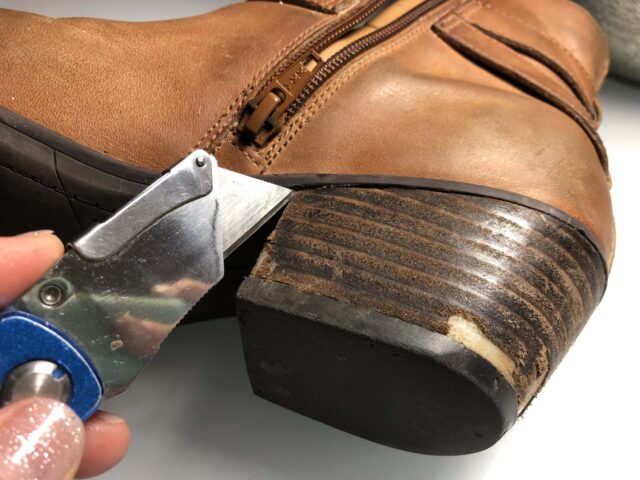
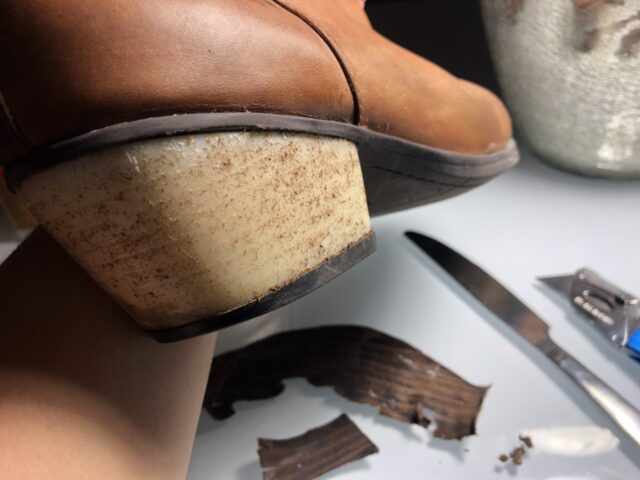
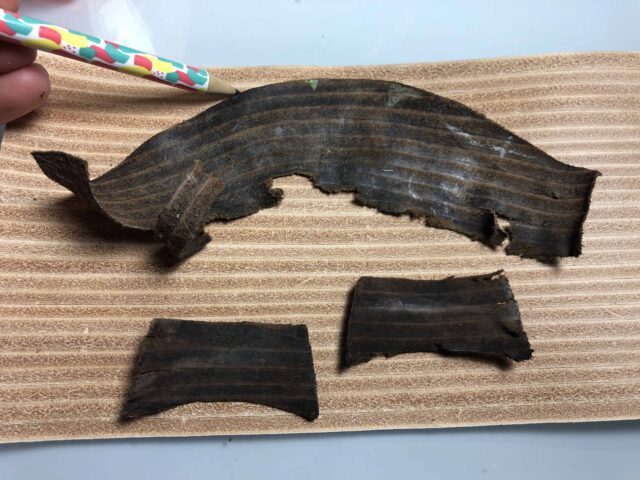
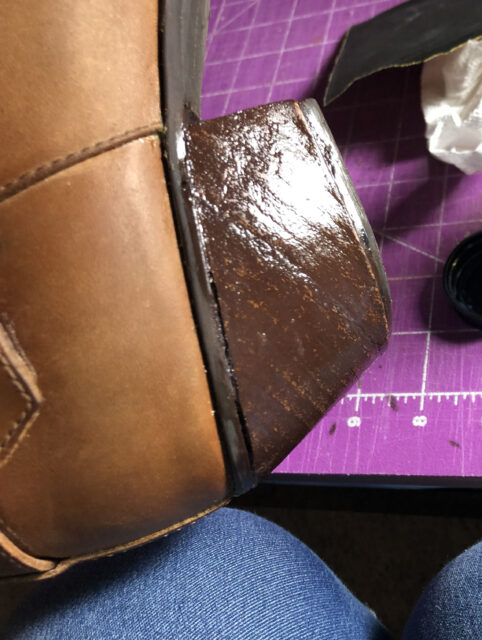
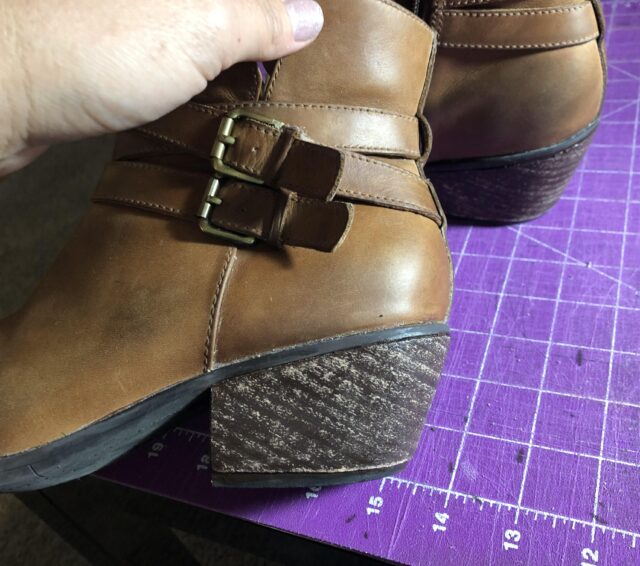
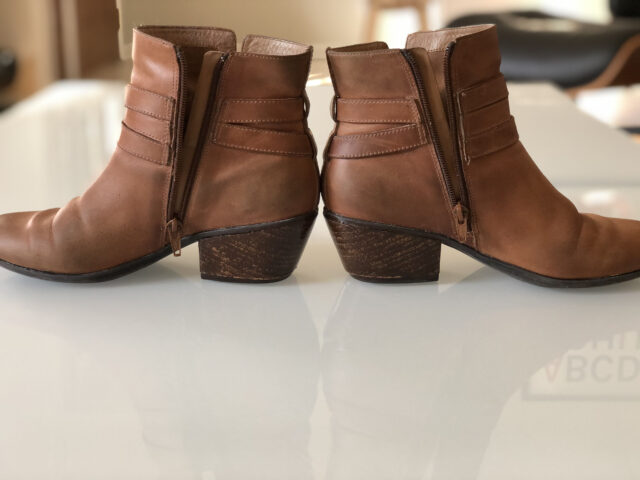
Here is my step by step tutorial on how to replace the Stacked Leather Heel Cover on a pair of boots. I did this DIY more than two years ago, and they have held up beautifully.


I hope this post was helpful to you. If you have any questions, tips, or advice, please feel free to comment below. Have a great day!
LINKS (affiliate)
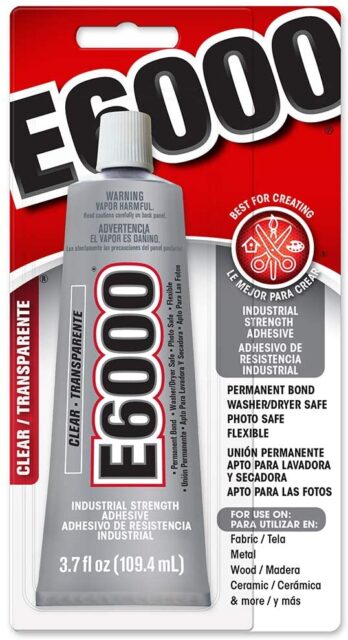
E6000 Glue – https://amzn.to/3ubNbGX
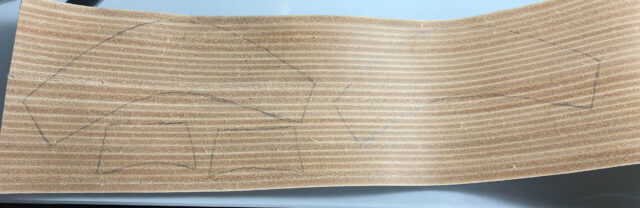
Stacked Leather Strips – https://amzn.to/3JtOyqQ
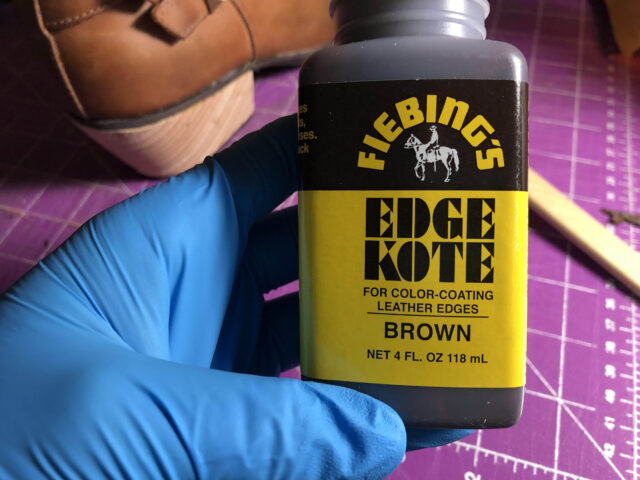
Dark Brown Edge Kote – https://amzn.to/34VLlRX
Leather Dye – https://amzn.to/3qglKuj
Acrylic Resolene Finish – https://amzn.to/3N1WvWD
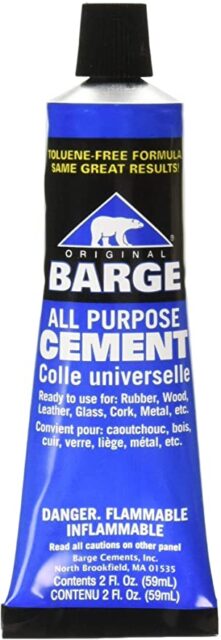
Barge Cement Glue – https://amzn.to/36cOnC2
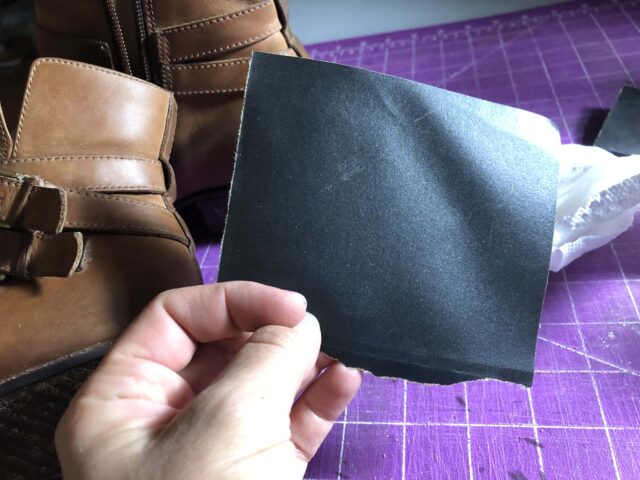
800 Grit Sandpaper – https://amzn.to/3ueT0mY
Paint Brushes – https://amzn.to/3wlzuYE
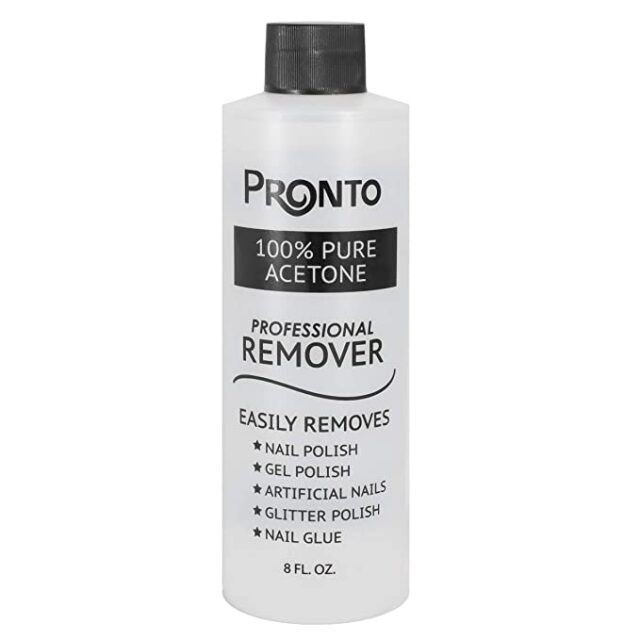
Acetone – https://amzn.to/3qmcm8O
Flush Cutters – https://amzn.to/3tlWJQz
Leather Cleaning Brush – https://amzn.to/3toPmYB
Leather Cleaning & Conditioning Supplies – https://www.clarksusa.com/c/Leather-Kit-II/p/261312590000
Clark’s Boots – https://amzn.to/37K8hVr
This post contains affiliate links, which means I make a small commission at no extra cost to you, but this helps me to create better content. All things in this post are my opinions, and I was not sponsored for this post.
5 comments
When do you use the E6000 glue in replacing the stacked leather? I can’t find in your tutorial where you use it. Are you saying E6000 is good in general for other shoe repair, but not this specific tutorial for replacing stacked leather? Thanks!
Kat,
I’m sorry for the confusion. The E6000 is what I use if parts of the sole are coming off of the shoe or heel. For the actual, tutorial, it isn’t needed. Please let me know if you have any other questions.
The stacked leather strips are almost impossible to find online now. The amazon link is unavailable too.
Sad as that makes the project impossible.
Thanks so much for reading the blog, and yes you are right that is is a lot harder to find than perviously. I have found two sellers on etsy, hopefully that helps. https://www.etsy.com/listing/1432290368/stacked-heel-cover-strips-12mm-x-975×425?gpla=1&gao=1&&utm_source=google&utm_medium=cpc&utm_campaign=shopping_us_-craft_supplies_and_tools&utm_custom1=_k_CjwKCAjwjaWoBhAmEiwAXz8DBRH-ZukrV4D8sp_wRplKCERX0AFZ9CMeZmylBi0sqwdOT_9sHcPSBRoCZe0QAvD_BwE_k_&utm_content=go_12665398257_121762925993_511610210343_pla-295462056867_c__1432290368_156933983&utm_custom2=12665398257
https://www.etsy.com/listing/1312871528/shoemaking-heels-veg-tan-stacked-genuine?gpla=1&gao=1&&utm_source=google&utm_medium=cpc&utm_campaign=shopping_us_-craft_supplies_and_tools&utm_custom1=_k_CjwKCAjwjaWoBhAmEiwAXz8DBYolh7uLMu0w9ONlodY2qpLgQ53pXnWaBAk0i0Gz7kd08CESghE1KxoCF28QAvD_BwE_k_&utm_content=go_12665398257_121762925993_511610210343_pla-295462056867_c__1312871528_468297304&utm_custom2=12665398257
I found the strips on Etsy! Thank you for theis blog!