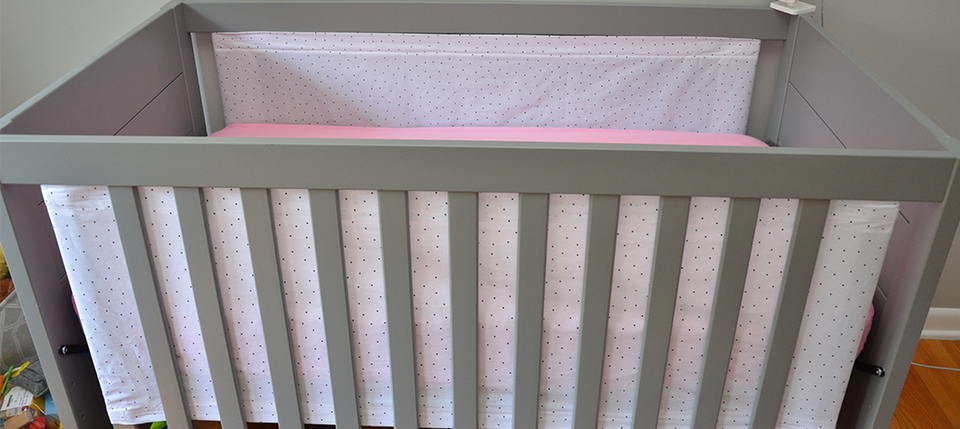
So, I never registered for crib bumpers for Reese. A lot of people are against them because they say a child can suffocate because of them or a whole other plethora of reasons. If I had a set, I probably would have used them when Reese was around 3-4 months old. Reese was very mobile, and could easily move her head so suffocation was something I wasn’t worried about,but a nice simple set runs about $40. I didn’t want to pay that kind of money for something used so shortly. I know I could find them used for cheaper,but it wouldn’t have been hard to find something I wanted, having to meet the person to buy them, and then trying to clean it properly,etc. I needed something though to keep Reese from getting her arms and legs stuck in the slats during this short phase. The next thing I found was a nice mesh bumper that would do exactly what I needed. They are less expensive around $20 and very plain and simple, which I think isn’t too expensive. The only issue is that they are made only for cribs that have slats the whole way around. Reese’s crib has solid ends which means the mesh wouldn’t work. Boo! So I decided I would just make something similar that would fit my needs since I didn’t want to pay $20 for the mesh bumpers to only have to change them once I got them.
Tutorials
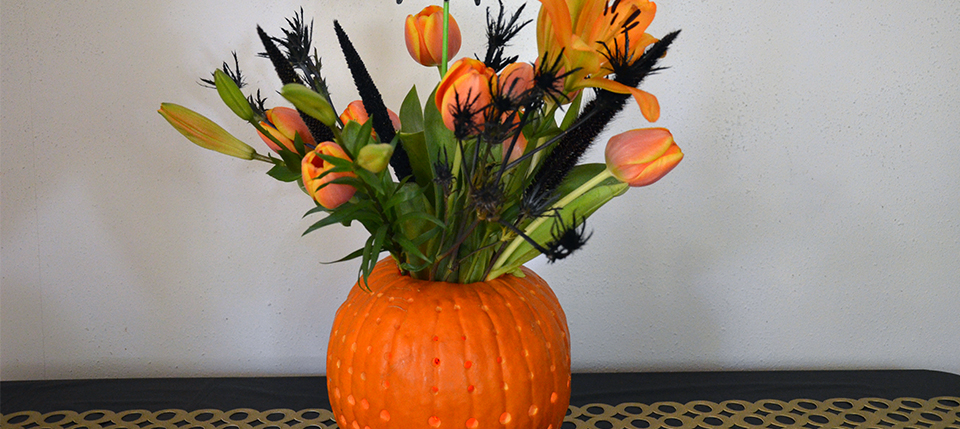
This year for Halloween, I wanted to do some fun decorations. I decided that a pumpkin vase would be fun to do,but I wanted to do my own twist on it. I looked up a ton of tutorials,but none of them ever did much stuff with the actual pumpkin. So I decided I wanted to do a glowing pumpkin. Here is my tutorial and final product.
The second to last weekend in July, we took Reese on our first road trip to Nashville. This trip should be two hours each way. On the way to Nashville, Reese slept most of the trip, and was just starting to get fussy when we made it to Kira and Andrew’s House. We had no idea what to expect with Reese. We didn’t know if she would decide to not sleep even though we have had her in the pack n play in our room when we had lots of guests, but she did really well.
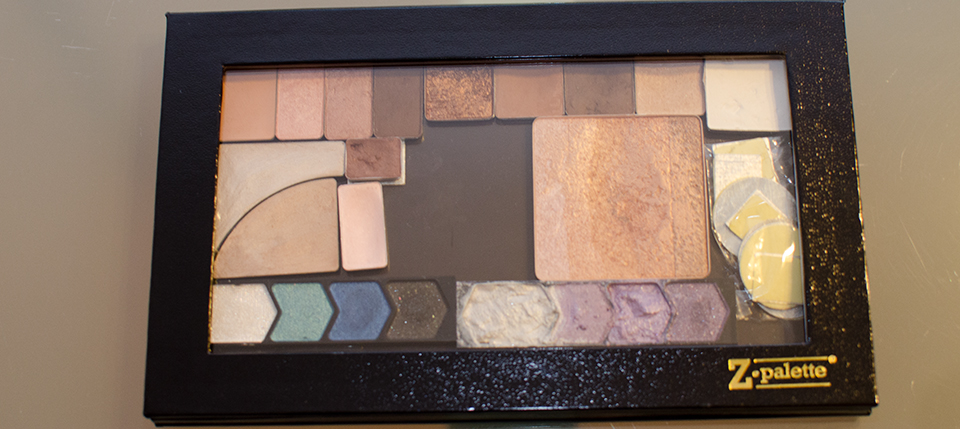
A lot of high end brands of make up have their own cases where you can replace the different make up portions that run out. They are also nice because you can transport most of you stuff in one container. The problem is I don’t wear high end make up, and wanted a universal case that can accommodate any of the random make up for when we are traveling.
Here is more sewing that I was trying to cram in before our little one arrived. One item that I just couldn’t justify spending money on was the Boppy Lounger. It looks so nice and comfy,but the price tag was just too much. So, I bought a yard of light grey minky fabric from Walmart for $6/yard. I followed THIS tutorial, and half an hour later I had a baby lazy boy/lounger.
Two of my sisters have had kids/babies already, and both have given me things that they don’t use or need anymore. My sister Kira brought over Boxes of clothes that our little girl can borrow which is a huge help as we don’t have many good thrift stores around this area, people on craigslist try to charge more for used clothes than they ever paid, and borrowing from our church group won’t work because most of them are having their second kids at the same time as we are having our first, so they need to use those clothes. I’m so grateful that I can borrow all of these from Kira. I did need a good way to keep them apart however. I knew there was no way that I would remember which clothes belonged to whom since we do have a few clothing items that were give to us or I found at the annual Huntsville consignment sales that are actually worth shopping at. So, here is the system that I came up with.

