I have been using DIY Gel Nail kits for around a year now, and I still love them just as much as when I bought my first kit. I have gotten a ton better at painting my nails and making them look good then in the very beginning, but that is just how it goes. I still had issues though with my nails breaking or the polish peeling up. I take vitamins, and have strong nails, but the corners would sometimes chips or slightly bend which would cause the polish to come off of the nail. So here is how I found out how to keep that from happening. I’m not a nail professional, I have just found what works for me.
Below I will start a list of supplies that I use.
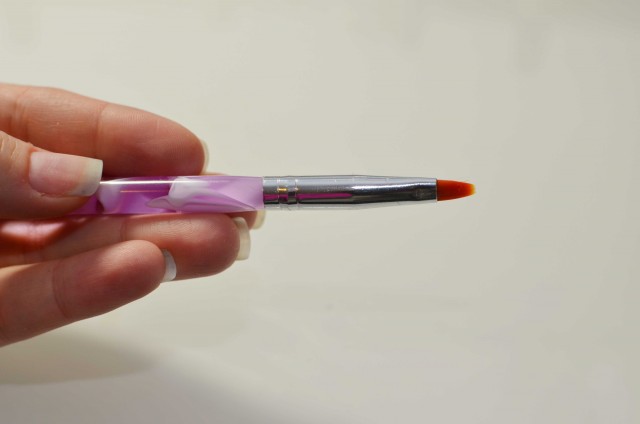
I used this nail brush, but you can honestly use any nail brush from any store.
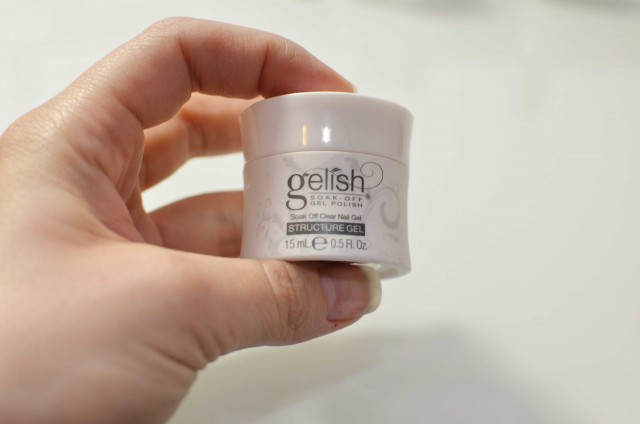
This is my miracle product that I have found. This structure gel, can be used with any of the brand of gel polish. I have used it with Gelish, Sensationail, CND, and Sally Hansen. They now sell it in a normal nail polish container to make applications even easier!!!
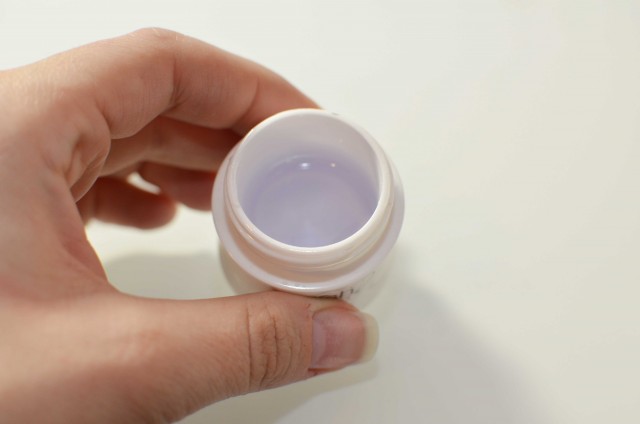
It is a thicker consistency than a base coat of gel polish, but I heard it is close to the same product. I have been using it for 6 months now, and it is still around 3/4 full.
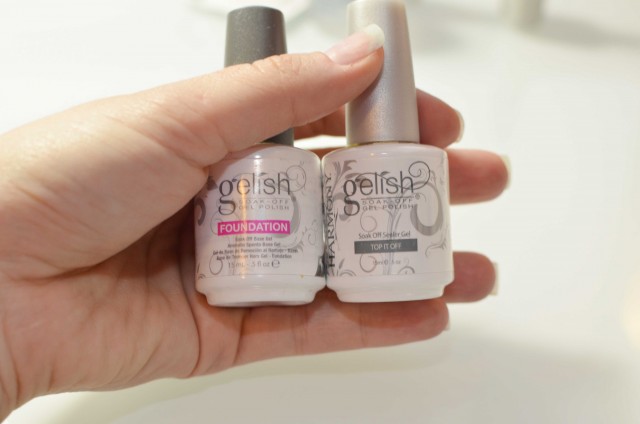
For this tutorial, I used the gelish Foundation and Top it Off products, but again you can use any top and base coat brand that you prefer.
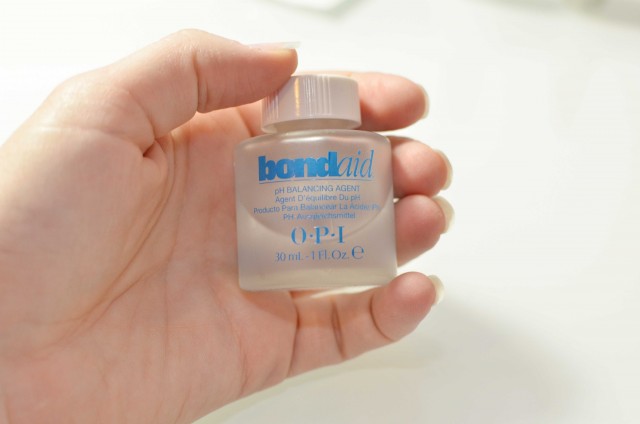
I now have been using the sensationail brand which comes with its own bond aid, but a lot of the brands of gel polish come with their own versions so use whatever you prefer.
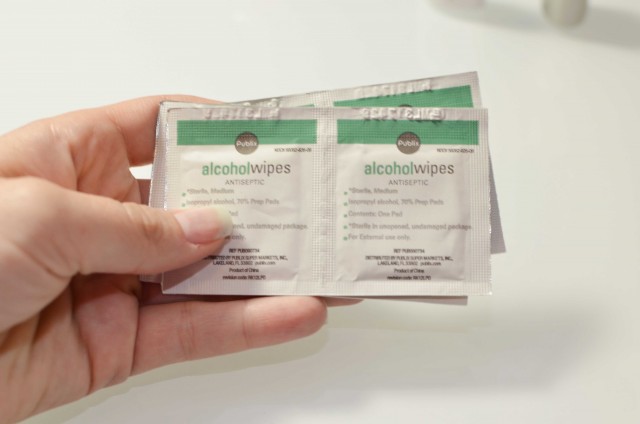
Alcohol swabs, or just rubbing alcohol with a paper towel works just fine.
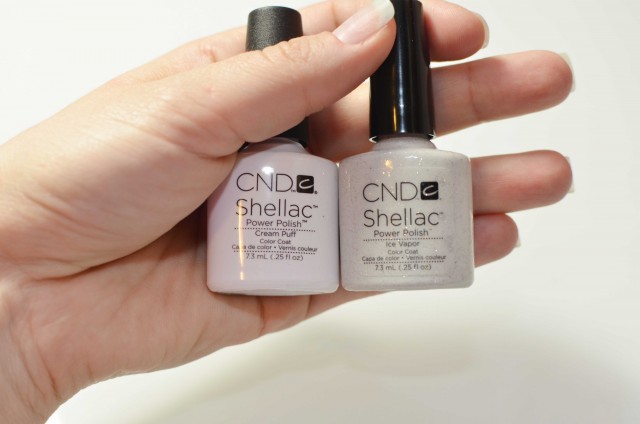
For colors this time I used, CND Cream Puff Similar HERE and Ice Vapor, Similar HERE but you can use any gel polish color or brand as long as it is cured under a UV or LED light.
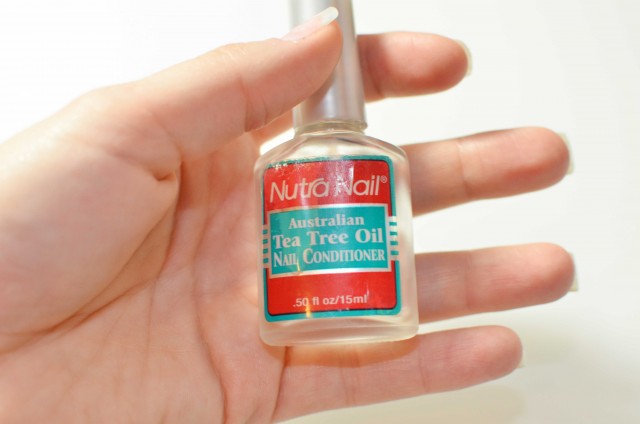
Any oil to treat your nails afterwards. I am using this up, but have used sesame oil, coconut oil, and actual cuticle oil.
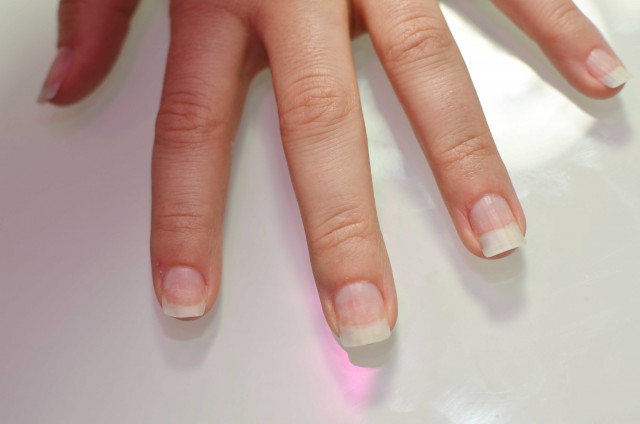
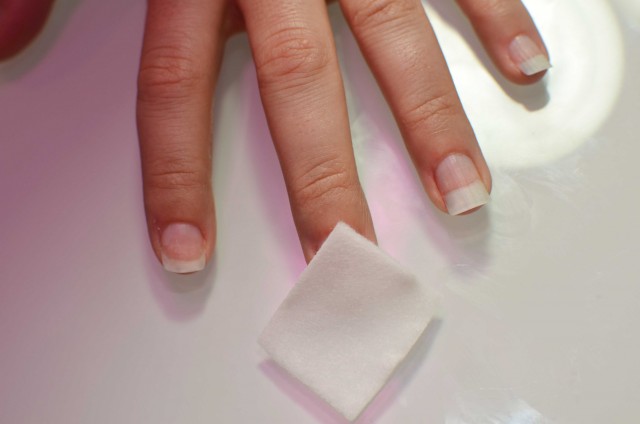
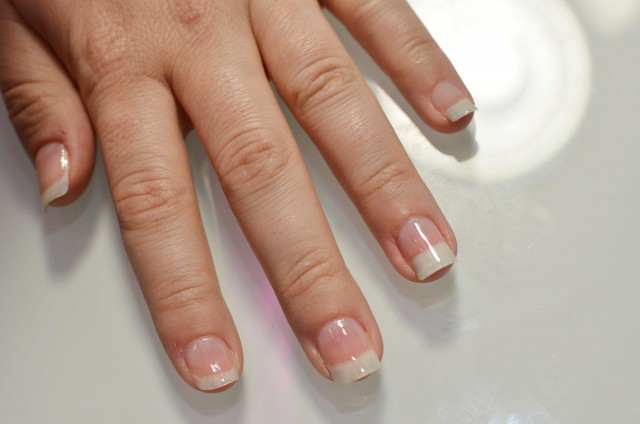
Start with clean washed and dried nails.
Clean the nails and tips off with alcohol.
Use the Bond Aid on the nails and tips.
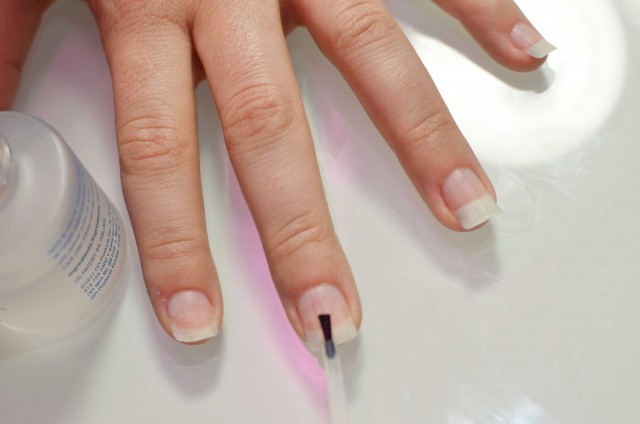
Do a coat of base/foundation polish being sure to cap the tip of each nail. (or run the tip of the brush on along the tip of the nail to seal it in.)
Cure for the amount of time the foundation polish needs with your LED light.
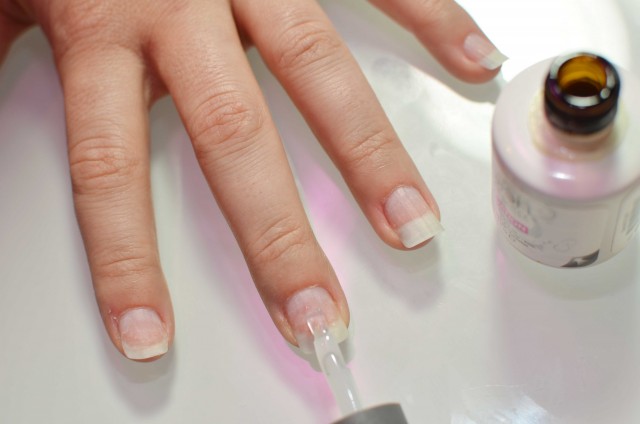
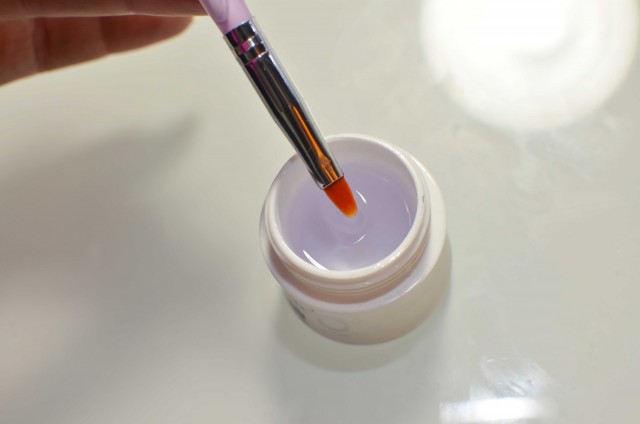
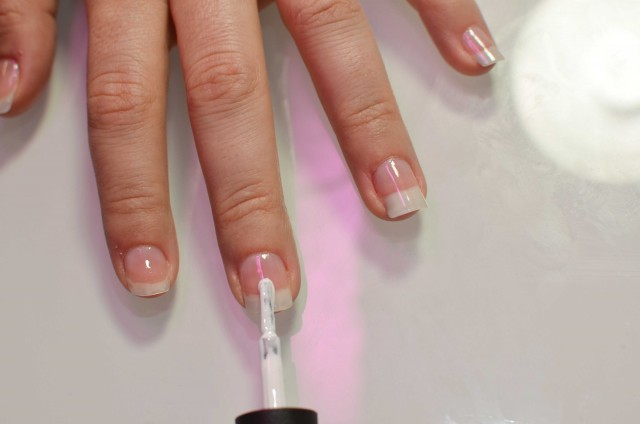
Dip your nail brush into the strengthening gel, this looks scary, but I promise it is super easy.
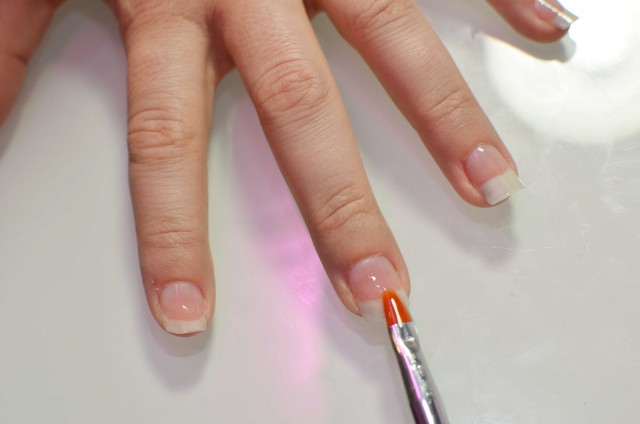
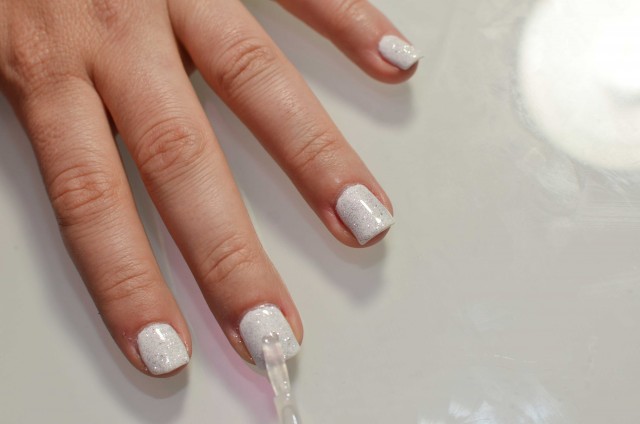
Paint it on each nail watching to not get it on the skin.
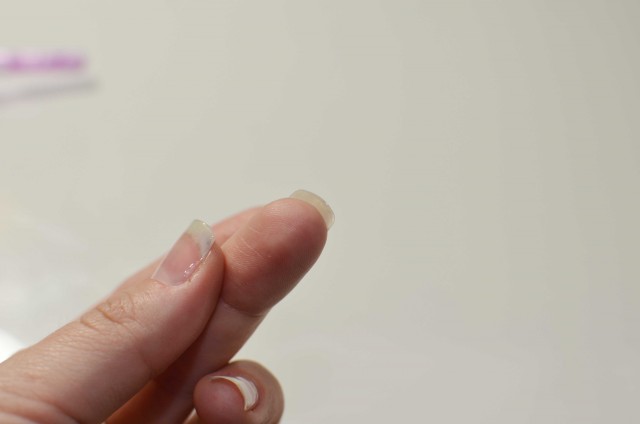
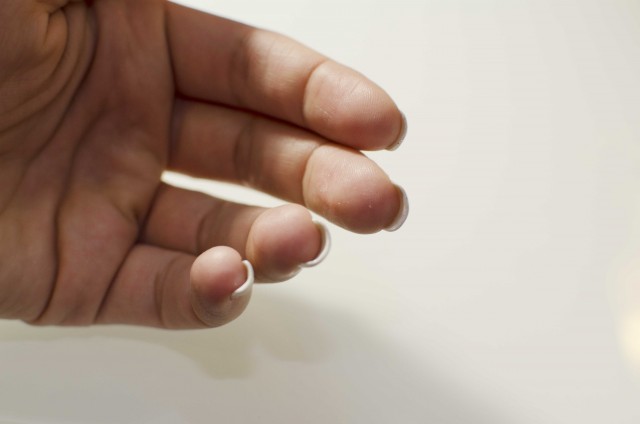
Paint a thin line on the tip of the nail, this is really what helps the polish from peeling.
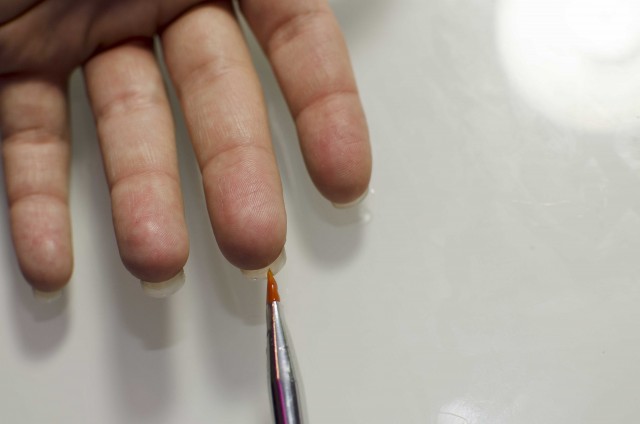
Another view, of just running the brush with the gel on it across the top of the nail.
Then cure for the amount of time the strengthening gel calls for.
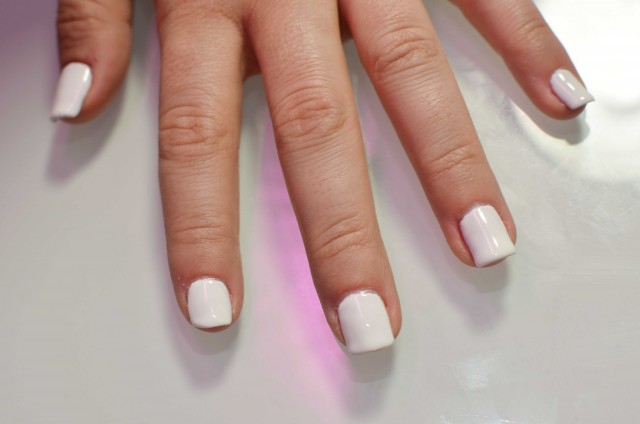
Next paint your first coat of color and then cure under the light.
Next paint the second coat and cure.
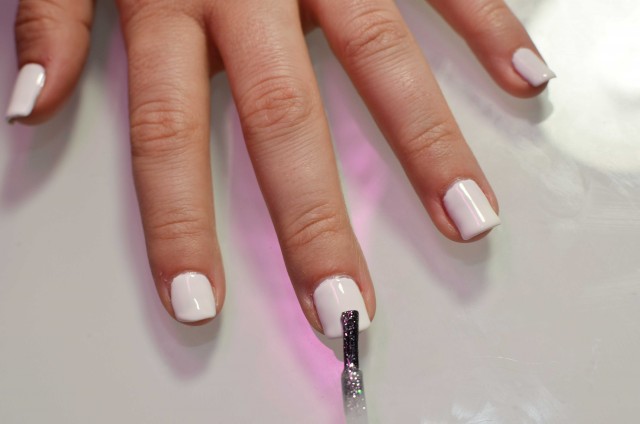
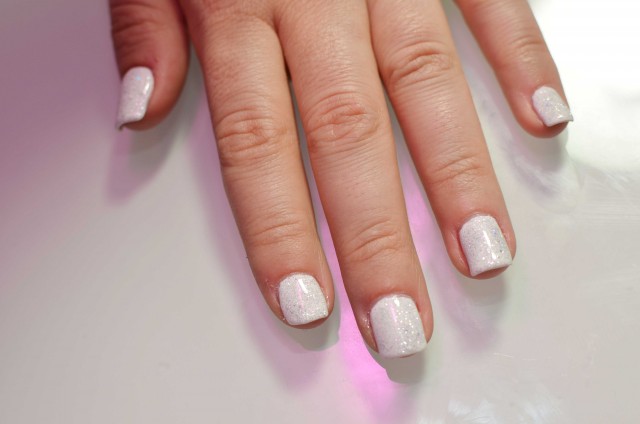
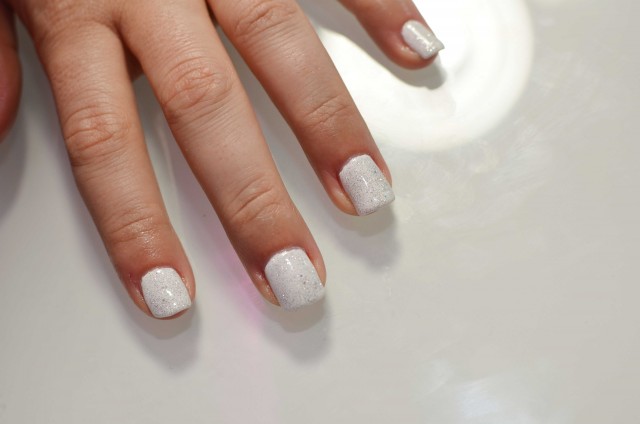
Normally you would be done now,but I wanted to add some sparkle.
So I did a third coat of color, and then I cured for the recommended amount of time.
Then use your Top it Off or top coat making sure to cap each nail. Cure for the recommended amount of time.
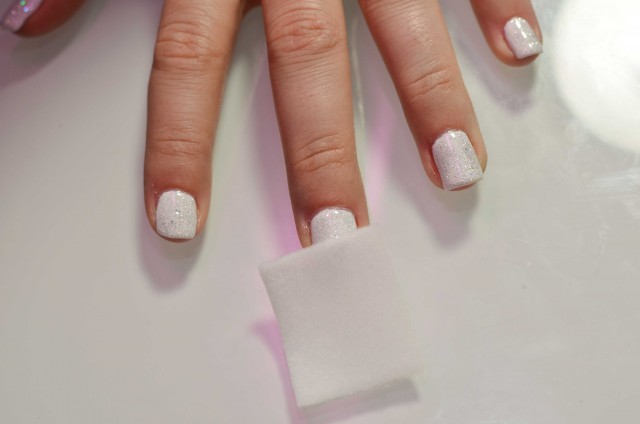
Wipe off all nails and tips with the alcohol pad and your done!
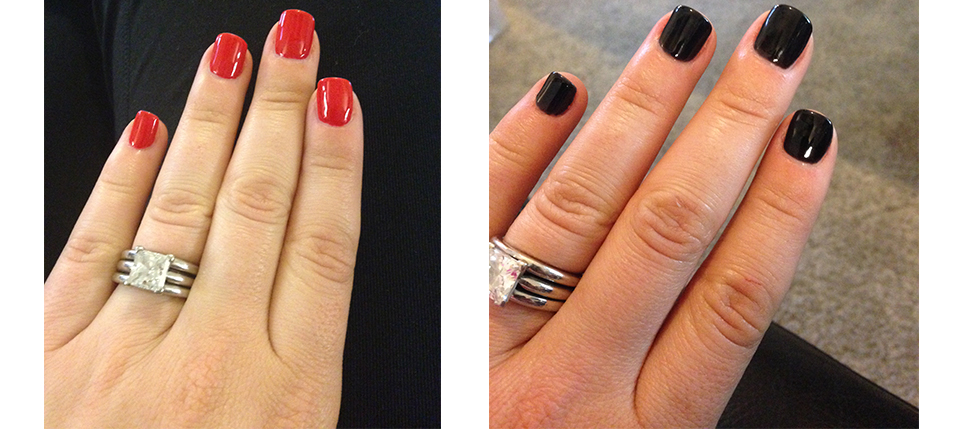
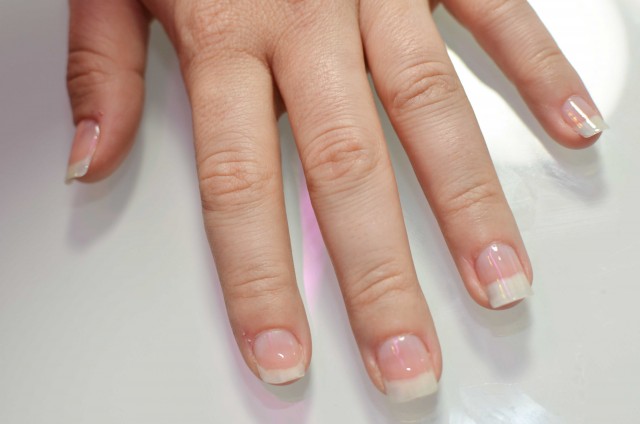
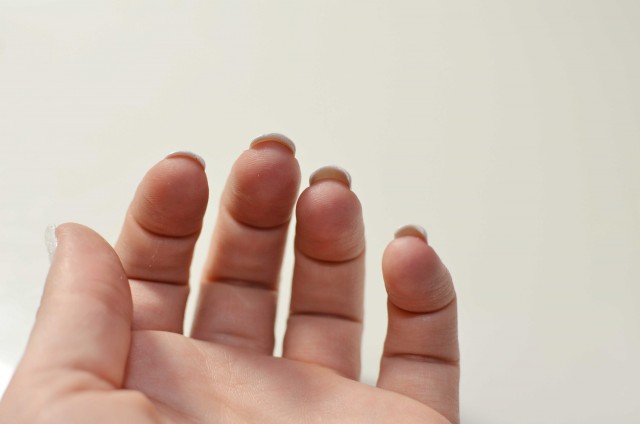
I did the tips thicker than I normally do for this tutorial so you could really see that it gives the nails an added tip which helps keeps your nails from breaking or the polish from peeling.
Another view, like I said above, normally I do thinner coats of all of the polish, but I was trying to make sure the whole process was seen. Using this strengthening gel makes my manicures last two weeks, before they wouldn’t last past one week normally.
Then put some oil on your cuticles and rub it in.
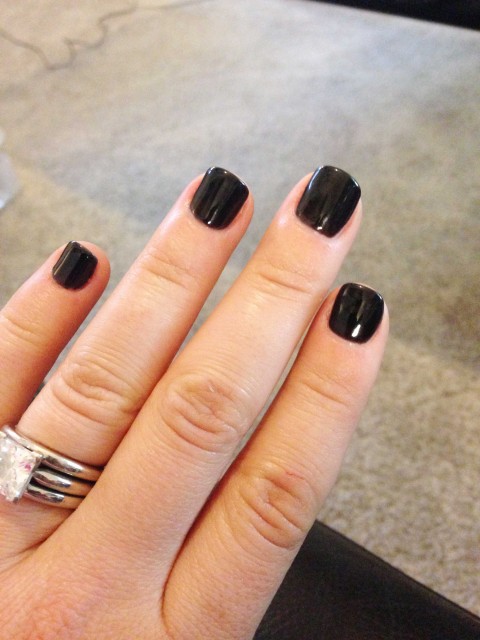
Here I did the same method but used this Midnight Rendezvous polish.
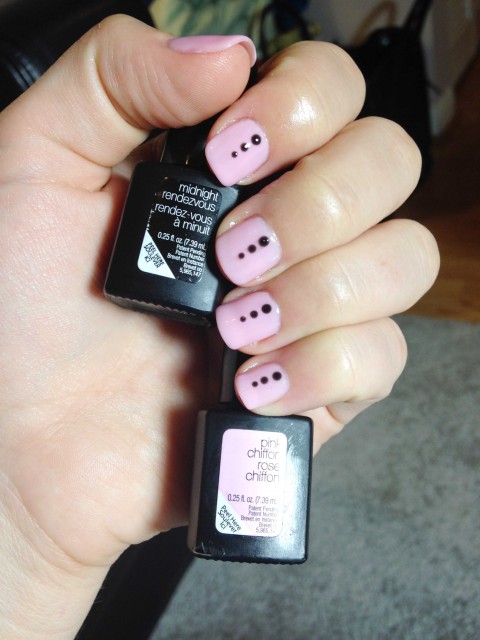
Here I used the Midnight Rendezvous polish and Pink Chiffon and these dotting tools.
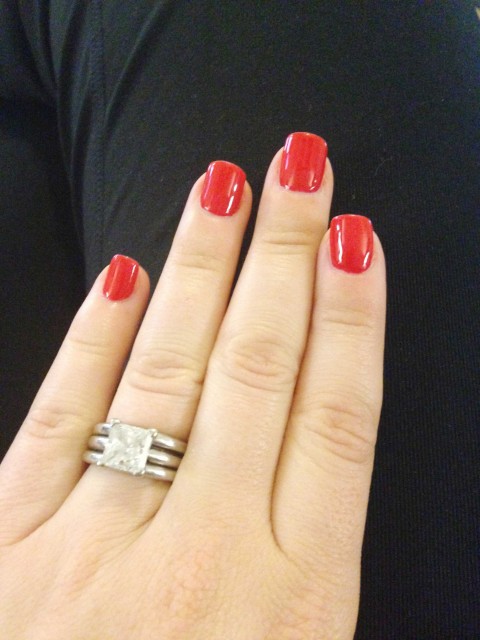 Here you can see the Scarlet Red polish.
How to do French Tip Gel Nails.
To remove the polish, use the same technique you would with any gel nails. See my tutorial here.
If you have any questions about this process, please let me know!


10 comments
[…] you can see my DIY French Tip Gel Nails. I used the following tutorial as well as THIS tutorial which shows how I keep them from […]
Thanks for this great tutorial! I am looking into doing my own nails at home. What LED light do you recommend? The reviews are mind boggling! Thanks.
I use this kit which you can get cheaper in stores especially with coupons, and then you get the base coat, top coat, and color as well. This is the light that I use, and I have had for over 4 years and still works great. If you prefer to invest, and get a nicer one that can do both hands or feet at the same time, you can get this one. Let me know if you have any other questions.
[…] https://thesimplehaus.com/2015/01/how-to-keep-gel-nails-from-breaking-or-peeling/ […]
How would you do your method of French tips with these steps included?
I would wipe the nail with alcohol, then use the PH Bond, next use the guide on the nail, then a coat of base coat on the tip, then the two coats of white polish, then take off the guide. This is when I used the structure gel on the whole nail since it is the same compound as the base coat. Then if you want another light pink or base color you do that then. If you don’t, then just top off with the top coat, and then wipe off with alcohol. Don’t forget to cure between each of the steps.
I use senstationail gel kit . i have been using it for the past 3 years now, every time i do my nails no matter how i do them, just a few minutes later the polish begins to lift and makes for an easy peel off from the nails. are there any tips you can give so that my nail polish can stay for at least a week without peeling off so easily!?
You need to seal the tips of the nails so the polish doesn’t as easily lift off of the nail. Also, I have found the strengthening gel that I mentioned this post is what helped my nails the most from peeling, but again you need to cap the nail edge with it. I hope this helps.
I use a regular nail polish base colour or coat. Since then, no peeling!
Recommend anything from China glaze for that. My gel top coats are all Sally Hansen
Yea!!!! You’ve done it again! Really appreciate your HONEST input about what works and what doesn’t. I’ve spent too much money trying to find solutions like this–and a mom on the internet figures it out! Happy I found your blog!