Two weekends ago, Â I was able to attend one of my sister’s Baby Showers in Nashville. I wanted a cute gift for my niece other than just the typical burp cloth, headband bows,etc. So I decided to make a quilt. I have been working on this project for a while now without her knowing about it so I couldn’t blog about my progress until now. So below is what I did.
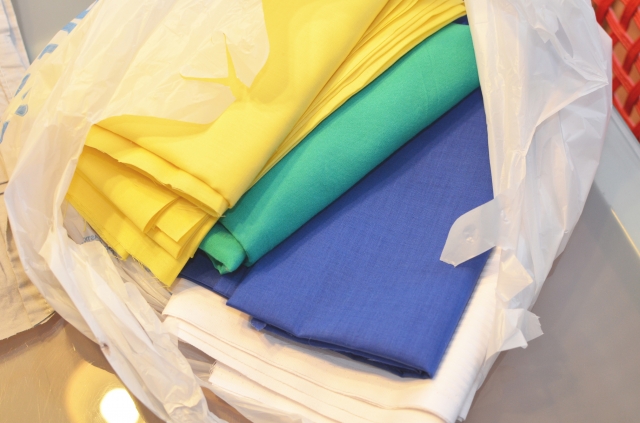
I bought the fabric for the colors I thought her nursery was going to be, and mine are a little off, but I don’t think it will matter that much.
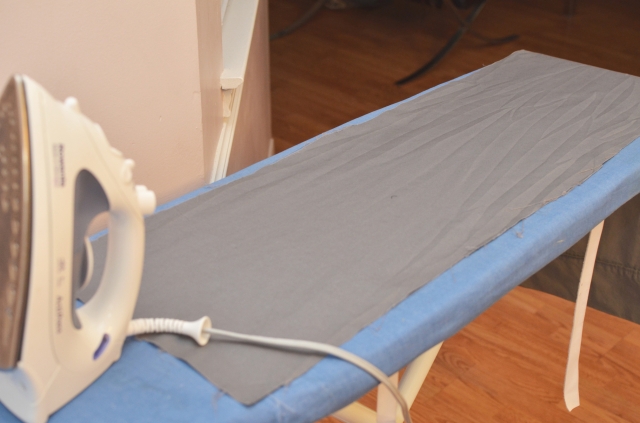
Wash, Iron, etc.
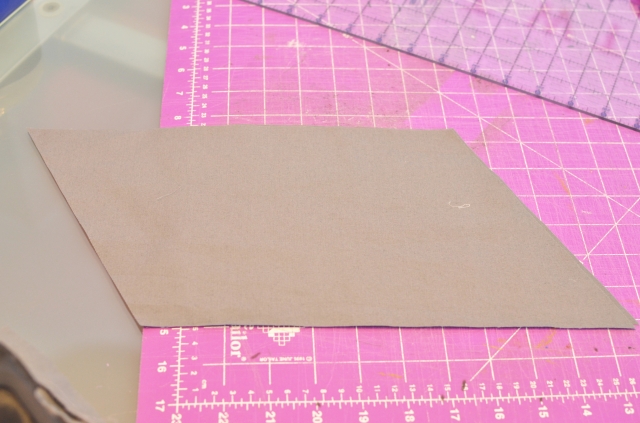
Figure out the shape and color of the pieces and in what order.
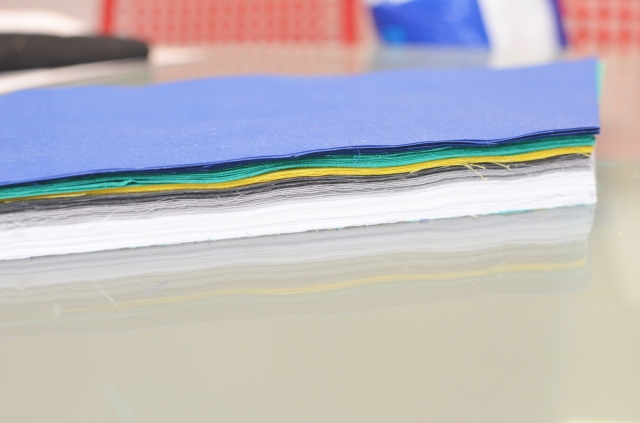
All my pieces ready to lay out.
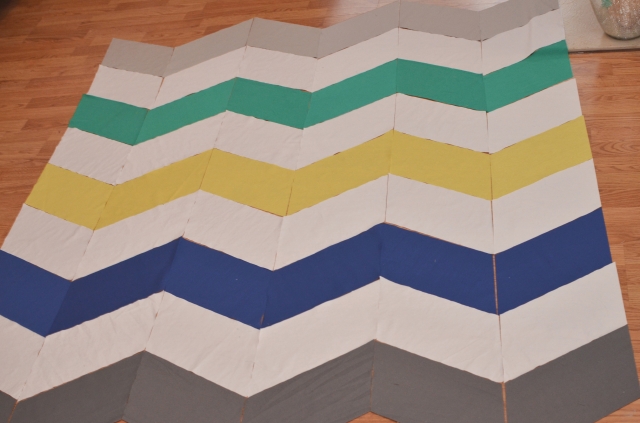
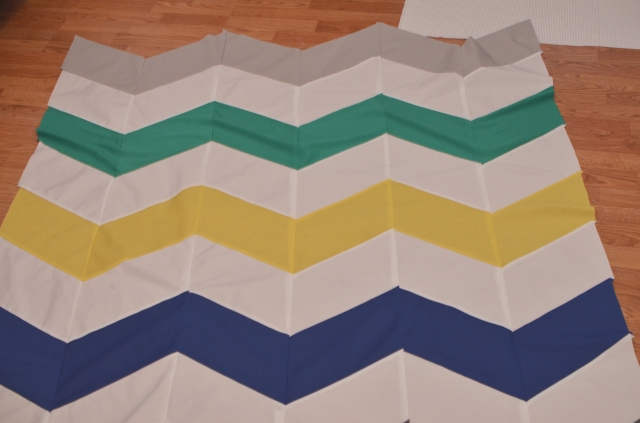
Everything laid out the way I wanted it.
Sewn together.
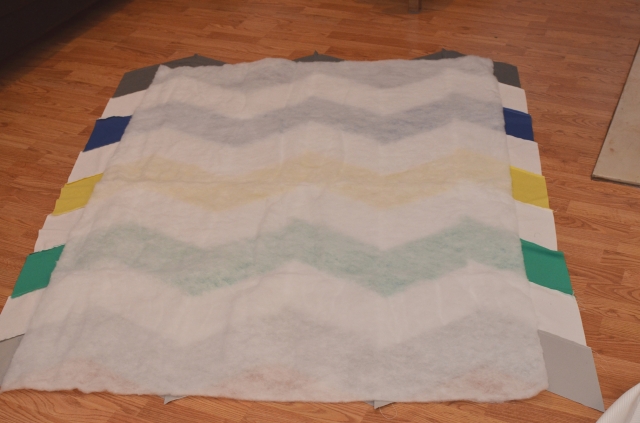
I then put down the crib sized batting.
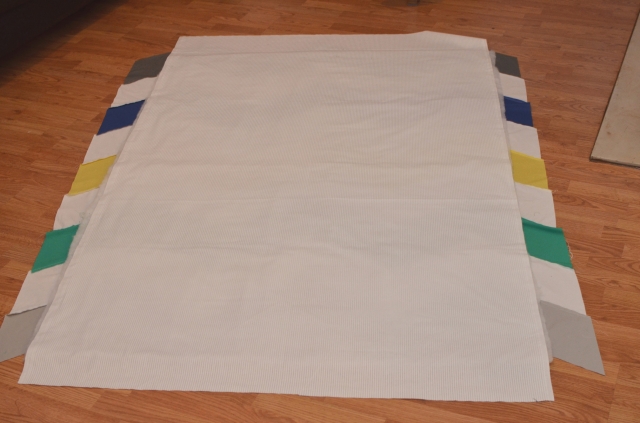
The backing material.
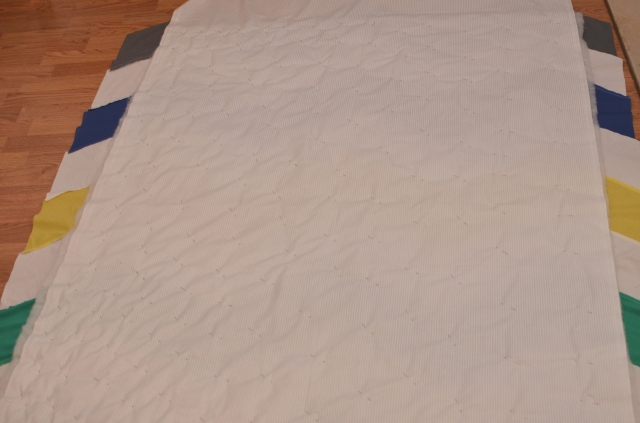
Start pinning.
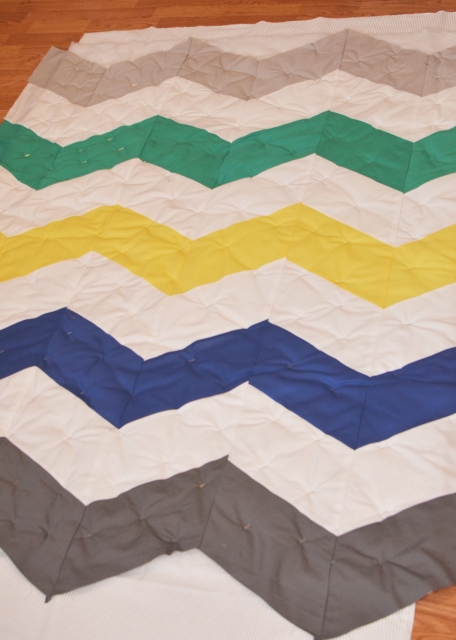
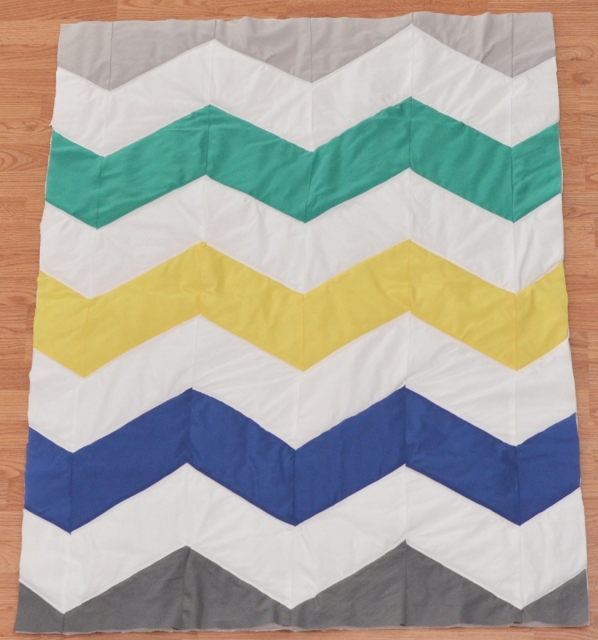
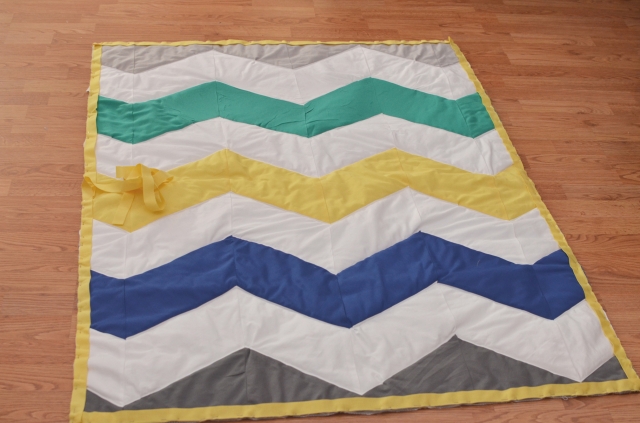
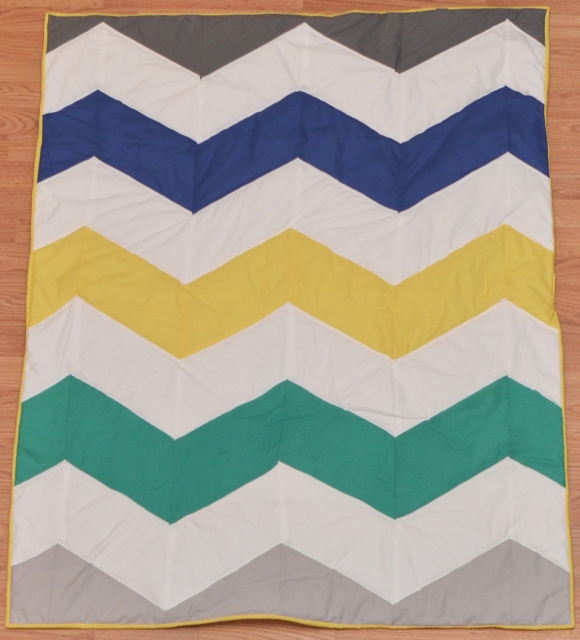
What the front looked like.
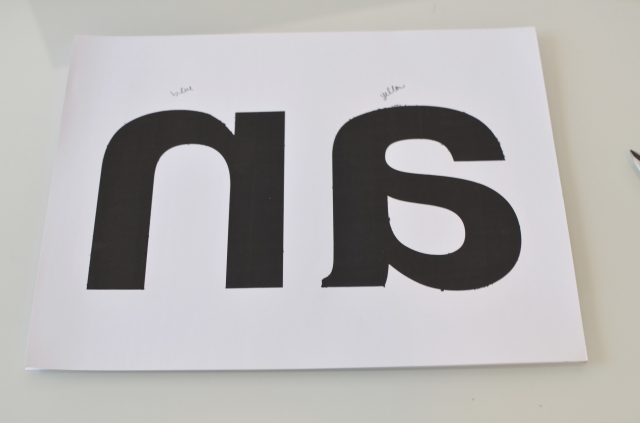
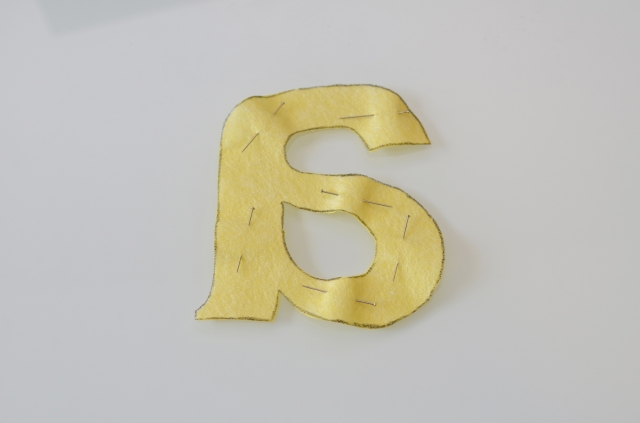
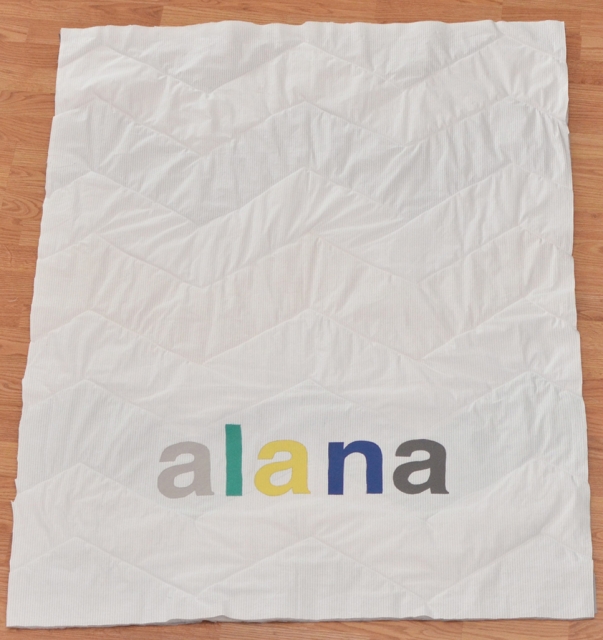
I wanted the back to have her name on it, so I mirrored her name and printed it out.
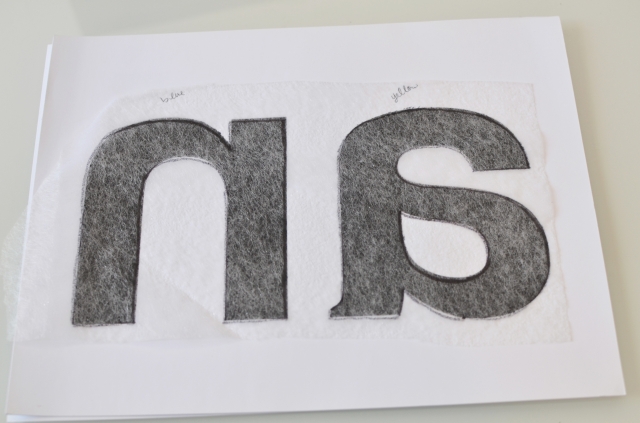
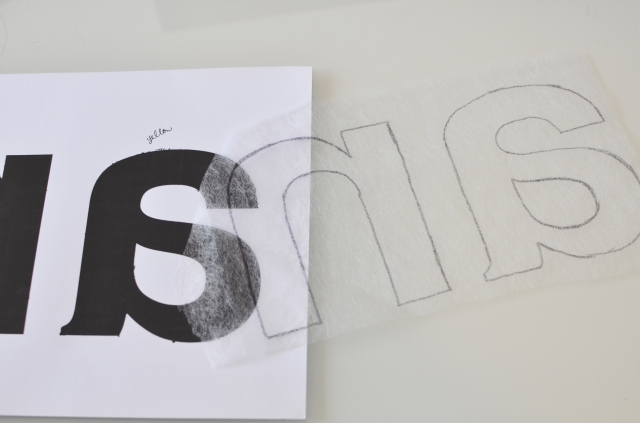
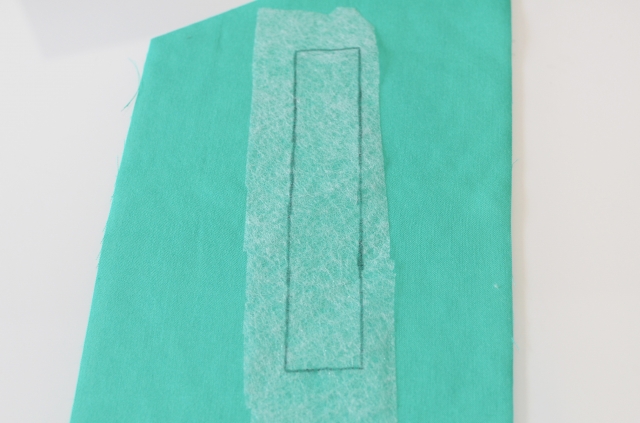
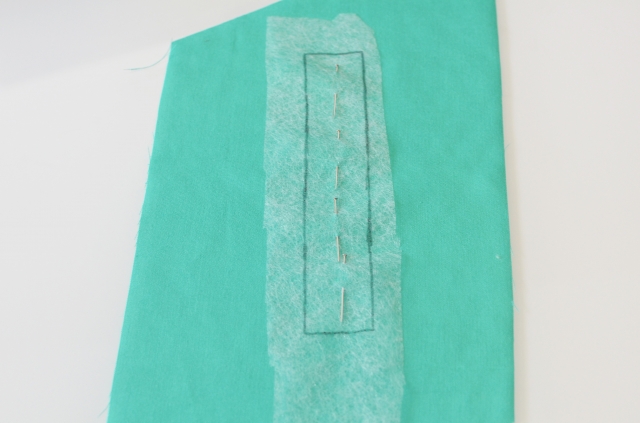
Then I placed some iron material on it and traced it with a sharpie.
Here you can see.
Lay on top of the correct color for that letter.
Pin.
Then cut out.
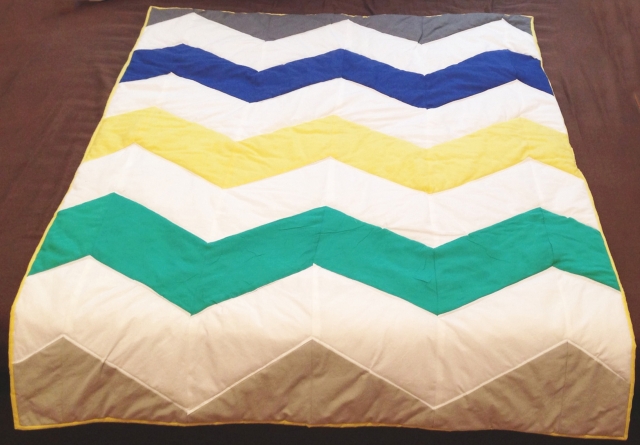
The front.
I then “quilted” the quilt and cut off all excess fabric and batting,etc.
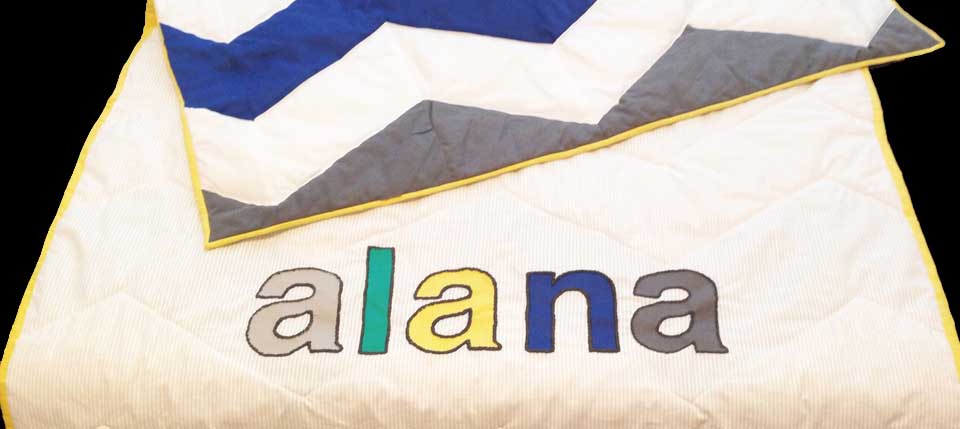
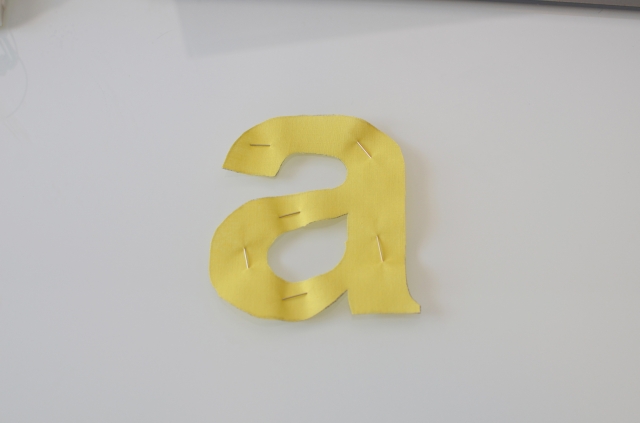
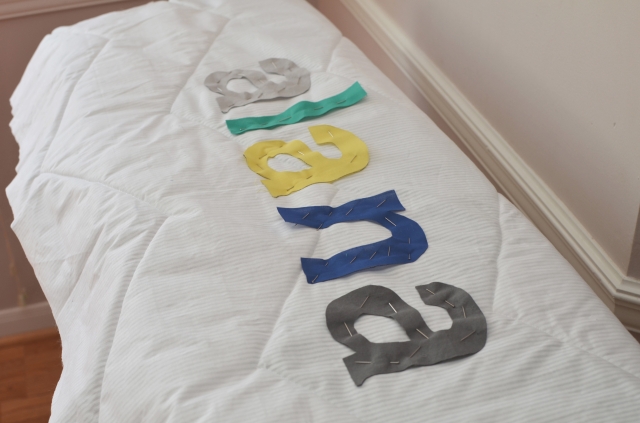
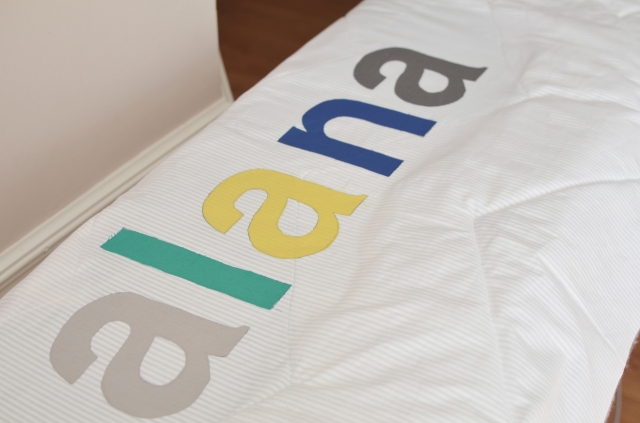
I then placed my letters where I wanted them. I understand that normally you would just machine sew these letters on, then embroider on the back before quilting,but I really didn’t want diagonal stitch lines through the letter so I did the longer hard route,but I think it looks really good now.
Then get ready to iron them on.
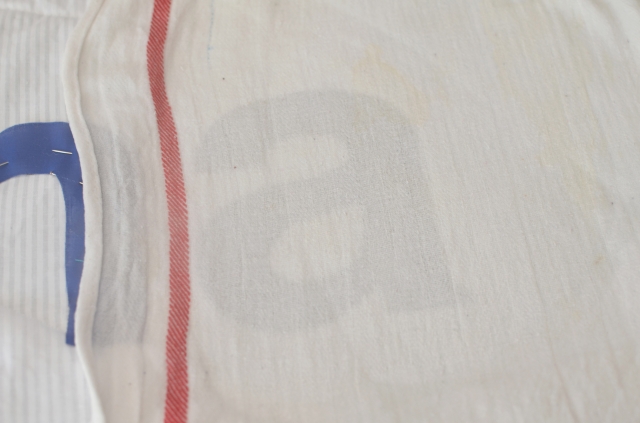
Without moving the letter, slowly remove the pins, and then place a damp rag or cloth on top before ironing.
Repeat with all of the letters.
After this picture was taken, I fluffed up underneath the letters to it wouldn’t look so flat there.
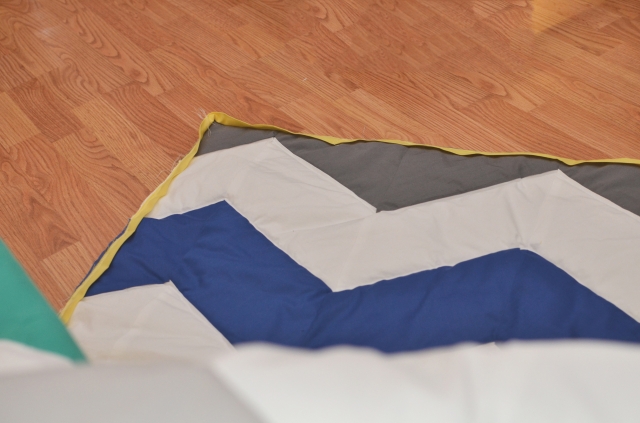
I then made bias tape out of the yellow and pinned it the whole way around the quilt, then I machine sewed around the first time.
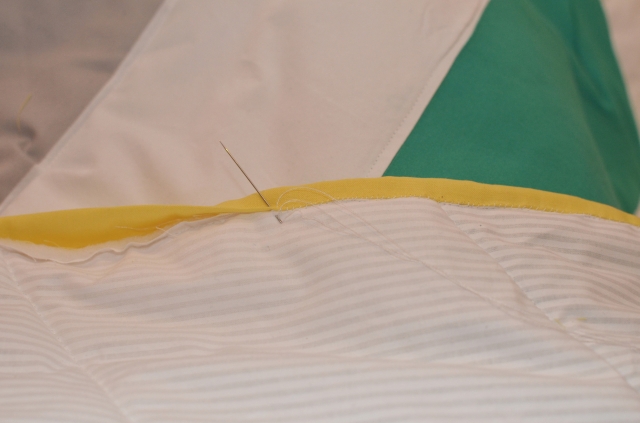
Then I stitched it around by hand because I didn’t want the stitching to show on the other side if I had used a machine on this second portion.
While I was working.
Woohoo, done with that part.
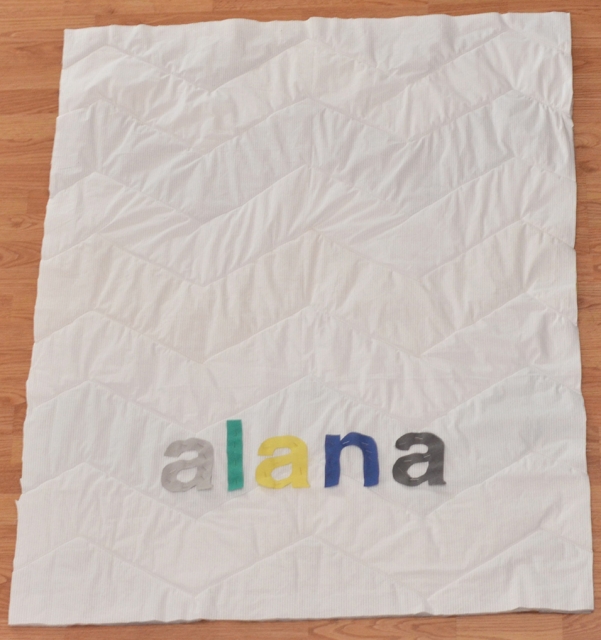
Here is the back, all I had left to do was the letters.
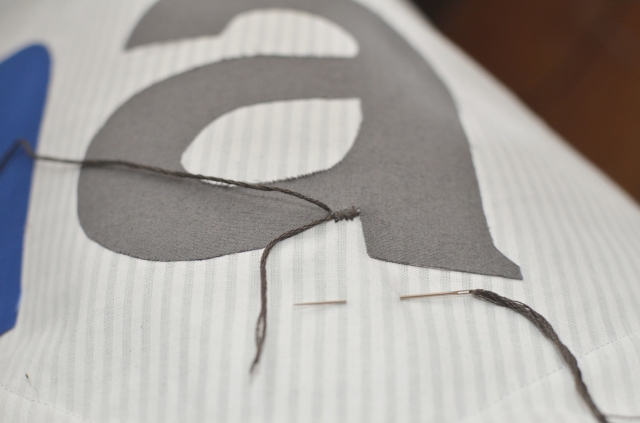
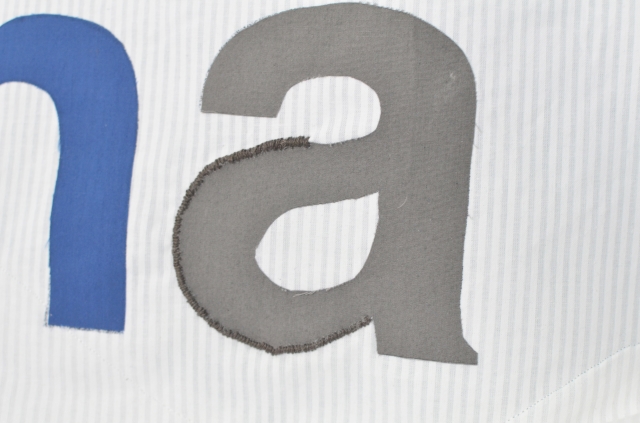
I have to embroider by only sewing through one layer of the fabric which was pretty easy. Here you can see how I hid the tail under my stitches.  Once enough was hidden, I would just cut off the excess and keep going.
I used embroidery floss since it was thicker and made this process faster.
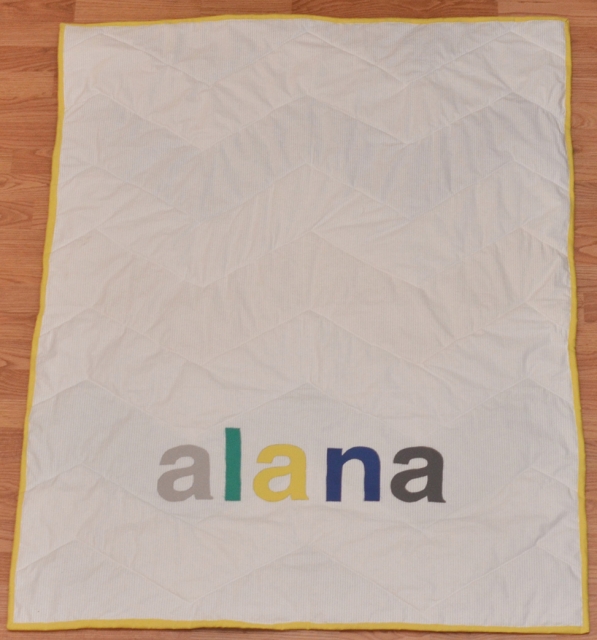
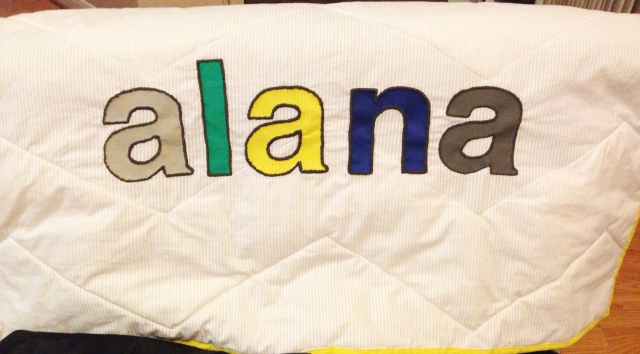
Here is the back finished, I did about one letter a weekend.
Kira says that she likes it so that makes me happy even though the colors aren’t perfectly matched to her nursery. This was a fun quilt to finish, and I know I am not an expert,but I felt it was good enough to gift.
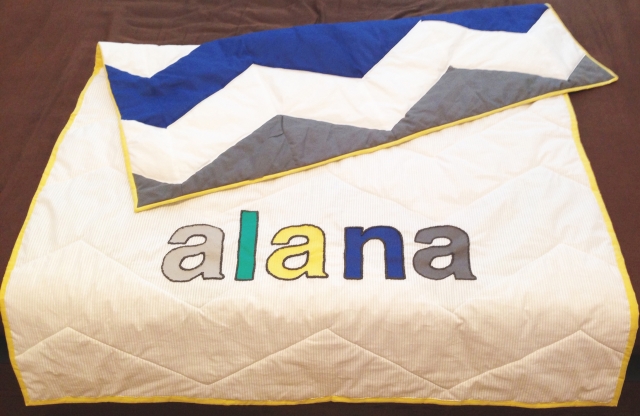
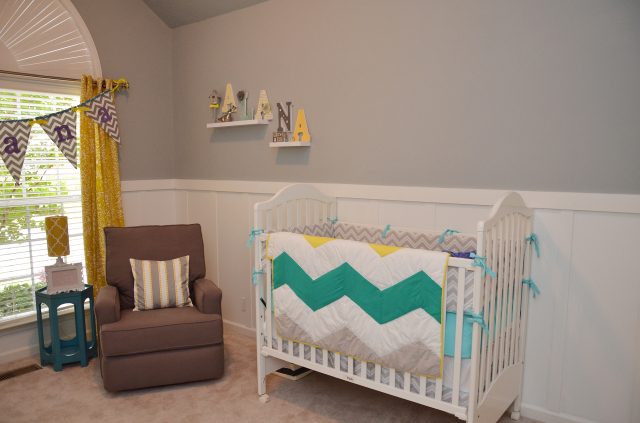
Here is the quilt in my sister’s Nursery!


 Â
 







6 comments
I absolutely LOVE the quilt! So soft and so beautiful. Thank you Tante Jessica 🙂
I am so glad you like it Kira, Lets hope Alana does too!
From experience with quilts handed down from generations, it doesn’t matter that it doesn’t match exactly. It’s the love and the time that went into it that will be appreciated and remembered through the years. Hubby still has a crib-sized quilt that an aunt sewed for him, that must have been before they knew his gender, and it didn’t even matter. His mom said he would drag the PINK and green lovey around, long after his crib days were over. When our first was born, we used it for her as a stroller blanket, and it’s now packed away for her first born. 🙂
You did an awesome job! It’s beautiful and will be treasured for years to come.
It is beautiful! I am sure that Alana will love it too! You did a great job. Something you might want to add when you are visiting next time, take a fabric pen and in one corner put your name and year you made it. These quilts after so many years end up in places you might never know and this being a hand made item, I know things that my Mom and Grandmother made – just to know the year is awesome. A wonderful gift for your new niece.
Love the multicolor chevrons! And great job on the monogram! Thanks for linking up at All Things Pretty!
[…] Previous Next […]