

This is the last dessert that I made for the family reunion. I actually made this dough at Christmas time, but it makes so many I was forced to freeze a portion of the dough and use it later. It thawed in a few hours which was super fast, and it honestly tasted just as good as the ones I had made fresh.
I got the recipe from Heather who is an AMAZING cook and blogger, so GO HERE for her pictures which are more amazing than mine.
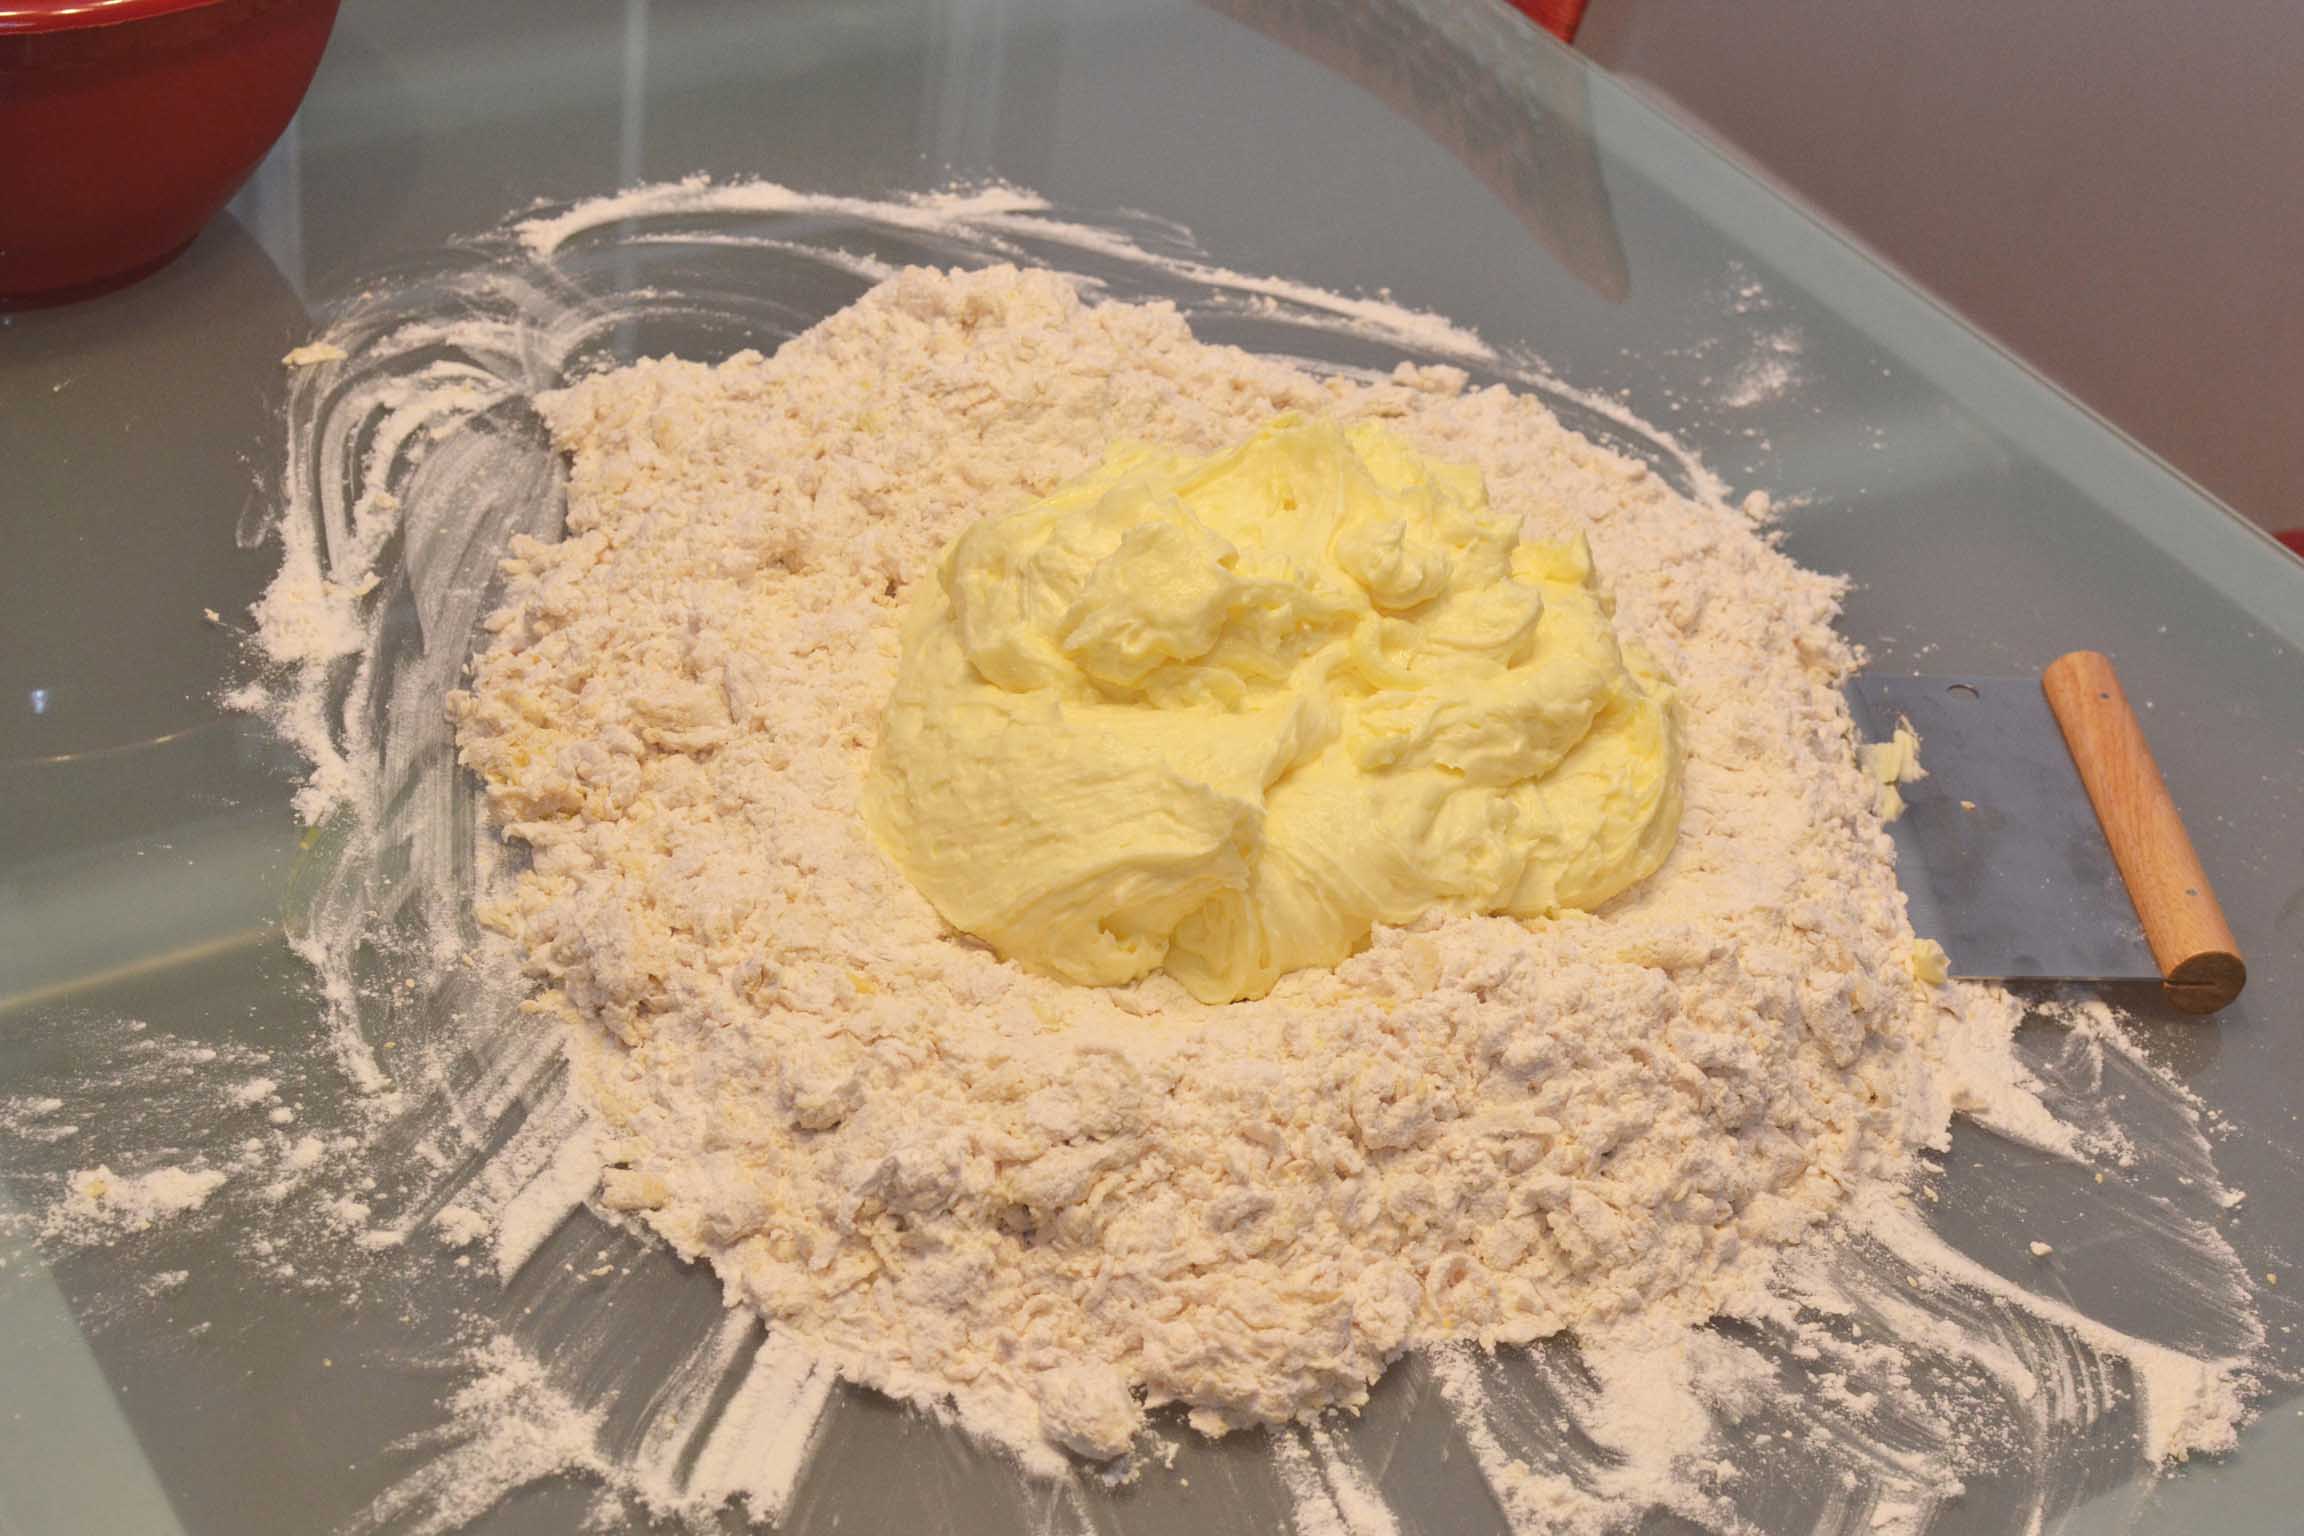
This recipe makes around 10 dozen cookies, so you mix a portion of the recipe in one bowl and the other portion in a different bowl. Then on a very clean table or surface, you combine the two by hand. I had never made a recipe like this, but it is so tasty and worth it.
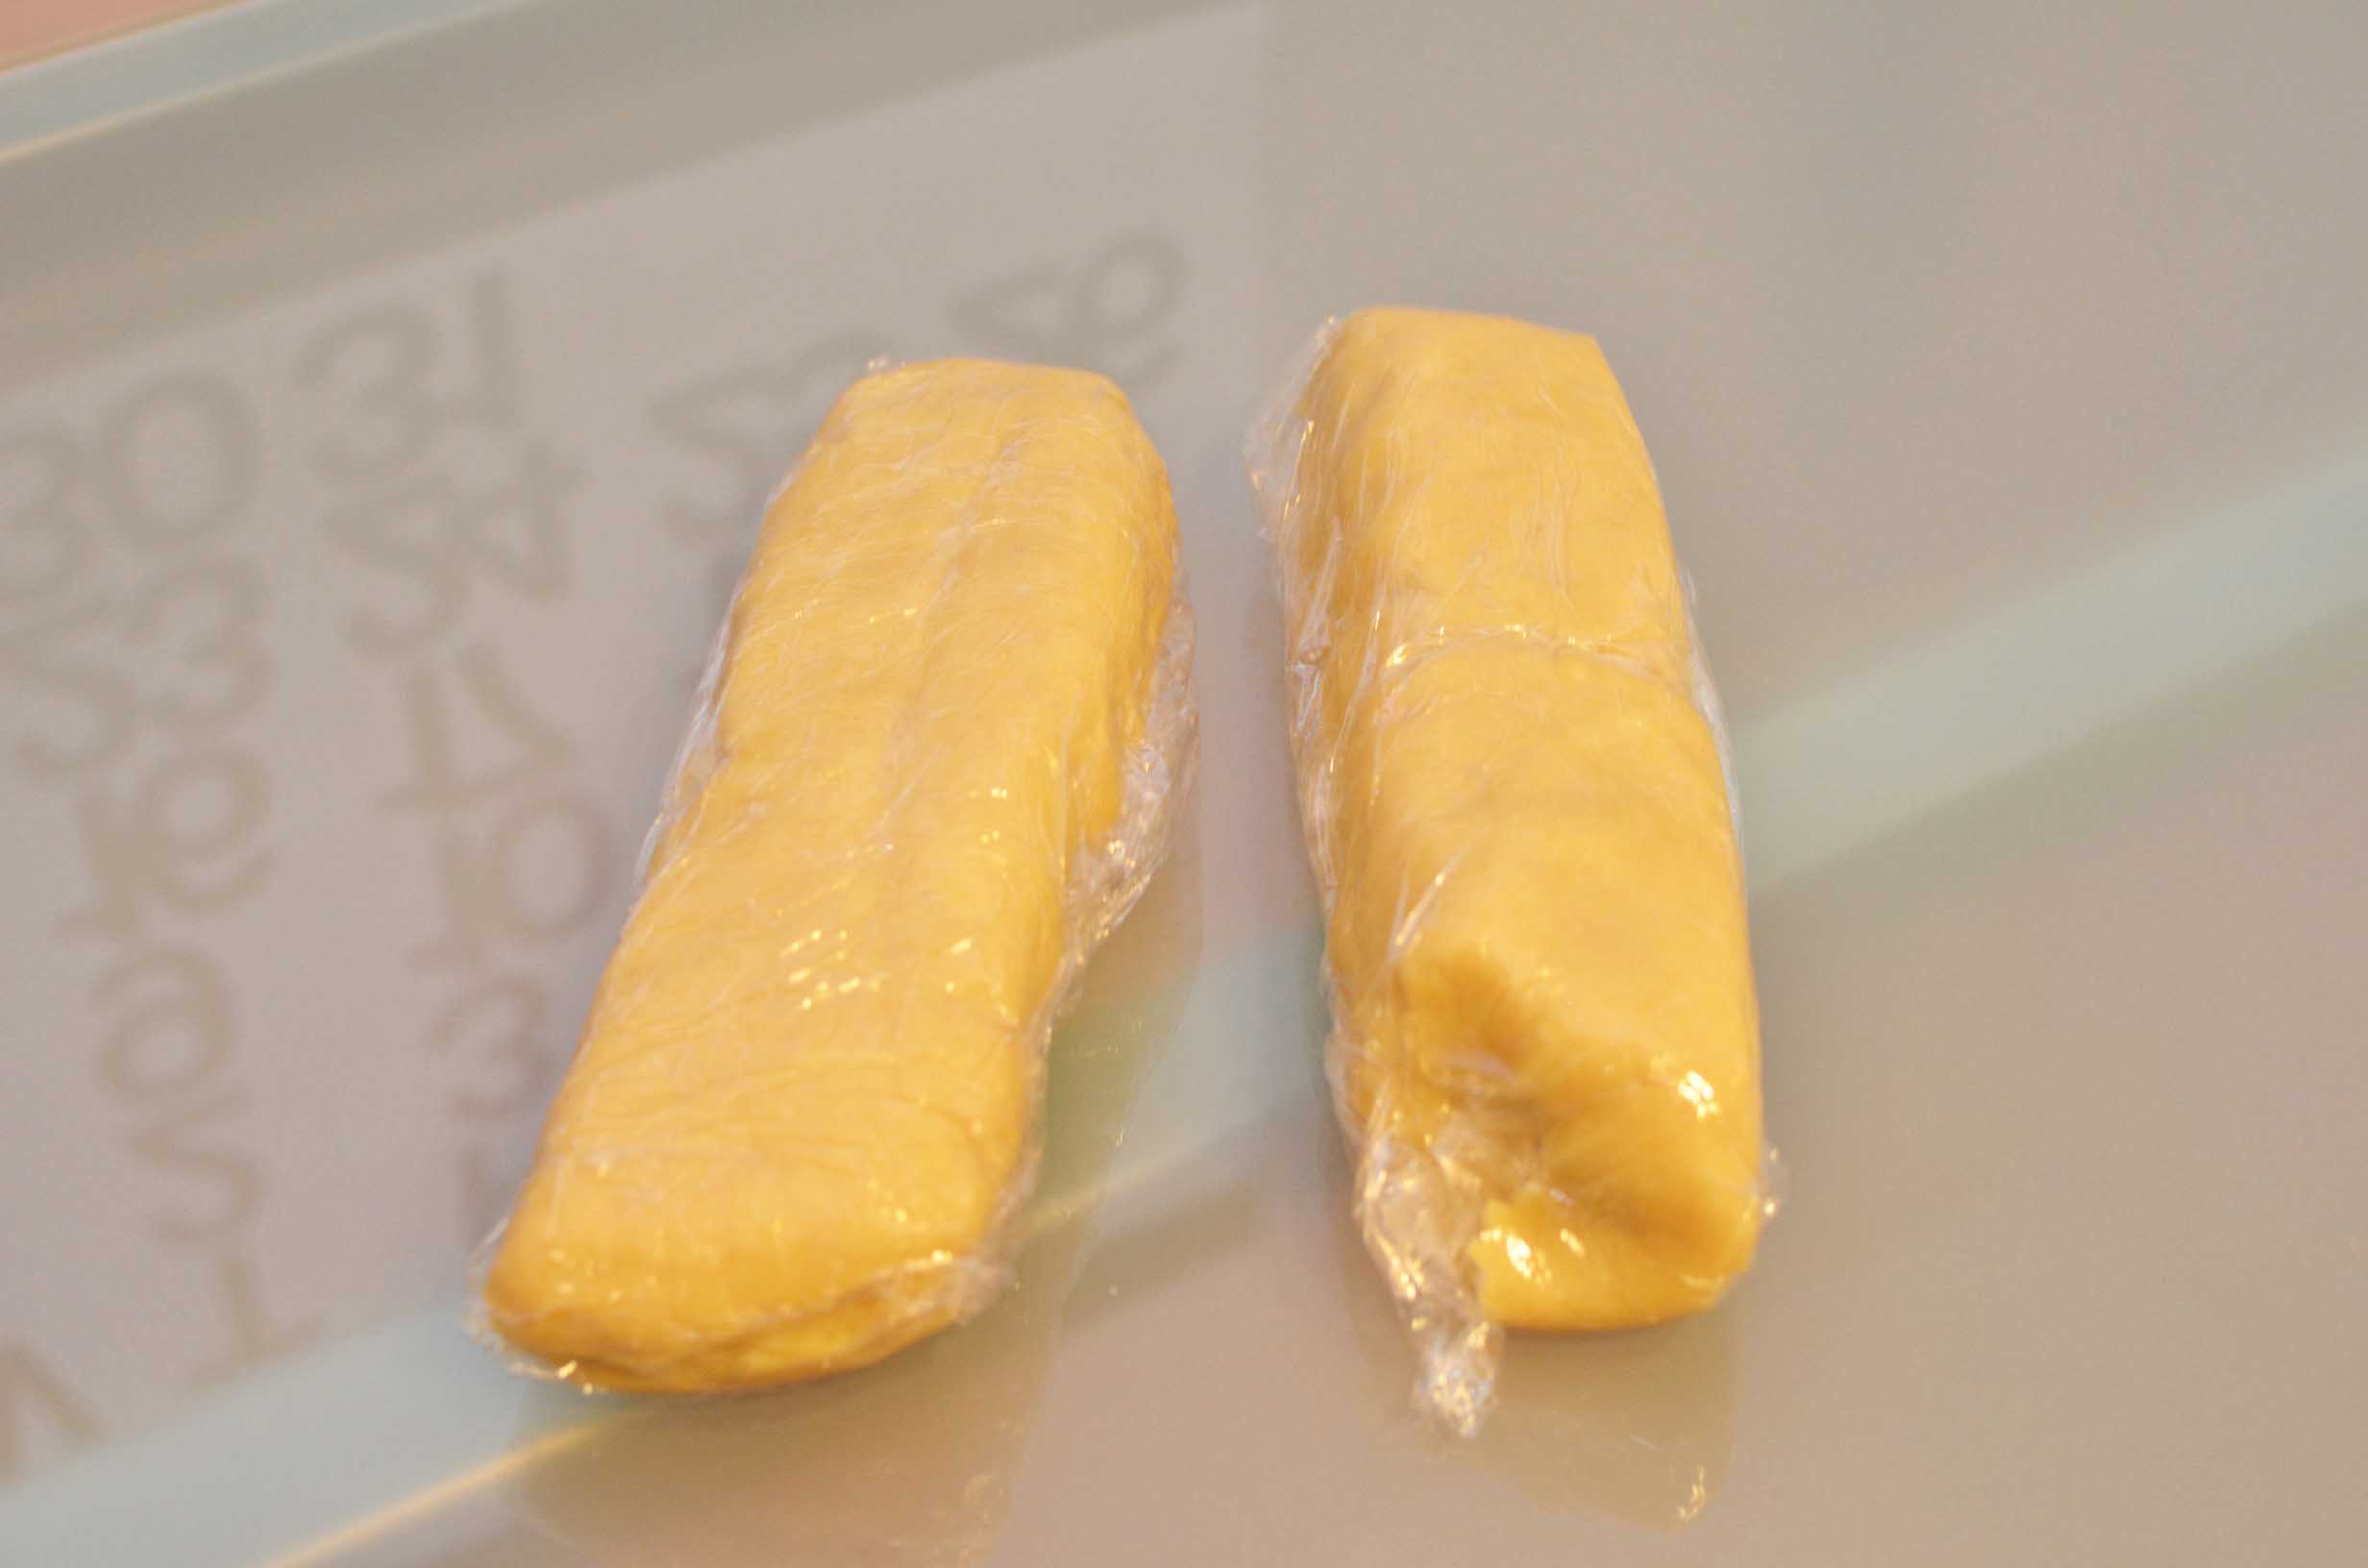
Here is the dough that I had frozen after I had thawed it for an hour or two. You don’t want it getting to warm.
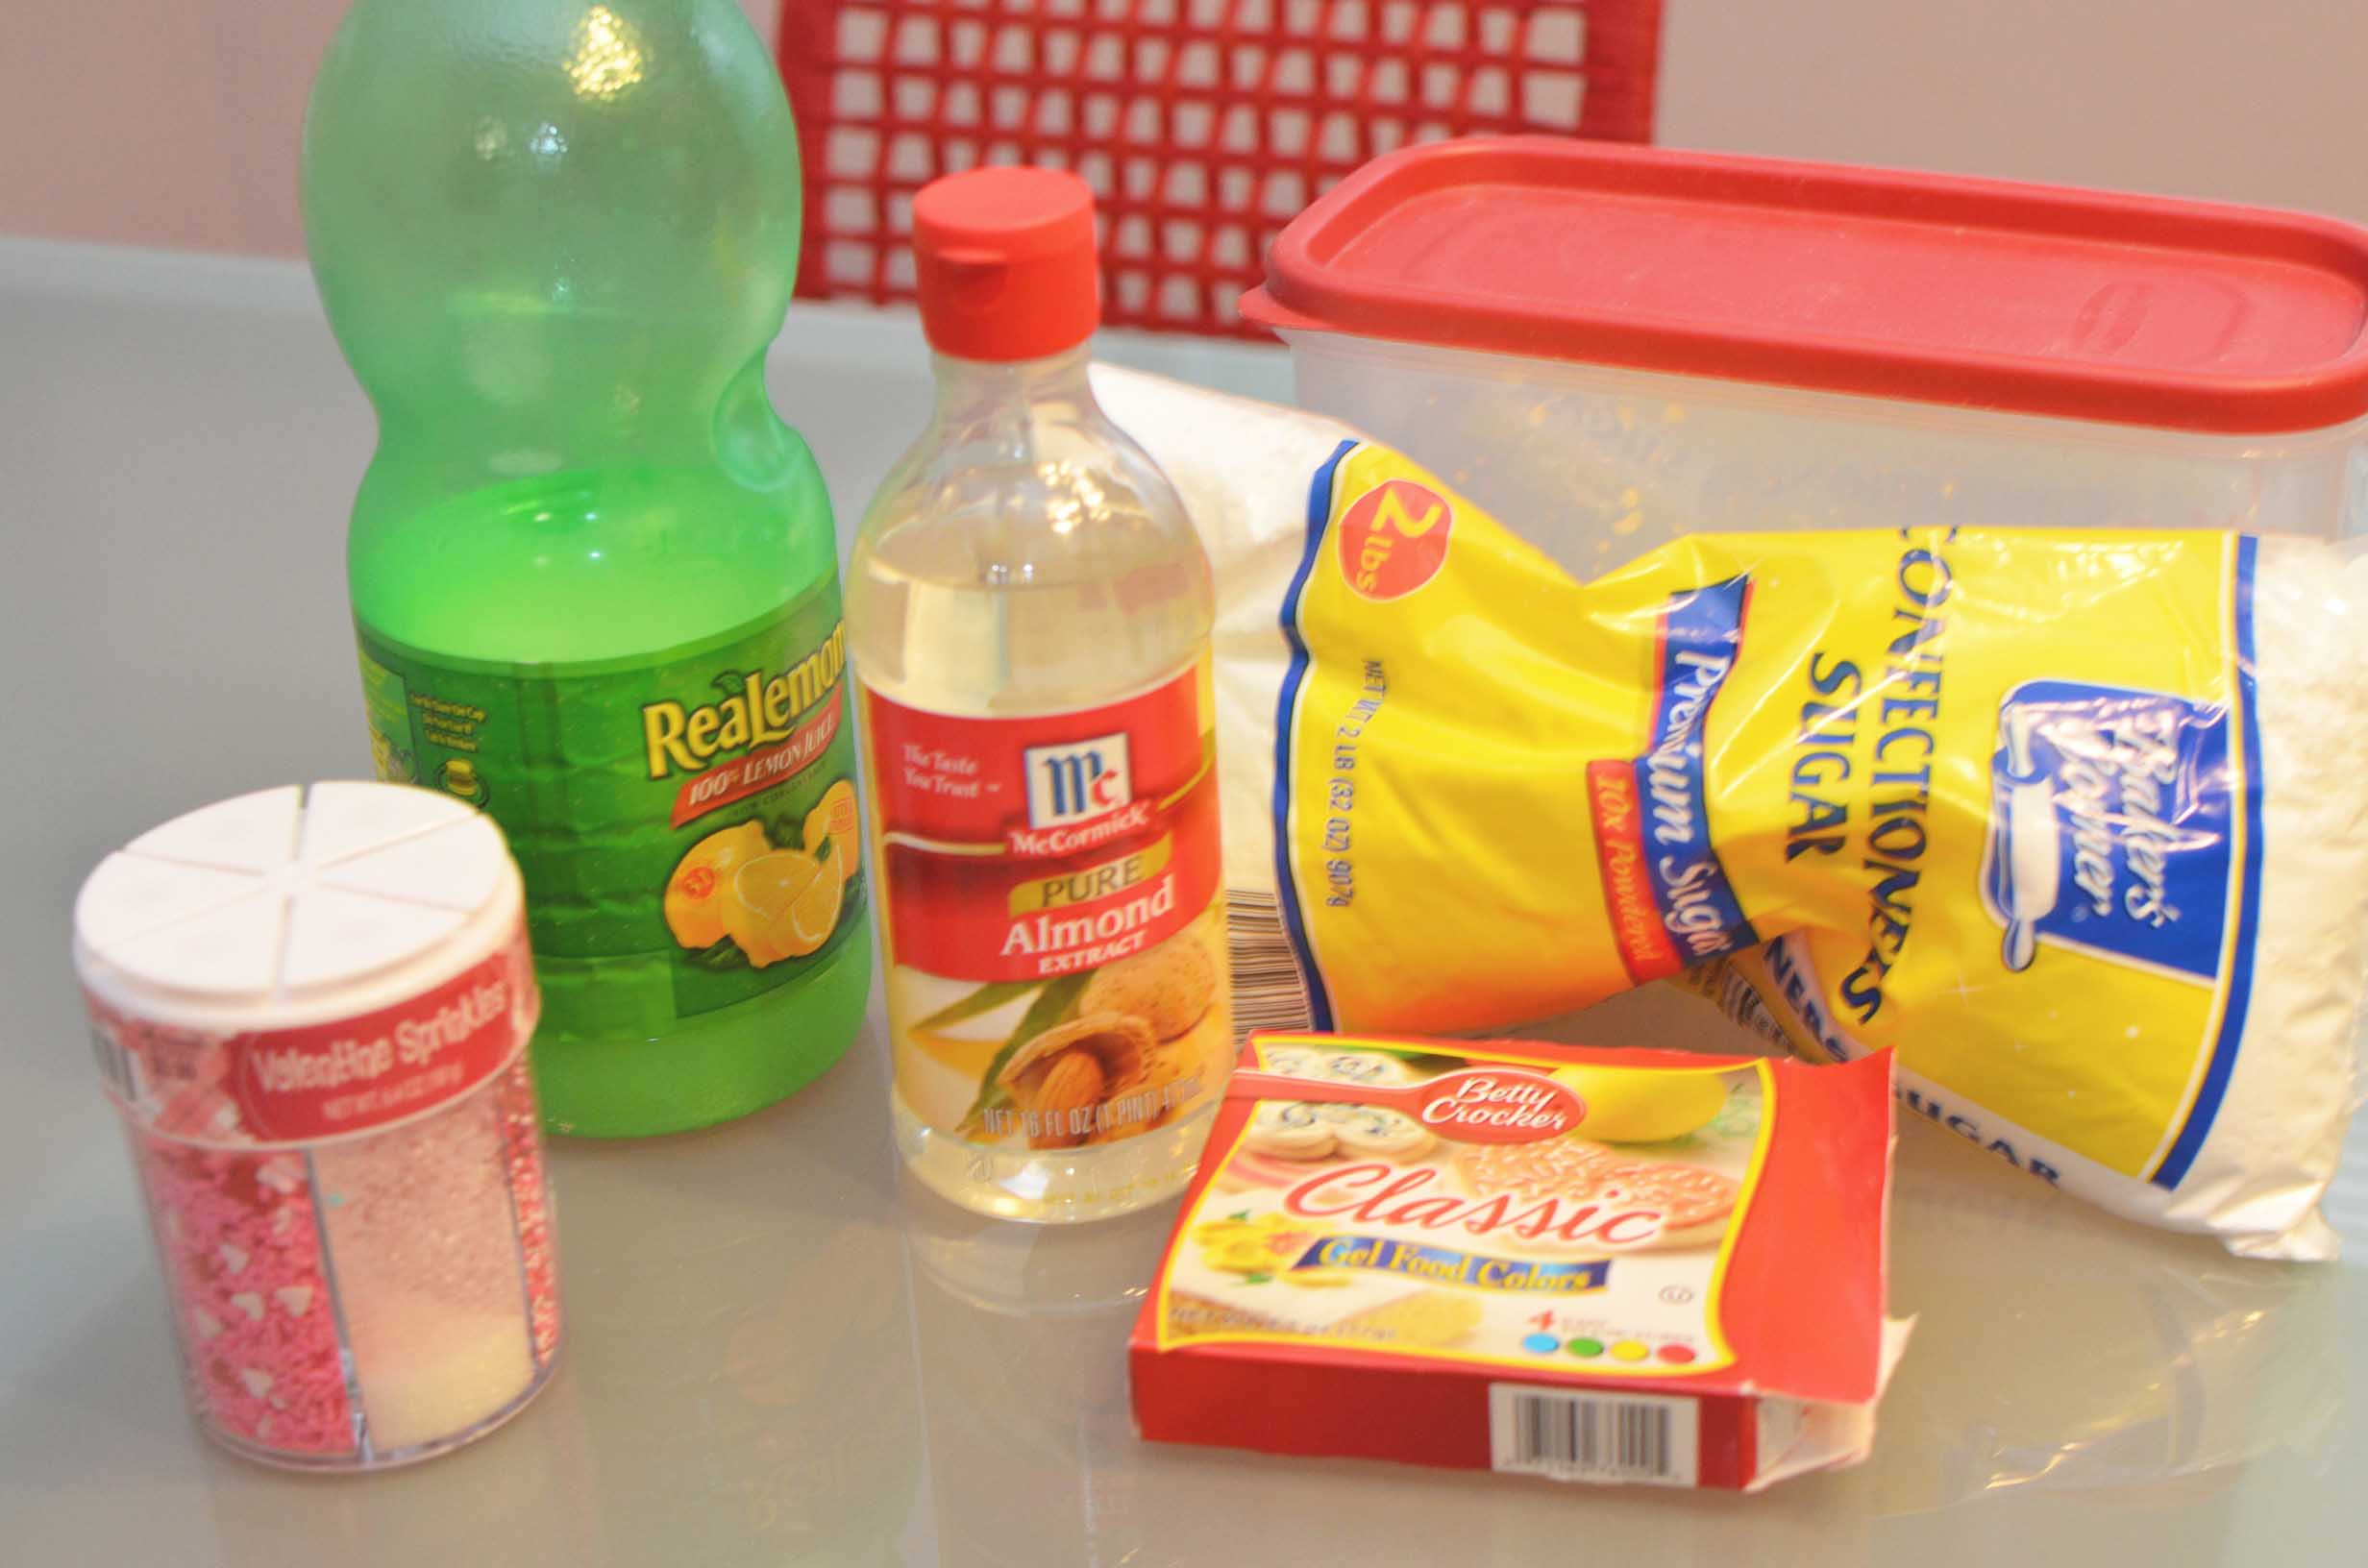
Here are the ingredients for the icing that I used. I prefer a lemony, almond glaze, but if you prefer something a little more subtle you can use milk instead of the lemon juice. See the recipe below for different versions.
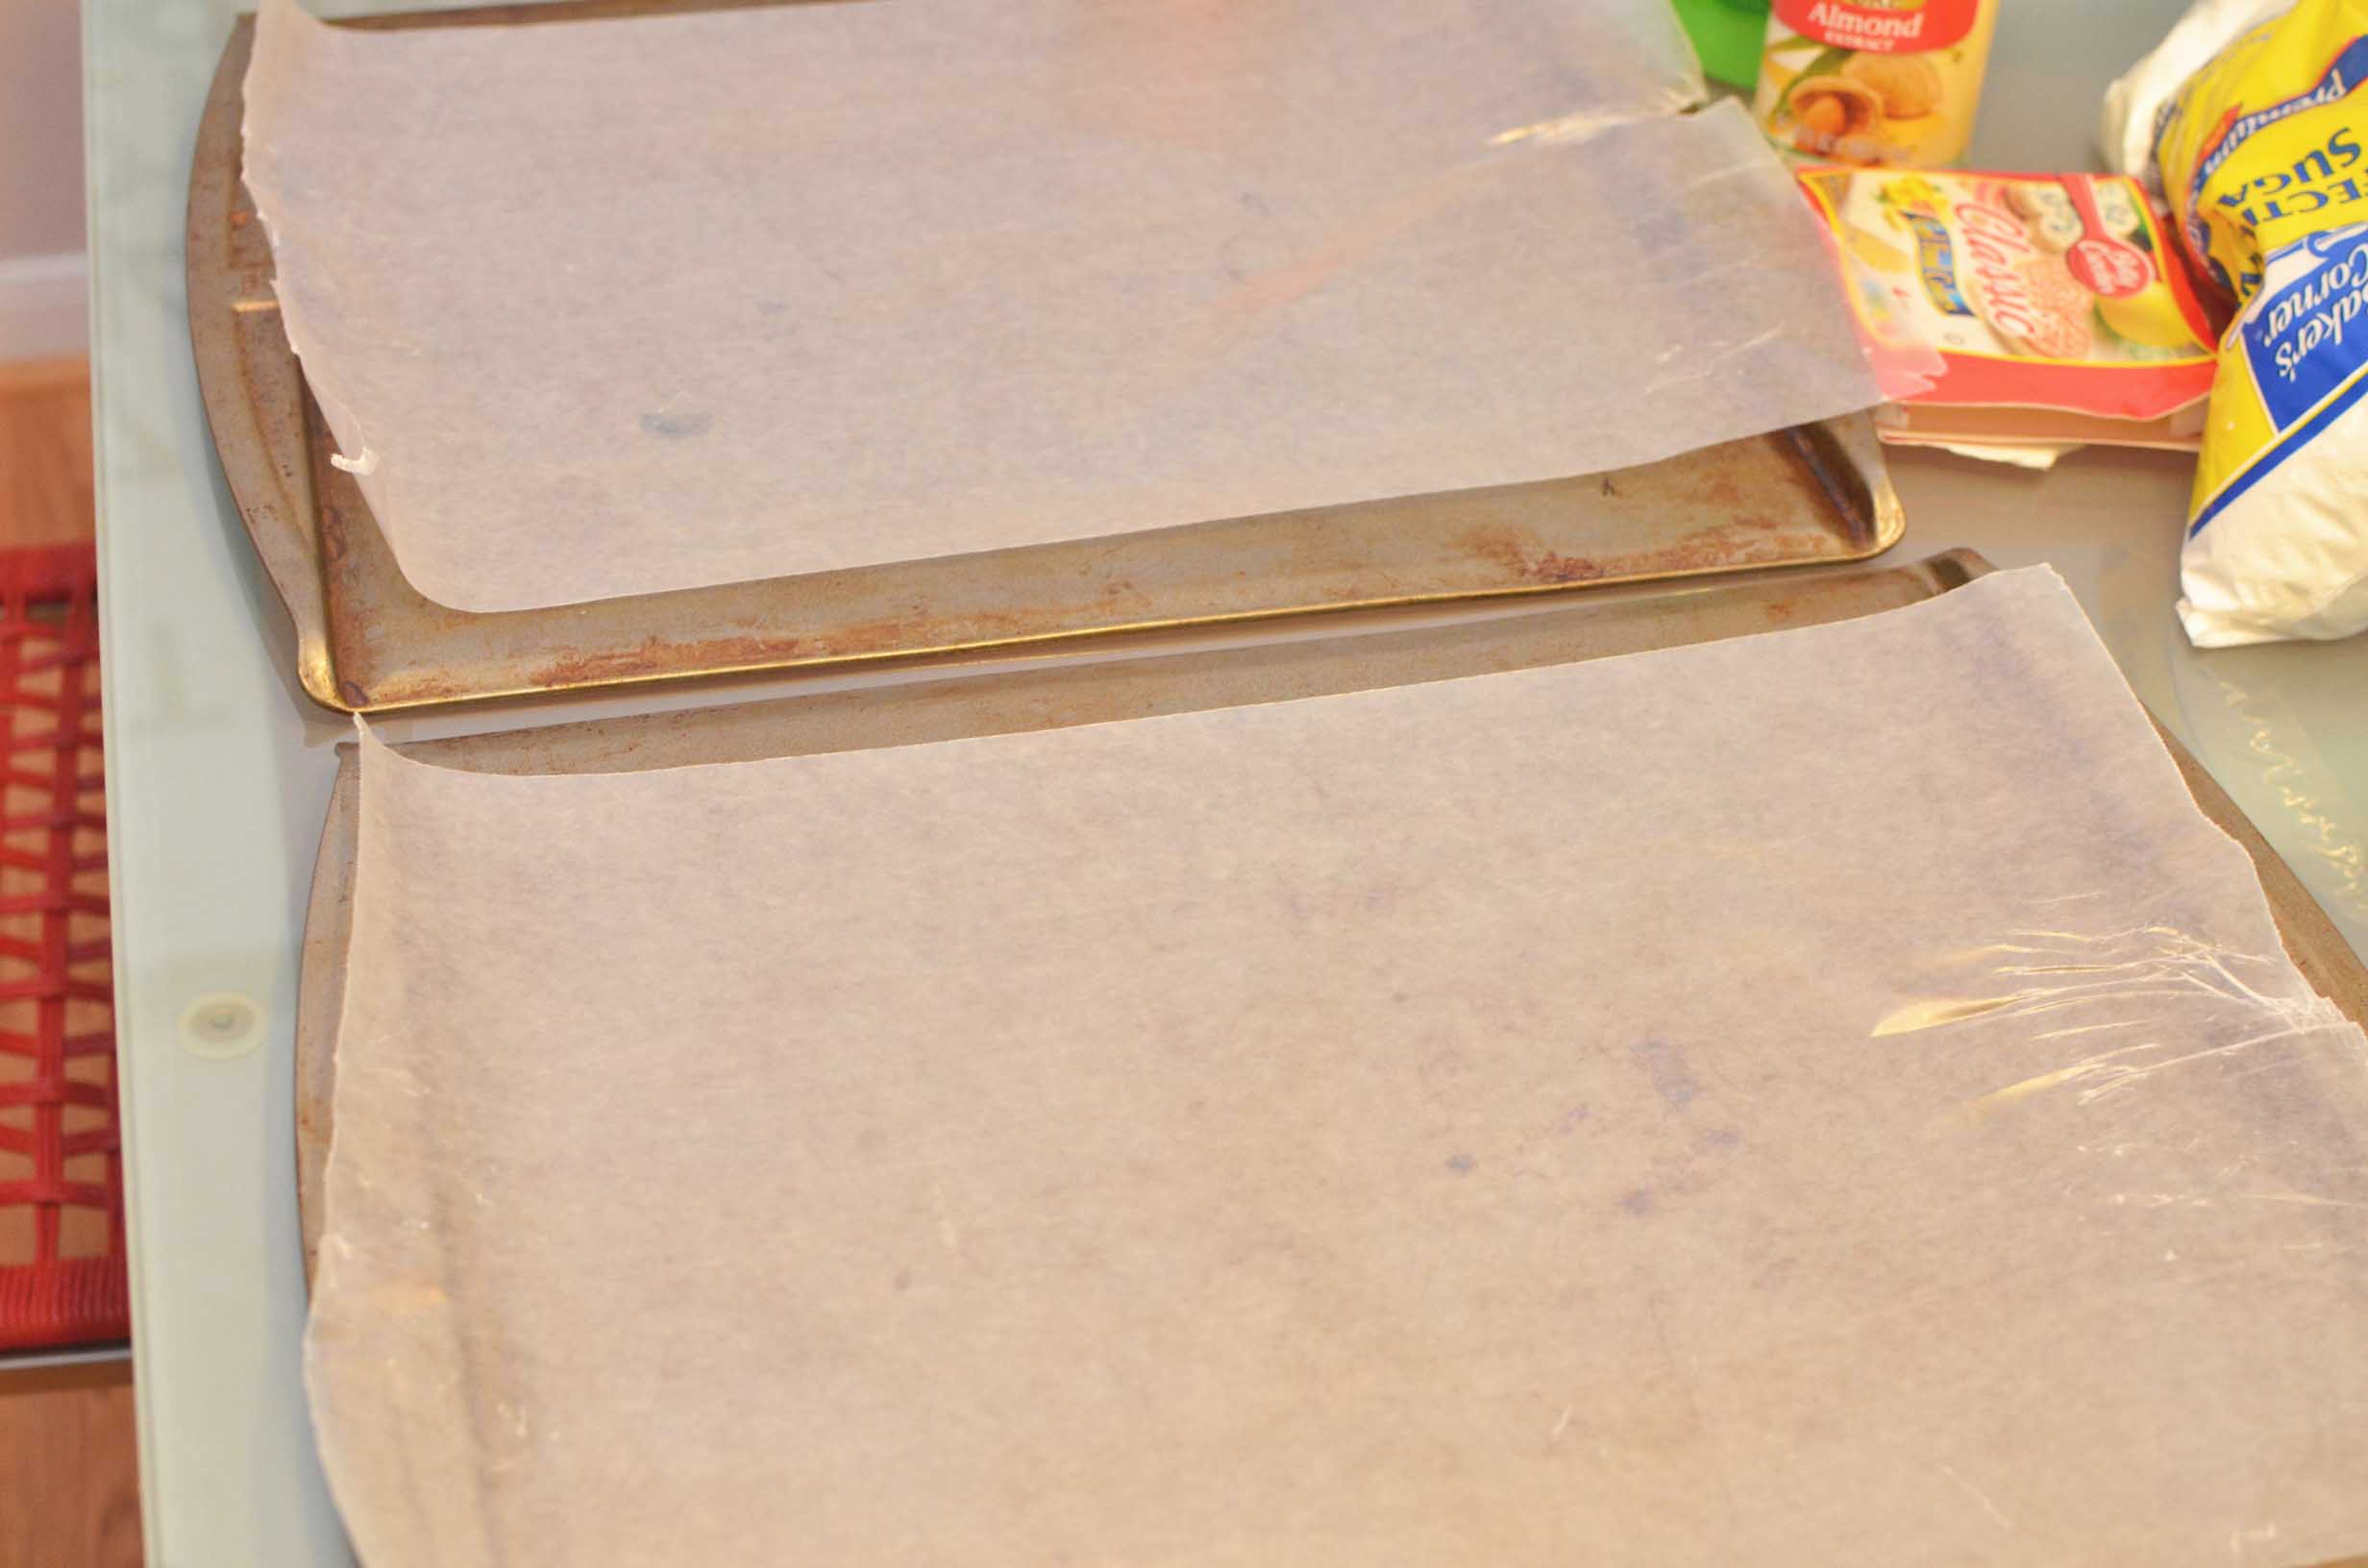
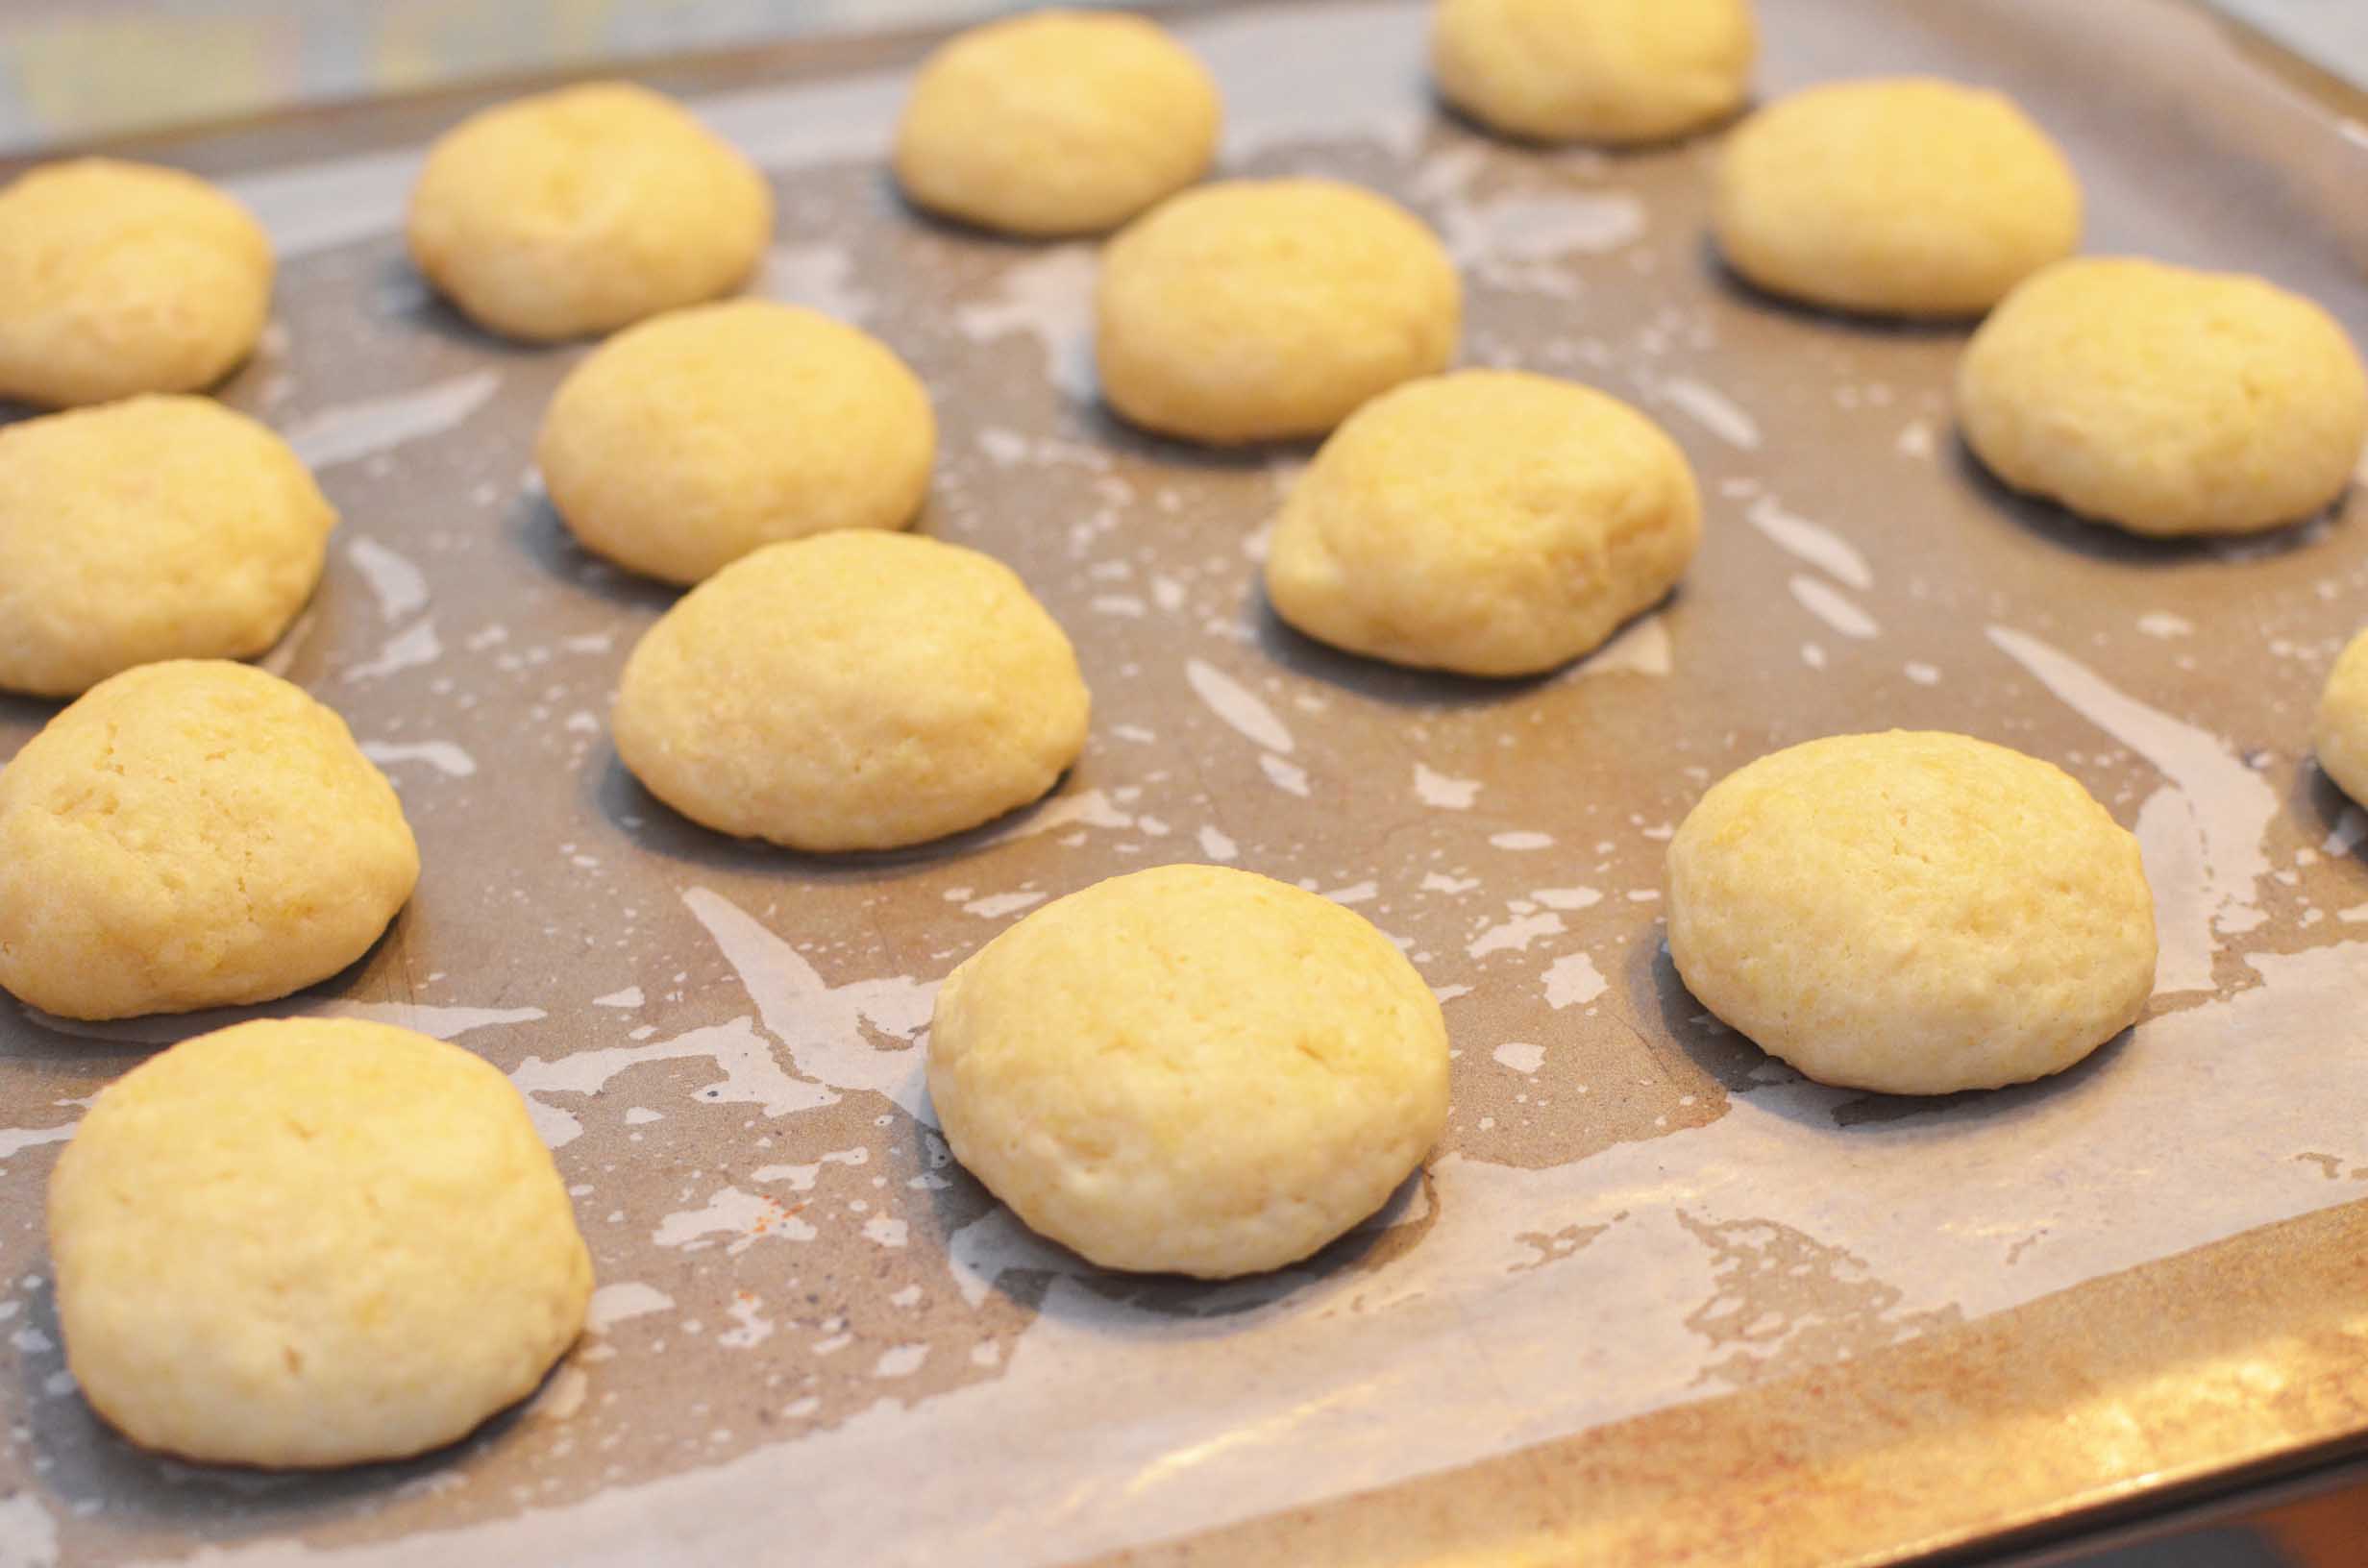
Line cookie sheets with parchment paper or a slip mat.
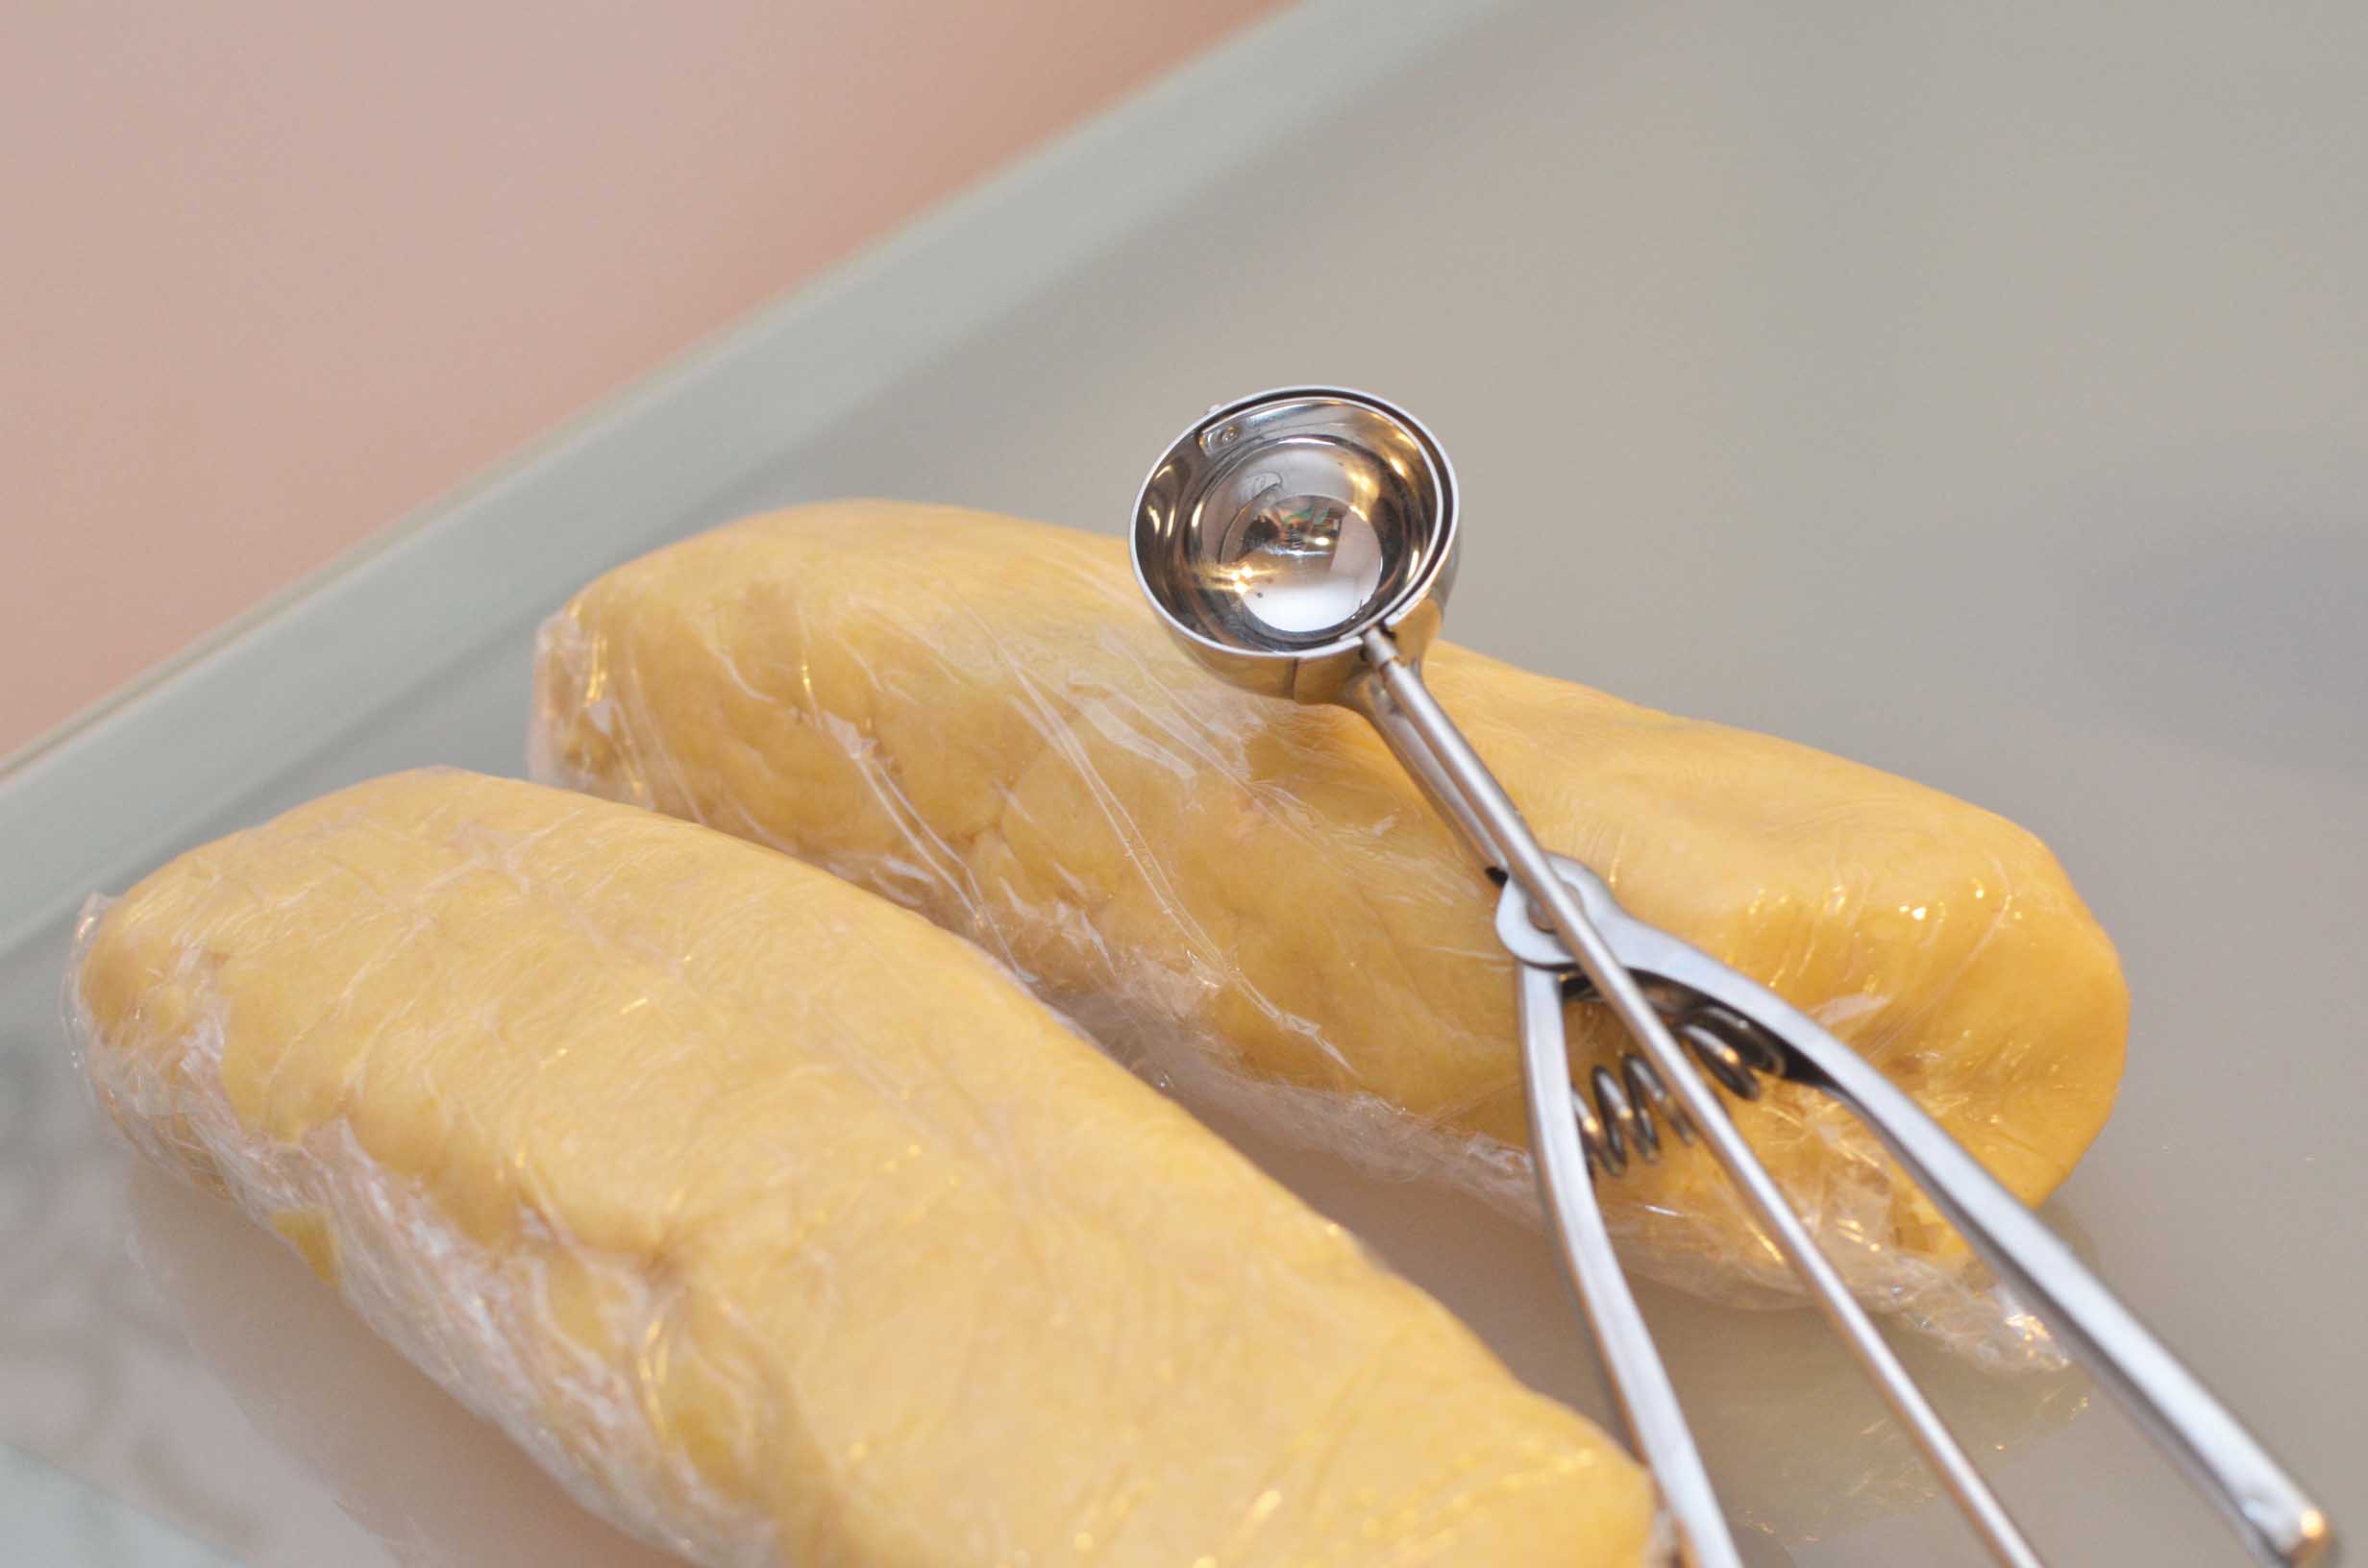
Heather grabs dough, weighs it, and then rolls it. I use this scooper.

First Scoop into your hand.
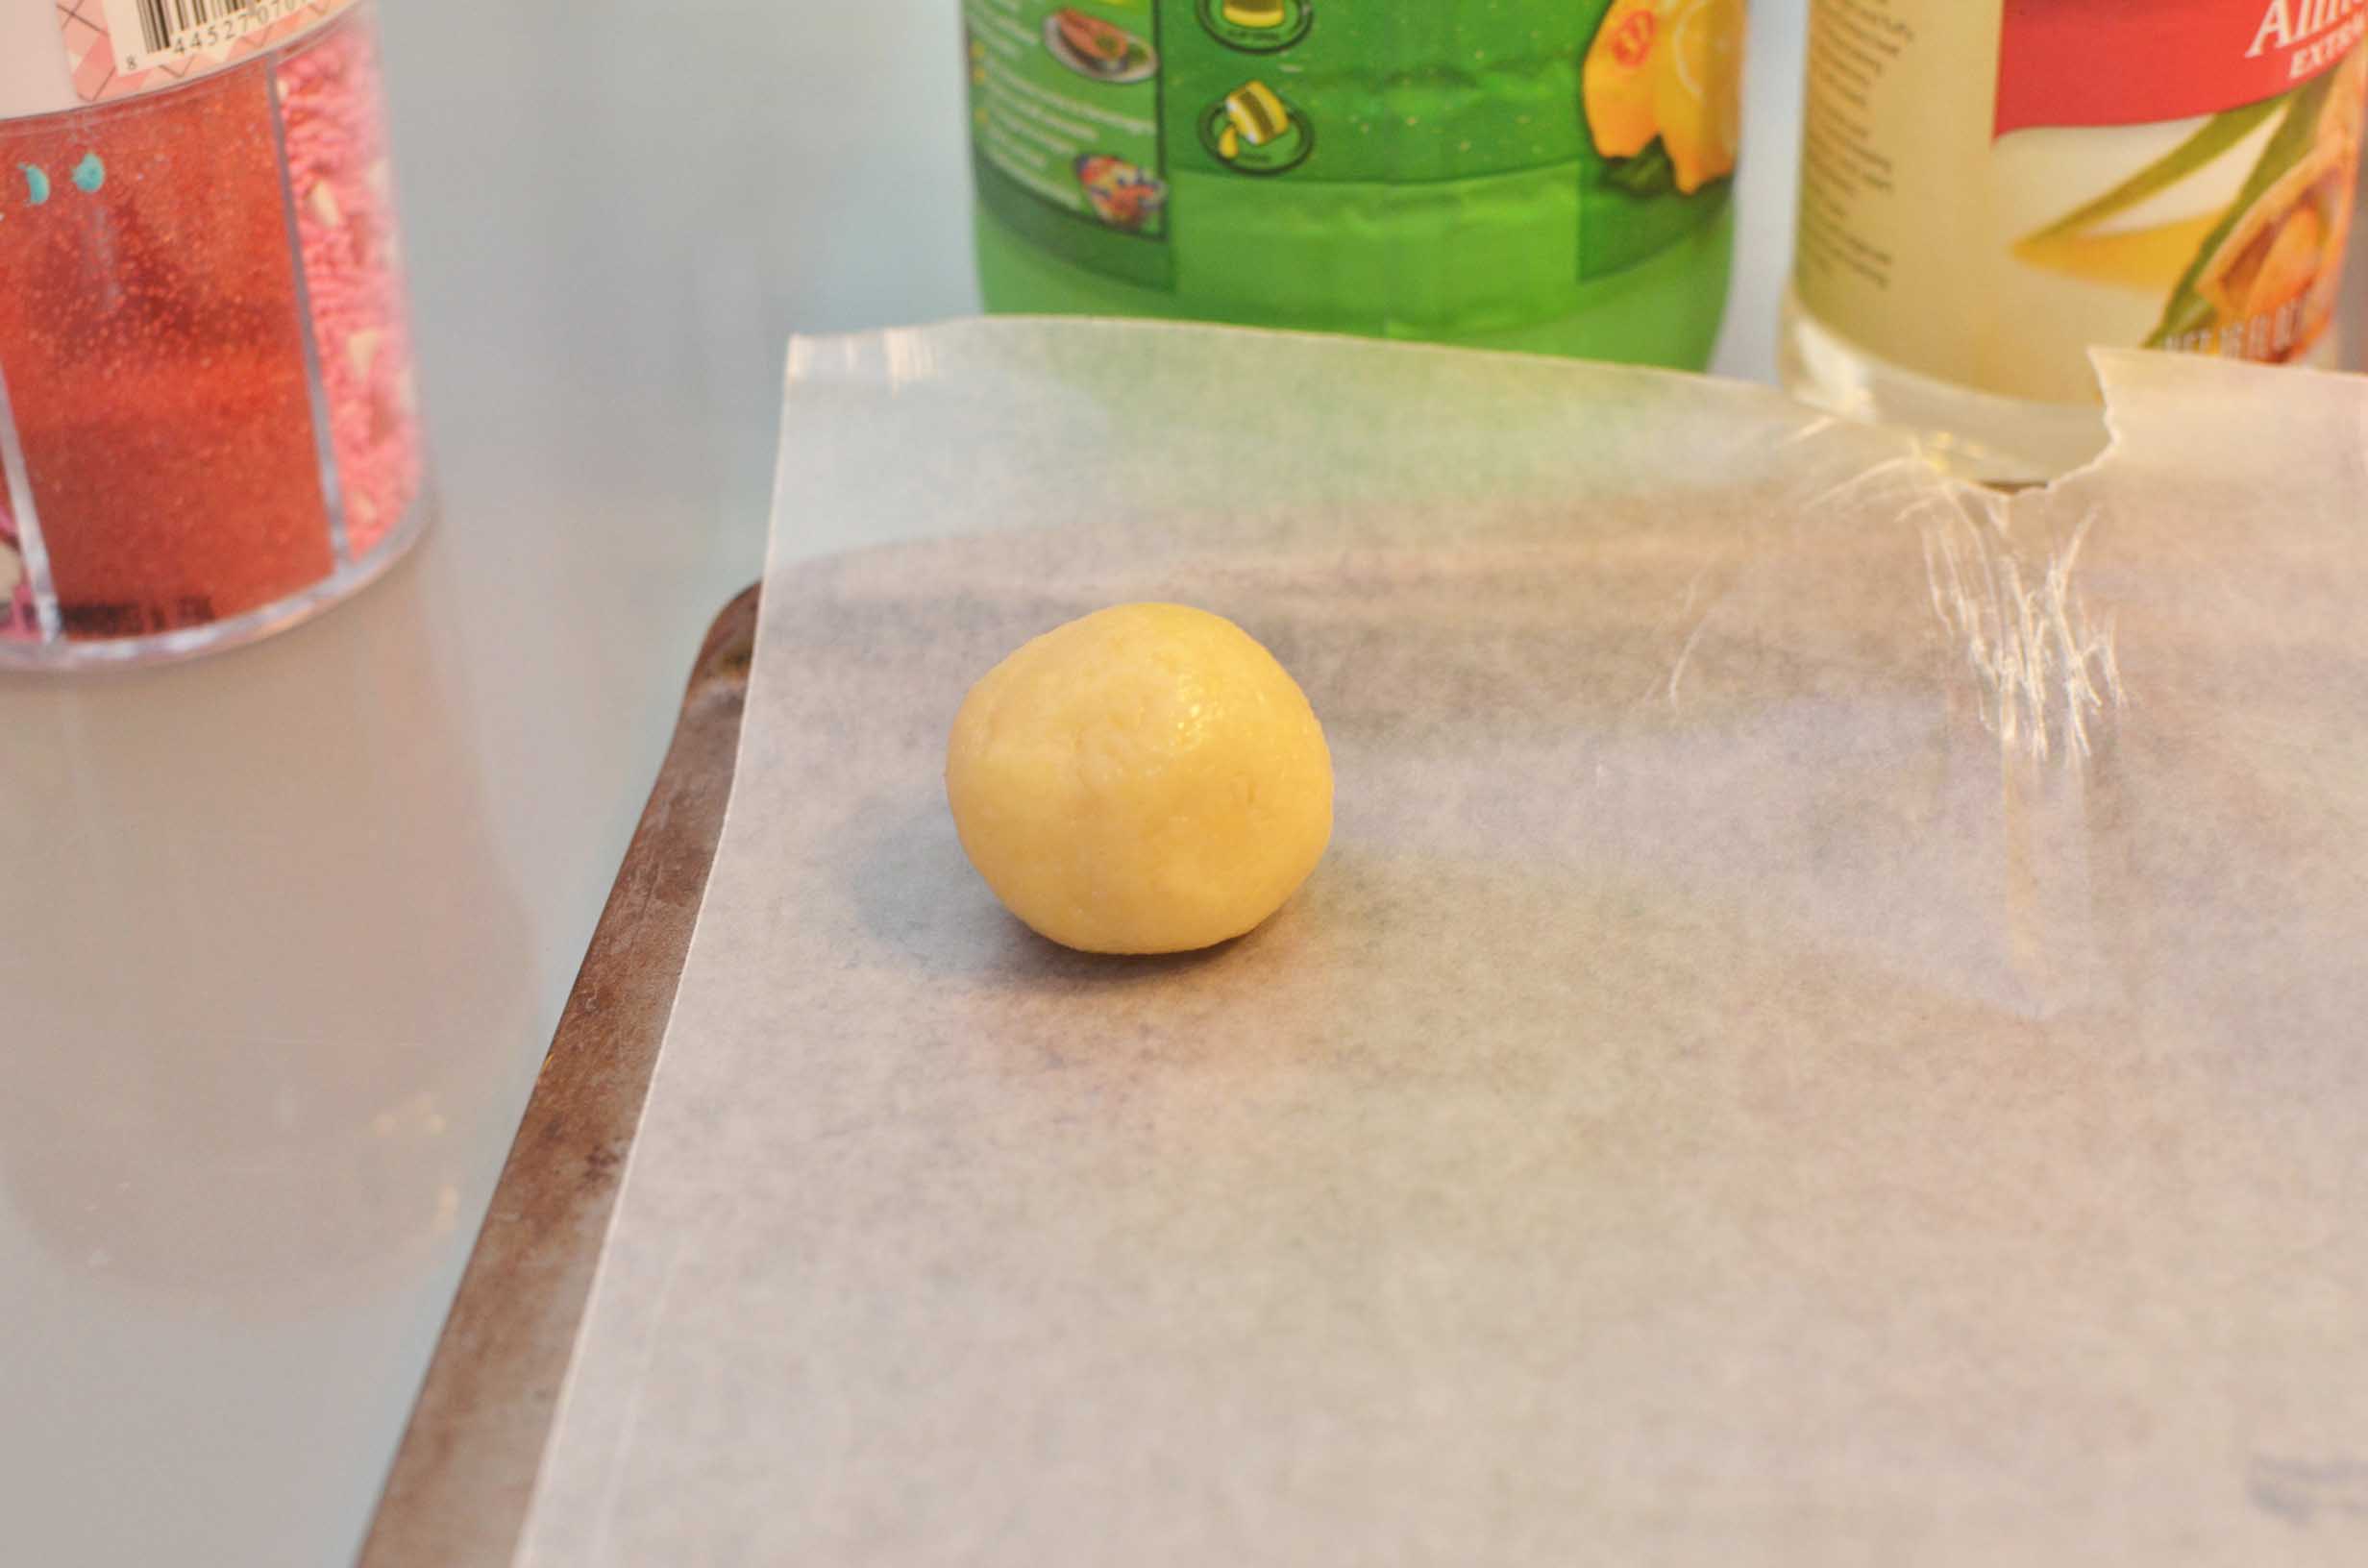
Then roll to get a nice round cookie. If you leave it like above, those edges will get hard and won’t look as pretty once you put the icing on.

Mine aren’t exactly the same weight, but I am too lazy to weigh them on a scale.
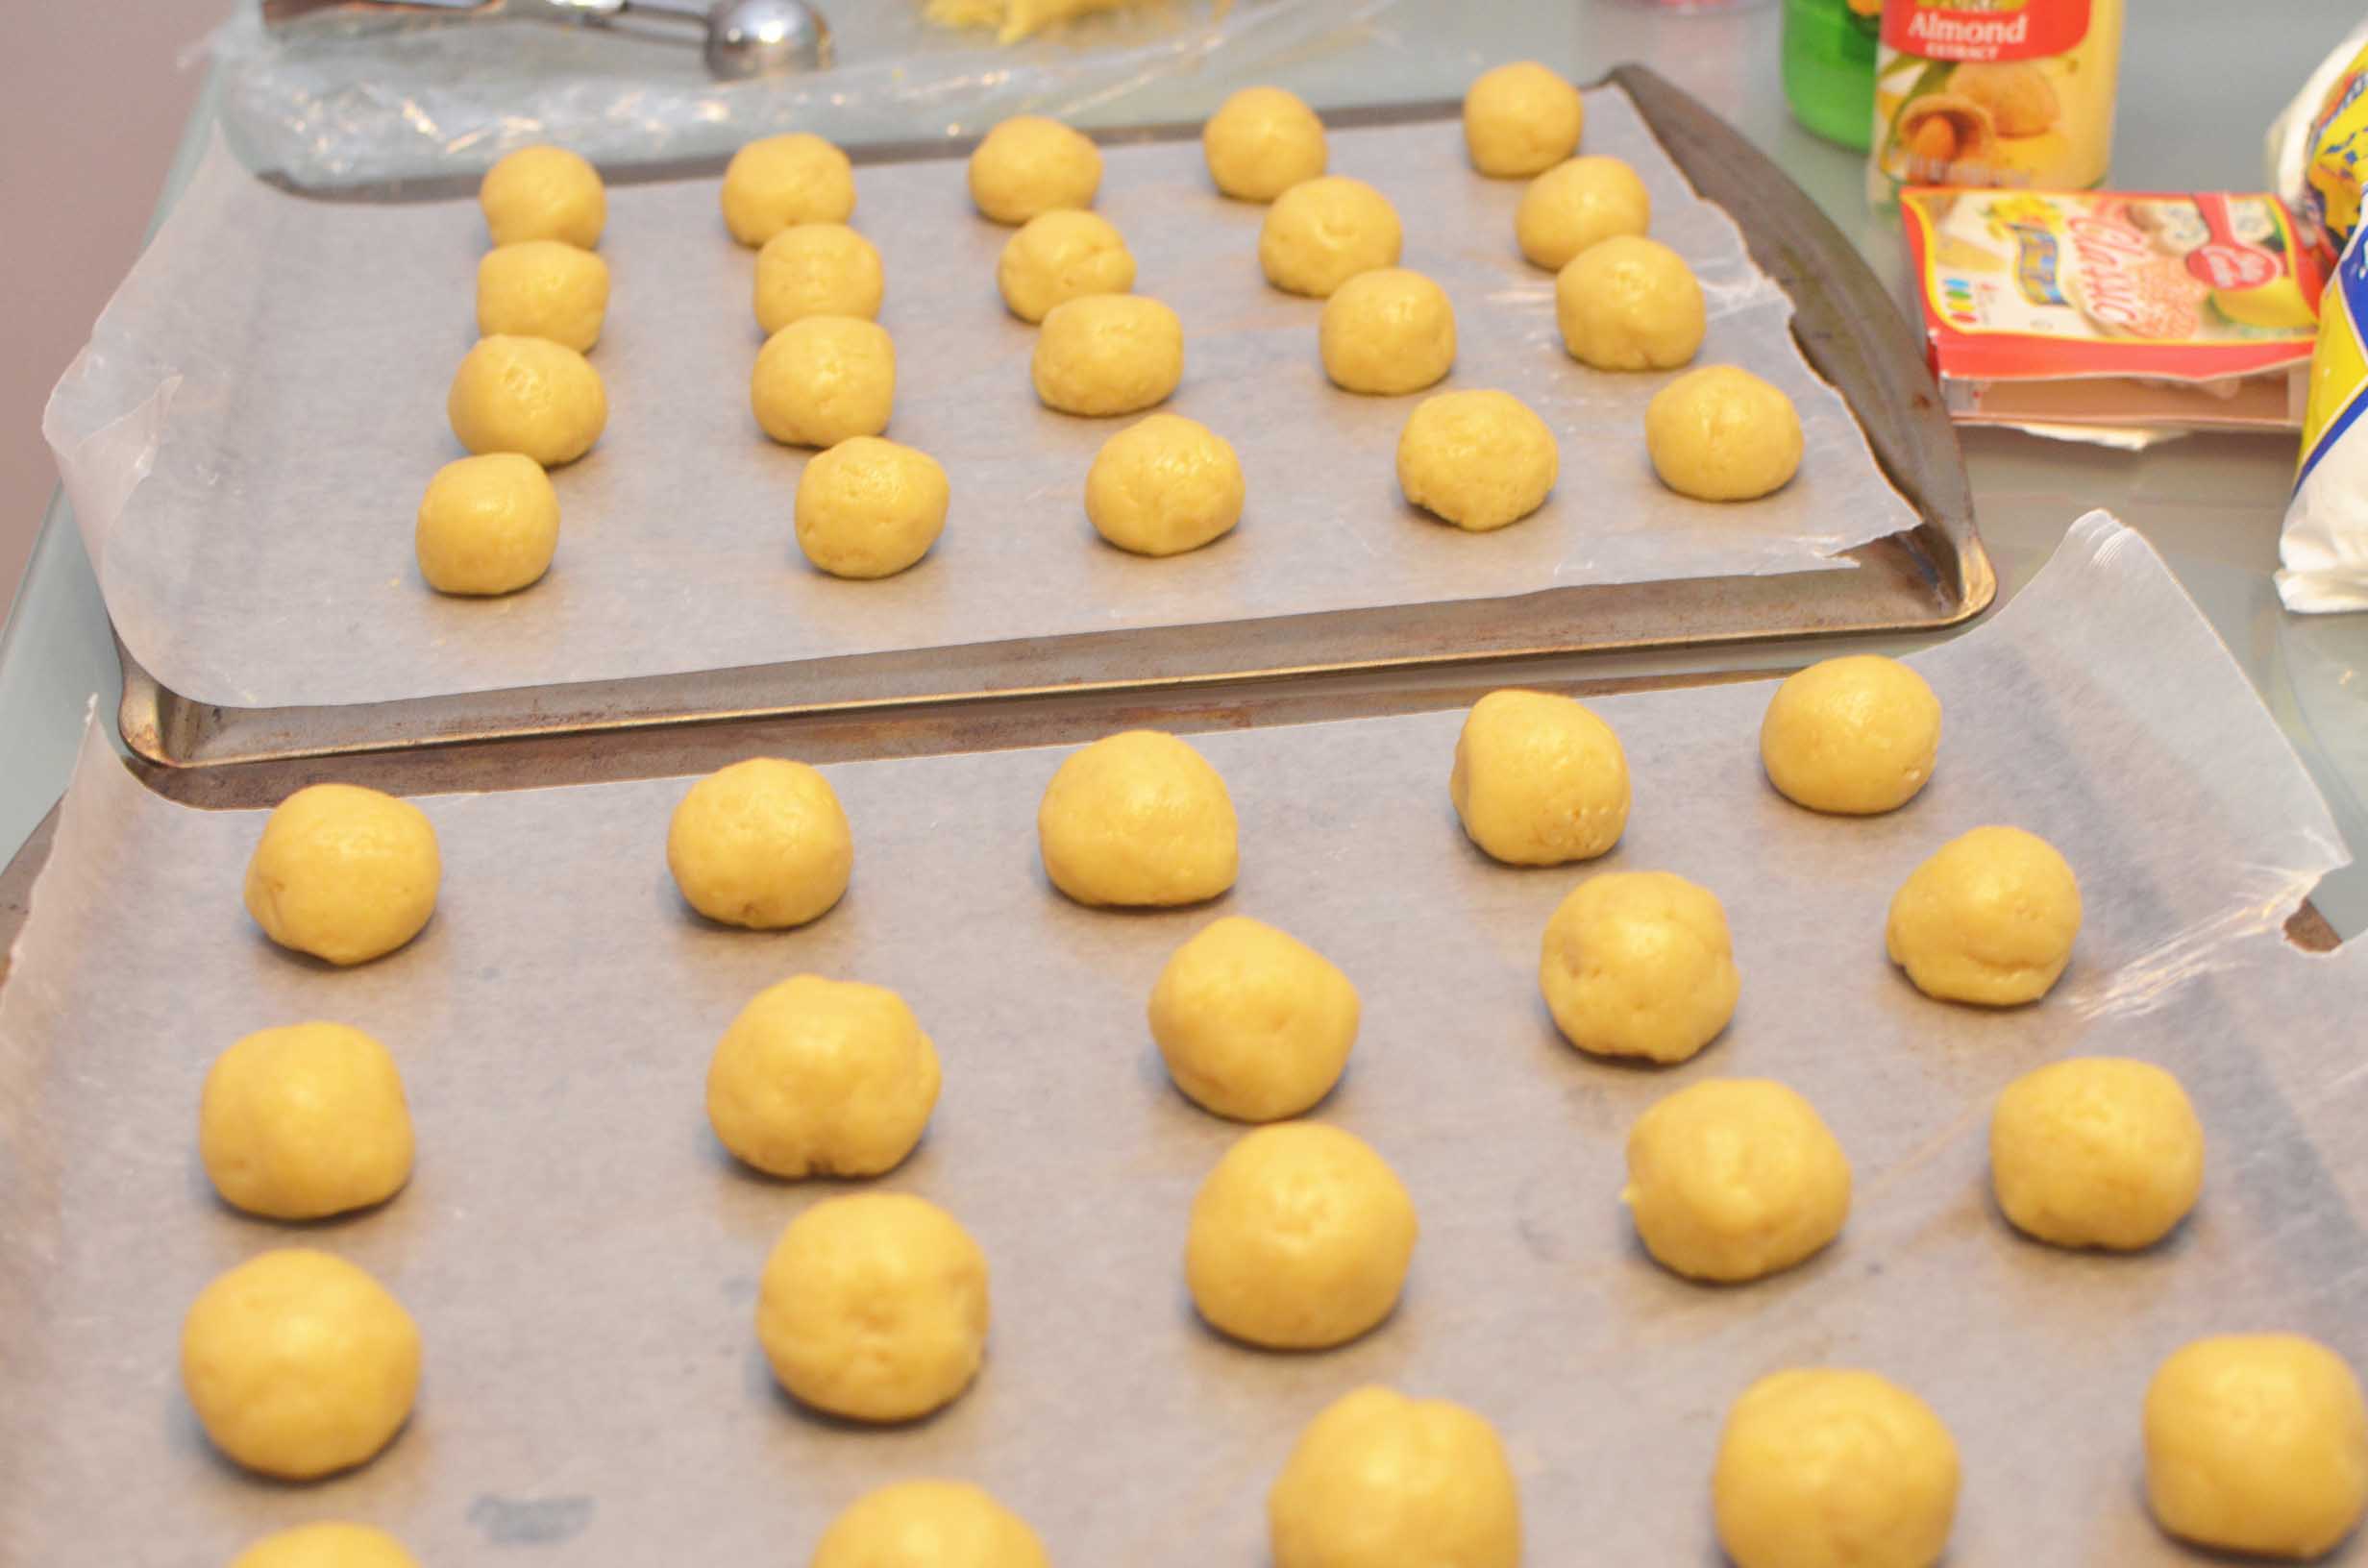
All ready for the oven.
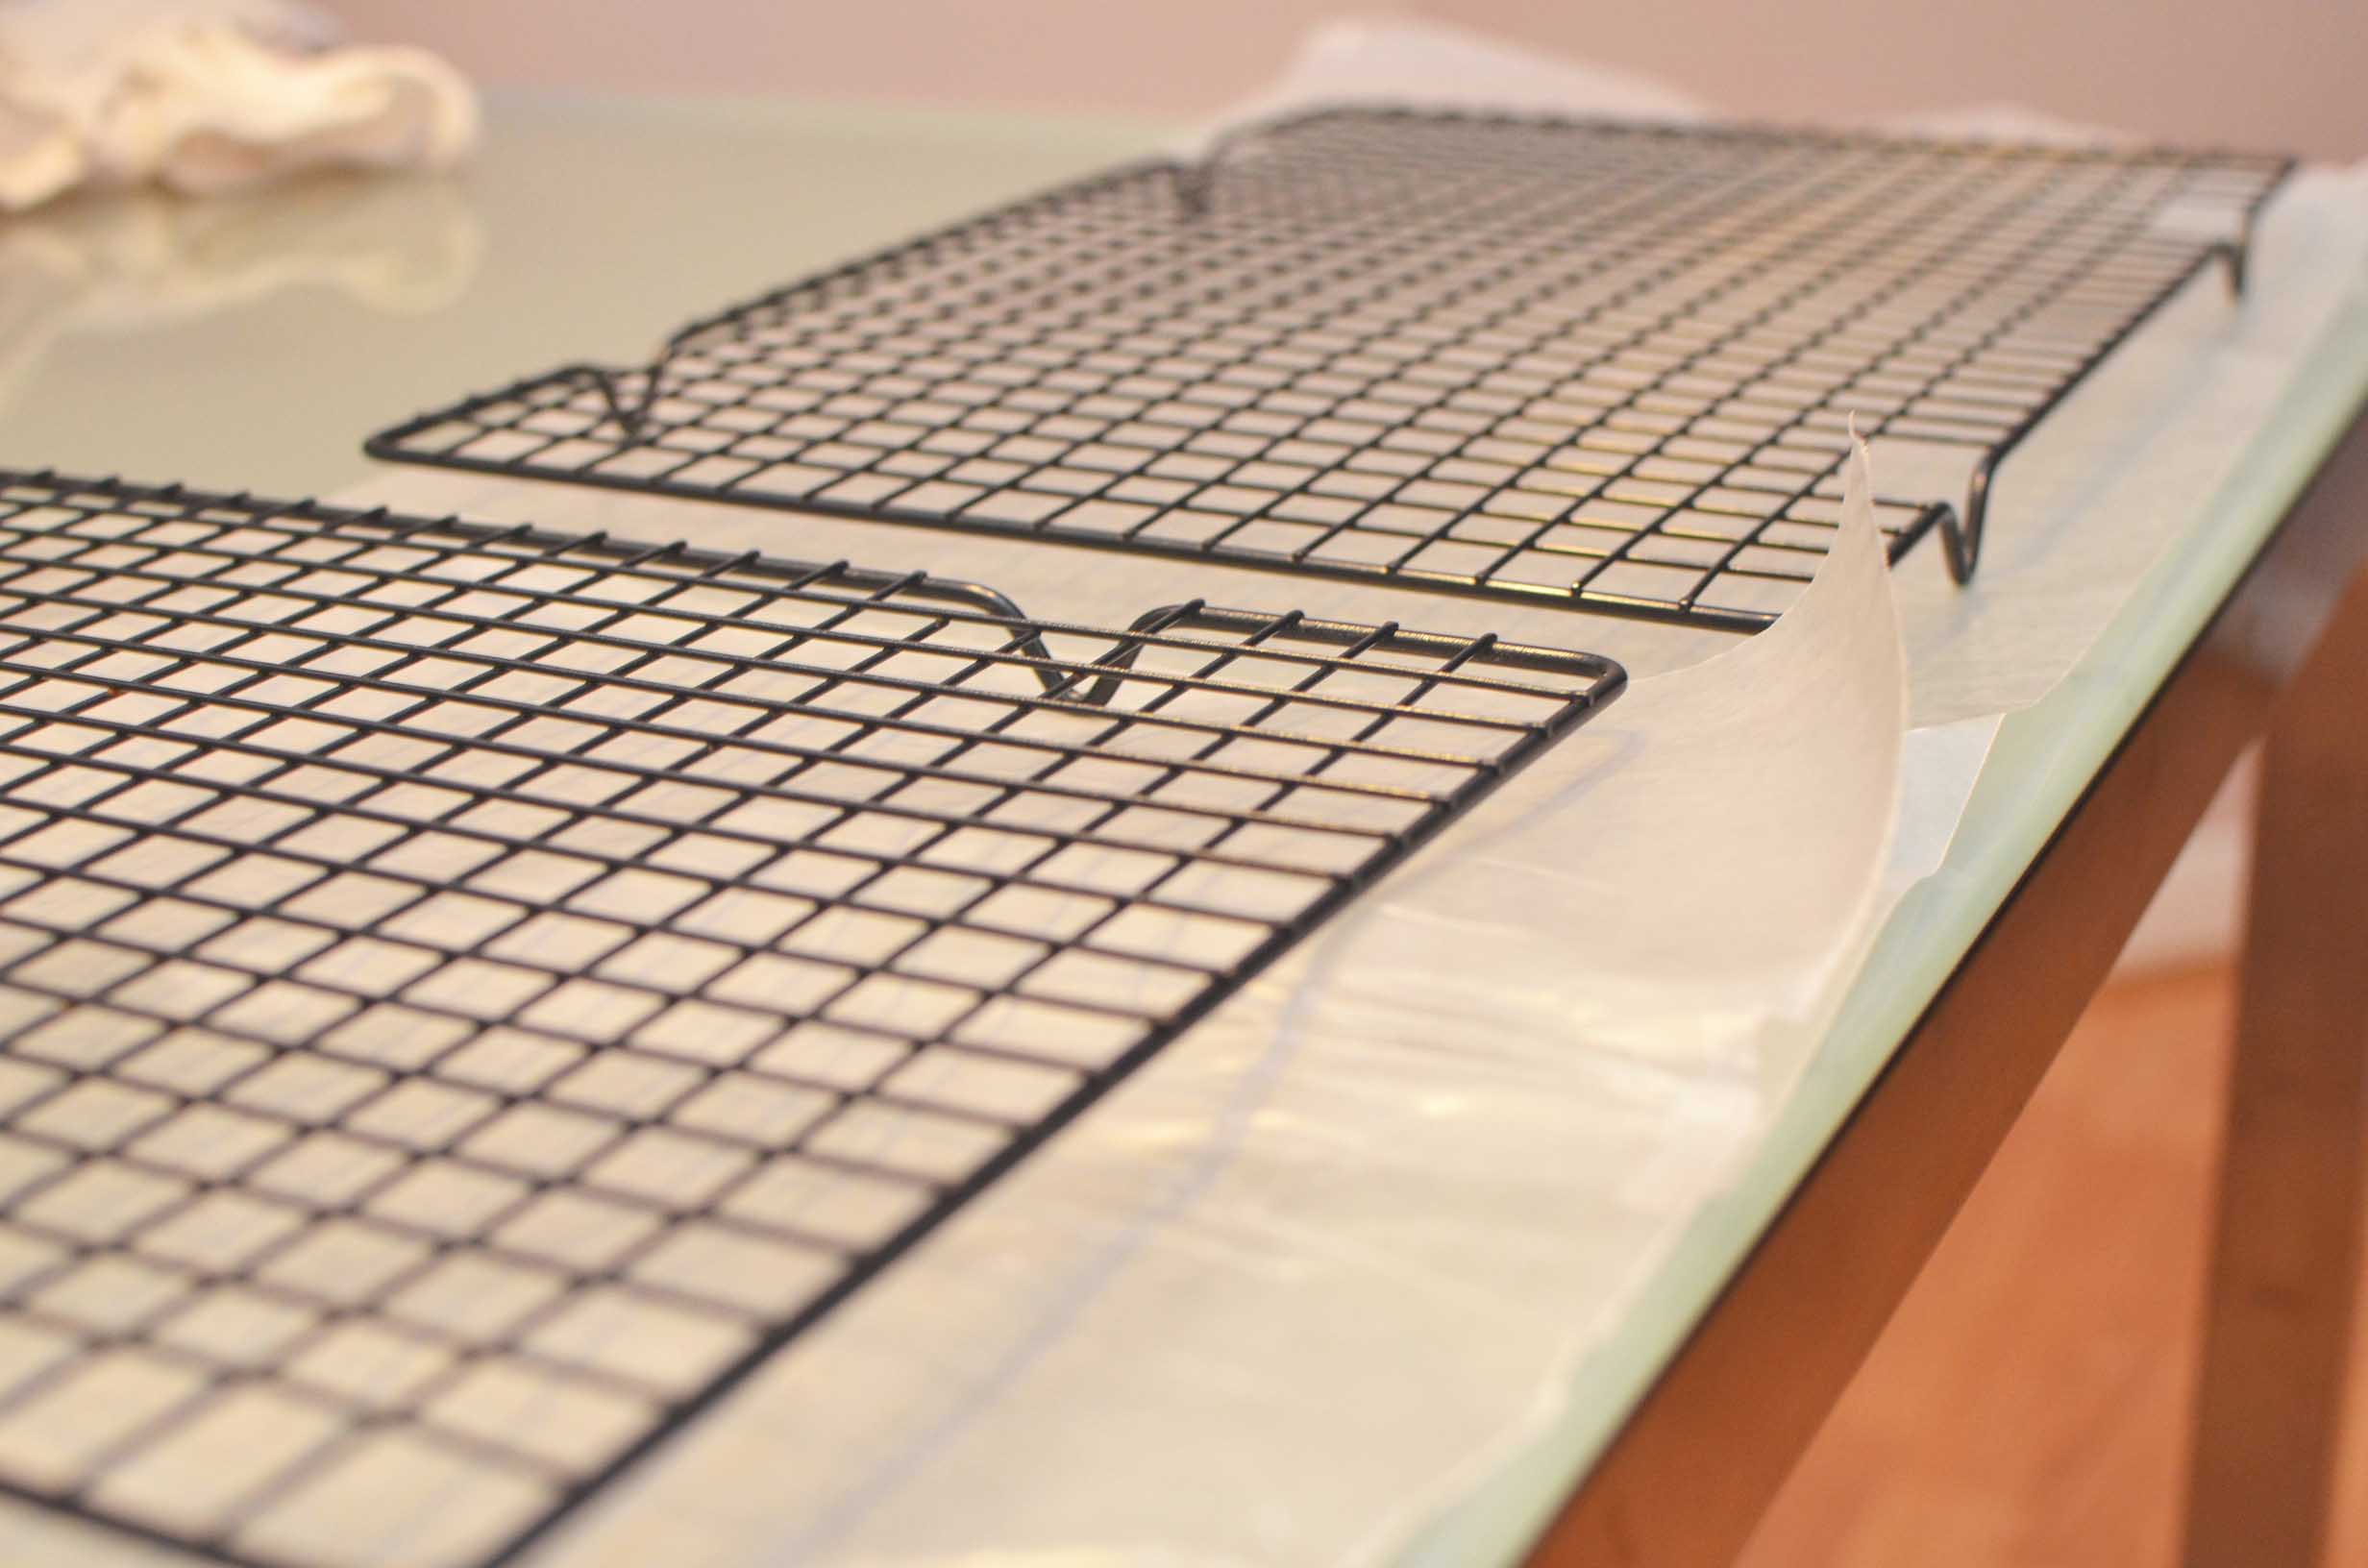
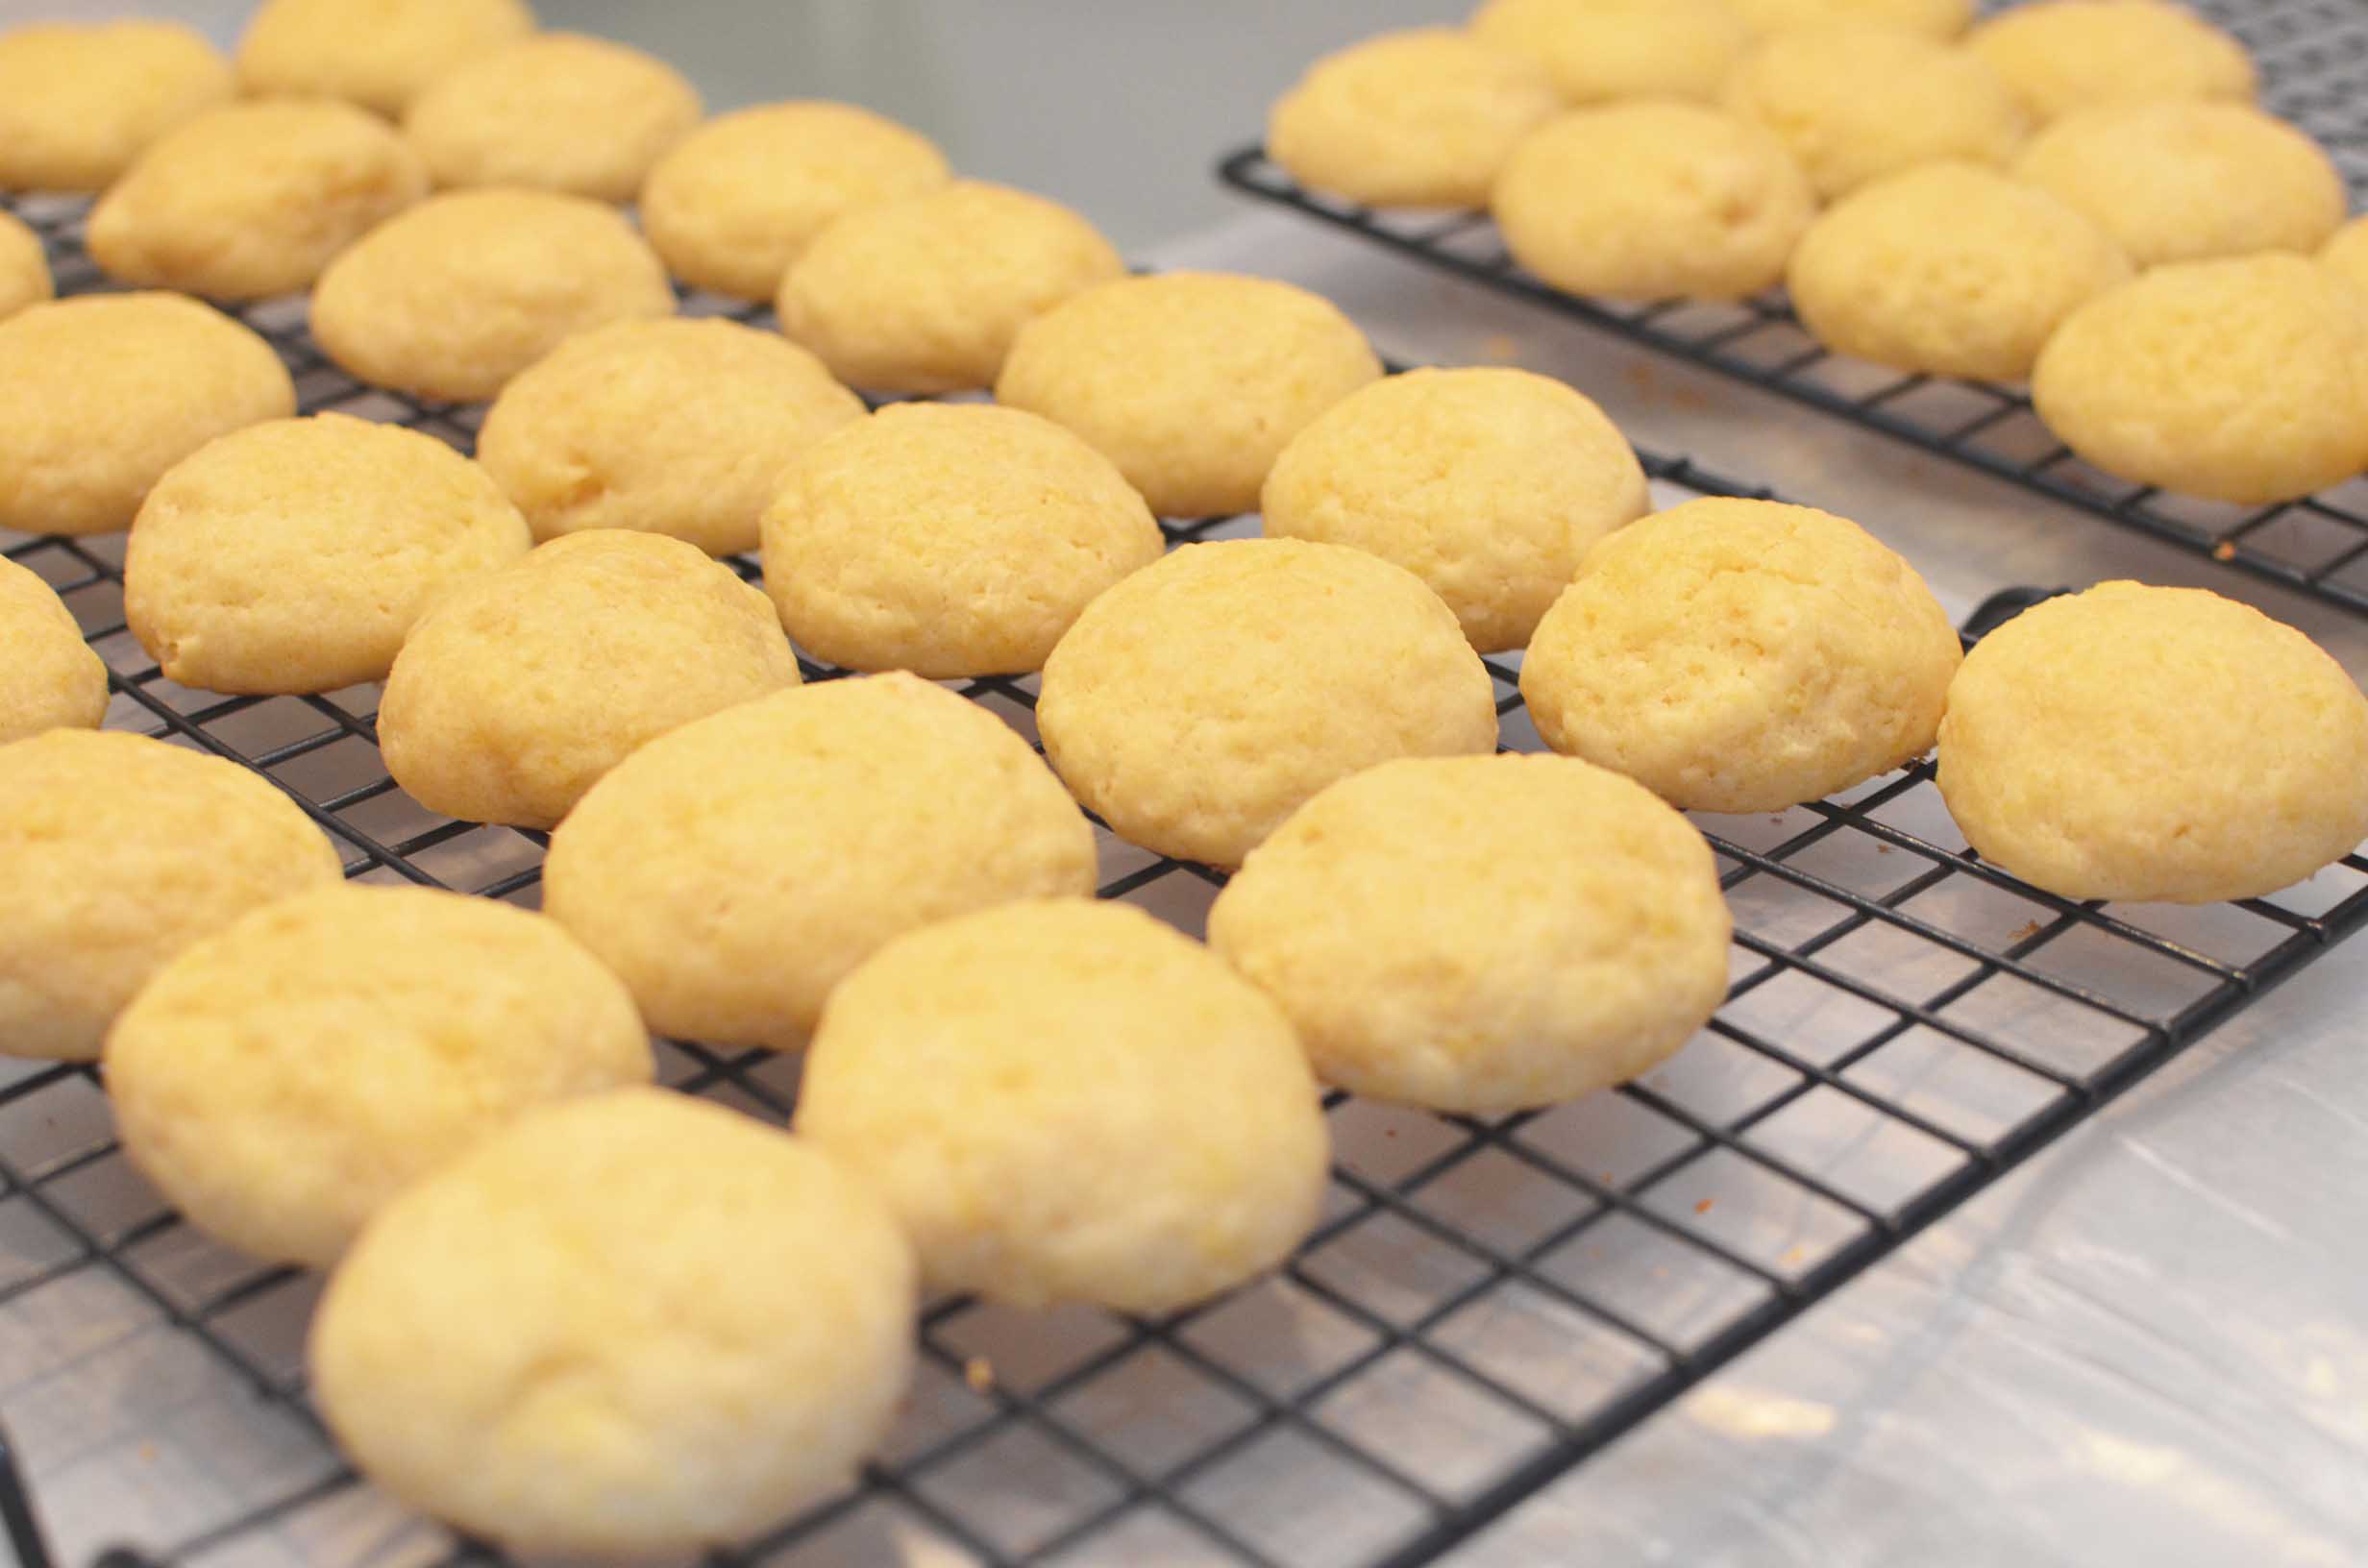
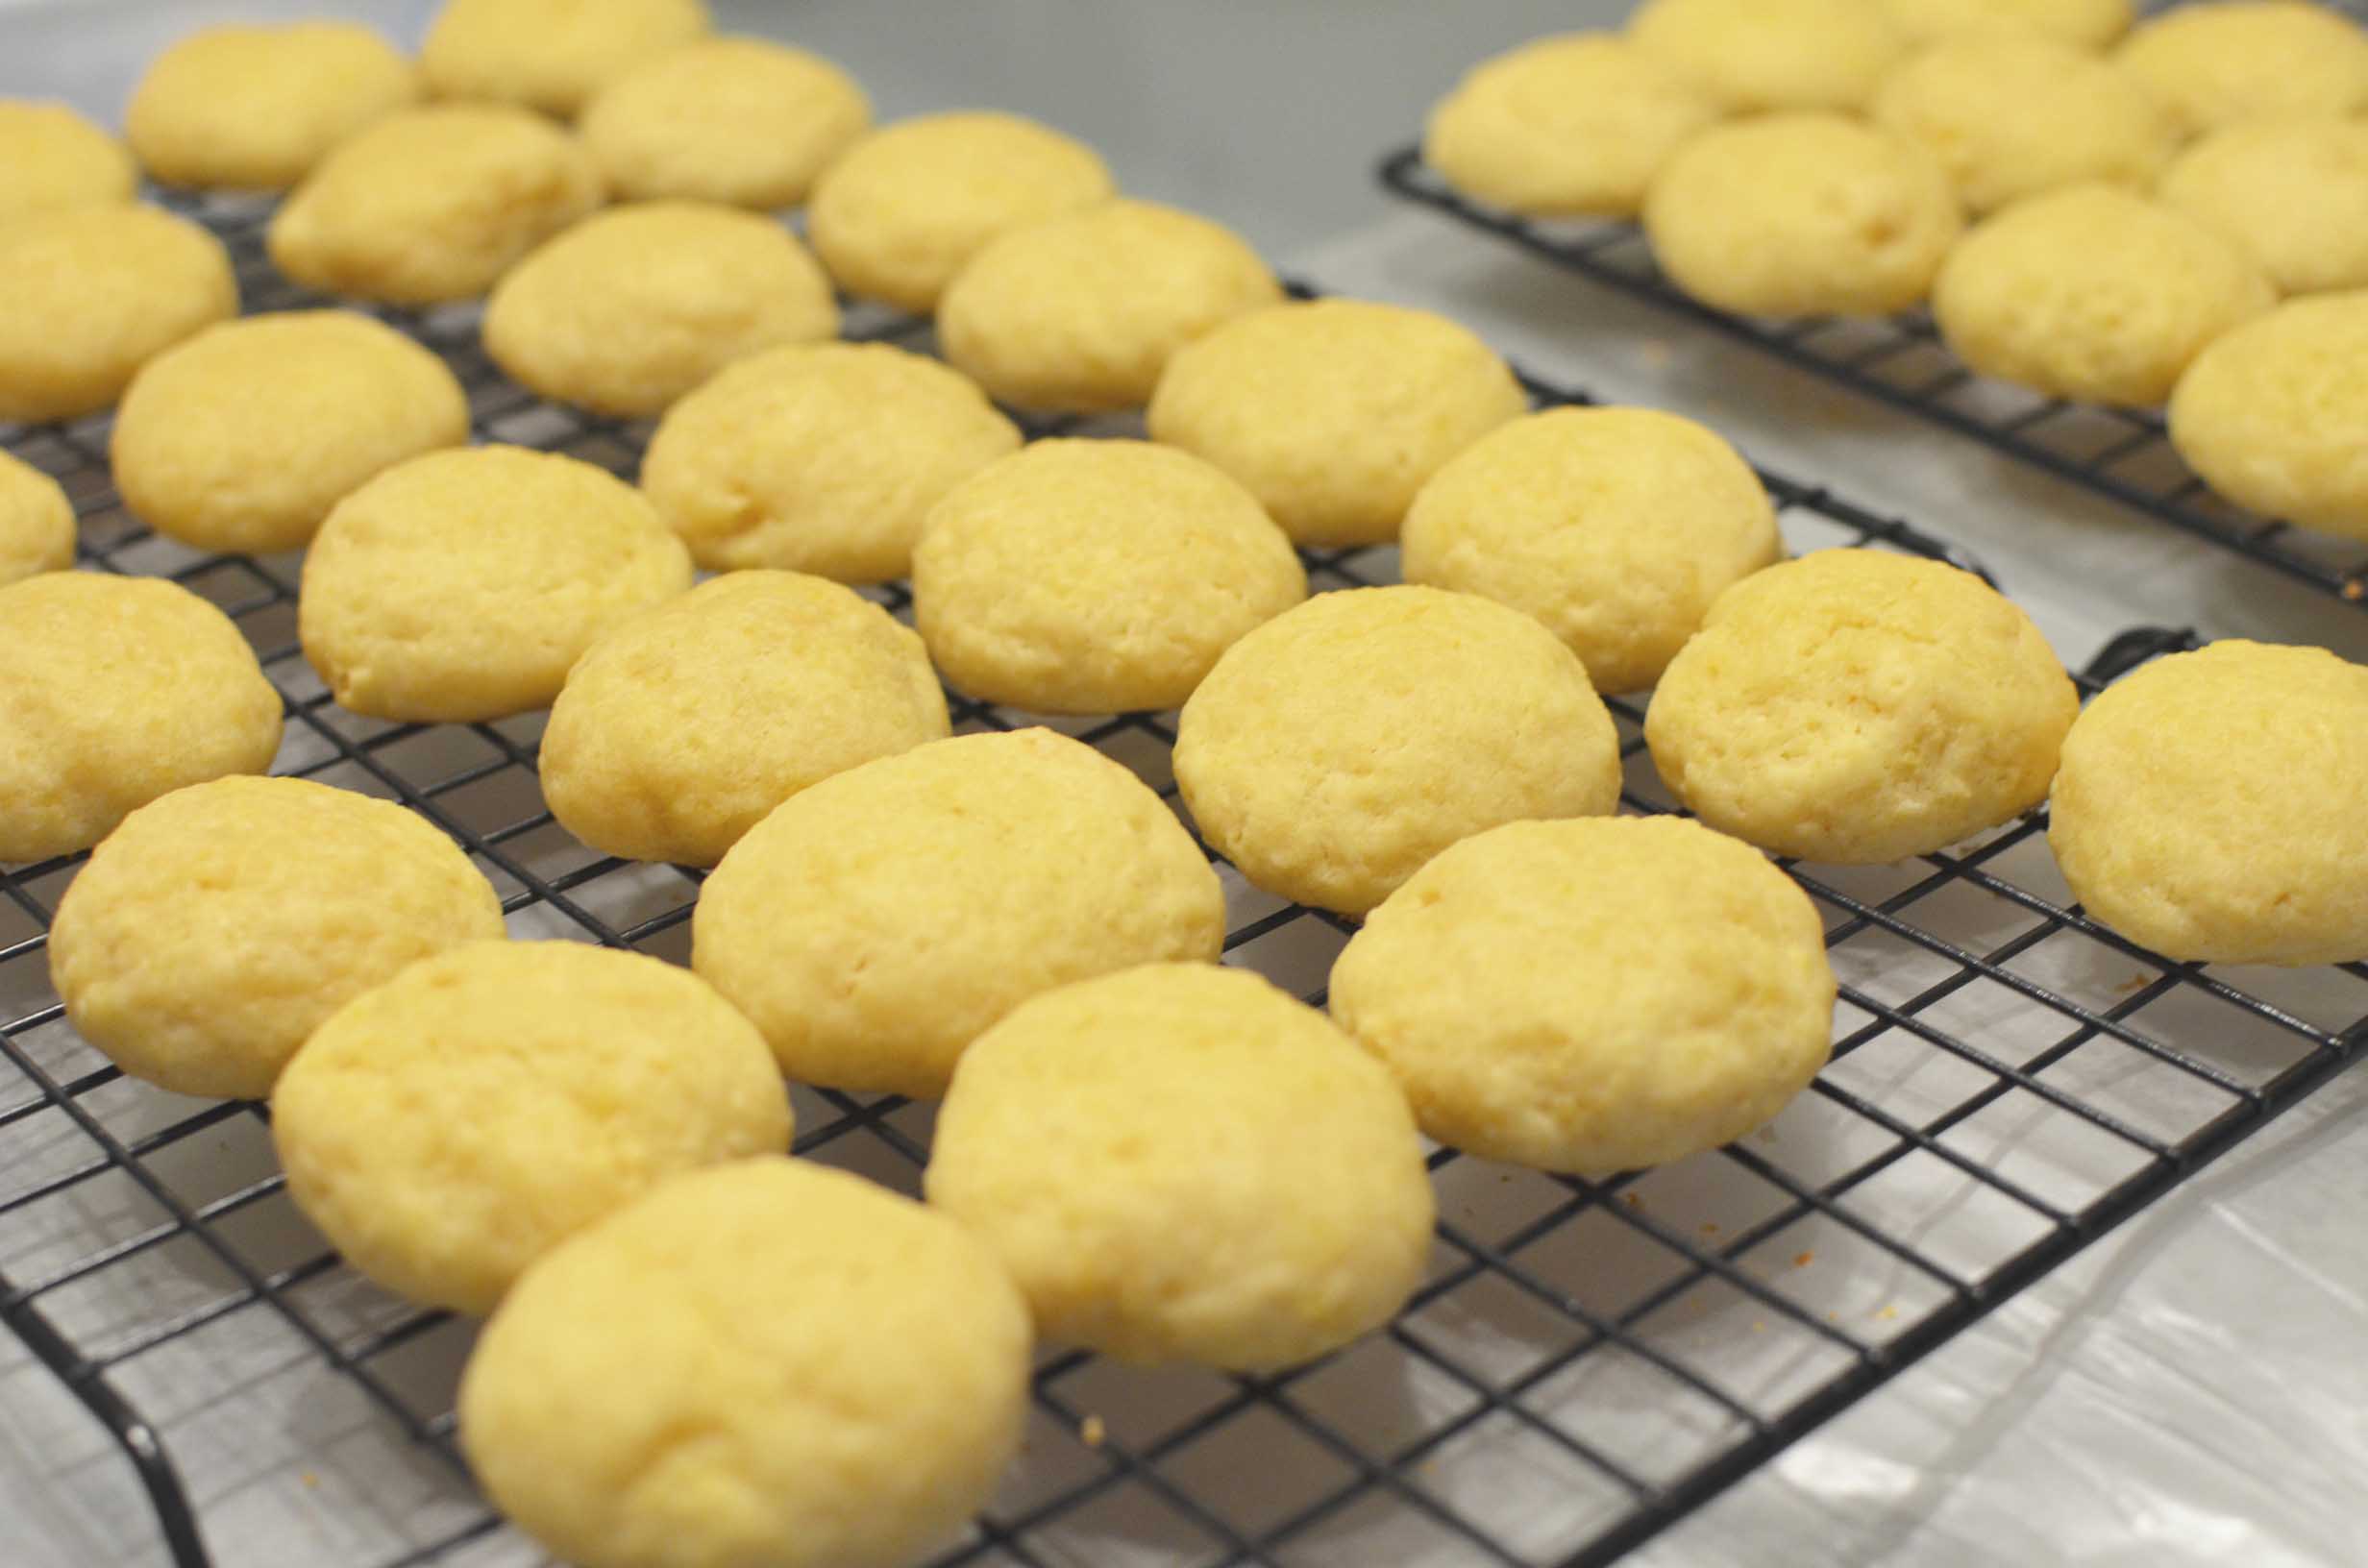
Make sure you have a cooling rack, and make sure to put something underneath to catch the drips.
Once the cookies have cooled move them to the cooling rack.
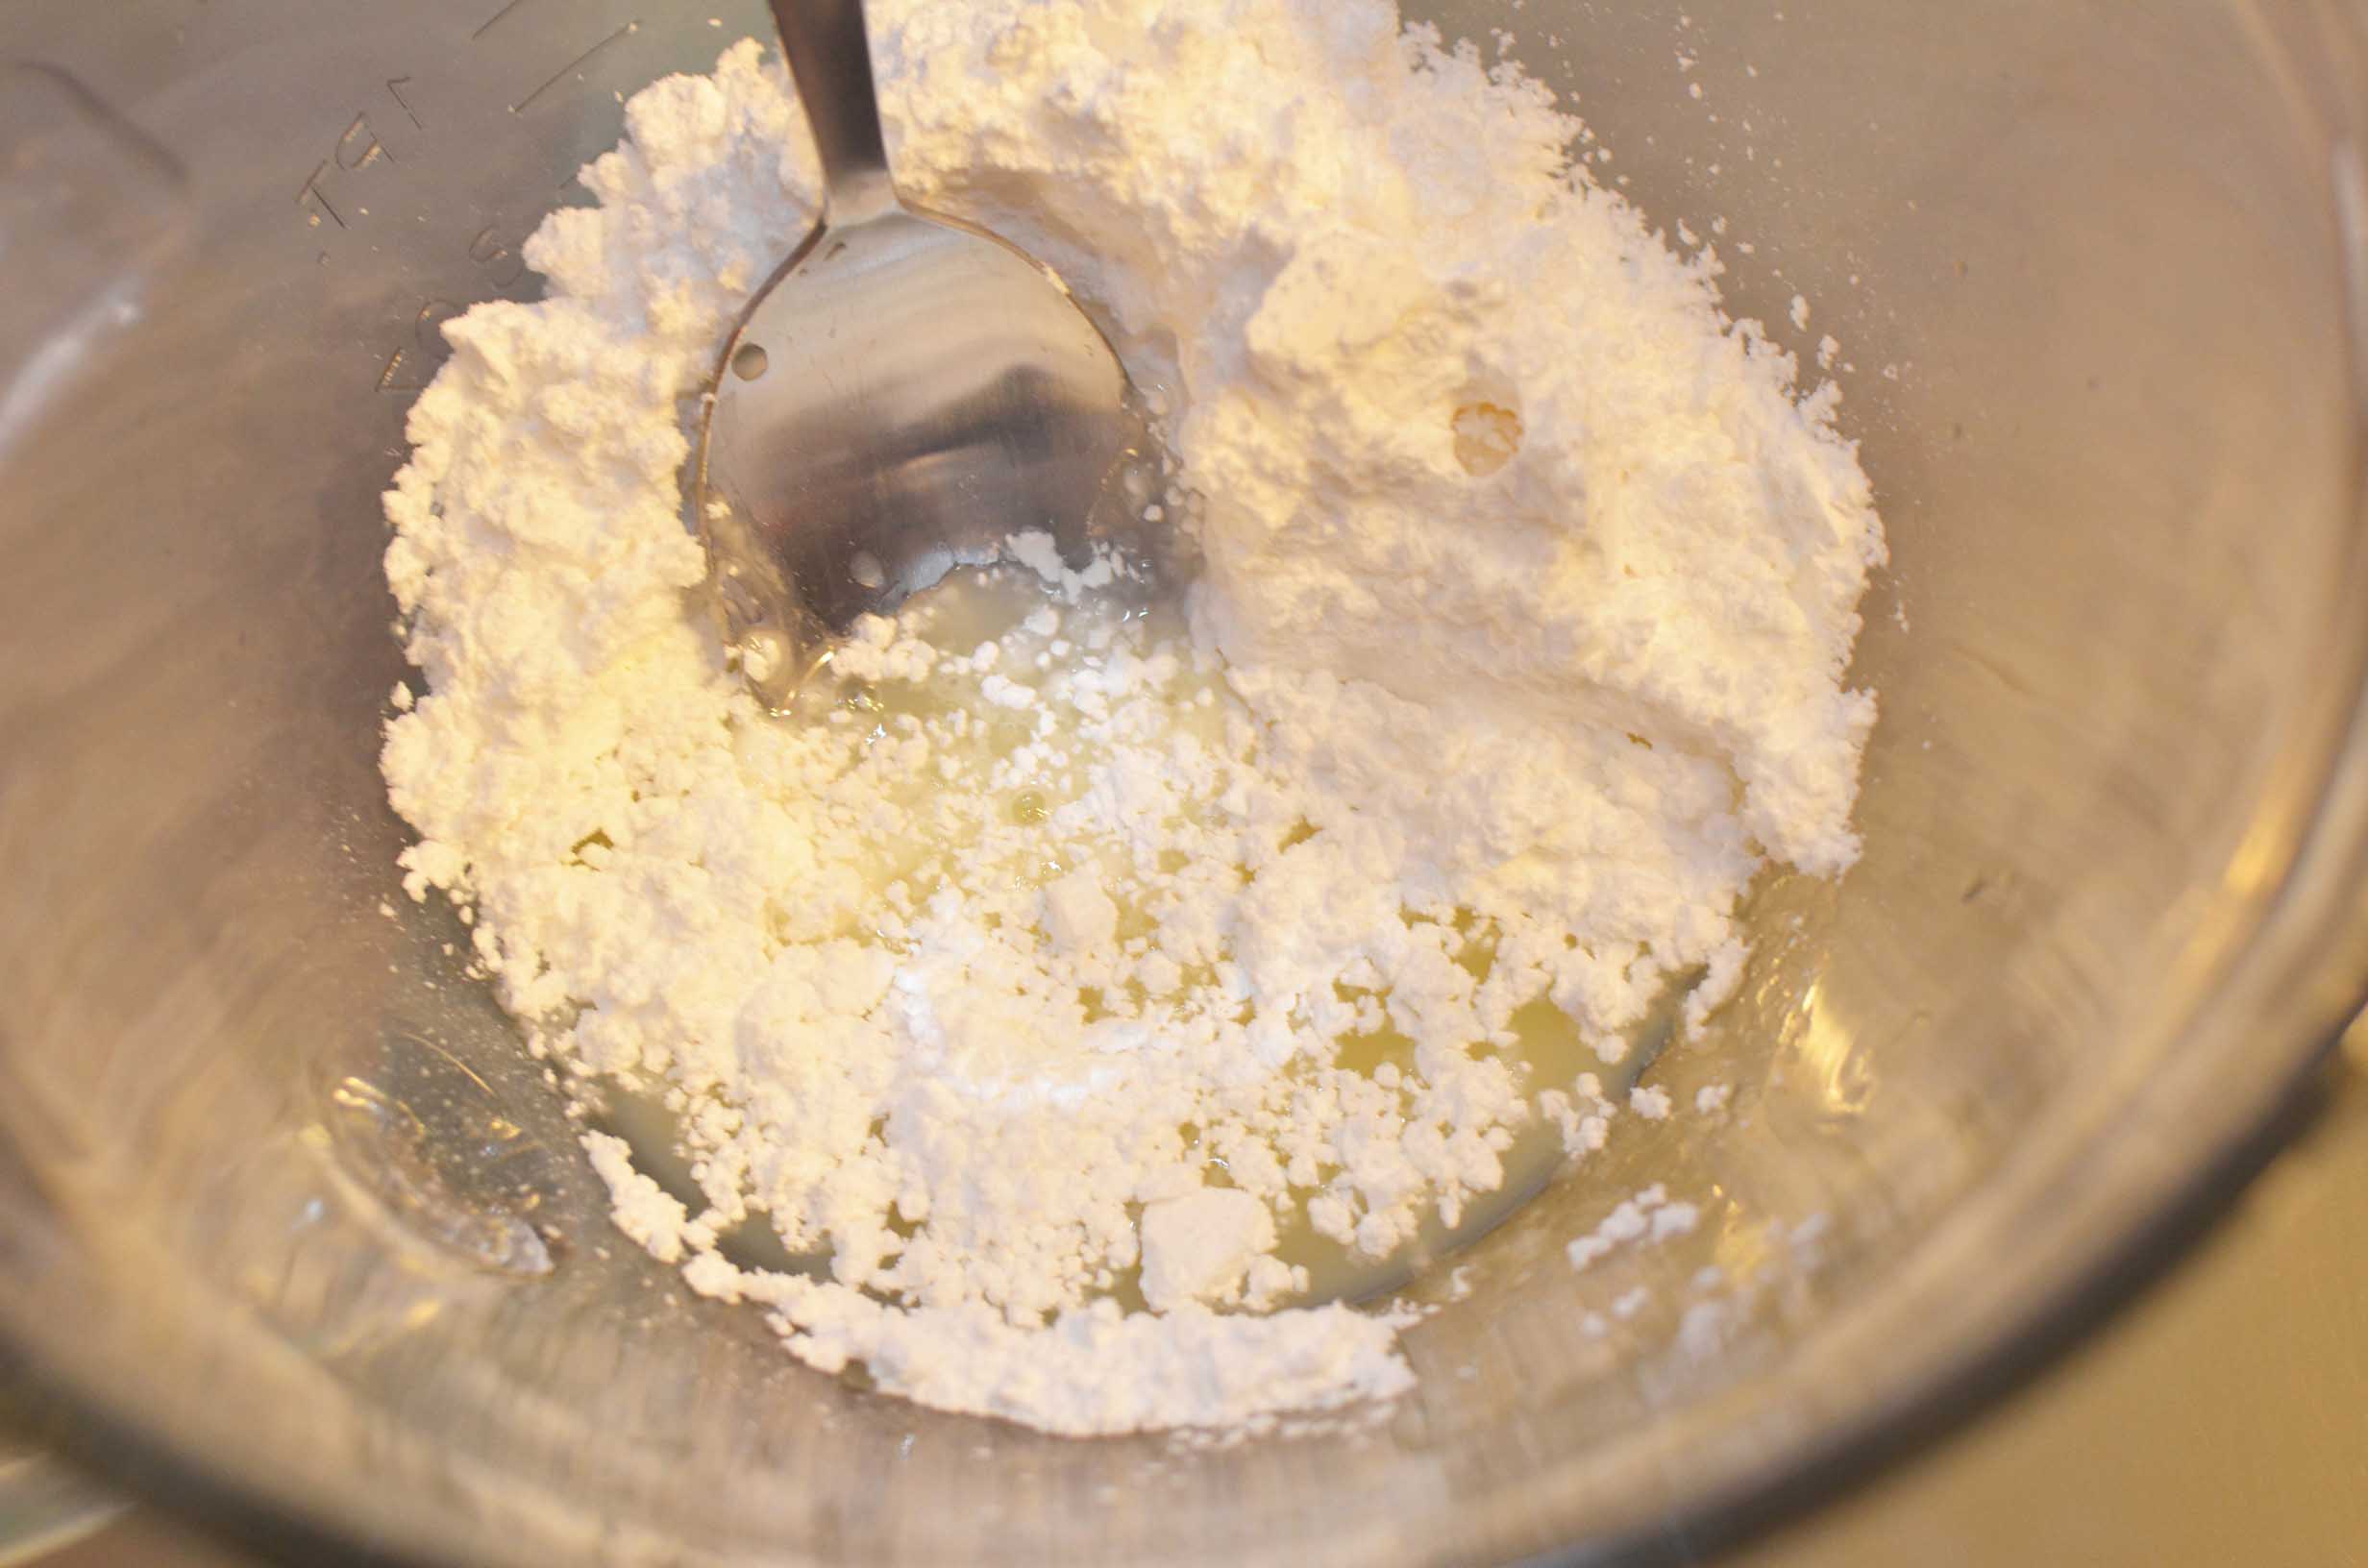
Now start the icing or glaze.
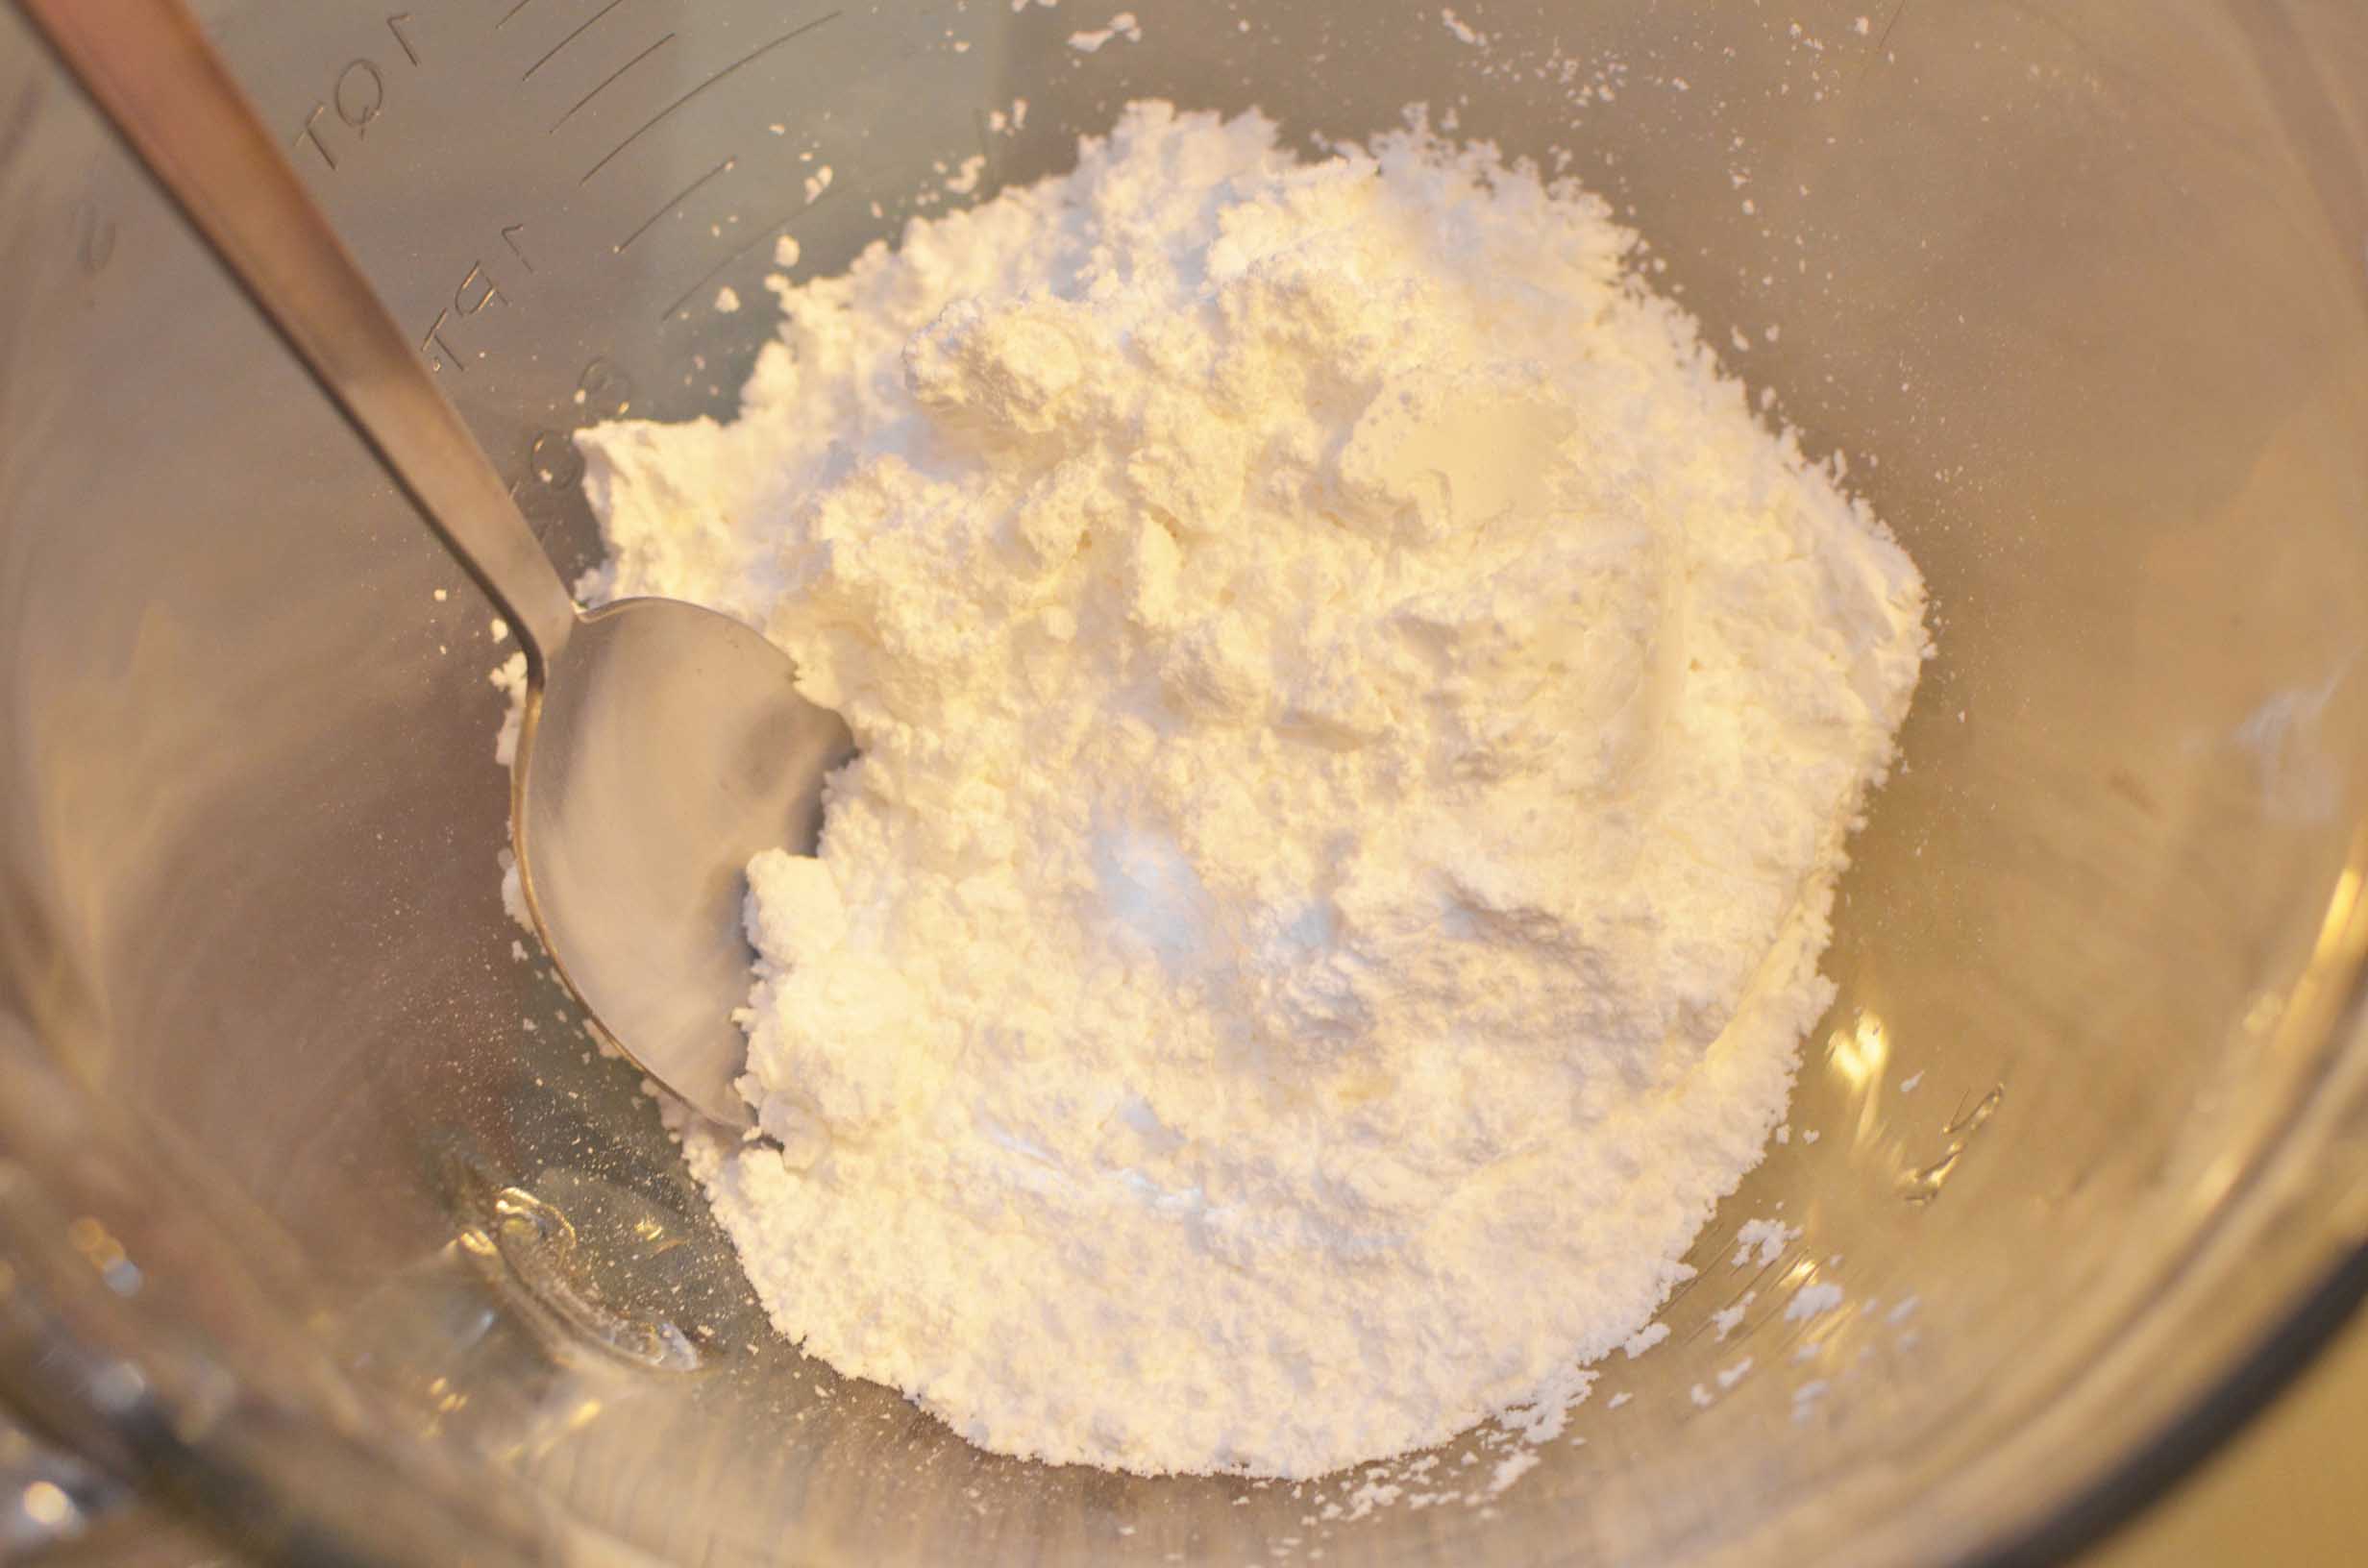
Powdered sugar first.
Then I use lemon juice.

Then almond extract.
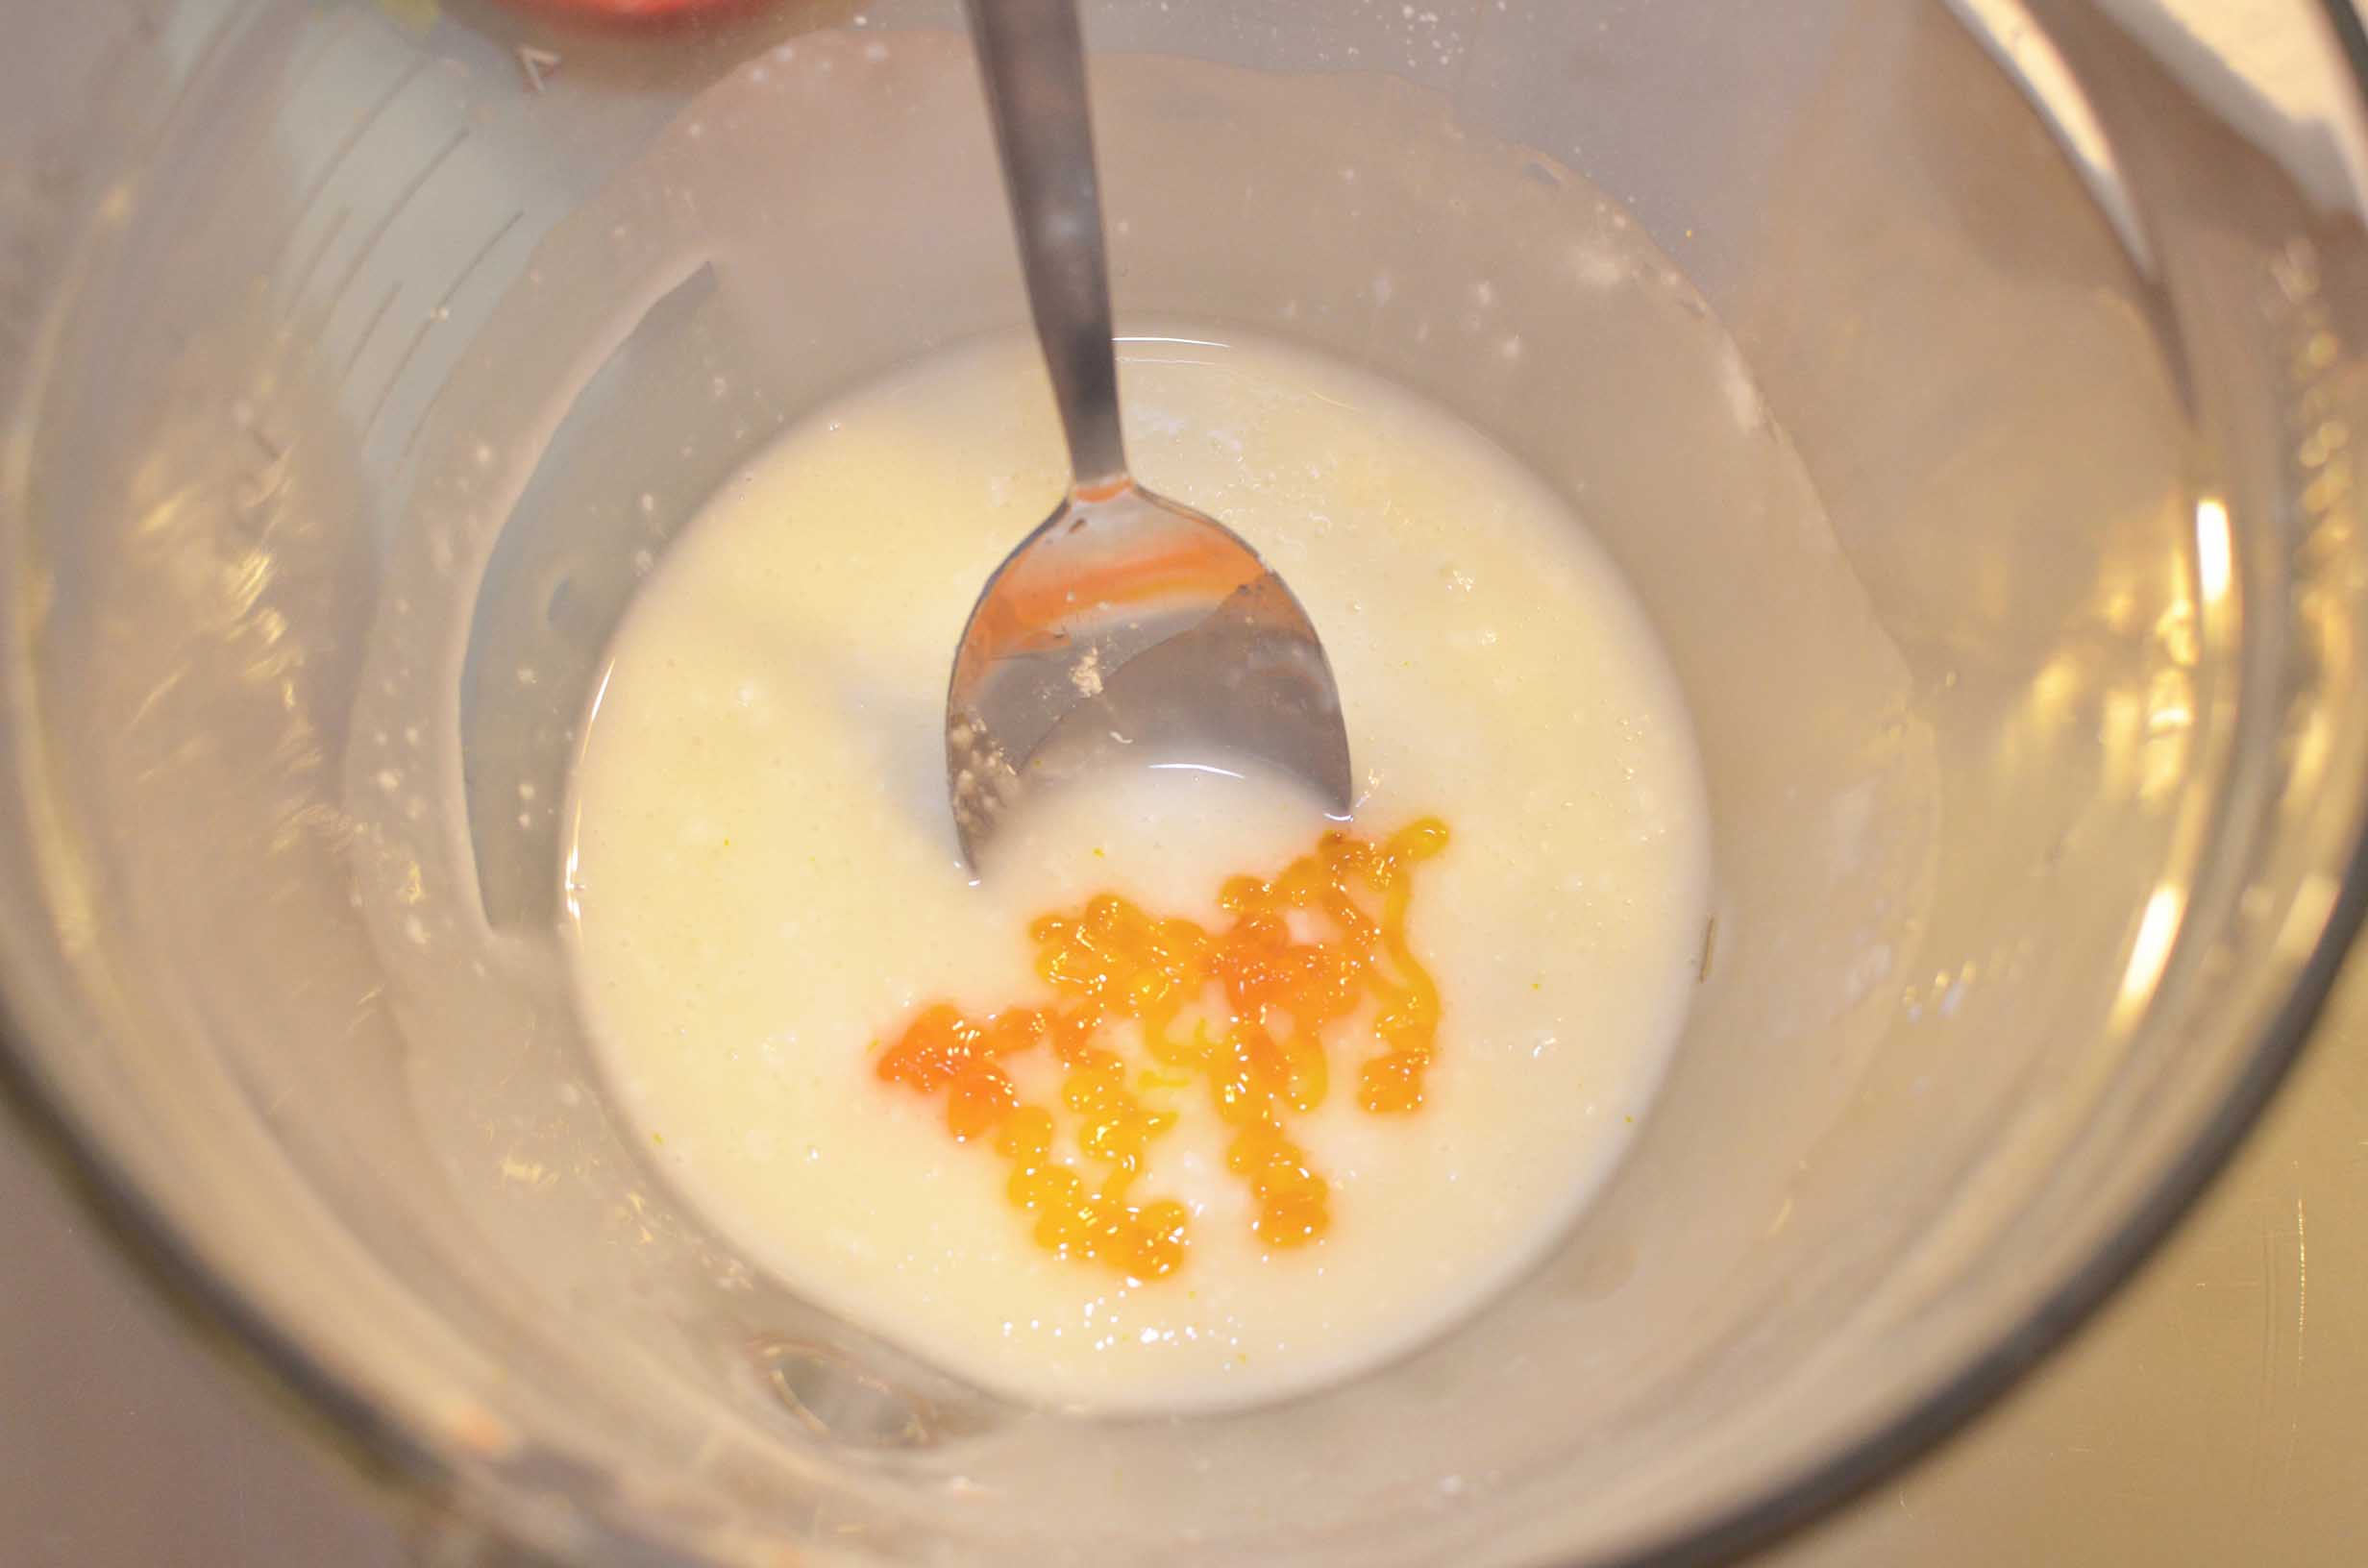
I then mix it, and here I added gel food coloring. Now I tend to leave them all white.
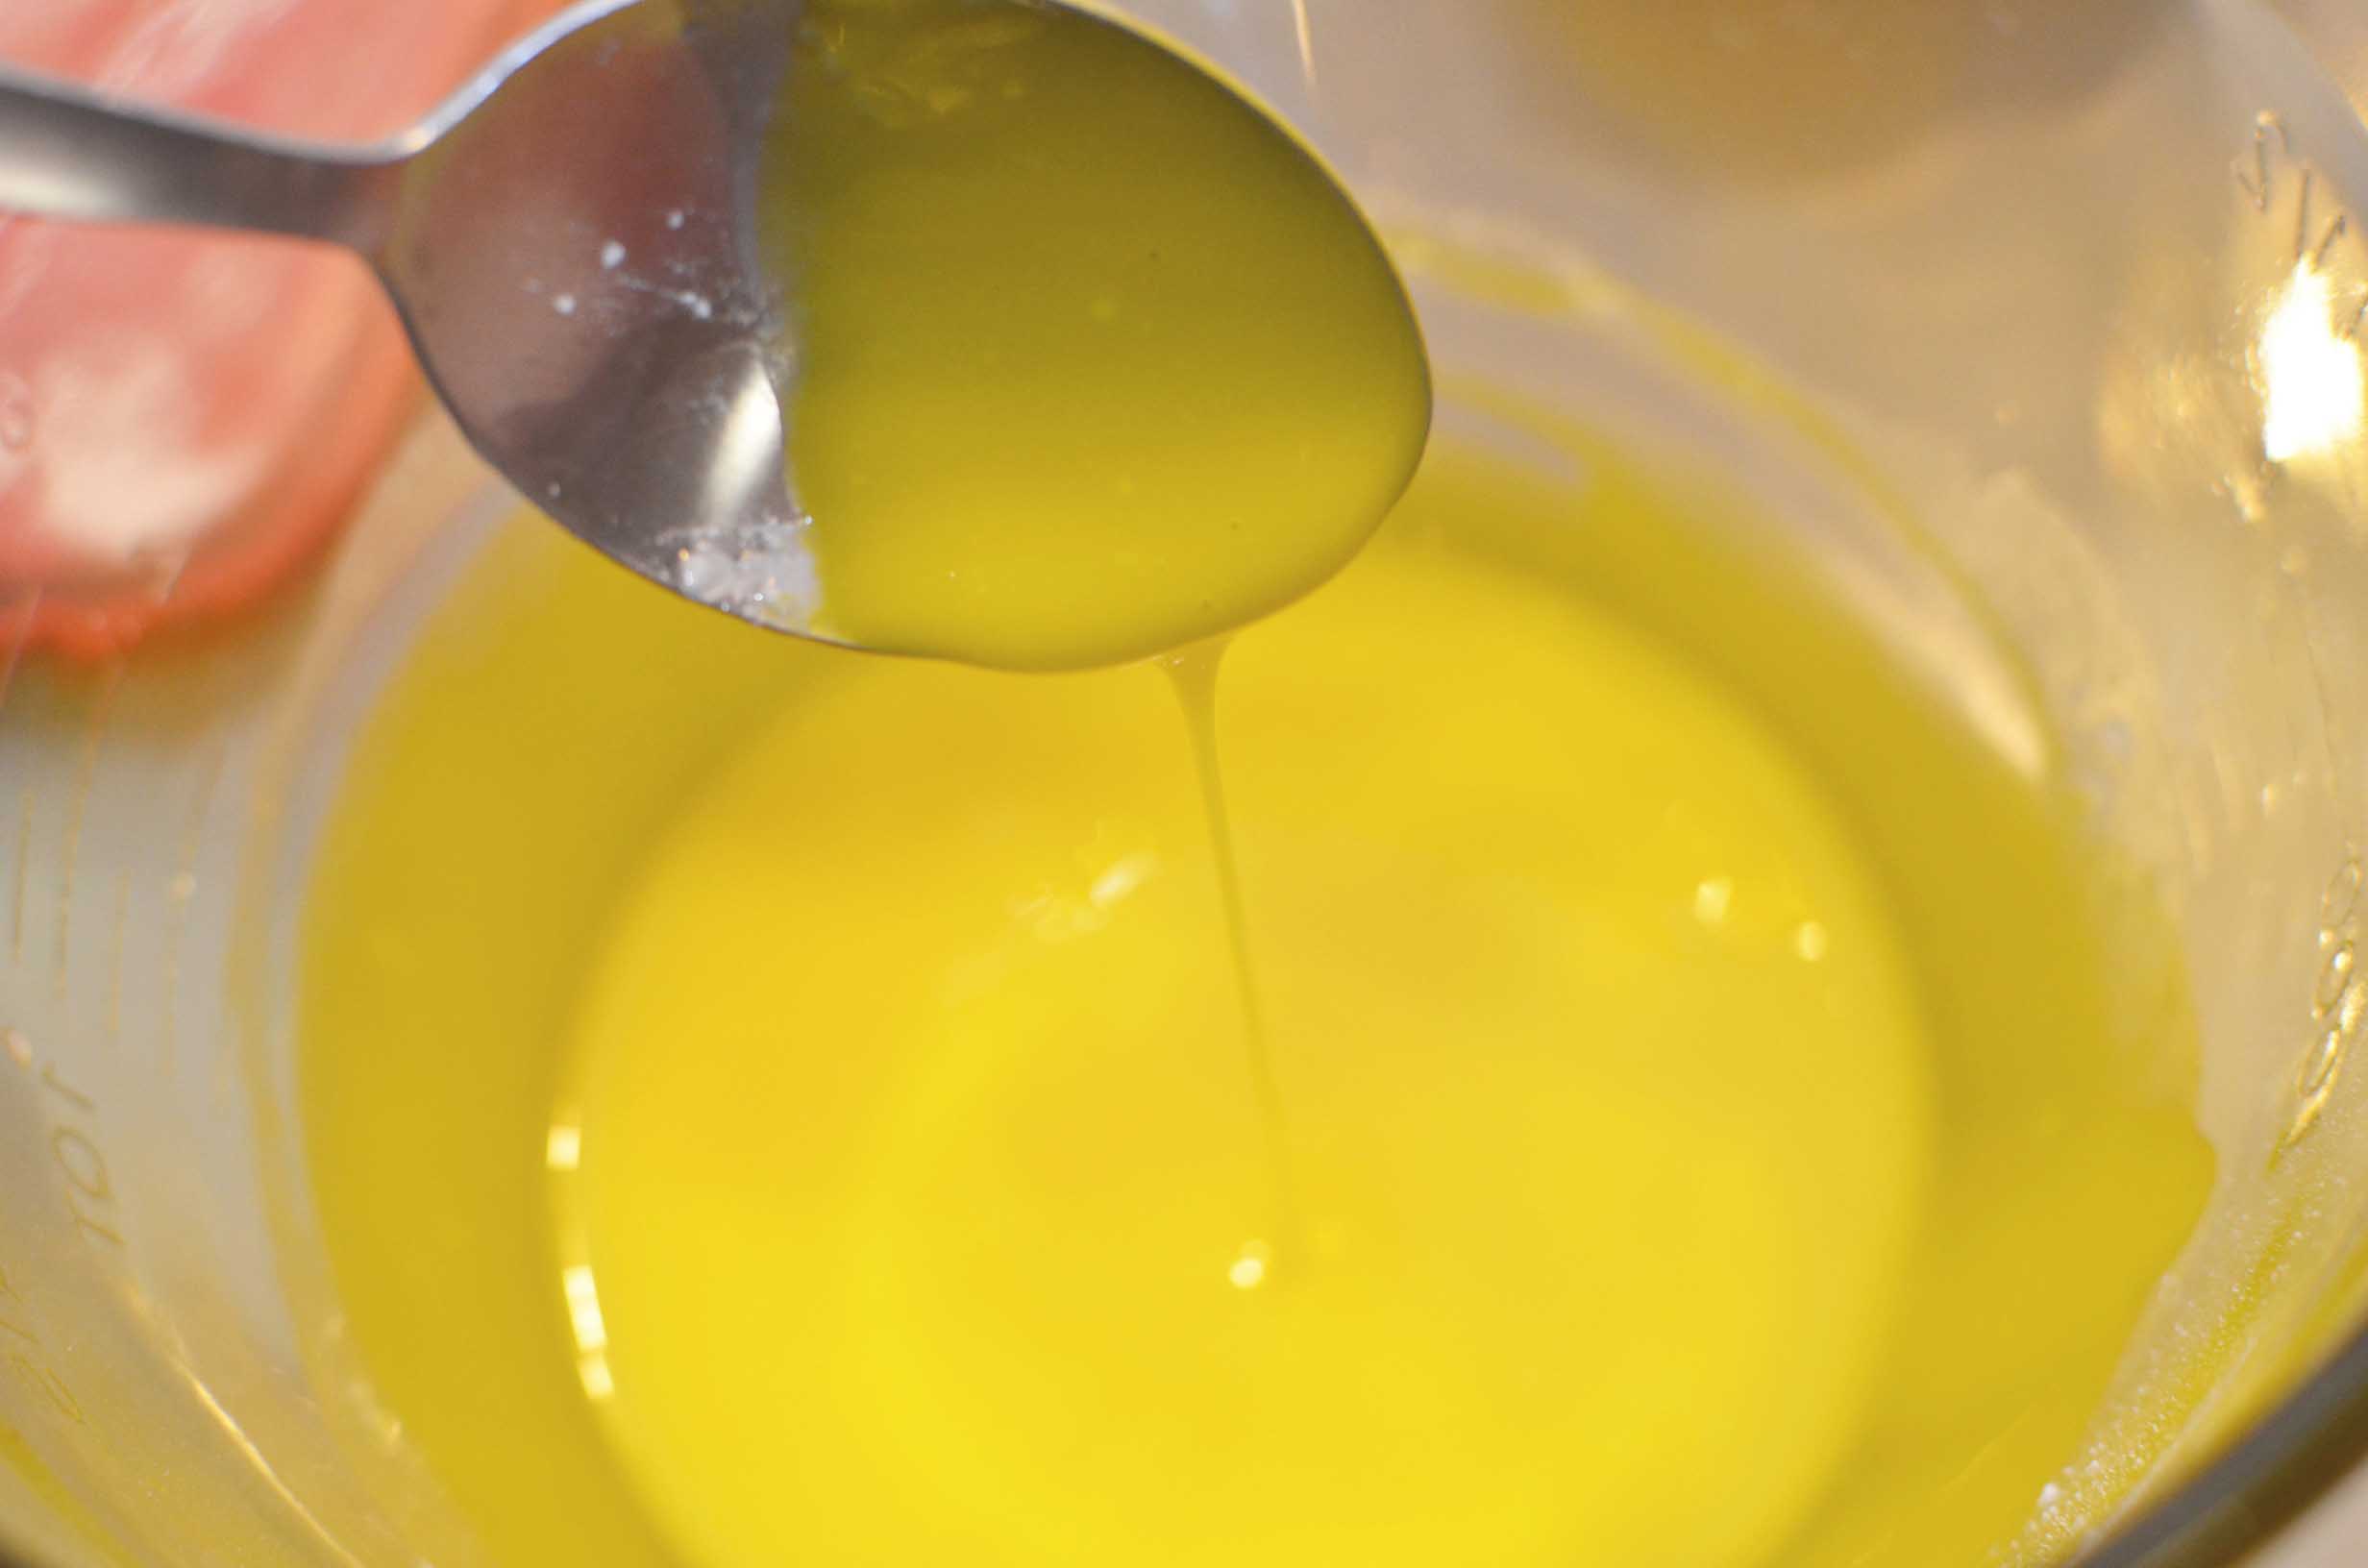
I know this looks like egg yolks, but I have made these with different colored icing, but people don’t expect a lemon flavored cookie when it has a blue icing. This is the icing to the recipe below, but I always tend to add a little bit more powdered sugar so that it isn’t that thin.
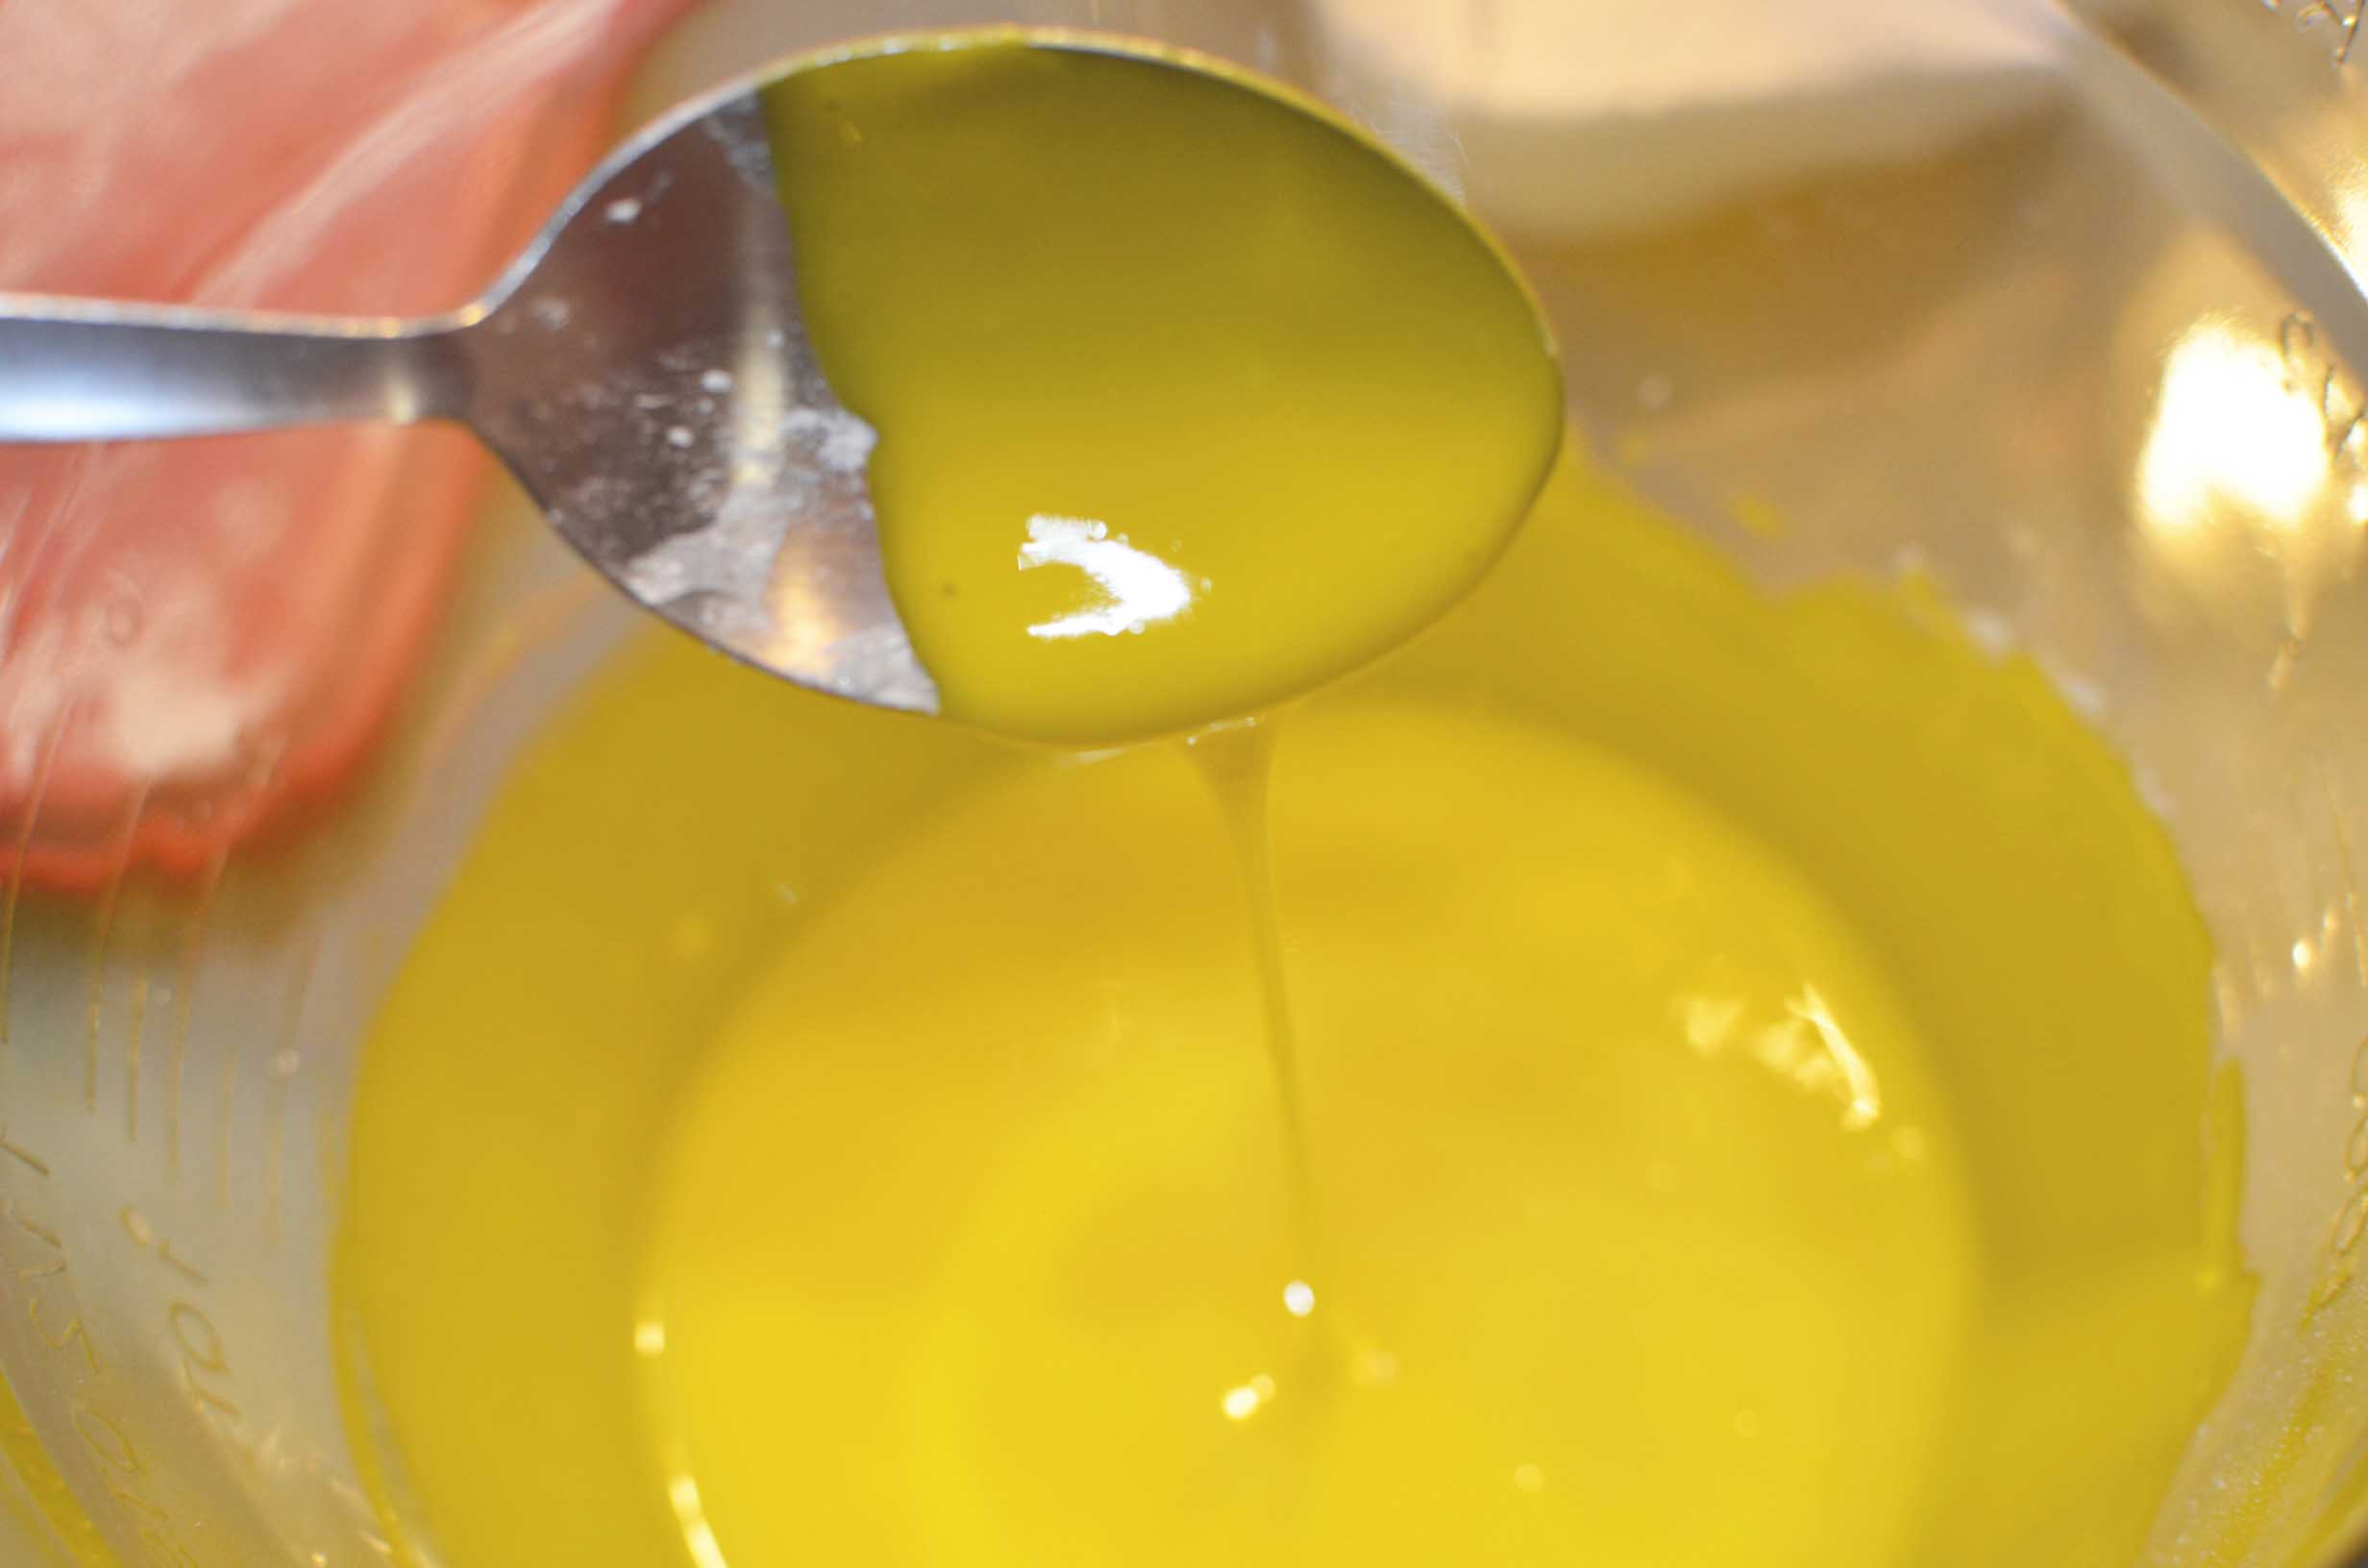
Here I added more powdered sugar and it is a little thicker here.
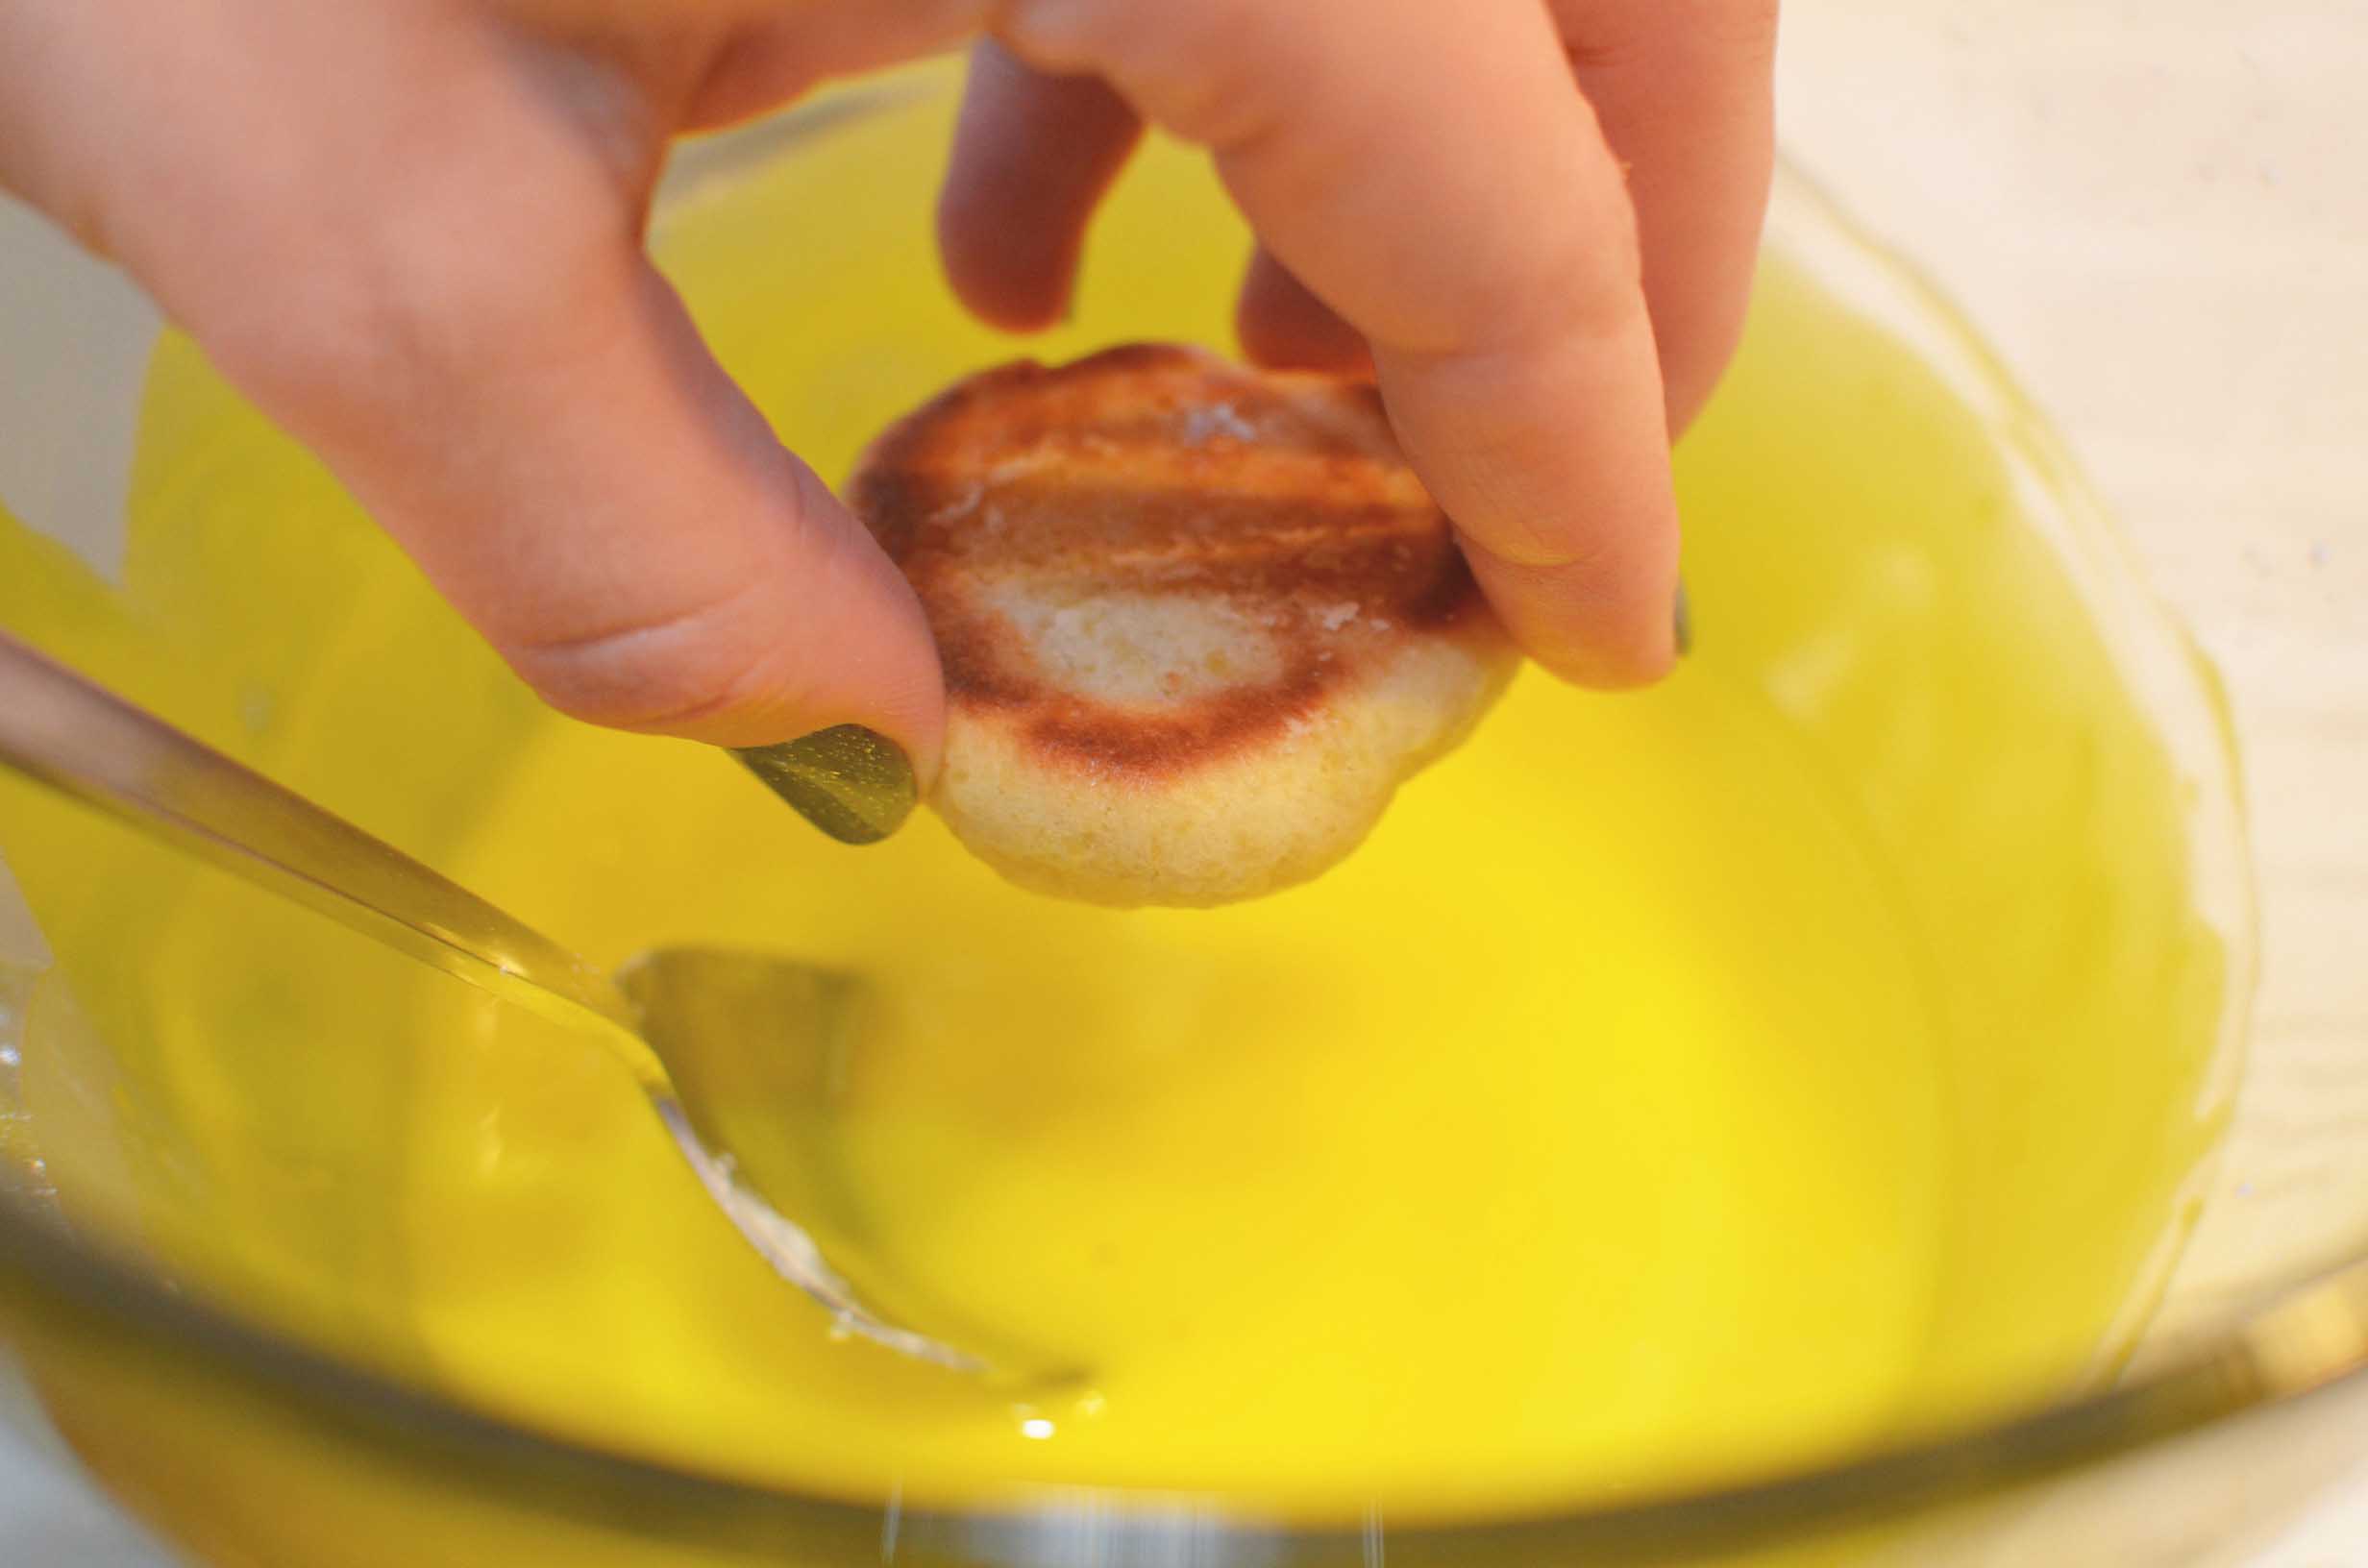
Take a cookie and dunk it up to your finger tips in the icing.
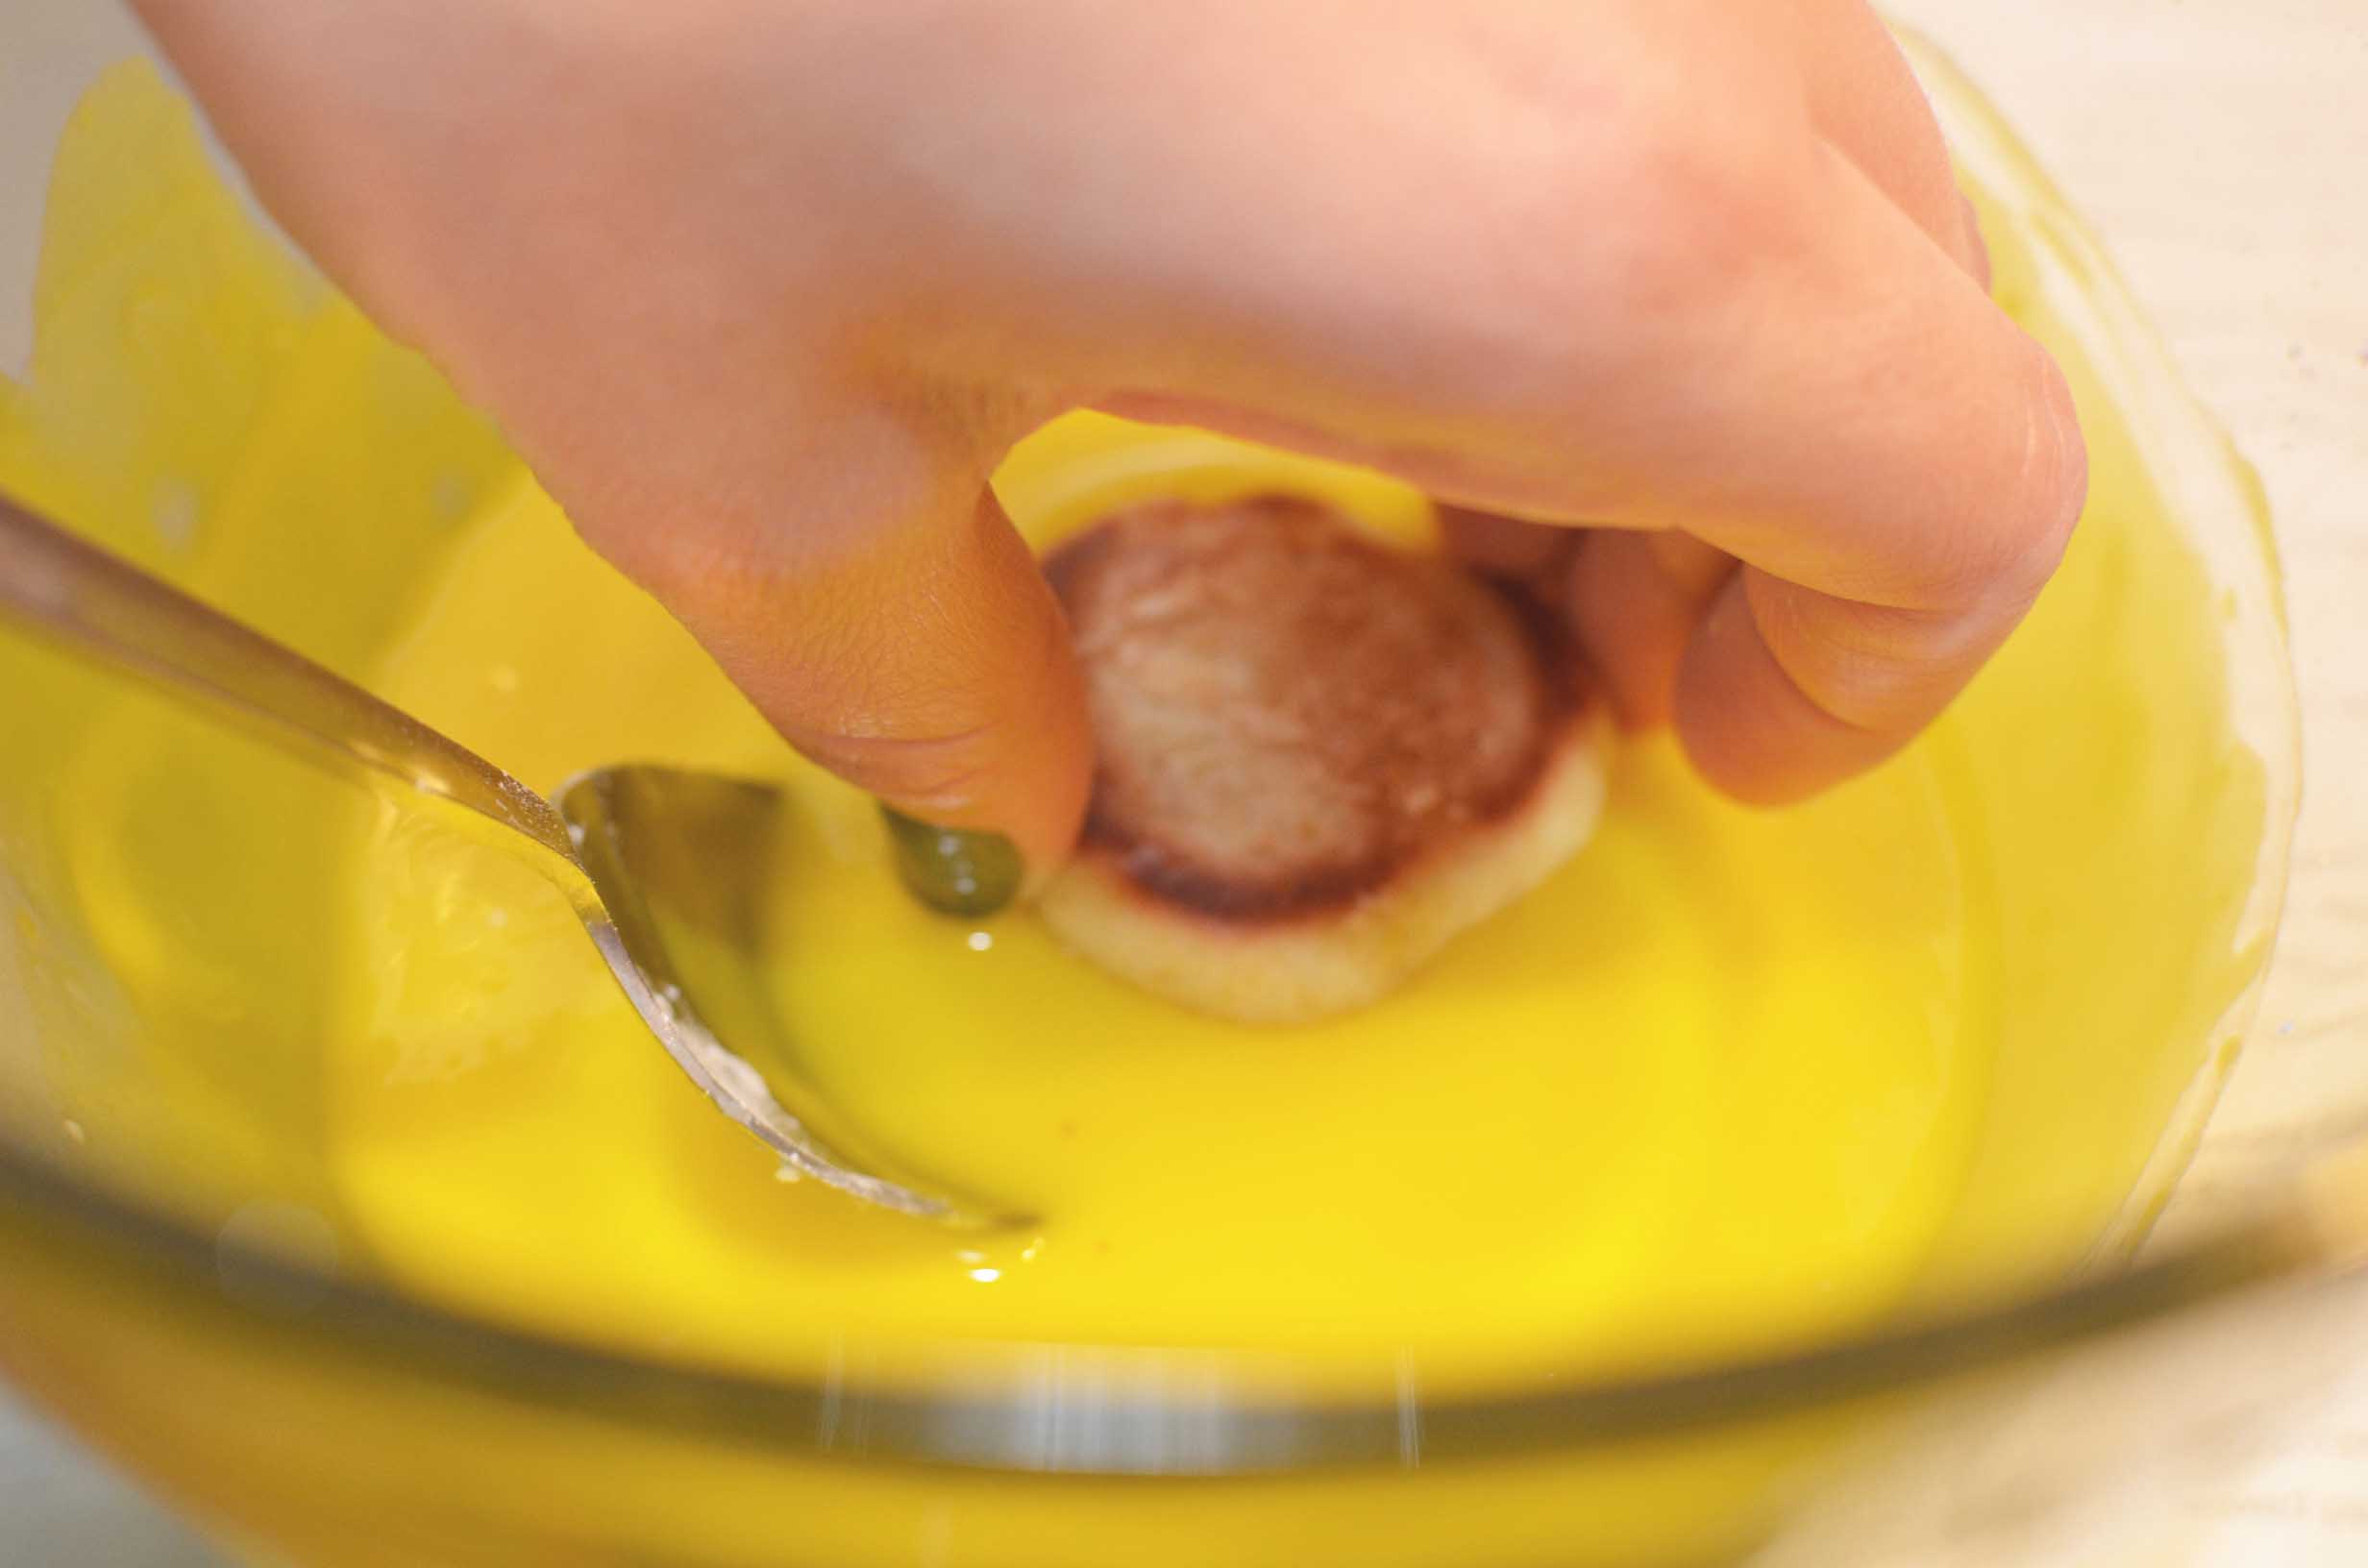
Like so.
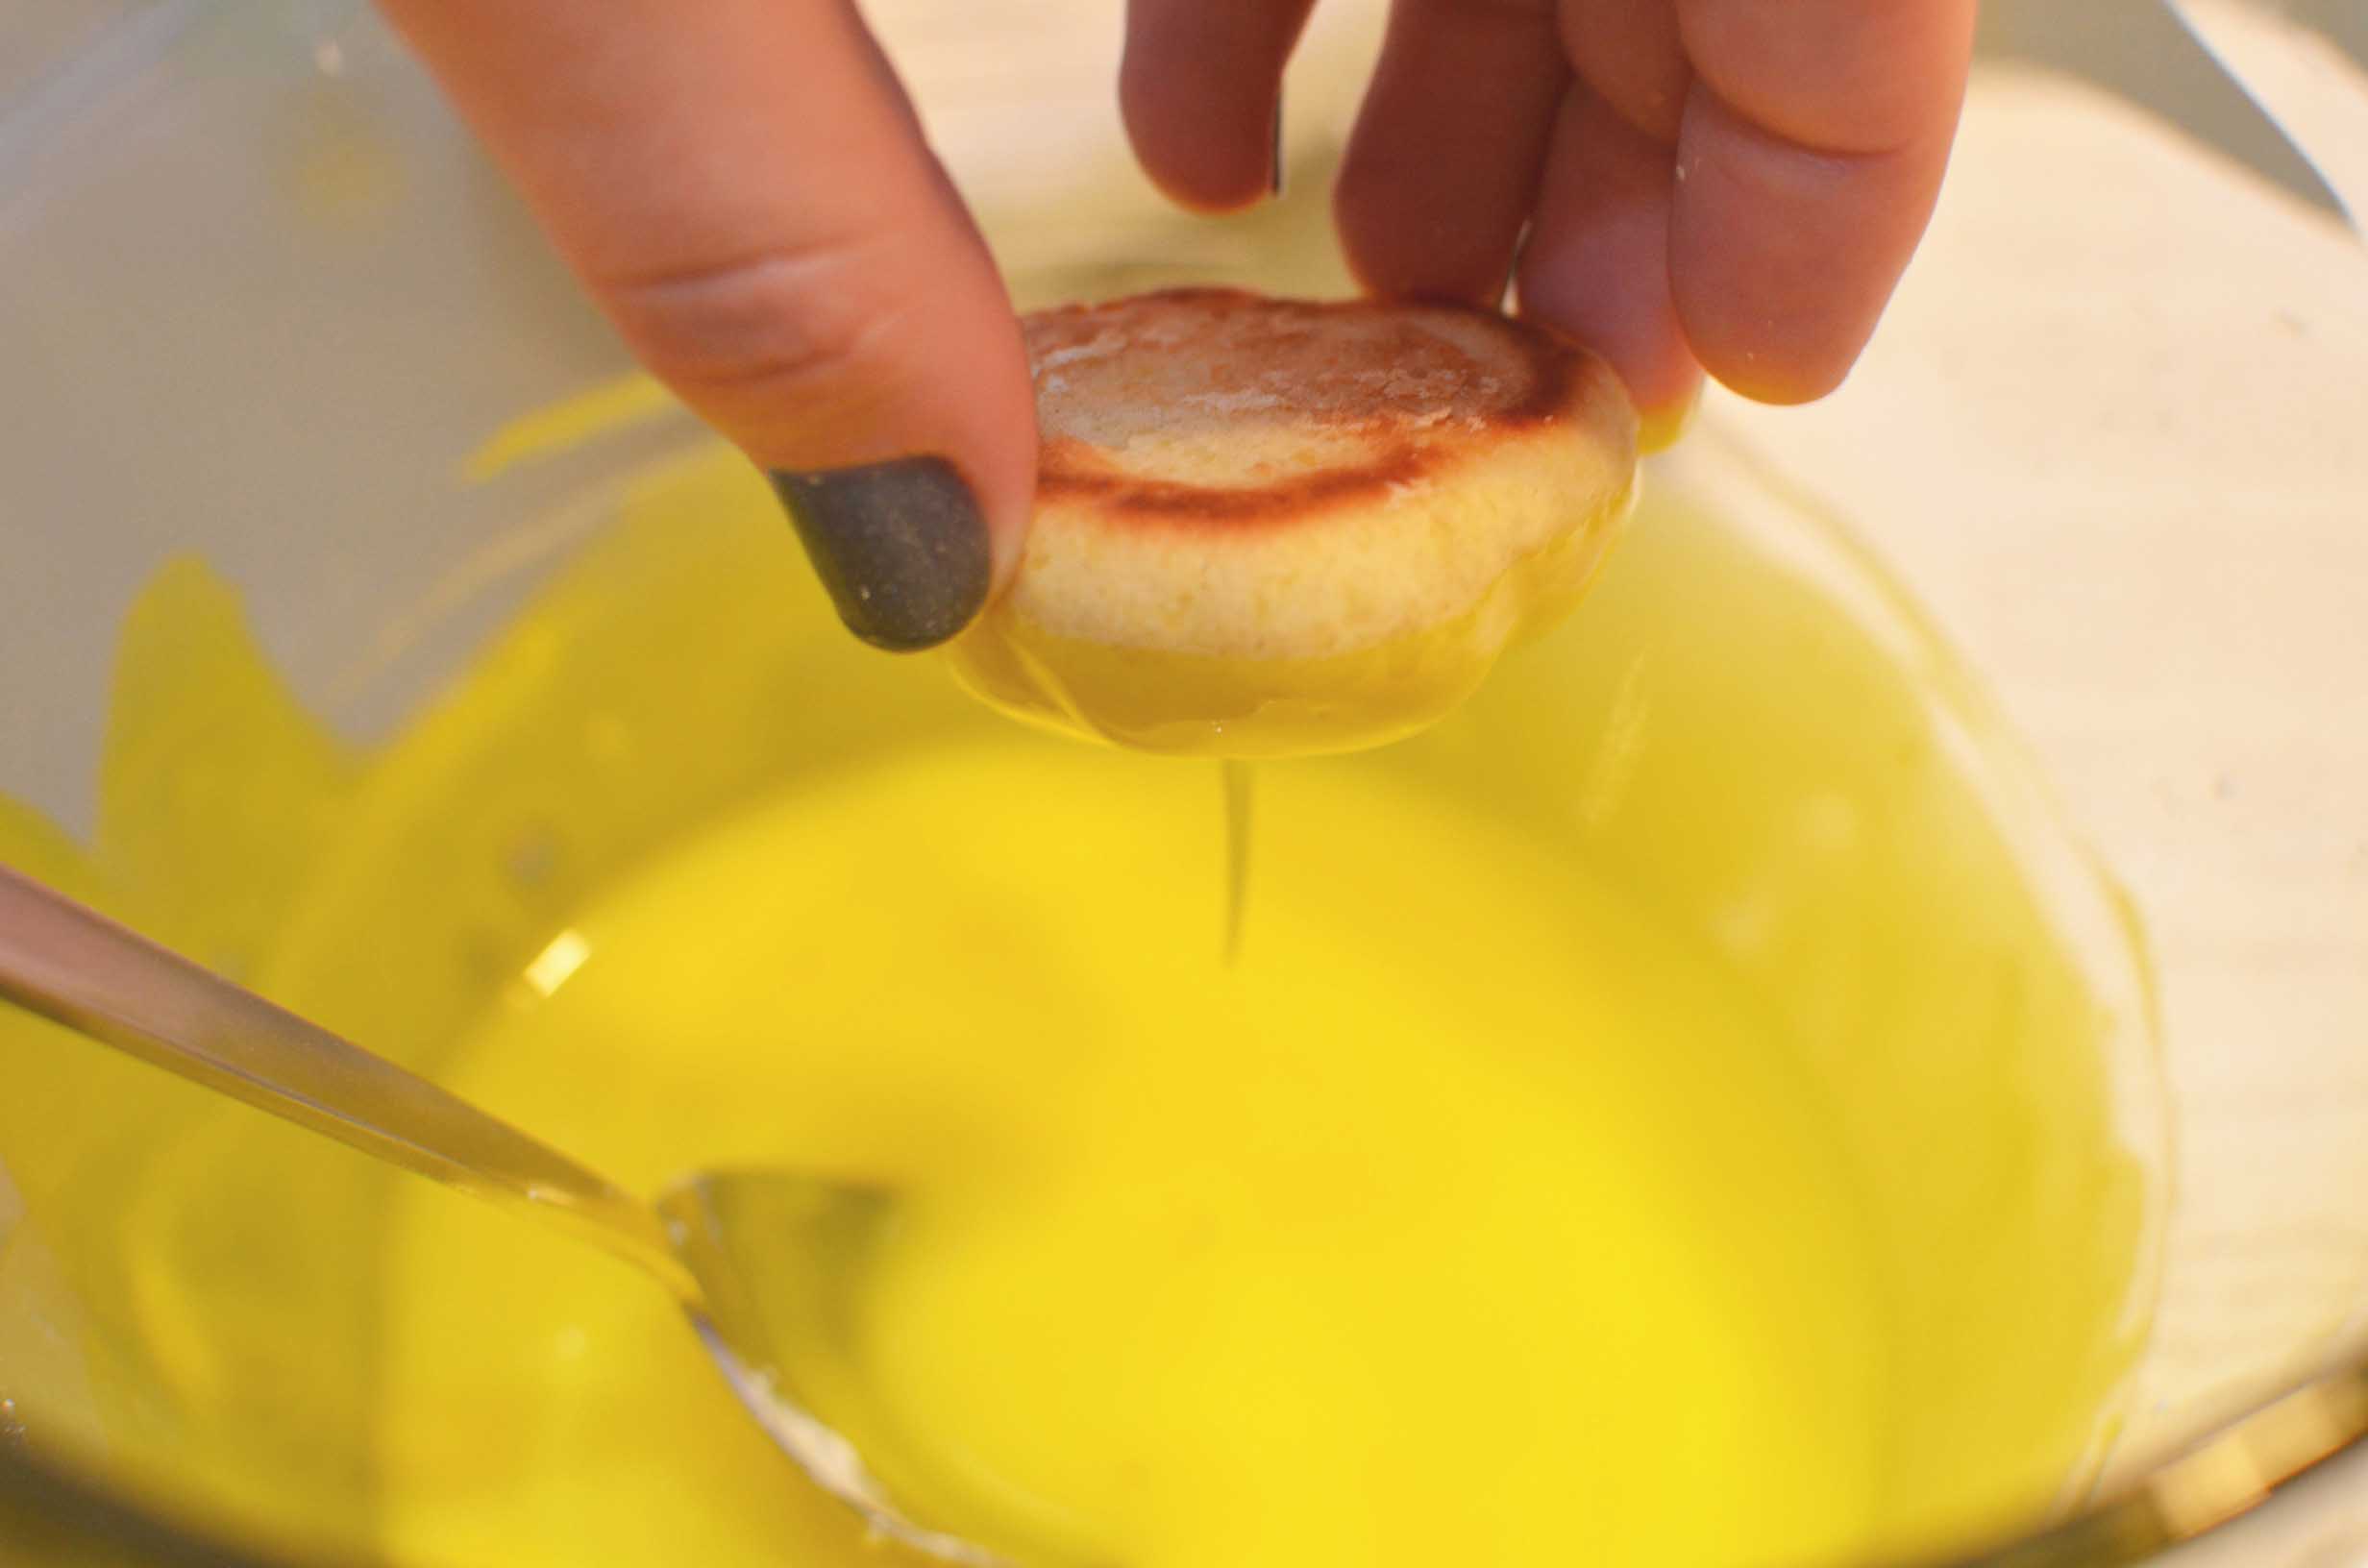
Let some of it drop off.
Set right side up on the cooling rack, it will still drip a little bit.
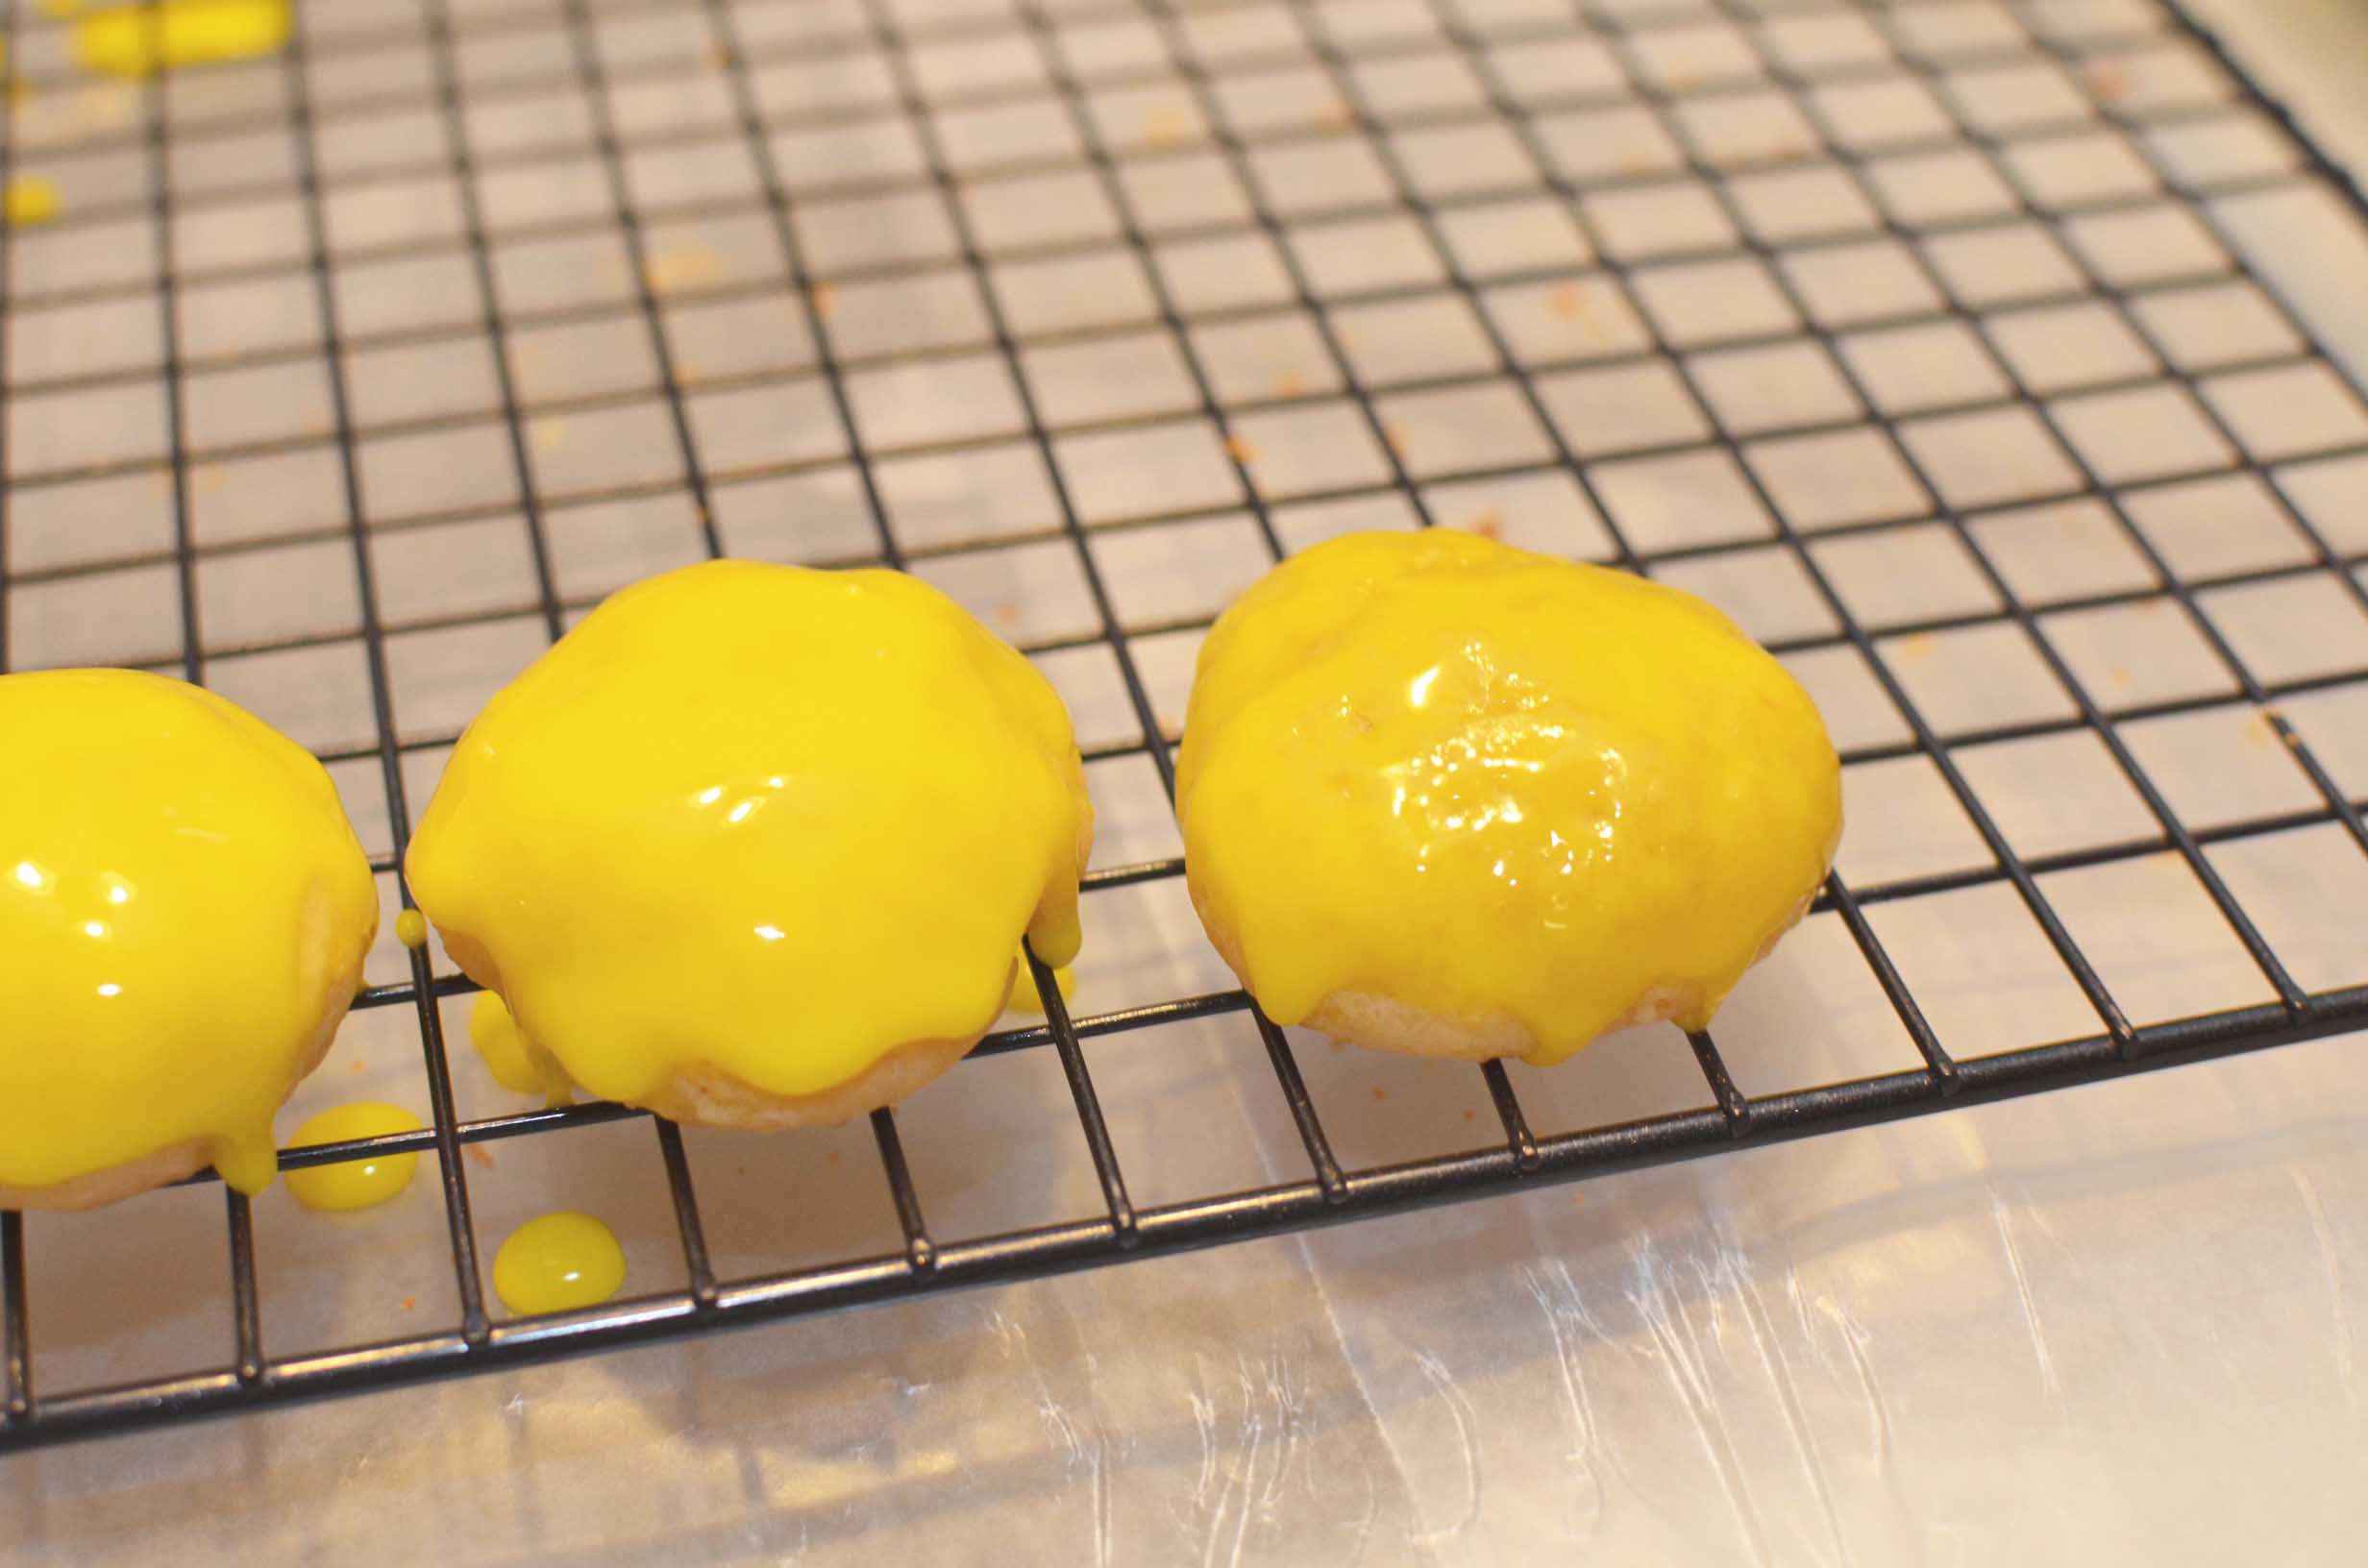
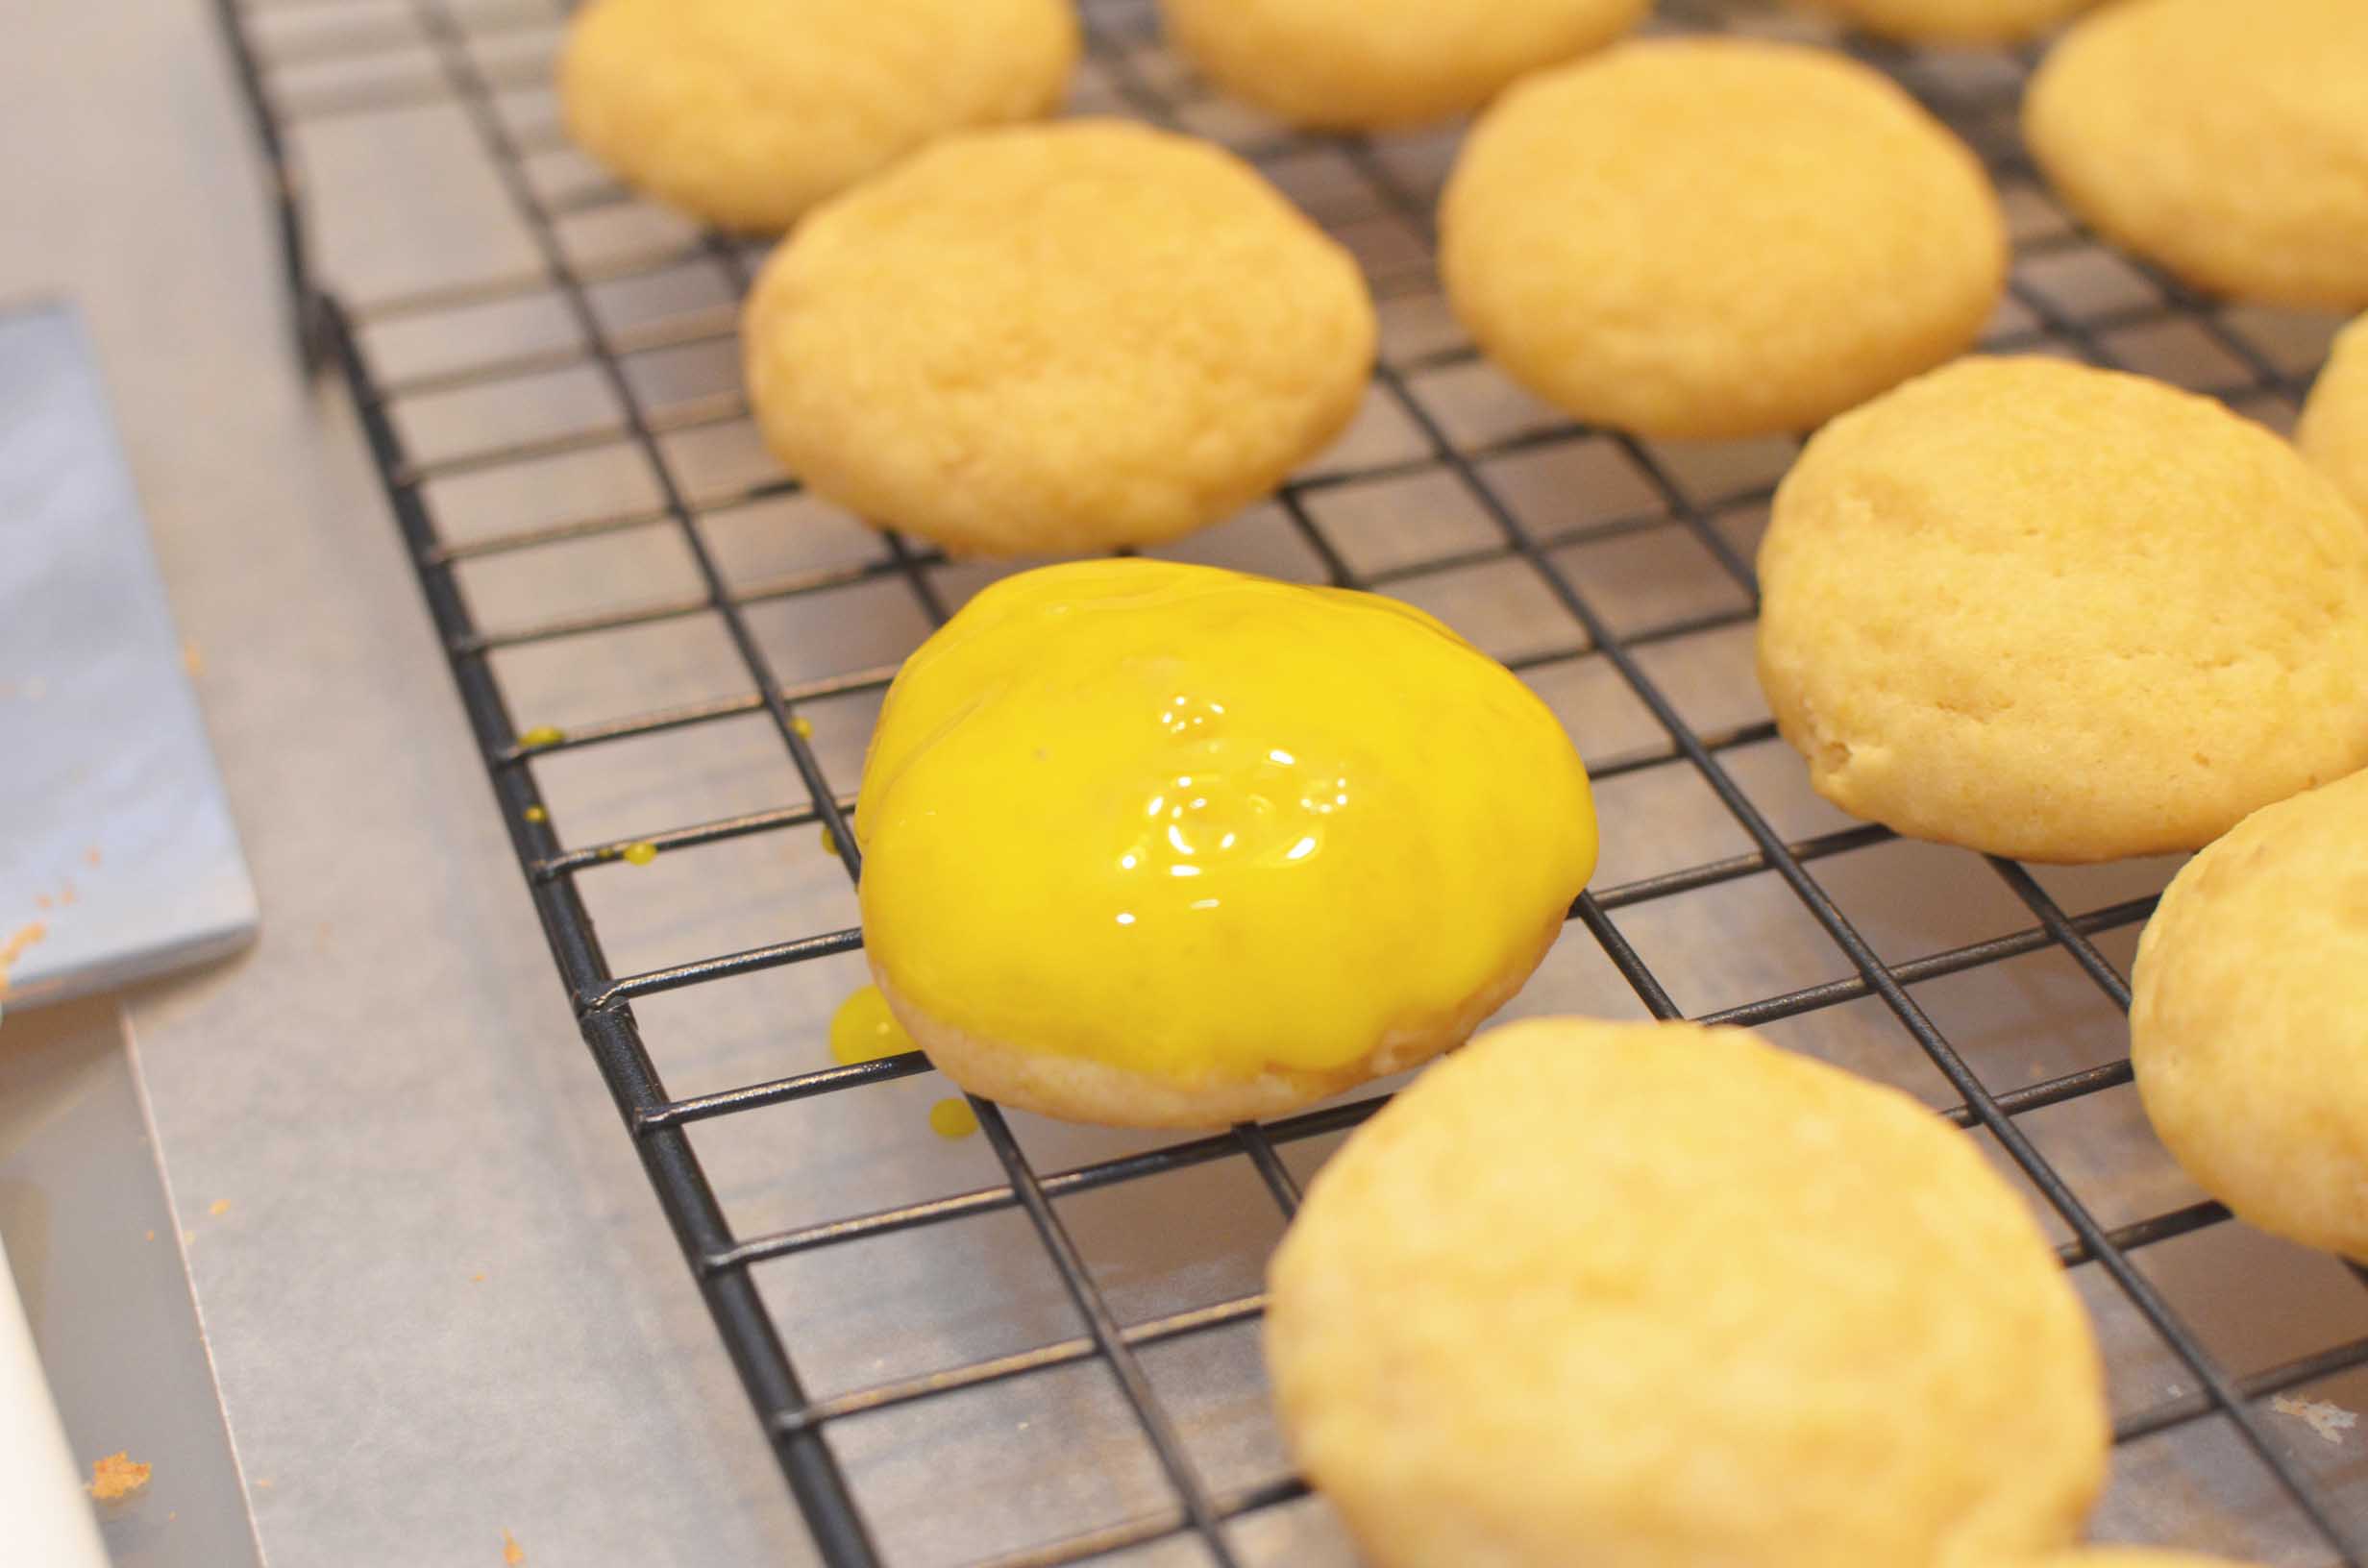
Here you can see the ones on the left had enough powdered sugar and have a nice deep color, the one on the right is a little too thin and you can se the cookie texture underneath. Also, if you want to add sprinkles do that before the tops start to harden.
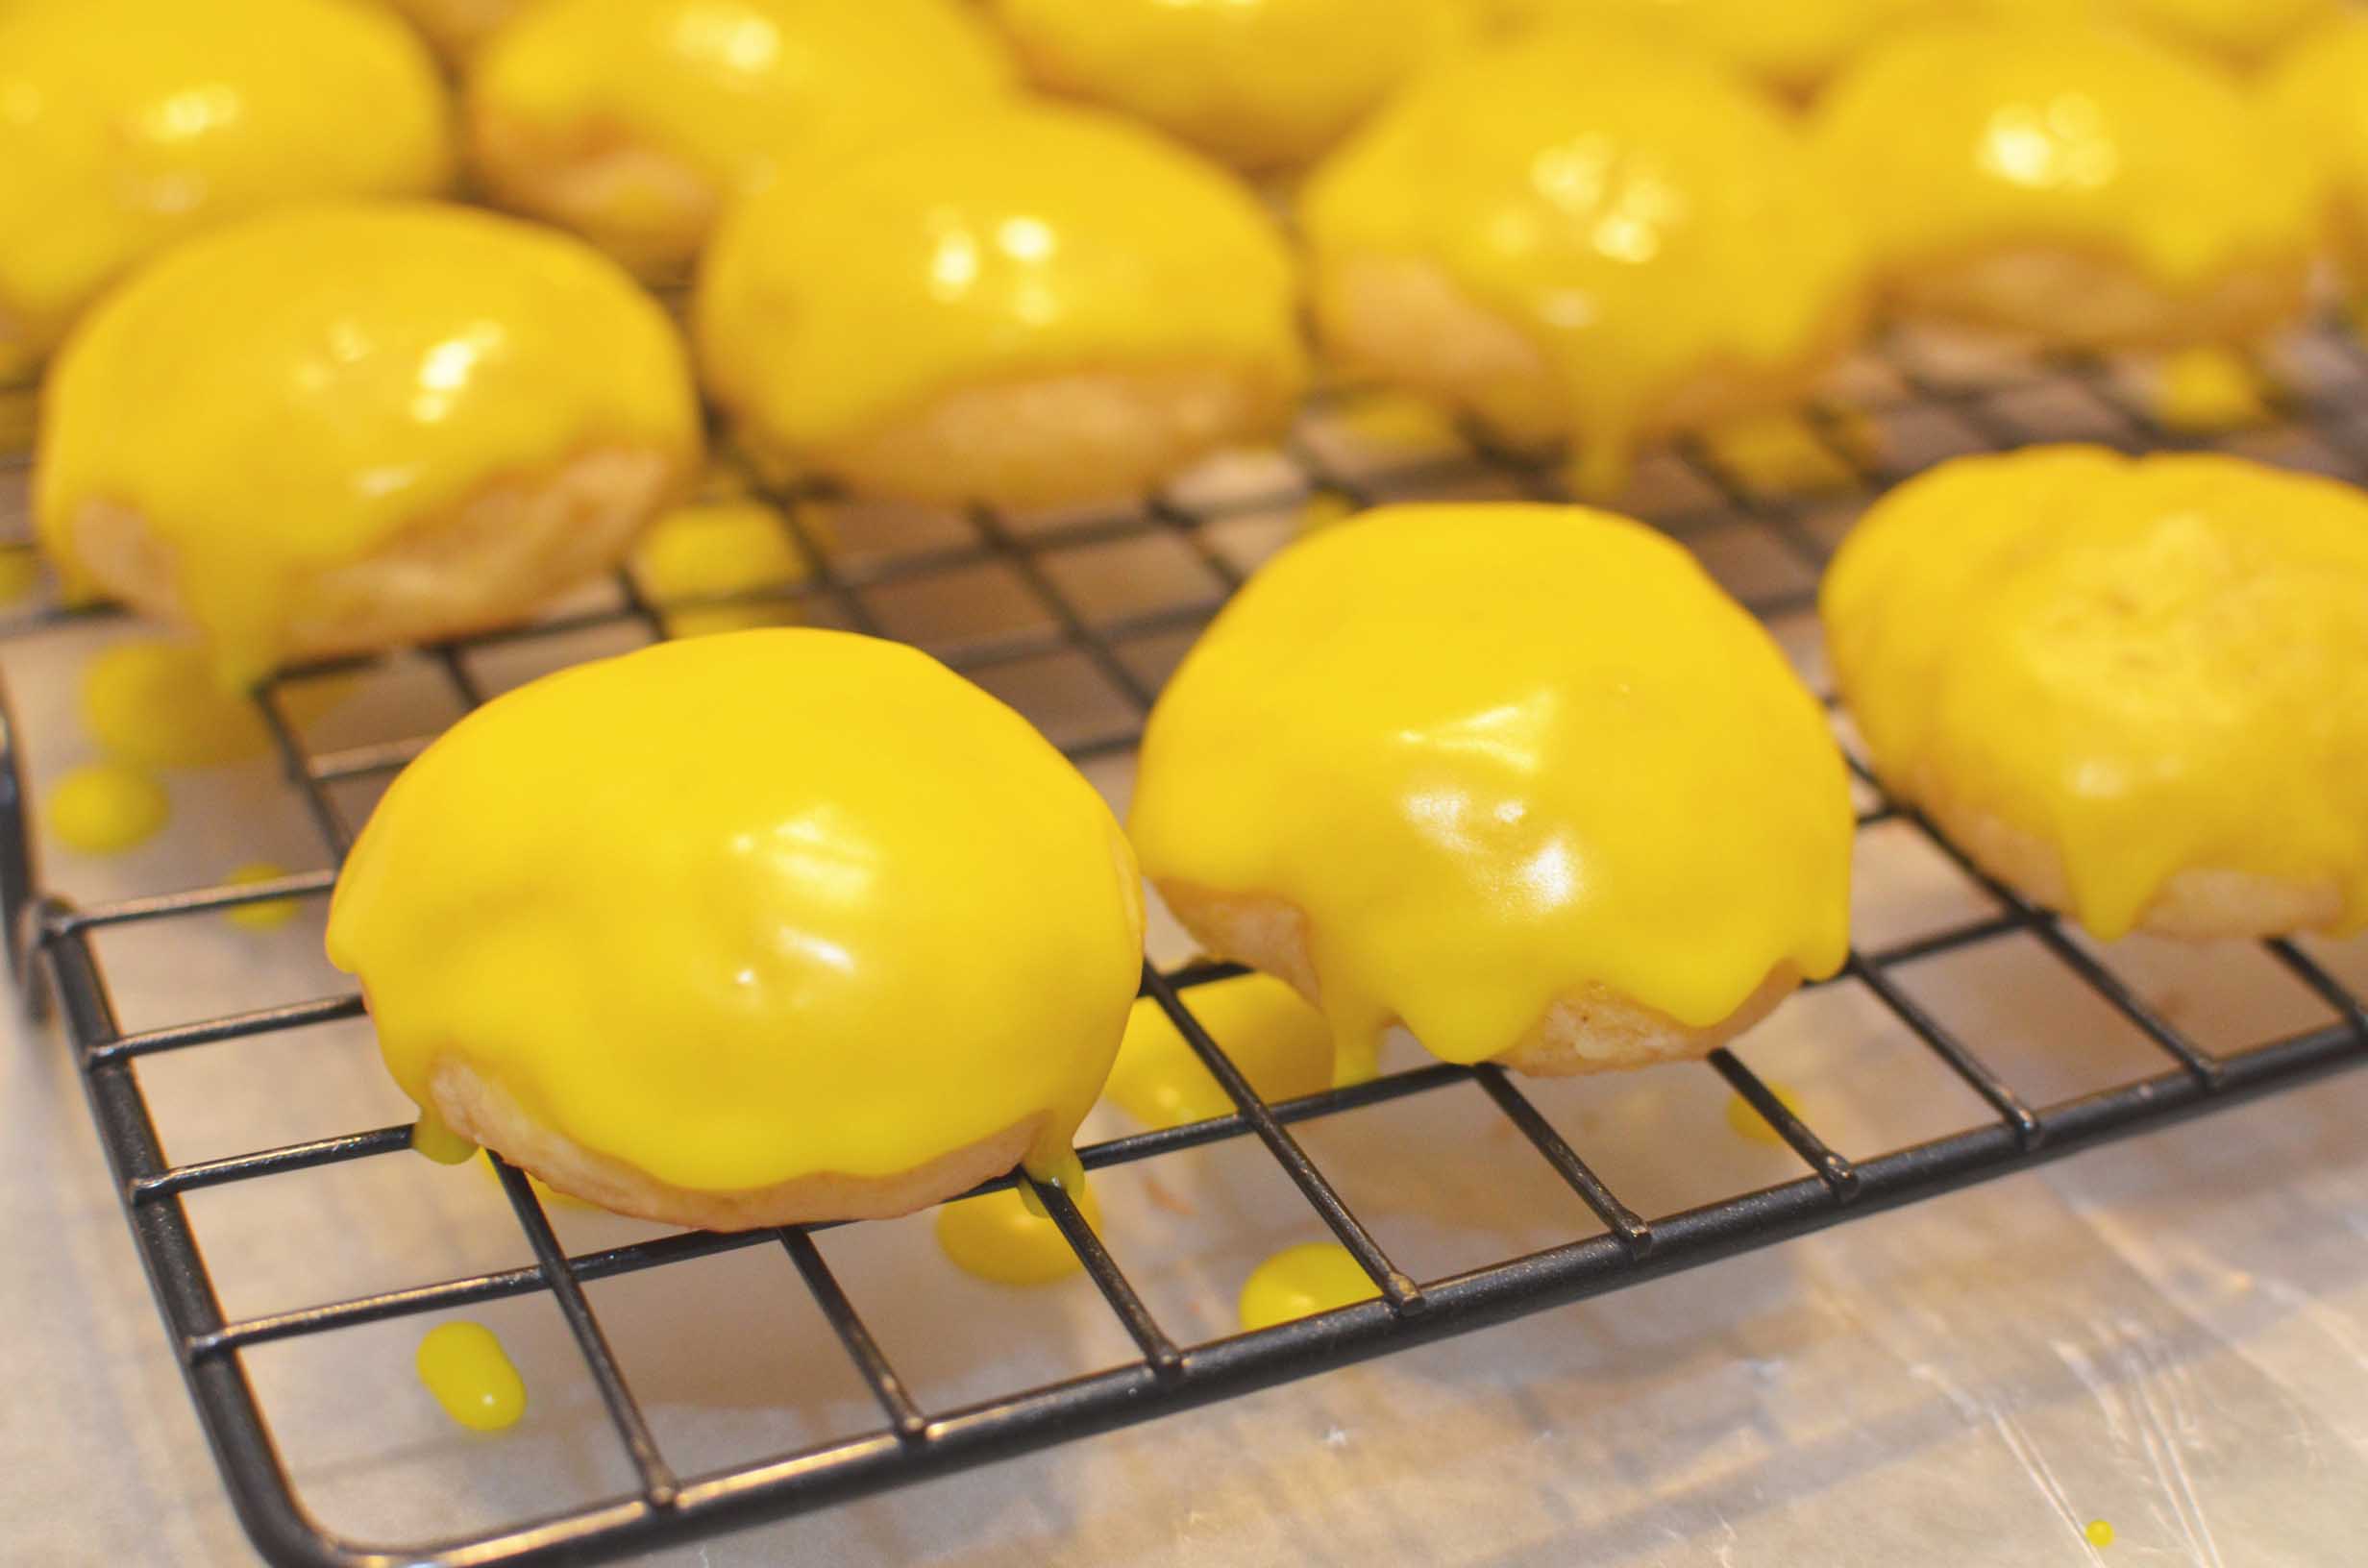
They get a beautiful shine and firmer icing shell.

For the holidays, I made them in red and green.

If you like Marzipan, my version is really good.
 Here are some I made for the holidays, and I don’t think I rolled these as much so you can see how they are a little bit more pointy.
Italian Cookies (Recipe from HERE)
Makes about 10 dozen cookies
Ingredients:
6 1/4 sticks of unsalted butter
4 cups sugar
5 eggs
5 egg yolks
5 lbs flour (I used White Lily)
5 Tbsp baking powder
4 tsp salt
1 small can frozen orange juice, thawed (12 fl oz)
1/2 cup milk
5-6 Tbsp vanilla extract
1 Tbsp almond extract
1 Tbsp lemon juice
1. Cream butter and sugar until light and fluffy, about 10-12 minutes. Add eggs and egg yolks, mixing to combine throughly.
2. Meanwhile, mix flour, baking powder, and salt. I mixed my ingredients together on a table.
3. Make a well in the dry ingredients, then add butter, sugar, and egg mixture and work everything together by hand to combine.
4. Gradually add frozen orange juice, milk, extracts, and lemon juice. Mix well by hand. Dough will be fairly sticky.
5. Refrigerate dough for 1-2 hours. You can also refrigerate dough overnight (it will stay fresh in the fridge if well covered for over a week), but be sure to let it sit at room temperature for about 30 minutes before baking if you leave it in the fridge for more than an hour or two. Pre-heat oven to 350°F. Line cookie sheets with Silpat or waxed paper.
6. Scoop dough by rounded tablespoons onto cookie sheet. If you are a perfectionist like me, feel free to weigh each lump of dough before gently but quickly rolling it between your hands to form a flawless ball and placing it on the cookie sheet. Each of my cookies weighed approximately 1.25 oz or .078 lbs.
7. Bake for 12 minutes, or until bottoms of cookies just barely start to brown. I like baking my cookies for 6 minutes, then rotating the cookie sheet 180° to bake for the last 6 minutes to ensure that the batch bakes consistently.
8. Let cool completely on cooling rack before icing.
Glaze
frosts about 2 dozen cookies
Ingredients:
1 cup powdered sugar
2 Tbsp milk, lemon juice, or water
1-2 tsp almond extract (try substituting lemon or other flavors!)
gel food coloring
1. Combine all ingredients except food coloring. Add more sugar if glaze is too runny and more liquid if too thick. Add food coloring, and keep adding until desired color is achieved.
2. Dip tops of cookies into glaze, shaking off extra glaze. Place cookies on cooling rack with waxed paper underneath.
3. Wait a minute or two for the glaze to start to set, but not so long that the sprinkles won’t stick, then add sprinkles if desired. I discovered that I like the effect of the large sparkling sugars I used last year much better than the tiny sprinkles I used this year.
4. Share with friends and family and enjoy!
1 comment
So excited you posted about these! The yellow lemon cookies look fab! Hope all is well in Alabama!