I am sorry for the long absence! I have been really busy working on lots and lots of things,but most of them I can’t share. I have been slowly working on Christmas gifts, and I am about 90% done with the gifts so far. I am going to start wrapping the gifts soon too. There have also been TONS of baby showers or people having kids so now that I have given out all of these gifts, I can show these at least! Here is my Burp Cloth Tutorial!
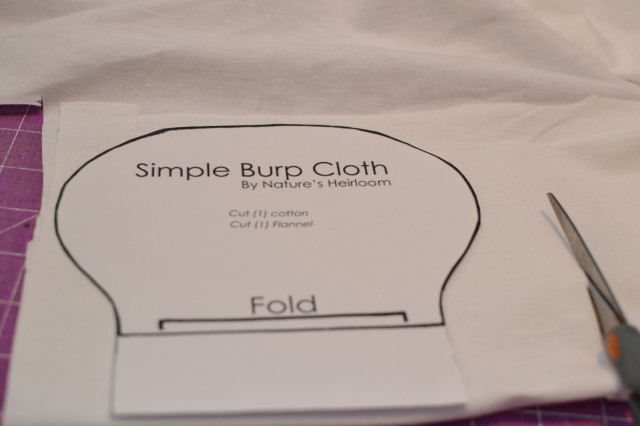
I got the pattern for this shape of burp cloth here. But After making a prototype, I decided to edit it as you can see I thought that the middle section should go longer. The first step is to fold your fabric so that when you cut it, you have the mirror image cut as well. I like to work with smaller pieces of fabric. So, I cut the general size out first.
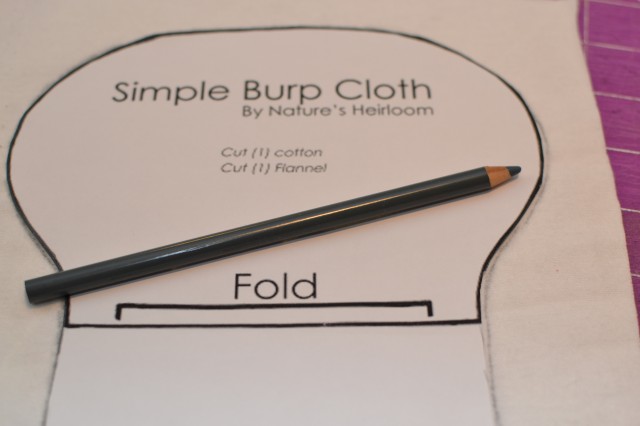
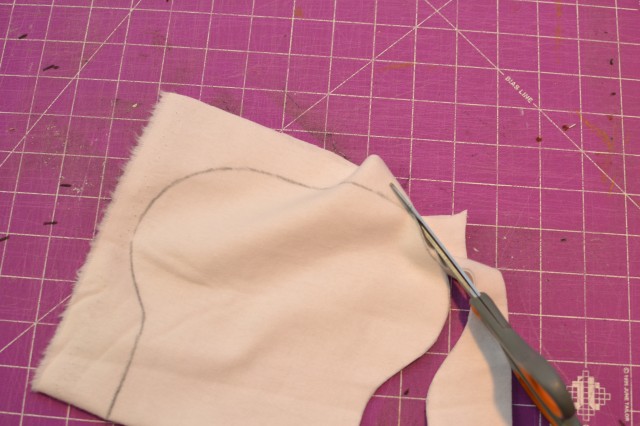
Next, I traced the pattern piece. I used a regular colored pencil,but an actual chalk pencil would work as well.
I cut out the pattern of the top and bottom. Pictured here is the bottom piece.
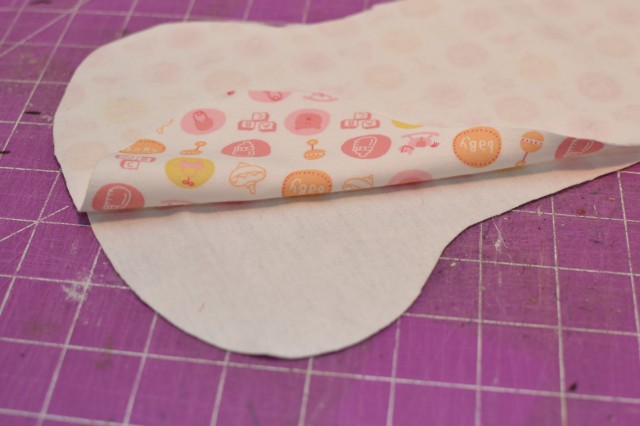
Lay them on top of each other with front sides facing each other or, the pieces you want shown on the outside when finished.
Sew almost completely shut with a sewing machine except a small area.
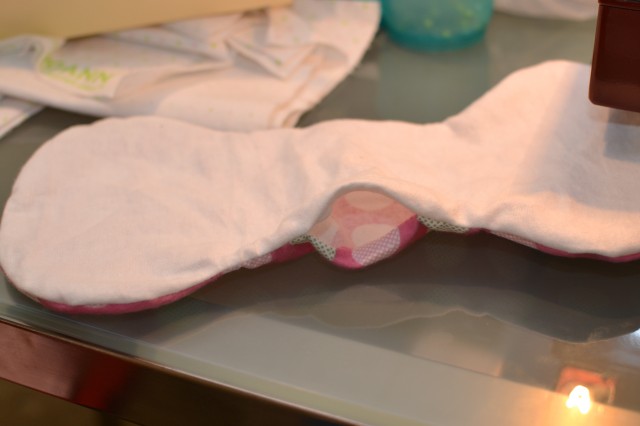
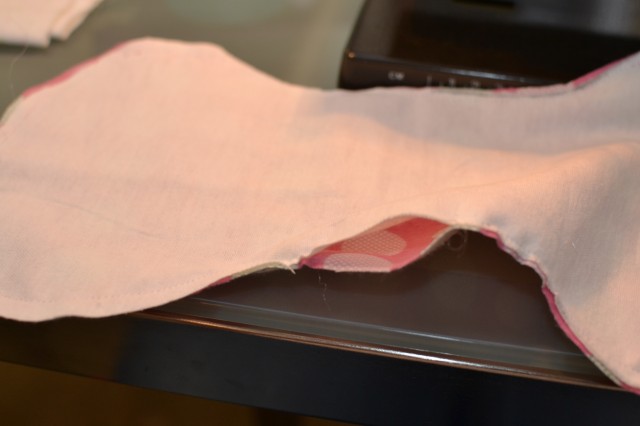 Here you can better see how much I left open.
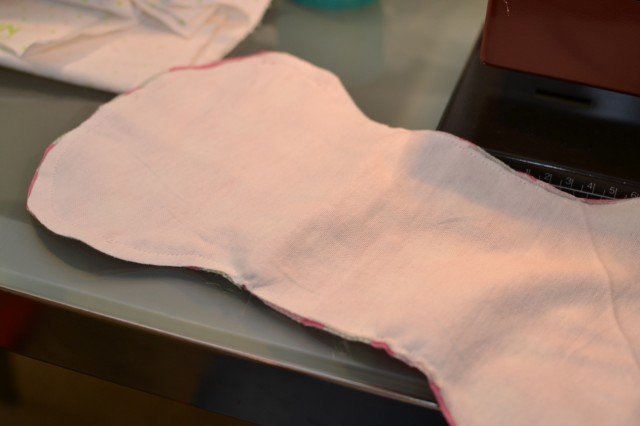
Turn right side out.
There is still the opening, you can now roll the hems in and pin if you want.
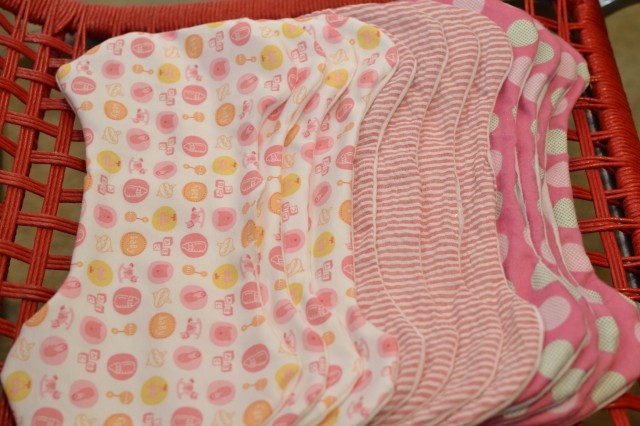
This is where I continued making all of the rest of the burp cloths up to that stage.
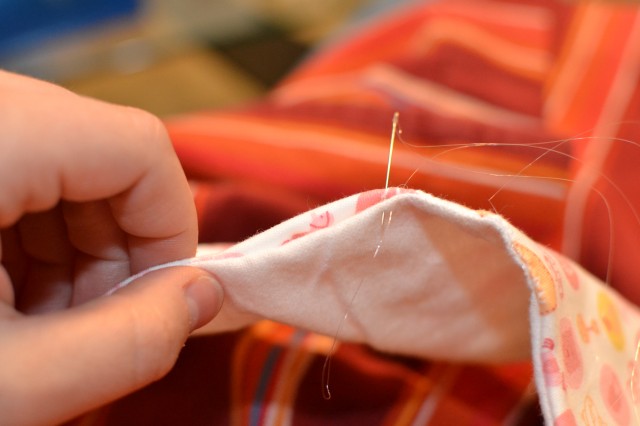
Then it was time for the hand sewing. I prefer to sew with nylon clear thread because then I am not contanstly changing the thread on my machine. Make a knot and make sure to hide it in between the two layers before closing it off.
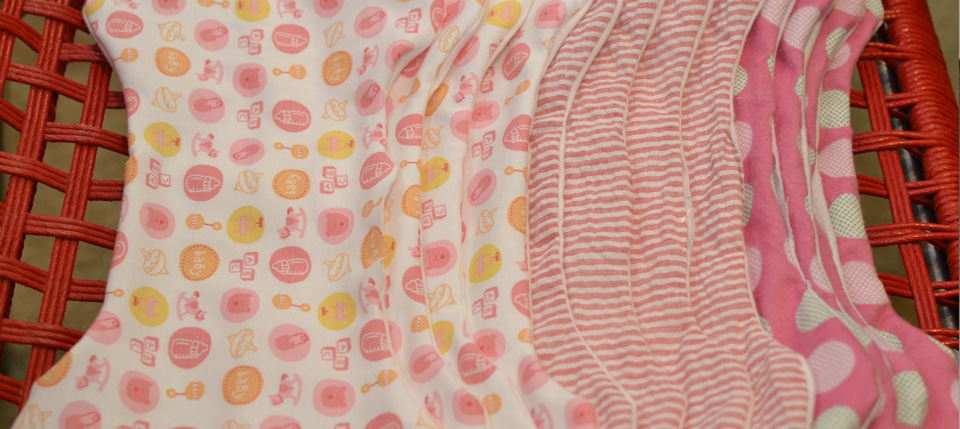
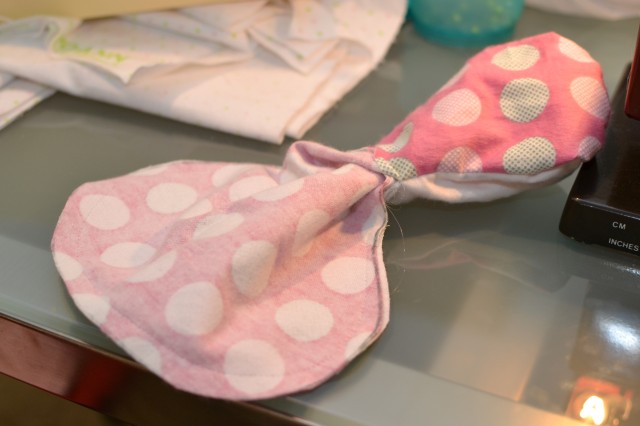
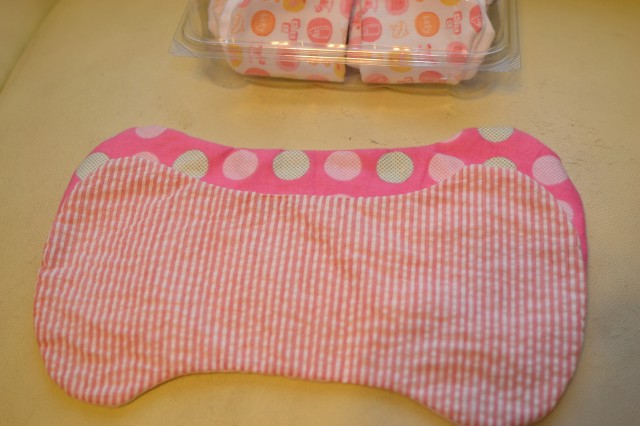
Here are some finished burp cloths. I like this shape because it looked more ergonomic and comfortable.
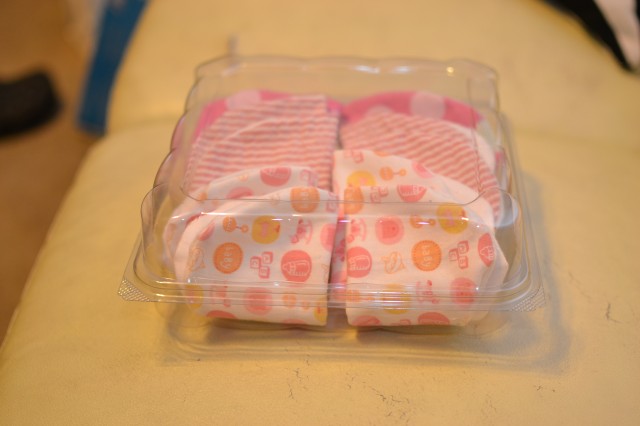
Here you can see I packaged from for a baby shower for Lindsay. I actually packaged these in an old croissant container; Grant thought I was crazy for keeping it. I then covered them in tissues paper so you could only see tissue paper through the box and a nice ribbon around it.
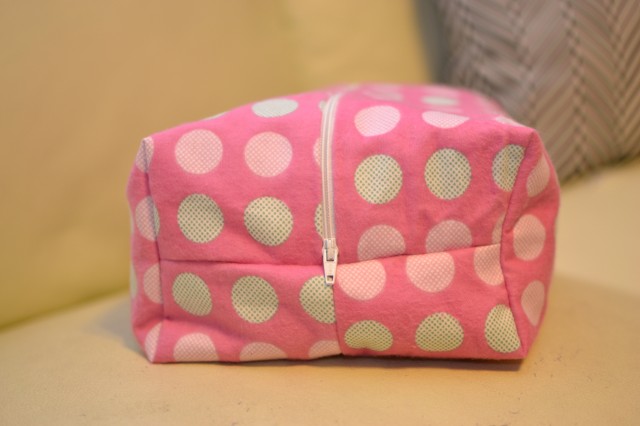
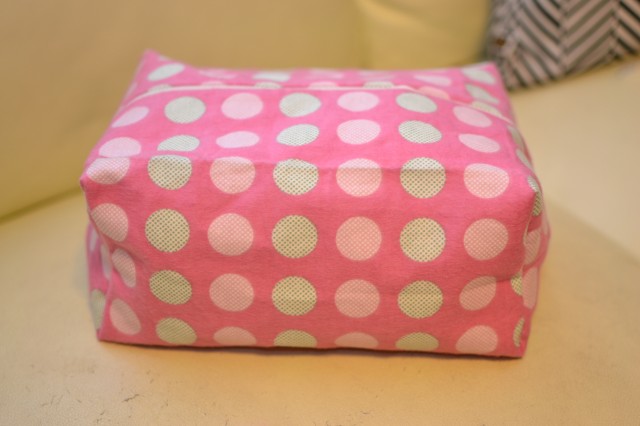
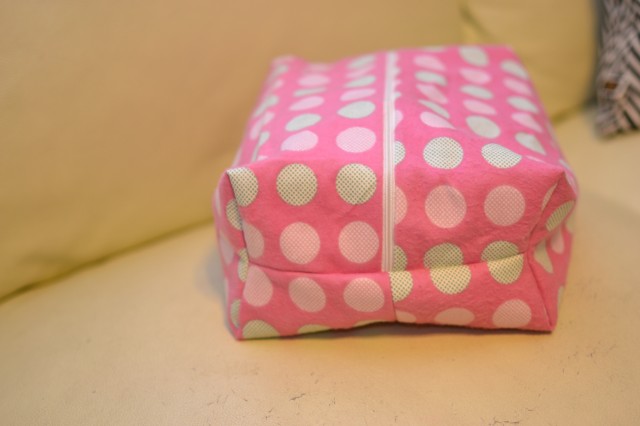
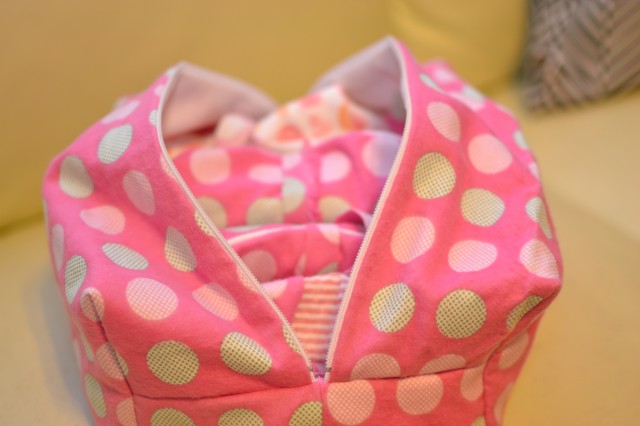
The my friends Matt & Megan had their little girl ,Maria, and I decided to go all out and also make them a diaper and wipe tote. We were also shipping this gift so I wanted a cuter way of presenting it, and this worked better than wrapping anything.
I got the tutorial to make this here. It is a little but more complicated than the burp cloths,but once you make one very easy.
Since I have made more than one of these bags, it took me about 45 minutes. I was very proud of this ,and Grant informed me that if I was working in a sweat shop in China I wouldn’t make any profit. That being said, it was a gift and worth the time. ;p
Here you can see the burp cloths inside of the “tote.” I hope you are all well. Encase you haven’t been on Pinterest, you should check it out. So many great baby shower gift ideas!

6 comments
Hello there! I saw you on the top commenters list on tt&j and just thought I should come take a look. I’m so glad I did! My bff works at a daycare and is constantly being spit up on. I think I may just have to make her some of these 🙂
Those look easy and fun. Hmm, I have a friend who is pregnant – if I find some time, I might make these.
I can say from personal experience, these work great! Thanks Jessica! The bag is great too because sometimes the full-size baby bag is overkill for a quick trip. Great work.
I am sooo glad, that is what I Was going for! 🙂
[…] far for my baby shower gifts that I am trying to put together in advanced, I have made Burp cloths (tutorial#1 & tutorial#2), Baby Girl Headbands with Bows (Tutorial), Bow pins (Tutorial), and now for the […]
[…] Tutorial #1 […]