It is funny what happens with recipes, it might never have been yours, but once you start making it people start associating it with you. I have this cookie recipe that was my 6th grade teachers that my older sister got from her. I made it a lot when I was younger, and everyone says it is mine now. I never really cared about whose recipe it was; if I wanted to eat it at a family gathering, and no one else was making it then I would make it.

Ingredients
- 1 1/2 Cups unsalted butter
- 1 1/2 Cups white sugar
- 1 1/2 Cups brown sugar
- 1 Tbl. vanilla extract
- 2 eggs
- 3 1/2 or 4 1/2 cups flour *
- 2 tsp. Baking soda
- 1 tsp. salt
- 12- 24 oz. chocolate chips ( I use 12)
Instructions
First cream the butter and sugars. Add the vanilla and the eggs. Mix in baking soda and salt, and once that is mixed in add the flour. Then add the add chocolate chips, if you want, you could add nuts. If you are using a Kitchen Aid, be careful because the mixer might crush your chocolate chips. I normally hand mix in the chocolate chips to make sure they are evenly dispersed. Bake at 350°F about 7 to 10 min. depending on the oven.
Notes
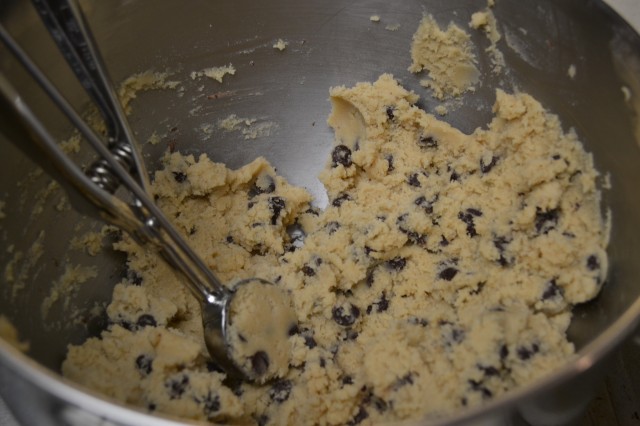
If you prefer a flat but still chewy cookies, only add the 3 1/2 cups of flour. If you prefer a chewy cookie that holds it shape, add between 4-4 1/2 cups of flour, and the cookie dough will be more firm and look like the pictures above. I have to give a disclaimer for this recipe, it is a very thick recipe. If you are using a normal hand held mixer, you have to be careful because I have ruined one or two hand mixers which you want to avoid. I use my pro Kitchenaid which makes it without any difficulties. If you have a regular Kitchen Aid then you should be fine too. If you have it at the “right” consistency, then it is very mold-able where you could roll it into balls without it sticking to anything. If that is how you want it, then you can follow the recipe below.
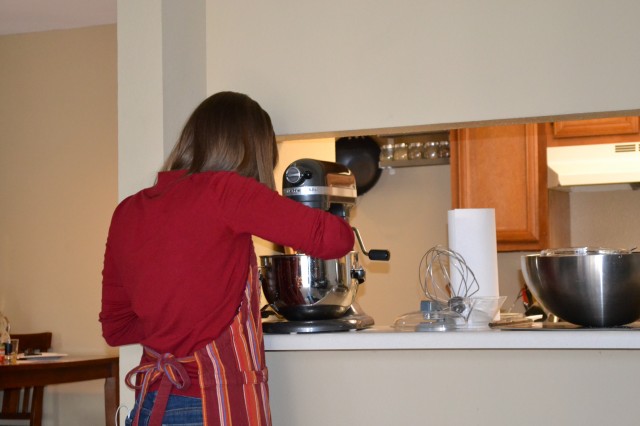
Me using my AMAZING Kitchen Aid Mixer. I never grew up with one of these, but once you know a few tricks they are amazing! * Just a hint, the attachments come at a factory setting meaning they might not scrape the bottom of the bowl like they should. Using the hand book as a guide, put a penny or dime in the bottom, and then adjust the attachment until it moves the coin. Now the mixer will scrape well enough that you barely have to use a spatula.*
This recipe was done with the 4 1/2 cups of flour to make it thicker, you can see how impressions can easily be left in the dough. I love to use my cookie dough scoop because it makes everything so much easier. I normally use the medium scoop for these cookies.
I would also recommend getting a scooper with metal parts, I have broken one with plastic parts after making way to many cookies in one sitting.
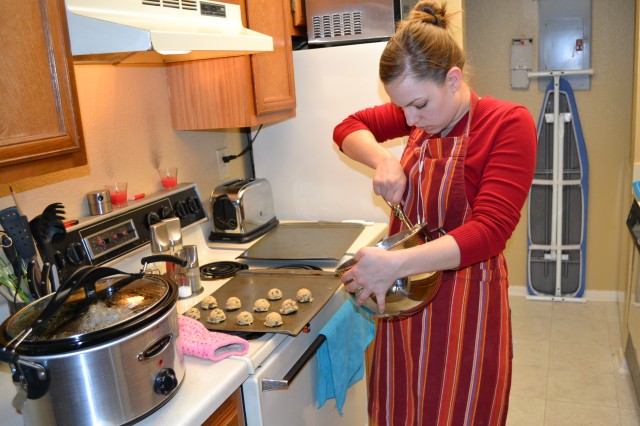
Beautifully shaped. Here I also show it with a regular cookie sheet, but now I use these Prism cookie sheets, they really help cookies not over bake.
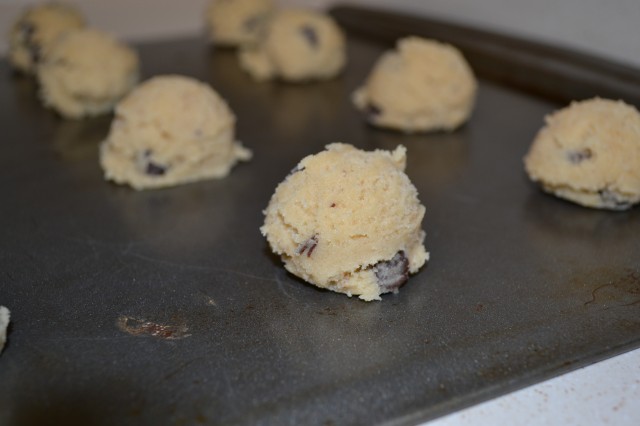
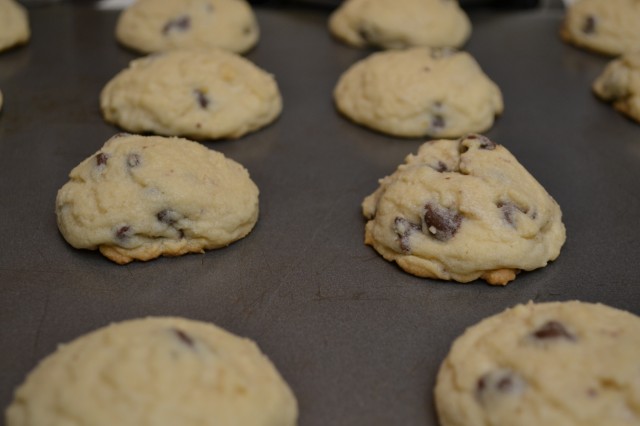
Here you can see that they might not look done, but that little light brown section shows us that it is!
Me arranging the cookies on a sheet for the light box photo shoot.
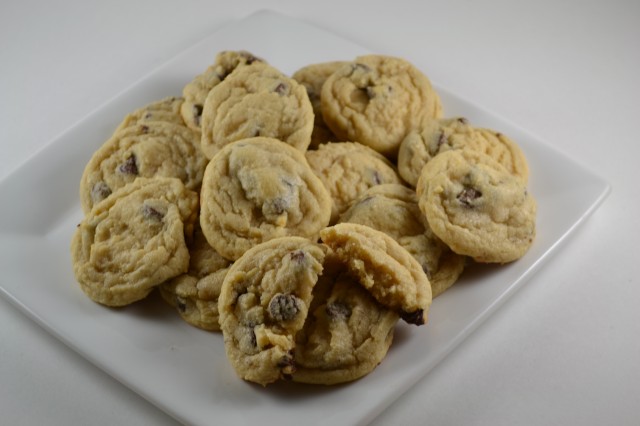
The cookies in all of their glory… yum! Hope you enjoy!


1 comment
[…] the peanut butter cookies, I used the Taste of Home baking cookbook, and HERE is the recipe for my chocolate chip […]