One of the smaller DIY projects that I worked on was painting the “smelly” closet as we called it. No matter what we tried it always had a musty smell to it. So, we decided a fresh coat of primer and paint would hopefully do the trick. This is our main linen closet, and so I was really wanting it to be useable!
Home
Our whole house has popcorn ceilings except the closest because who would waste such a high quality texture in a closet?! ;p Our den has painted paneling which was then sprayed with a popcorn texture so that will be fun whenever we try to tackle it. Grant and I are not fans of popcorn ceilings, but they take a long time to get rid of at least in our house. So, I see this being a LONG journey as we slowly depopcorn our house. However, getting rid of the popcorn is very time and labor intensive,but not that costly compared to other home improvement projects so that at least is a plus.
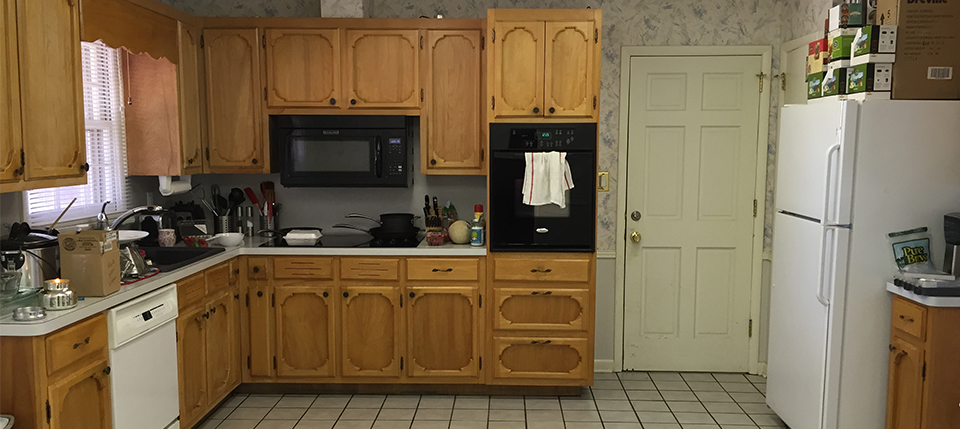
There are so many things that we would LOVE to change in our house, but we had to decide which things were the highest on our list of priorities with the time and money that we had. We decided that we wanted to try and update our kitchen cabinets first. We wanted to remove the corner pieces on the doors, reroute the edges, paint the doors, raise the upper cabinets, and update the hardware. Some of these things we were able to accomplish, others didn’t really get to happen, so I will explain what we were able to do, weren’t able to do, and what we discovered along the way.
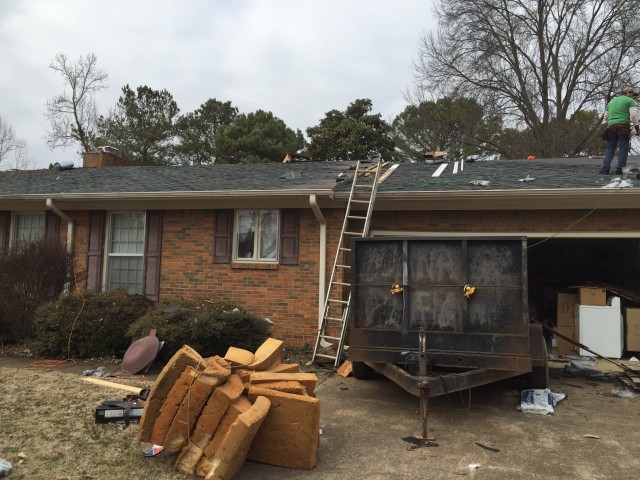
As part of the negotiations of buying our house, getting a new roof was a big part of it. We had leaking around the chimney which made small water spots in our den and guest bathroom. We had major leaking above the garage area, and some small leaking on a valley above the baby room. So, at closing we were given a check to pay for the cost of a new 20 year 3 tab roof. We decided to pay the difference and upgrade it to a 30 year Architectural roof. We knew the company we wanted to replace the roof, and the check was already made out to them, but picking the shingles was hard. They give you such a small sample, and the variations are pretty big between what you see and what is installed, but I think our roof looks sooo good now. We kept having to wait to get it replaced due to the weather. It would get super cold, or just kept raining for weeks that it kept getting postponed. We had some major areas that were leaking, so it was driving us and especially Grant crazy.
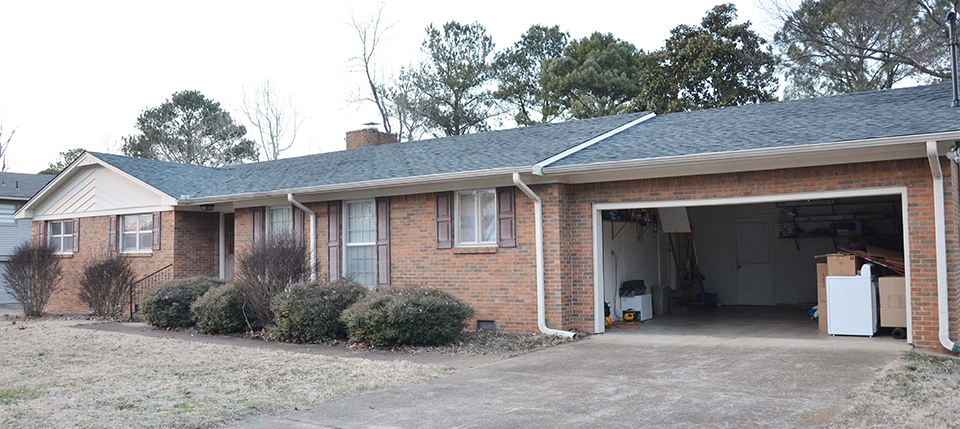
Here you can see the roof before. I was NOT a fan of them trying to match the brick color since it is already more orangey than we prefer.
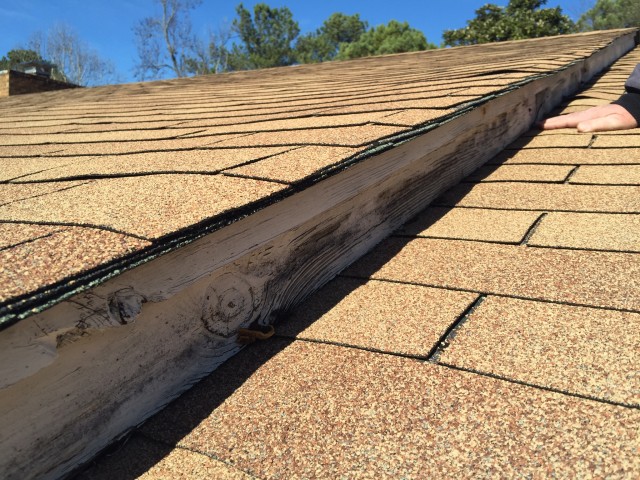
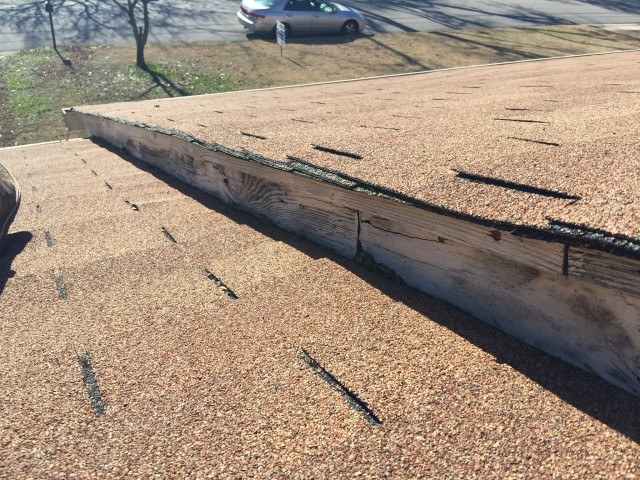
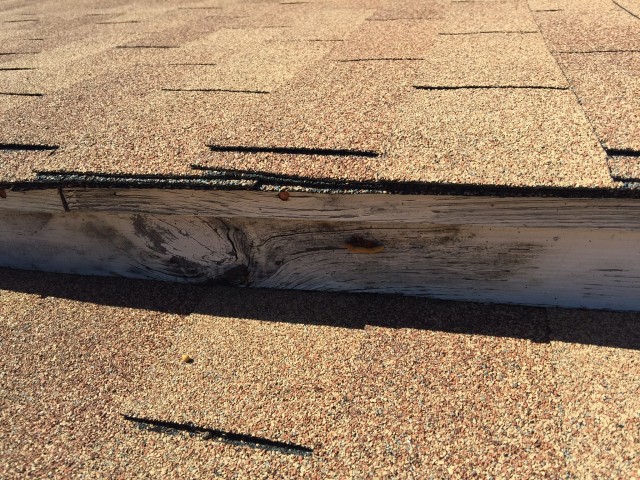
In this picture, you can see some of the rot of the worst portion of the roof that needed to be replaced.
Here are some more close up pictures.
Our inspector kept telling us we had a “new” roof.
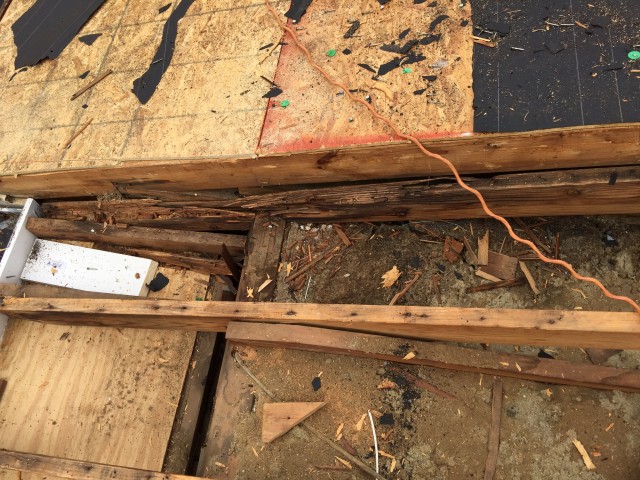
When inside the attic Grant could see daylight in some spots where the wood was completely rotted away.
Our roof had a few portions of plywood replaced and this beam because of the damage. We are SO glad we got a second inspector out there as well as a roofing expert otherwise this would have cost us a pretty penny.
Starting the roofing after replace the beam, the flashing around the chimney, and certain plywood portions that were compromised.
There was a big group,but they sure were working hard. They got there at 7am and just finished work around 5pm when it started getting dark with only one lunch break.
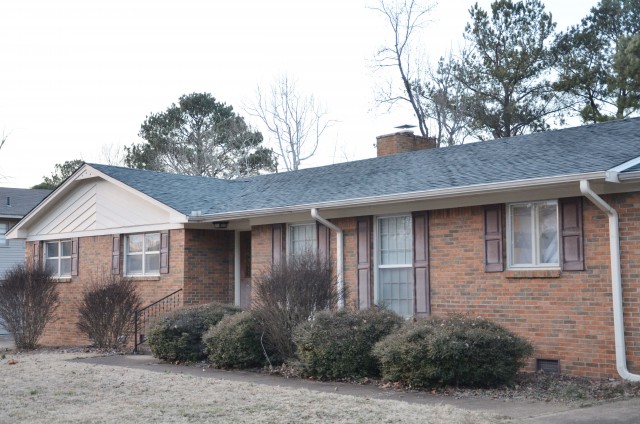
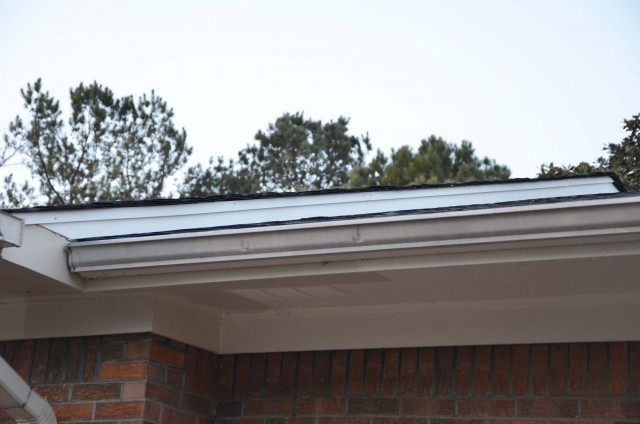
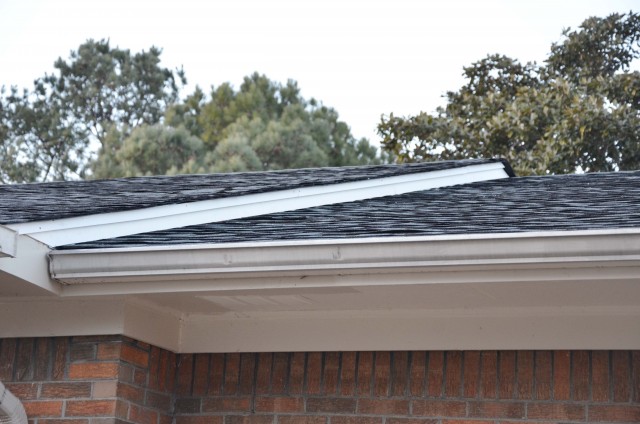
Here are some after pictures.
It took a little bit of time for the shingles to sit completely flat,but now they look great.
The new shingle color doesn’t make our current shutters and door color look good,but those are things we were planning on changing anyway. Also, I had a hard time finding pictures of other roofs with the same shingles so for reference purposes, we got Shadow Grey shingles from the Tamko brand.
Woohoo, no more rotted wood!
I know this makes Grant especially happy. He wasn’t a fan of seeing water entering our attic while it rained and not being able to do anything at the time to fix it.
The very next day we got about 6 and a half inches of snow so we were very glad to have it replaced.
Grant thinks the color is more green than he would like, but we do plan on eventually painting the brick as well as the front door and shutters, but I think it is a huge improvement to what we had before. We recently met our neighbors across the street who are a super nice couple, and we found out they even go to the same church as us,but they couldn’t stop talking about how much they love our new roof. At first we thought it was kind of strange,but then we realized that looking out of their house, they see the roof more than we do. 🙂 This was one of our top things to get completed before our little one arrives, and boy are we happy it is done. I love how it looks, and feel the outside of our house can only get better looking as we go!
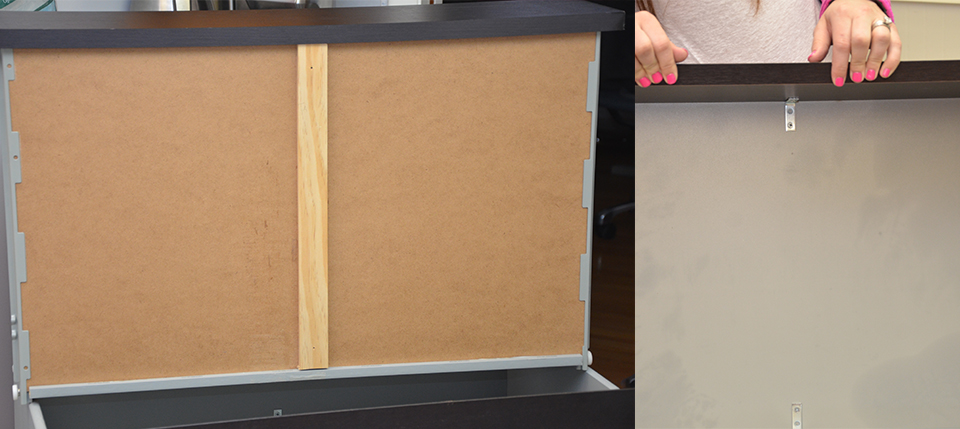
So we currently have an Ikea dresser which has held up very well considering we bought it used. We have wanted to build ourselves some real wooden bedroom furniture,but for a while we didn’t know where we would be living or how much room we would have whenever we did get a house. So, now that we have a house, we still plan to build ourselves new bedroom furniture. However, our current set still functions very well, so we haven’t really gotten to that point since there are so many other things that are a higher priority for us. Our ikea set is made with particle board which has held up well, but the drawer bottoms are a cheap thin almost cardboard type material. So even though I don’t put super heavy stuff in it, over time it does tend to sag. So, we started looking up a way to fix it without having to get rid of the dresser. Some tutorials pretty much show building a new drawer and attached it to the existing face frame which would be doable,but just overkill for how much longer this dresser might actually last us.


