I was told that having a pregnancy pillow can be a life saver when you really start to get bigger. I wanted to have one,but not pay a lot of money for it. I was very interested in this Leahco Snoogle pillow, but I wasn’t a fan of the price. So, when I found one through a local facebook group, I decided to buy it used for $20 than new for $55. I know some people are really against a pillow used, so this part is whatever you prefer. I washed the pillow and the case it came in, but the muslin case was stained even if the pillow wasn’t. So I decided that I wanted a new cover for it. Well the covers range from 30 to 4o dollars. Which I didn’t really want to pay. So, I found this tutorial online,but wasn’t a huge fan of the extra seams that she had to sew on her cover. So, I made my own, and have taken step by step pictures. I hope this helps!
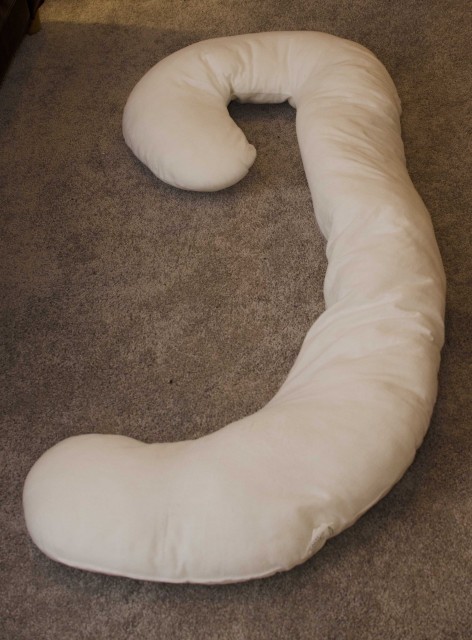
So I started with this pregnancy pillow,but you can either sew your own, or use a different type since the process is pretty much the same.
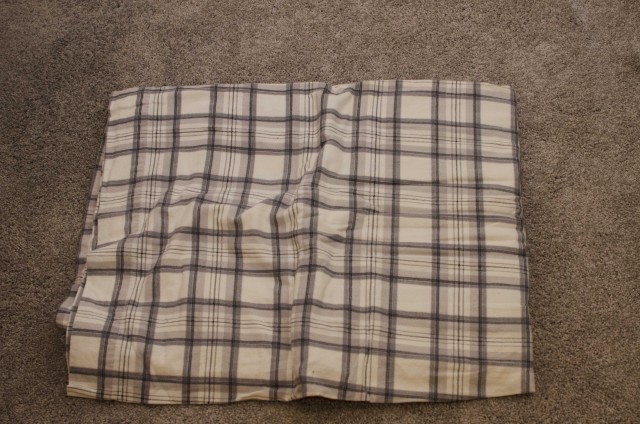
I used a queen flat sheet to make my cover out of. This way, it cost me no extra money since I had this cover on hand, and I didn’t have to worry about running out of fabric.
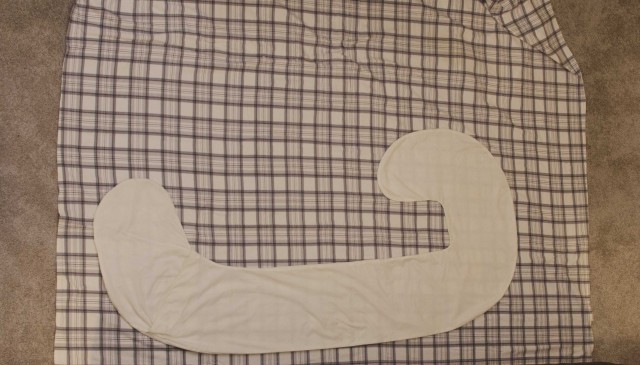
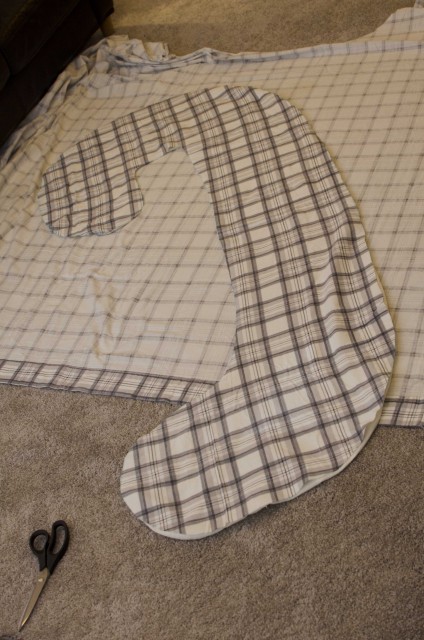
Lay out your fabric and place the muslin cover as flat as possible on the fabric.
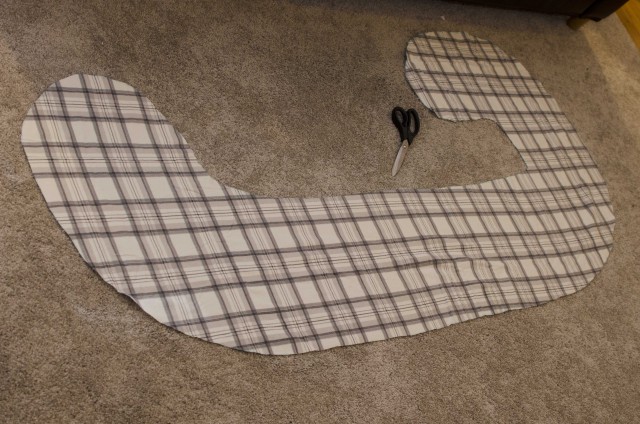
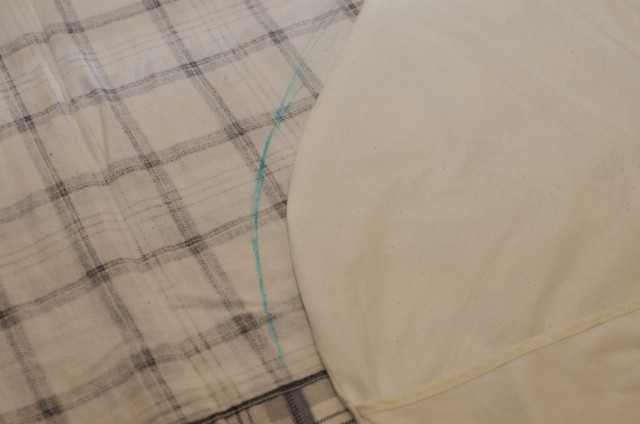
Trace the cover with a sewing marker or chalk giving yourself whatever seam allowance you feel comfortable with.
Then cut out your first piece using good scissors.
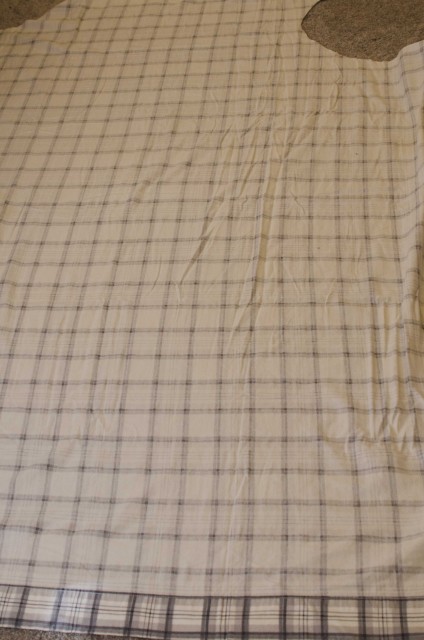
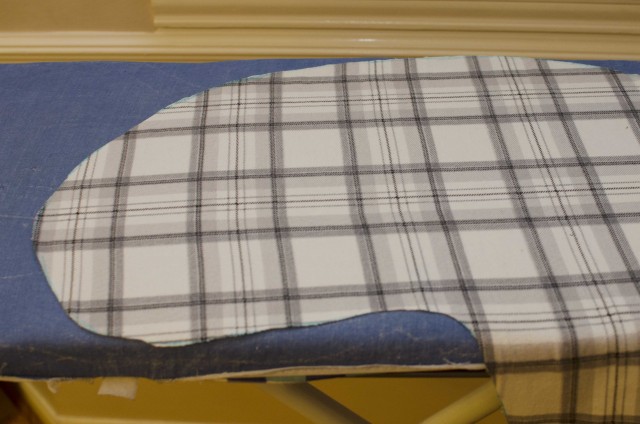
Then turn your fabric the opposite way; if your fabric looks the same on both sides, then you don’t have to turn it over this time, but mine had a definite right and wrong side. This flat sheet already had a nice finished edge on it, so I wanted to try and reuse that portion to save myself time later on.
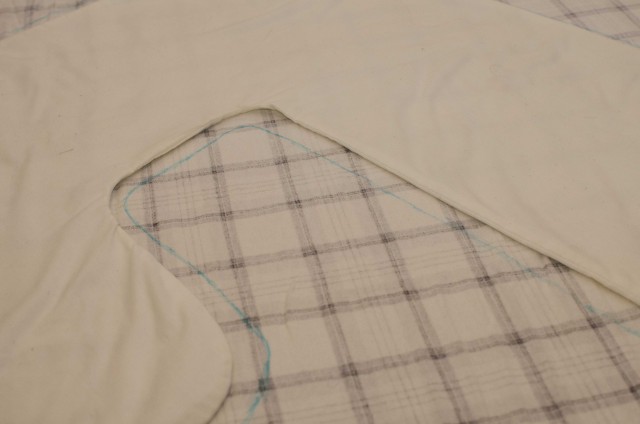
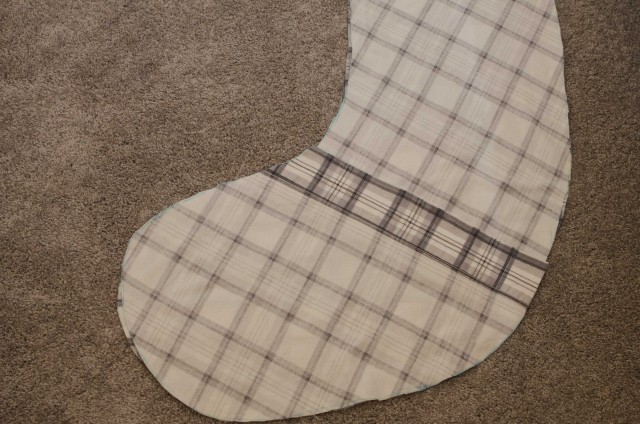
I wanted the cover where it overlaps to have a little bit extra fabric for overlapping, so I added a few inches as you can see here to ensure I had that whole finished edge.
Here you can see that I did the bigger piece of the back first.
Just to be sure that it was going to be correct, I laid my already cut piece on top to show that both wrong sides were facing each other so that I wouldn’t have a mistake of wrong matching material.
Then trace your bigger piece.
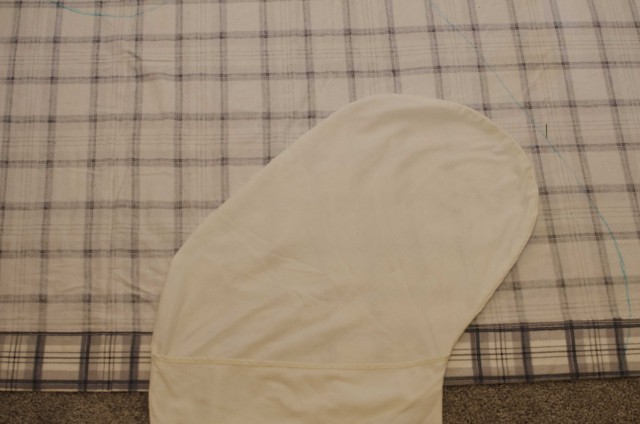
Then I did the same thing with the last smaller piece.
I gave it a little bit extra material and lined it up with the already finished edge that I wanted to use.
Then trace this piece as well, and cute out both pieces.
Next I ironed all of my pieces.
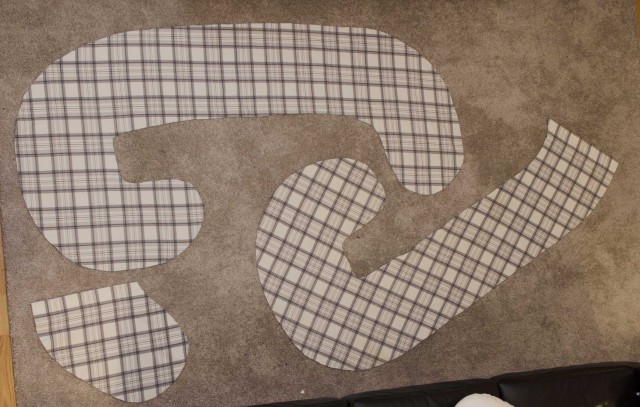
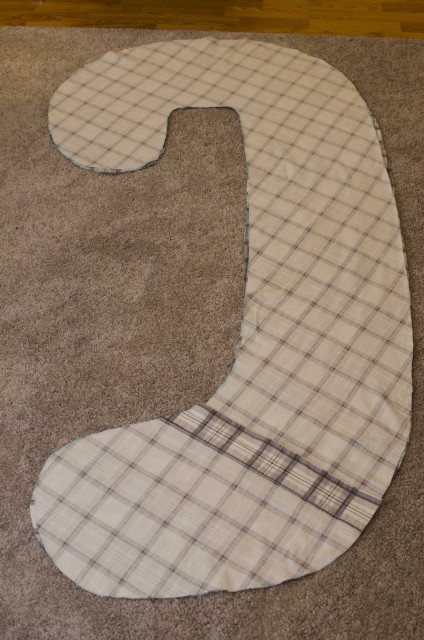
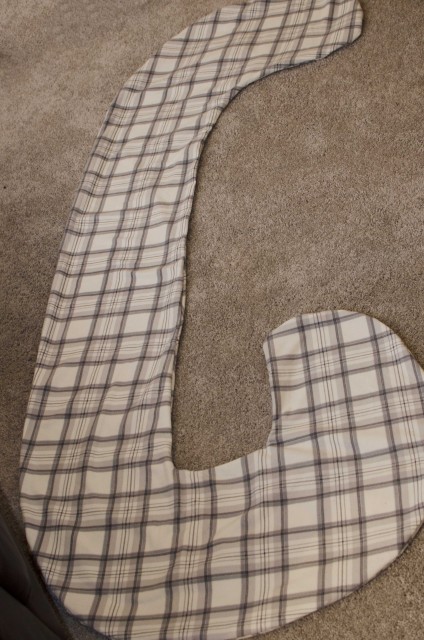
I then laid them out to make sure that I had all the pieces ready.
You can then start assembling your cover.
I decided that I wanted the smaller piece be under the larger piece while stuffing,but you can have either portion on top.
Now it is all laid out, make sure there aren’t any huge gaps.
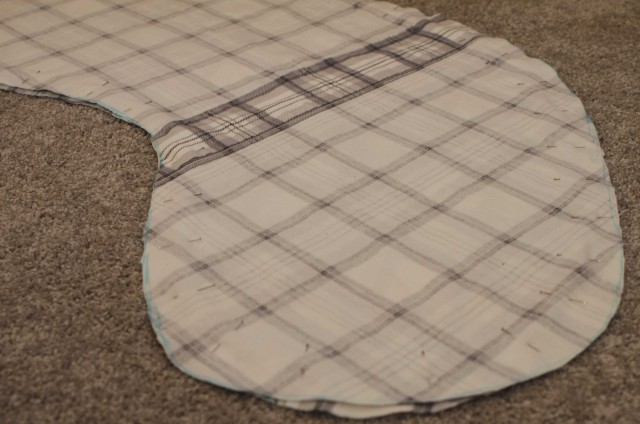
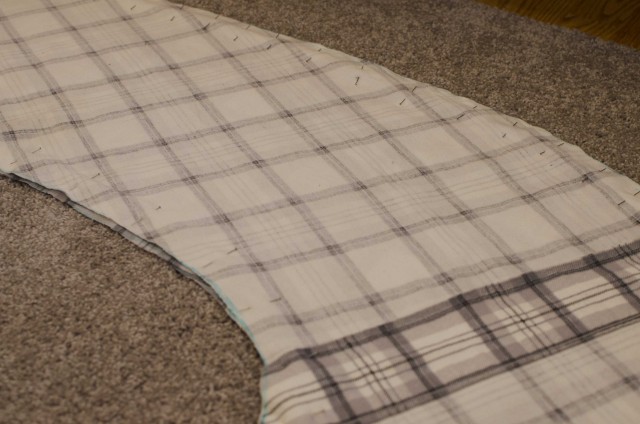
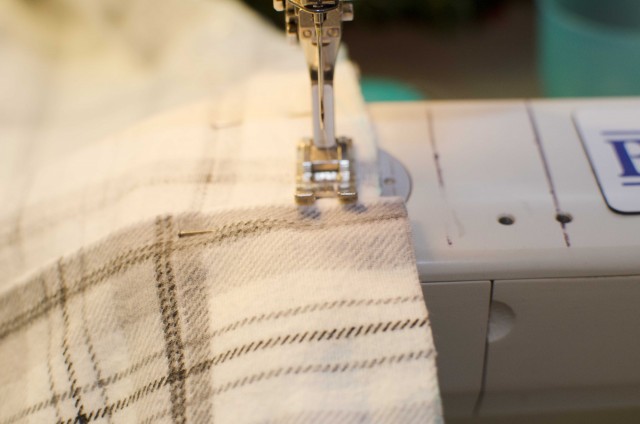
Start pinning all the way around, this took the longest of any of the steps.
I made sure to add extra pins where the back piece overlaps.
I made sure to sew the whole case on one side, turn it over and do the same on the other. I just wanted to make sure that I didn’t have any areas that were too close to the edge that had been sewn. You could use a serger too, but you would only sew around once then,but I didn’t have mine out, and was too lazy to get it out for this.
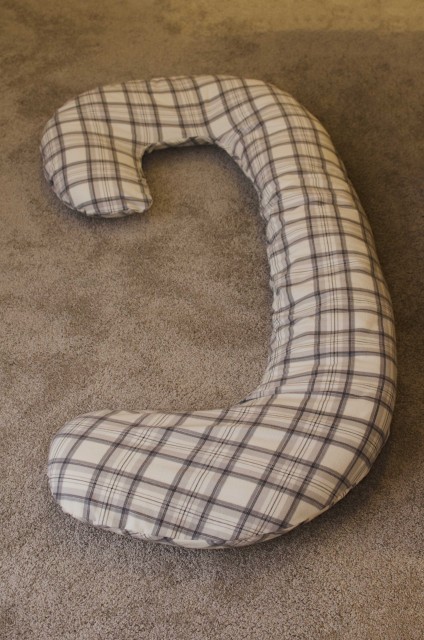
Turn the case right side out, and double check for any missed openings.
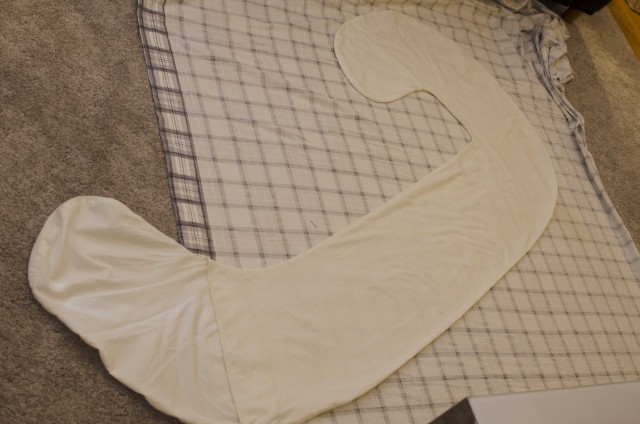
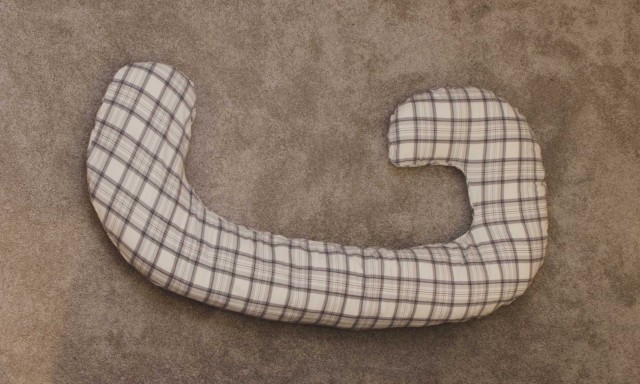
Then stuff with the pillow.
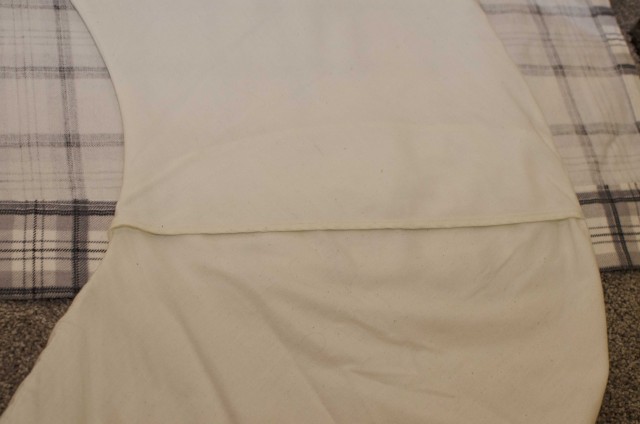
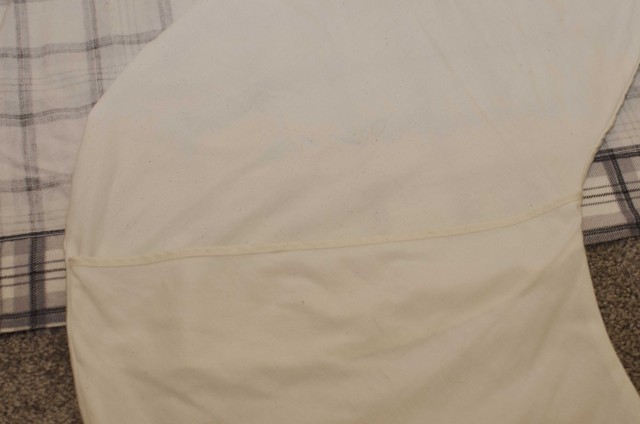
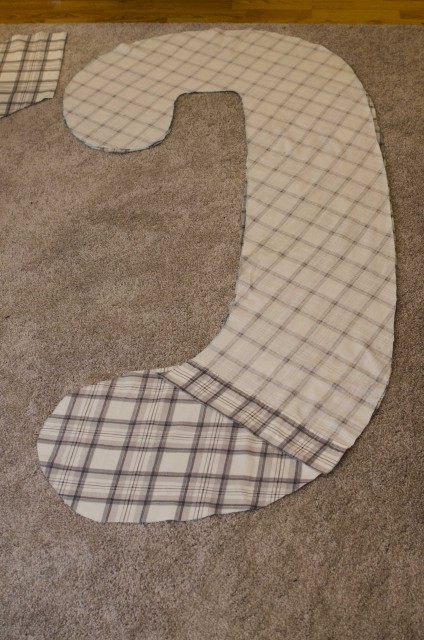
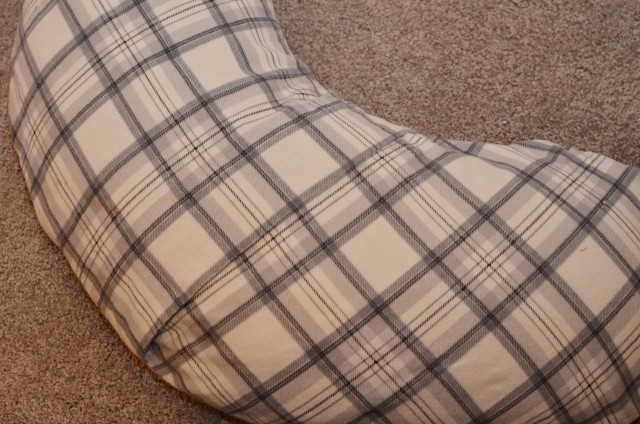
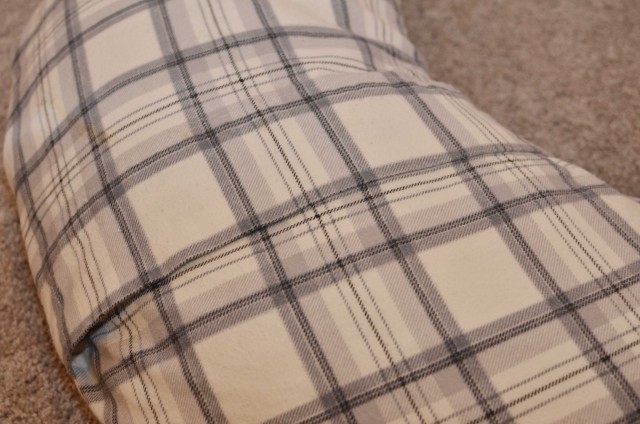
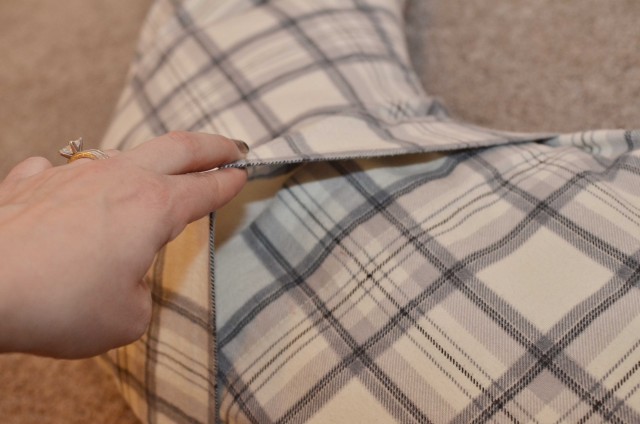
On the back side, you and see where the overlap “closure” is.
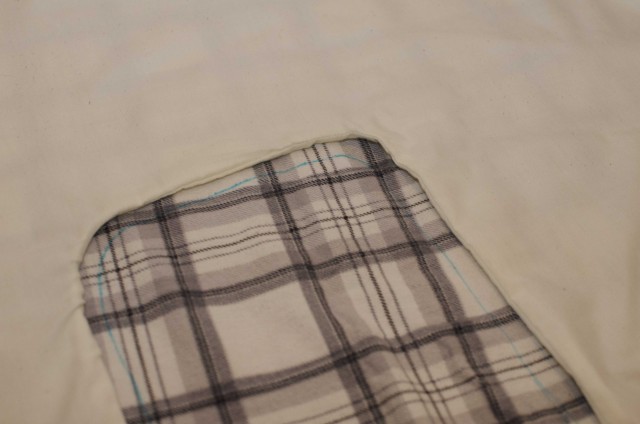
Just a little bit of a close up.
And so you can see how the flat sheet edges overlap with a little bit extra fabric than the original muslin.
I am very happy with how this turned out, and it ended up being a lot easier than I expected. If you didn’t have an existing cover, that would make it harder for sure.
If you have any questions on this, please just comment below, and thanks for reading!


17 comments
This is fantastic!! Love it!
wow even your print lines up on the overlap – you go girl!
Happy Accident! 🙂
El patrón con las medidas en cms. Le agradeceré lo comparta. Mi correo es [email protected]
Hazel,
I do have a copy of the pattern, but cannot legally share it because I’m not the creator. However, if you go the blog that I linked and click on the pattern, it will say that you don’t have access. If you request access, she does give it to you. I tried this again in June of this year, just to double check. She gave me access within a week if I remember correctly. So I hope that she gives it to you!
Well laid out tutorial. Very impressive!
[…] […]
[…] I also bought myself a pregnancy pillow which I used occasionally. Some people SWEAR by them,and if you are pregnant and have issues sleeping be sure to try one out. I found this used and sewed my own cover HERE. […]
I don’t have a sewing machine. Is it possible do you think to sew it by hand?
Lisa,
You could for sure sew it by hand,but it would take you a long time. You might want to look into some hemming tape for most of it since that would save you time like this one that is iron on. Let me know if you have any other questions.
Thanks for sharing
How do I find this pattern?? Your right about the expense. Dang these pillows are outrageous in price. My daughter is looking for one. She has multiple gift cards though the shipping is $14. How and where can I find a pattern. Thank you.
Karen,
I had an existing pillow so, here are a few free tutorials I found online, I hope these help.
http://www.homemadetoast.com/2014/05/diy-contoured-maternity-pillow.html
https://mammacandoit.com/products/pregnancy-pillow-pattern
http://www.agfblog.com/2016/08/diy-pregnancy-pillow-tutorial.html
Where can I find a decent pattern to make this pillow??
I did this to my pillow and omg am I ever happy with it! I’ve never used a sewing machine before but it actually turned out really good for being a total rooky! I got lucky on some parts but this was an awesome guide thank you!
I also bought a used pillow, but it didn’t come with a cover. I also had the idea of using an old sheet to make one. ? Thanks for this tutorial! Do you have any idea how many extra inches I would need to add if I’m tracing/cutting around the pillow itself?
Oh I hope it works great for you. I would measure the height of the pillow and addd 2-3 inches. Then once you have it all cut out and sewn, you can always sew it smaller to make it fit better after if that makes sense. Good Luck!