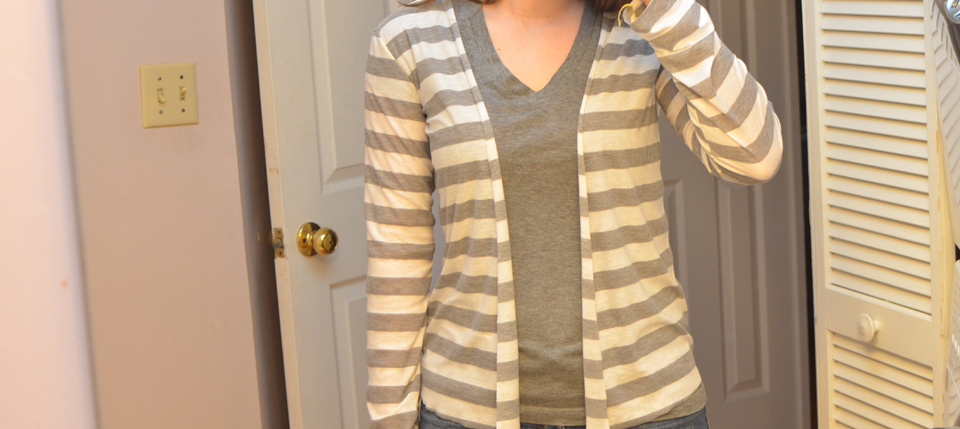
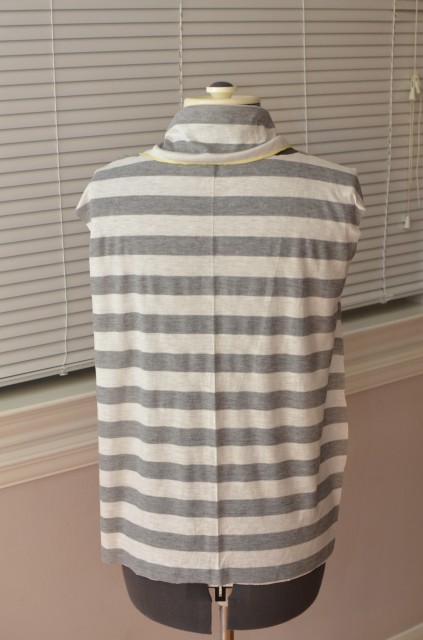
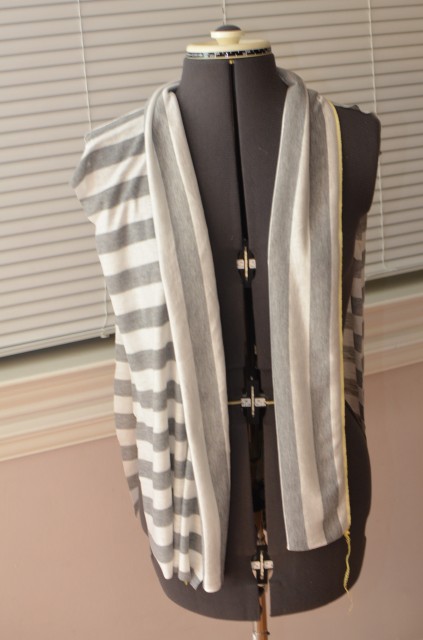
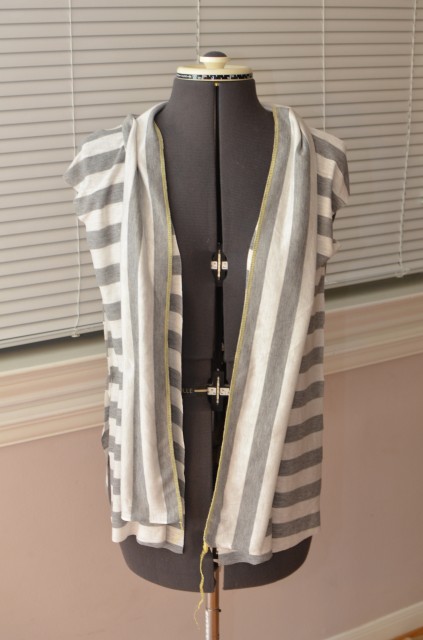
So here is a tutorial that I worked on that ended up totally failing. This is one of those great examples of when you keep messing with something you sometimes do too much damage than the beginning. I wanted another cartigan and finally found some striped fabric that I liked the look of at Hobby Lobby. Below you can see how it almost turned out great,but in the end it failed.
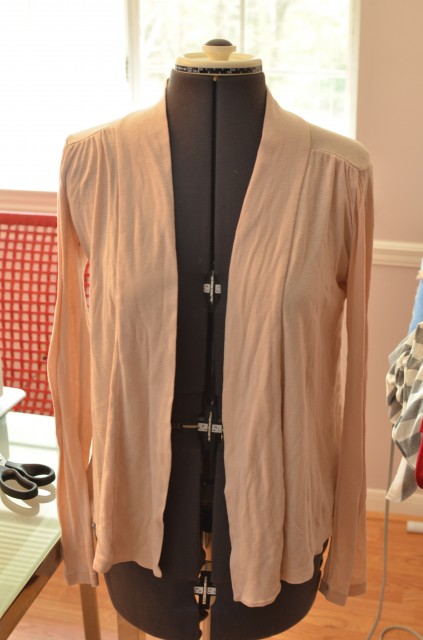
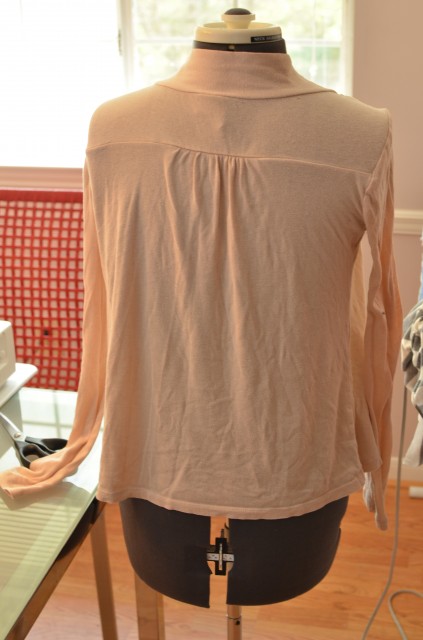
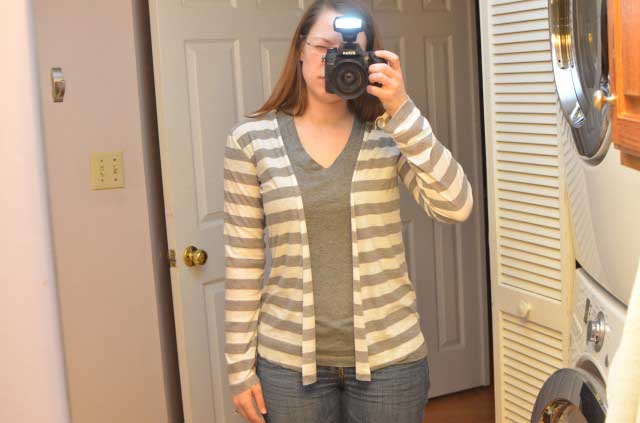
Here is the cardigan that I had starting out.
I wanted to copy it but not all of the gathering portions.
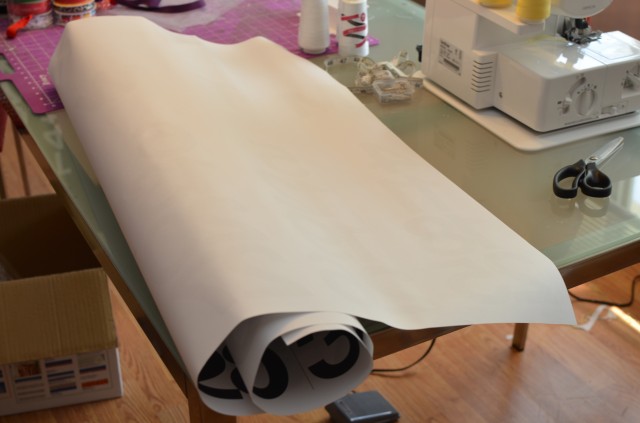
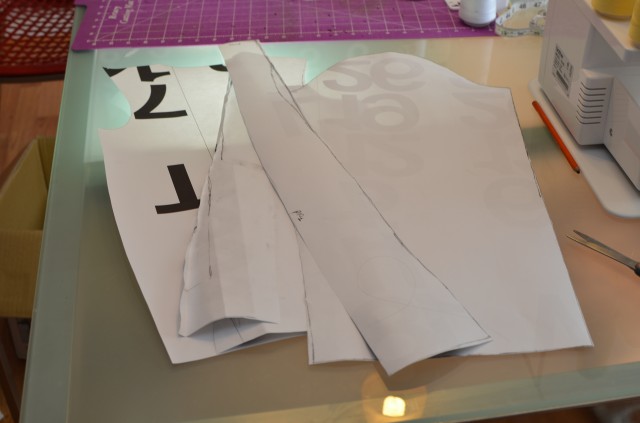
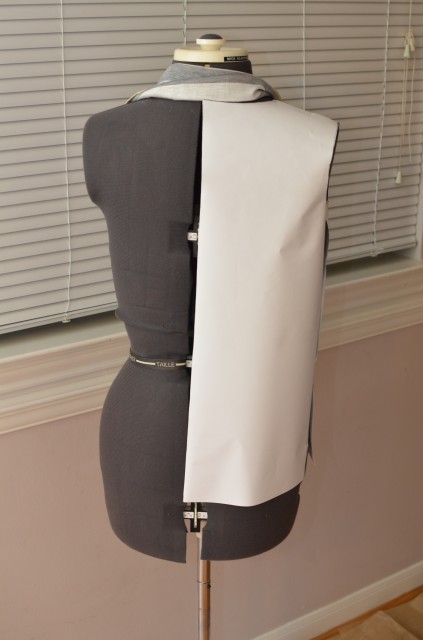
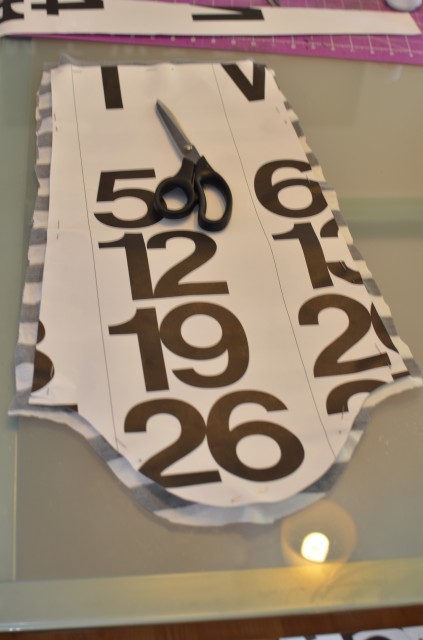
I took some thicker paper to use for my pattern pieces.
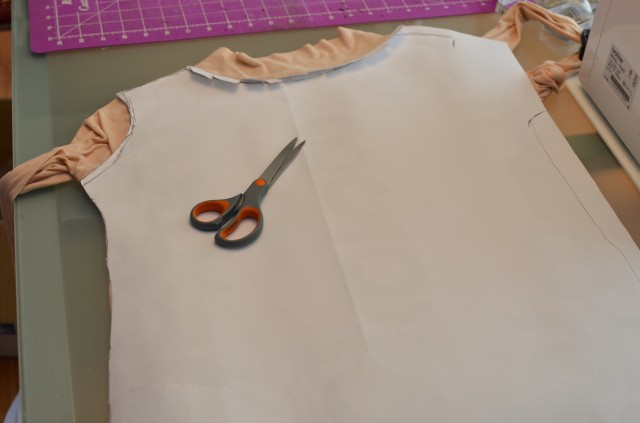
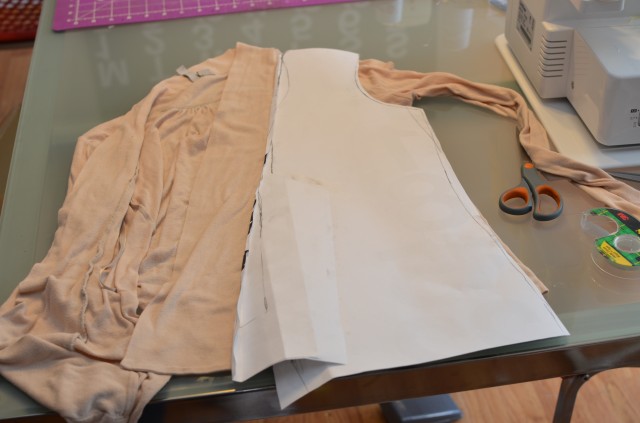
Slowly made my pieces.
Once I had them all done, it was time to mess with the fabric.
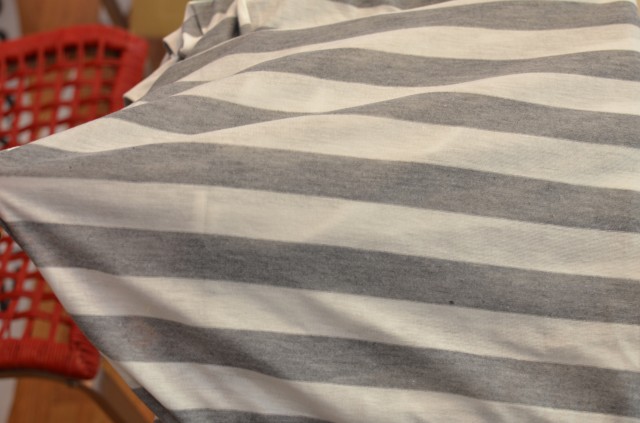
Make sure to find the stretch.
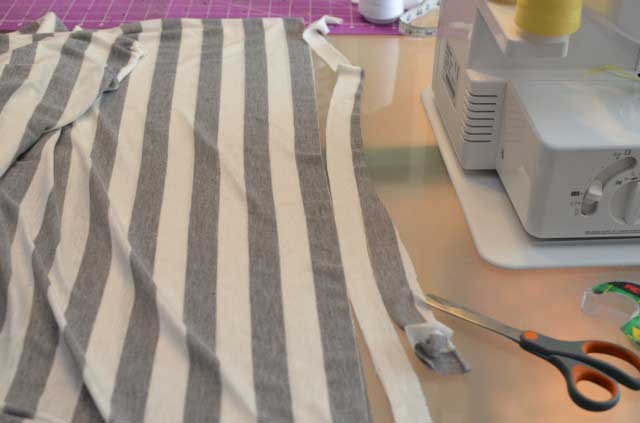
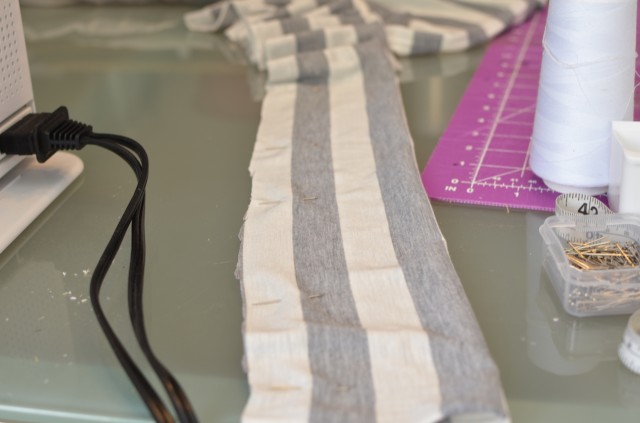
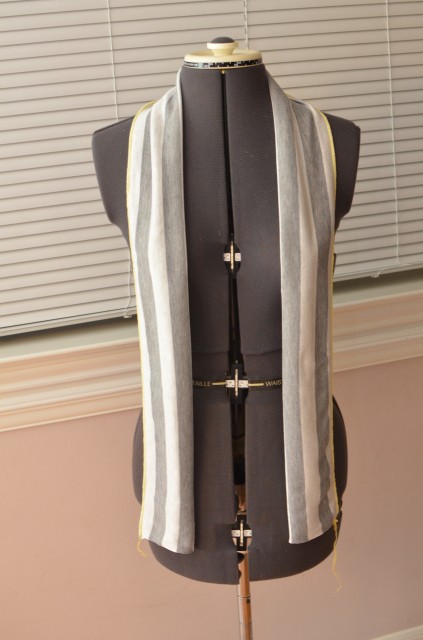
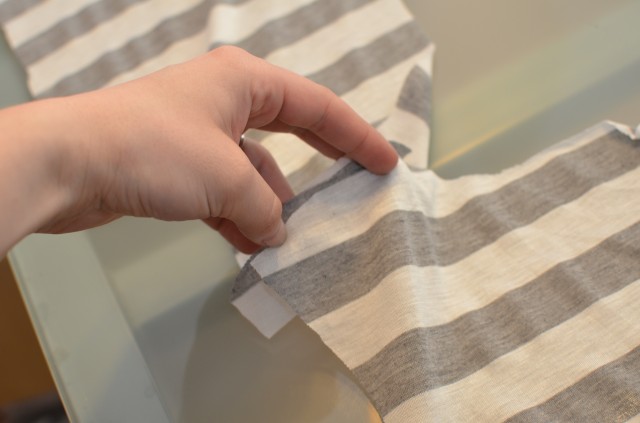
Cut off uneven ends.
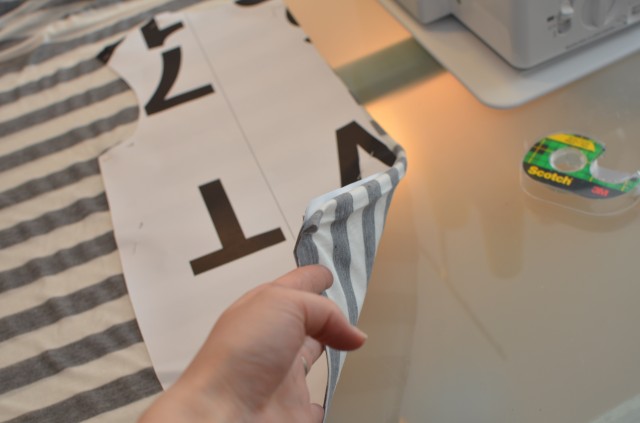
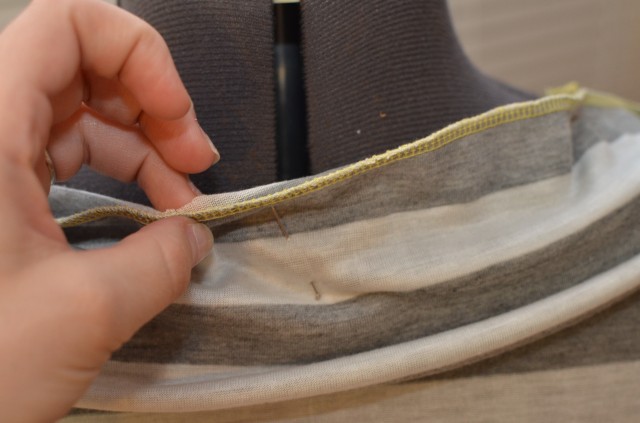
Fold to make the collar on the outside.
Pin.
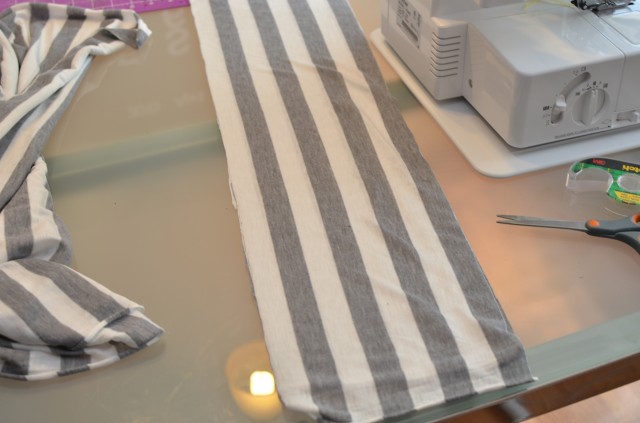
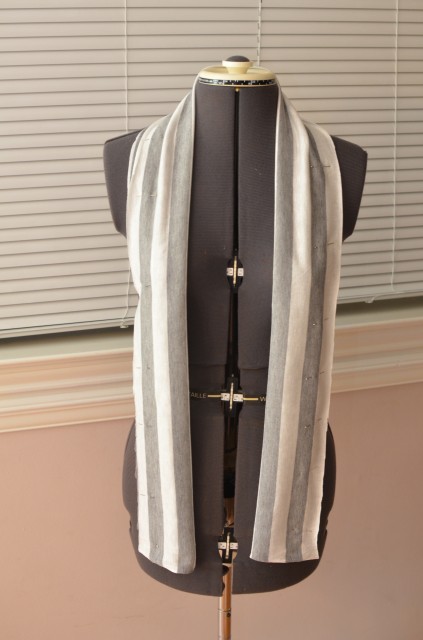
Check Length and look.
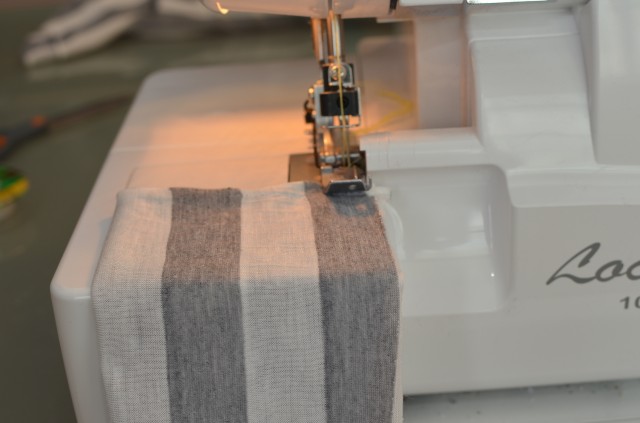
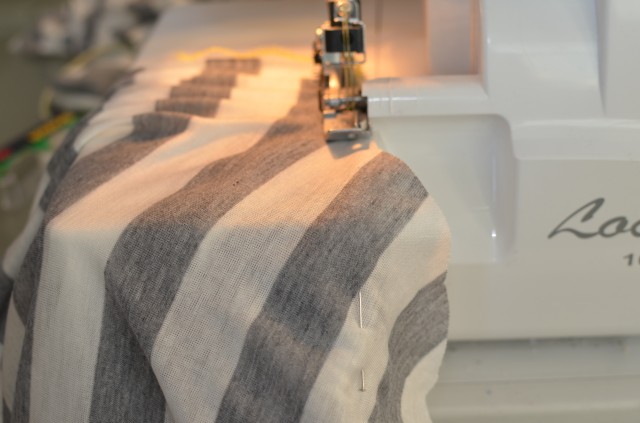
Serge.
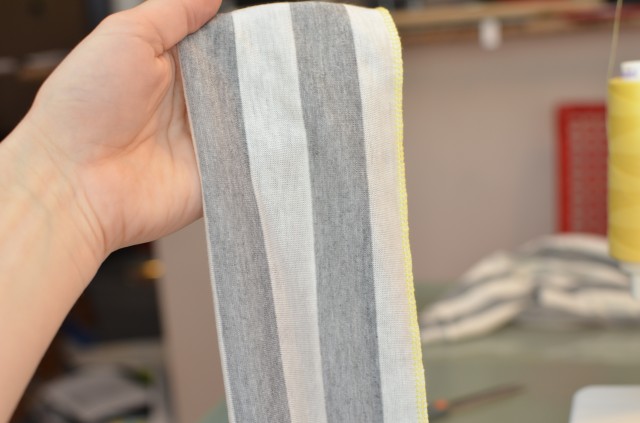
Done.
Part one done.
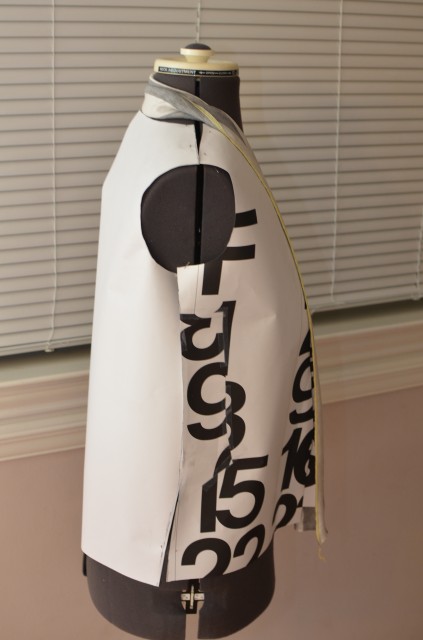
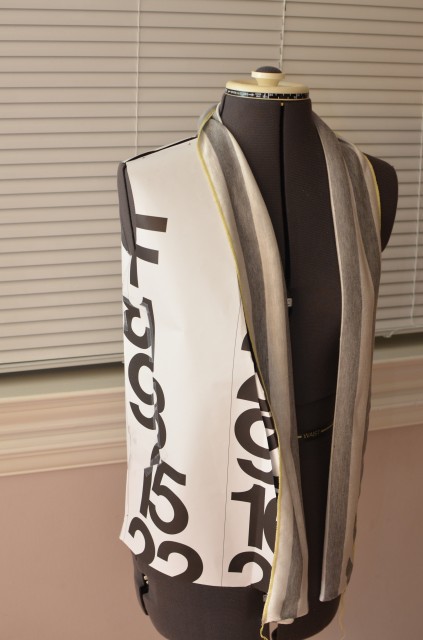
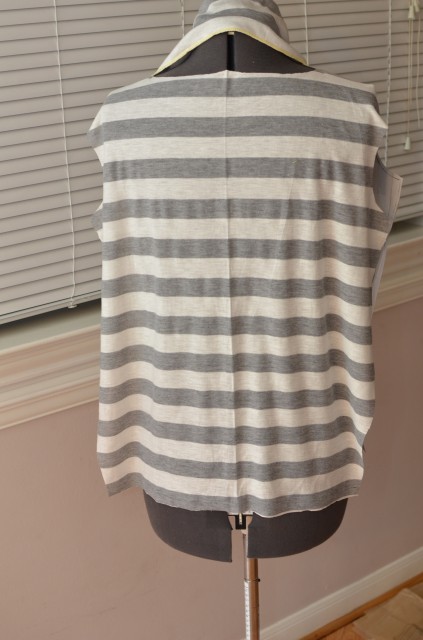
Check pattern on dressform.
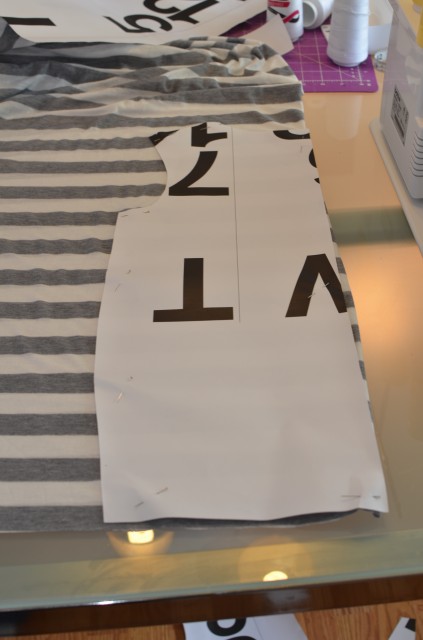
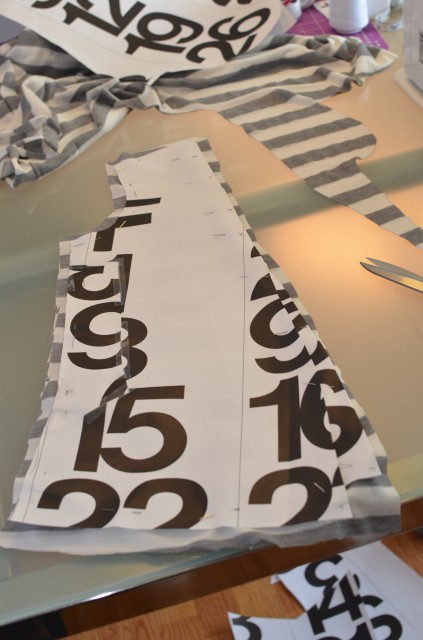
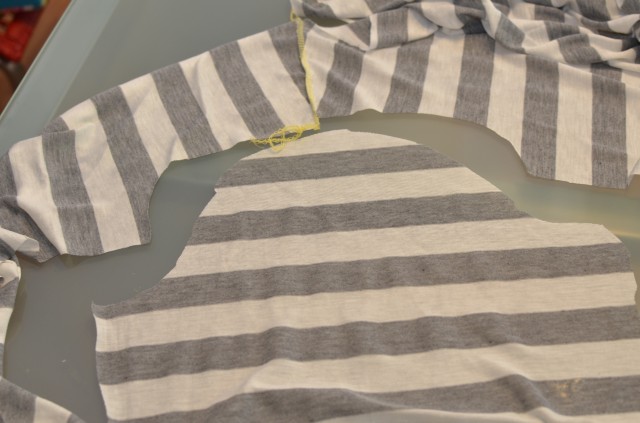
Cut your pieces making sure the stretch is going the correct way.
Watch went to cut on a fold and not.
I pinned on the dressform to make sure I was keeping everything in order.
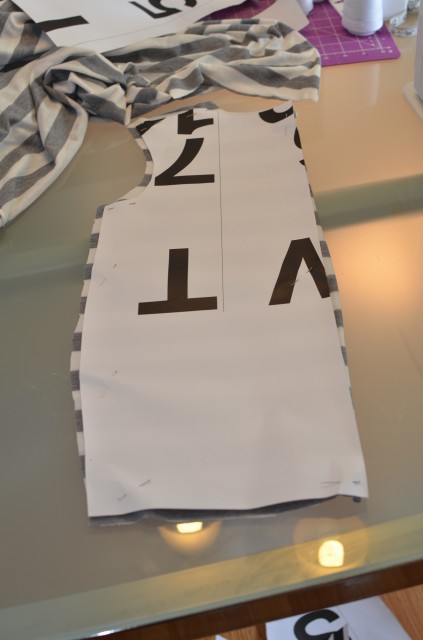
Side/front pieces.
Not cut on the fold,but two pieces.
I can only cut on top of each other because the front and back was the same on this fabric.
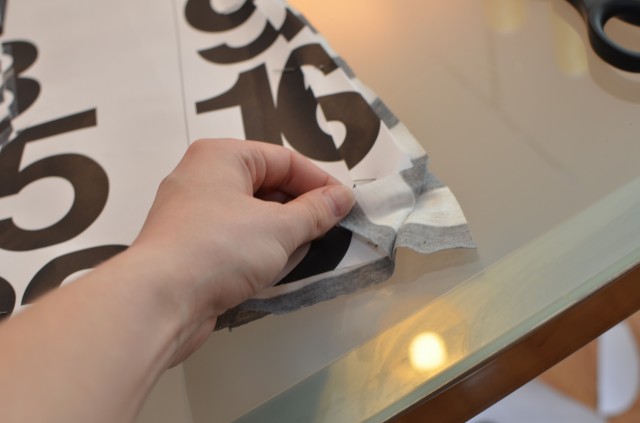
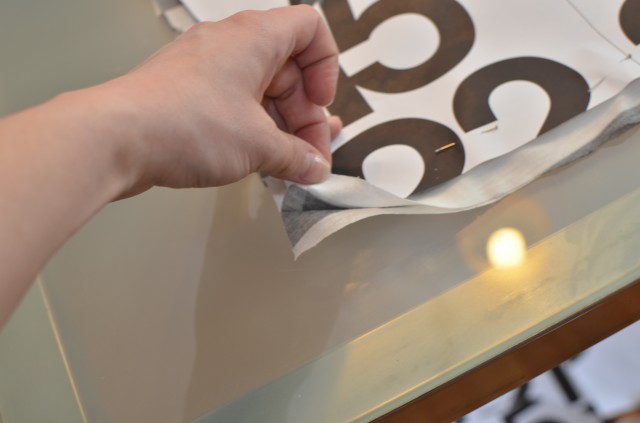
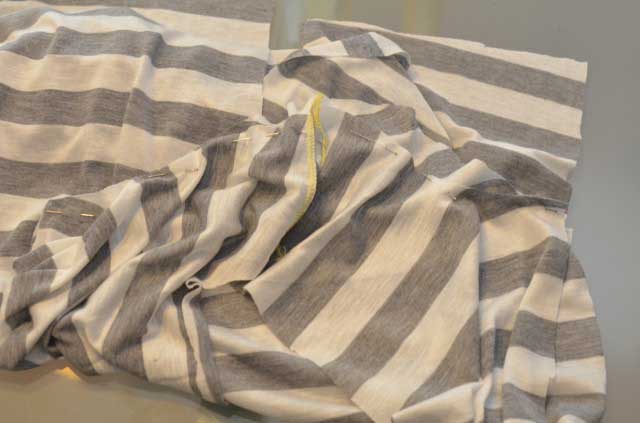
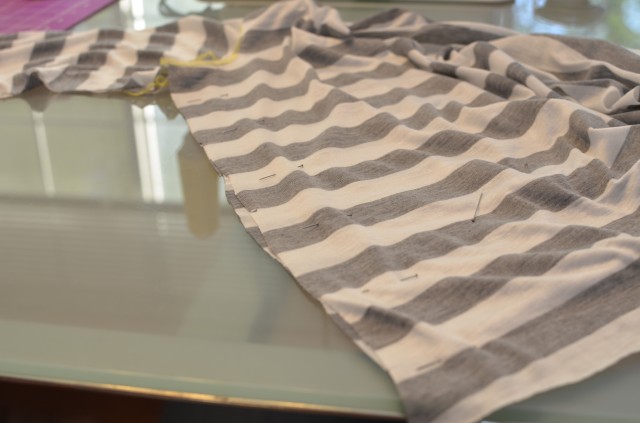
Pin.
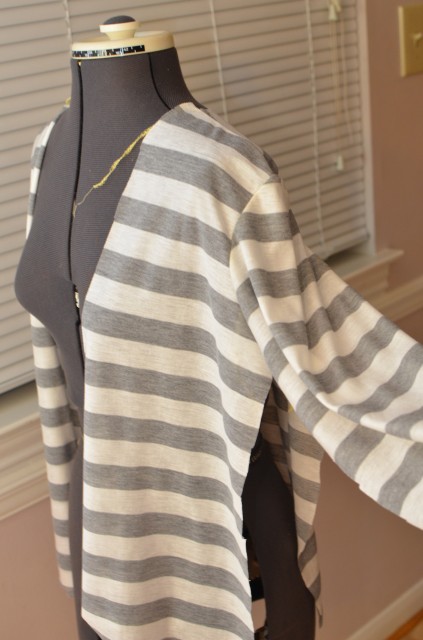
Here I should have noticed that the seam line where the sleeves attach are lower than I prefer.
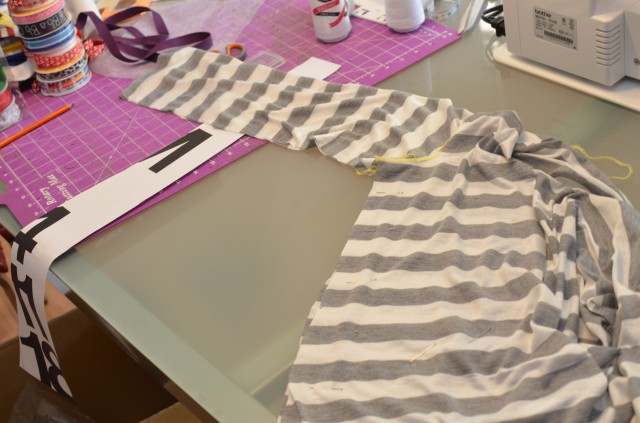
Cut the sleeves.
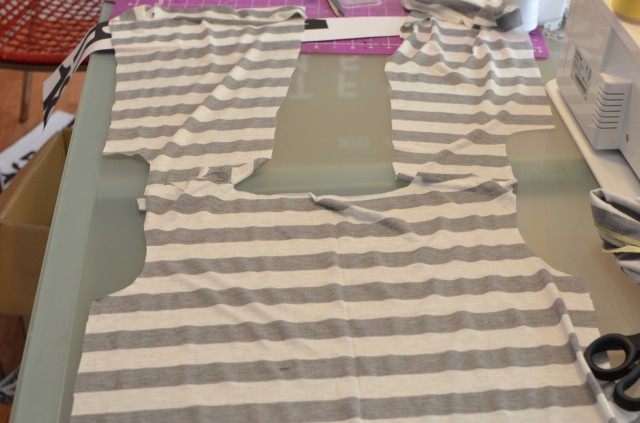
Lay it out.
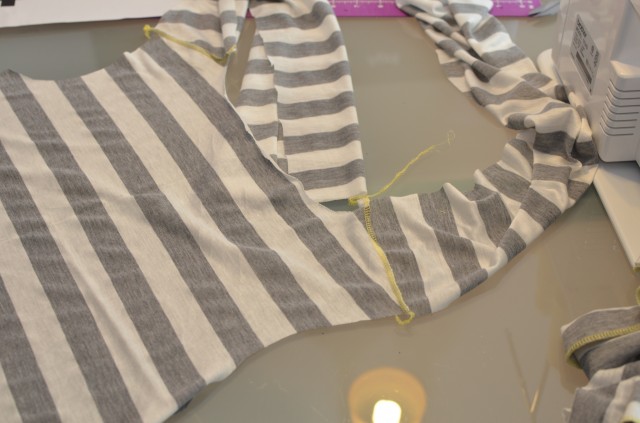
Line up the seams on the front and back that will hit on the shoulders.
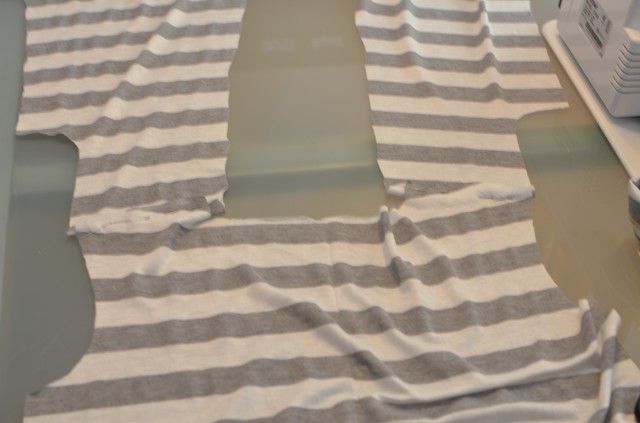
Pin.
Serge.
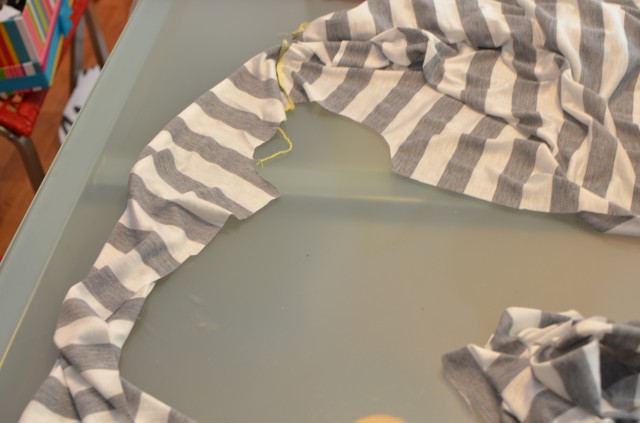
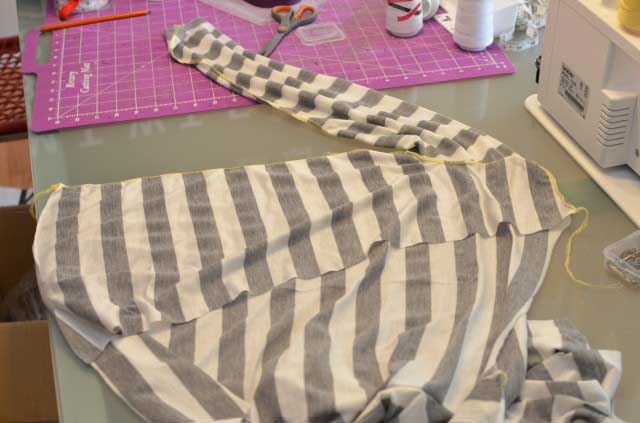
Pin the sleeves to the opening and then serge them.
Now it looks like you have a cape over your arms.
Lay it out for the second sleeve.
Doesn’t like up perfectly,but knit a serger make for a forgiving team in this area.
Pin and then serge.
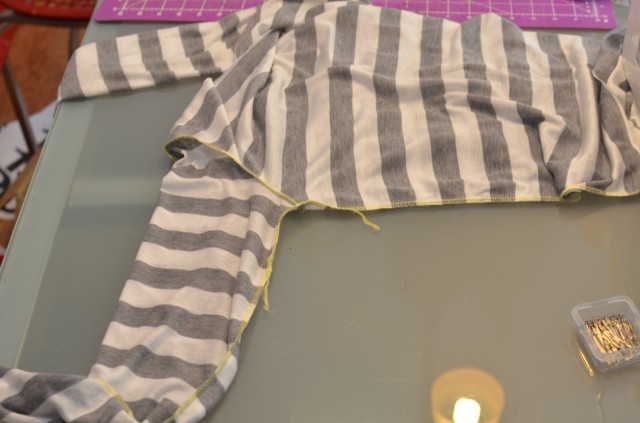
So now you have a weird cape thing.
Lay flat and pin down the arms and side.
Then serge the whole side, start by taking not a huge seam allowance because you can always go and take off more later.
Make sure where you serge or sew that the seams stay on the inside so you are constantly turning inside out and right side out.
Do the other side.
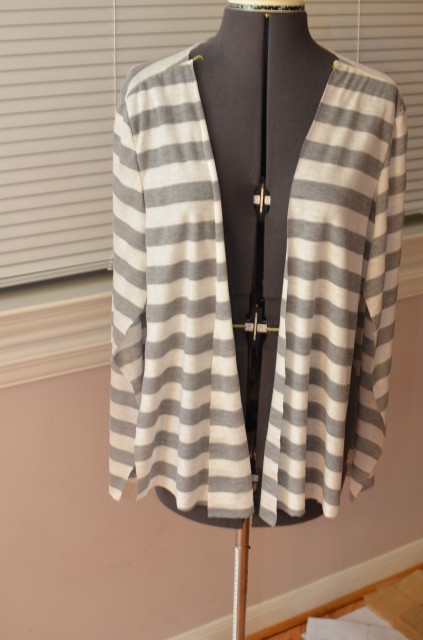
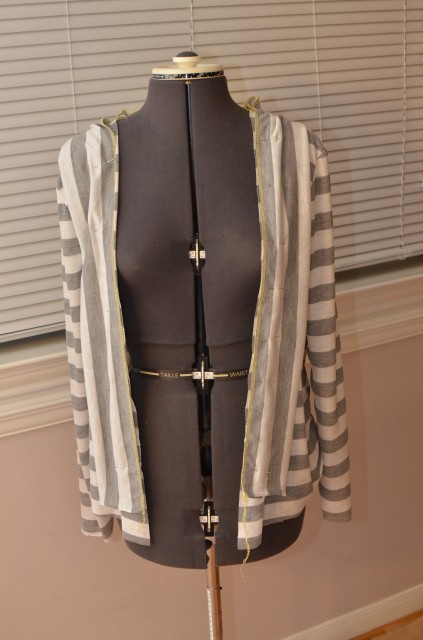
Not to shabby, but see where the sleeve lines hit, I am weird about this and prefer them higher, but this is the fashion to have them lower on arms for some reason.
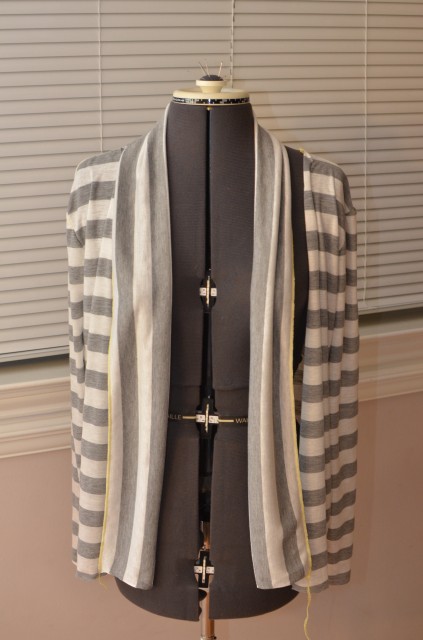
Now it is time to find the center of the accent shawl thing.
Pin the center.
Pin down the whole thing and try on before sewing anything to see how it lays.
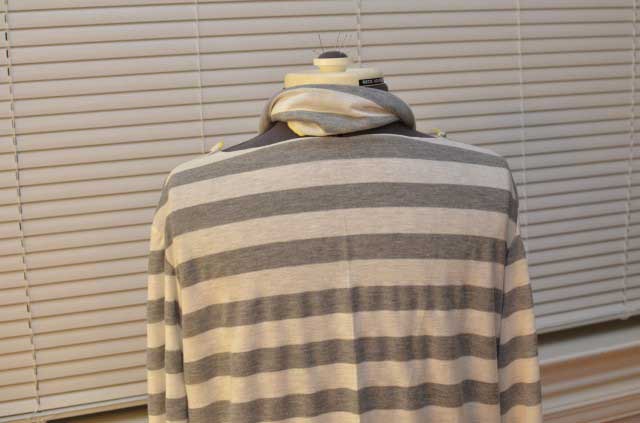
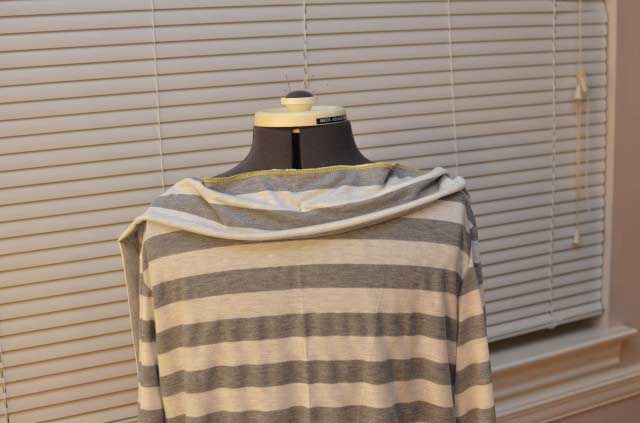
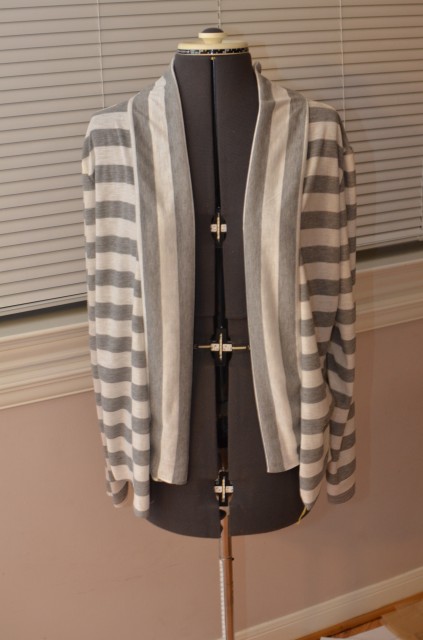 Then I serge around that; I also took a triangle off on the top back portion because it was too much fabric at the back to be comfortable.
This is where it all went wrong. All that was left to do was hem the sleeves and around the bottom. I would have had a nice cartigan,but I tried to raise the sleeve without seam ripping and ended up with holes between the shawl and sleeves that I couldn’t fix. SO, since I didn’t want to unpick the whole thing I cut it up and made baby hats out of it which you can see at the link below on the very bottom picture.
https://thesimplehaus.com/2013/04/baby-hat-gifts/
Have you ever had something fail like this?
Read more at http://diyshowoff.com/2013/04/28/that-diy-party-1-2/#XXvy5DCBbBCG4v2i.99



5 comments
Awww we all make mistakes like that sometimes. If it’s any consolation, it looks like it was going to be REALLY cute if it had worked!
That’s a shame it didn’t work, but we all have mistakes like this sometimes. It would have looked amazing!
Shucks your tutorial was going so well. I think I may still try this.
That’s too bad! It was turning out to be a really cute cardigan! You can just shorten the shoulder area so it will move up the sleeve and then lengthen the sleeves. At least you still have the pattern!
Thanks for linking up!
detailed tutorial. i wanted to cut a cardigan of similar cloth found ur tutorial very helpful.