When I was younger, my mom bought me these two black and white pillows for my room. I loved black, white, and red in almost everything and really haven’t changed. I still love the pillow cases, but was never happy with the actual feather pillows inside. They were VERY prickly since I am assuming there wasn’t a lot of down inside. I decided to donate the insides and keep the pillow case cover especially since it was nice sturdy fabric as well as had a nice zipper on the bottom of the cases. My next issue was that these pillow cases were a custom size that most stores don’t sell, so, I went to Ikea and bought two of their 20″x20″ down feather pillows, but of course the cases were too big. So, I decided to make the cases smaller so that I wouldn’t have to buy a special sized pillow for these cases.
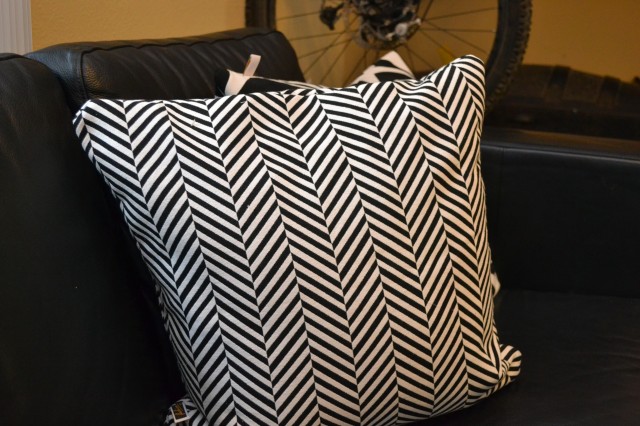
Here are the two Ikea pillows with the too large cases.
They work like this,but I feel they just don’t look finished.
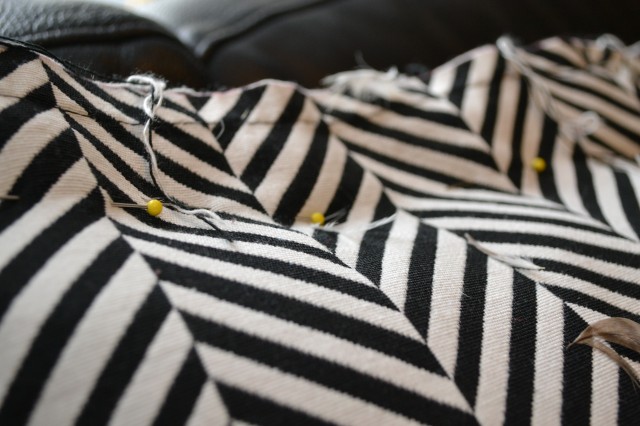
First step is to turn the case inside out over the pillow and start pinning around the case on where you want to sew. I didn’t want to redo all three seams if I didn’t have to. So, I decided to keep the seam with the zipper and the left side since that is where the zipper stopped.
Just a close up on the pinning.
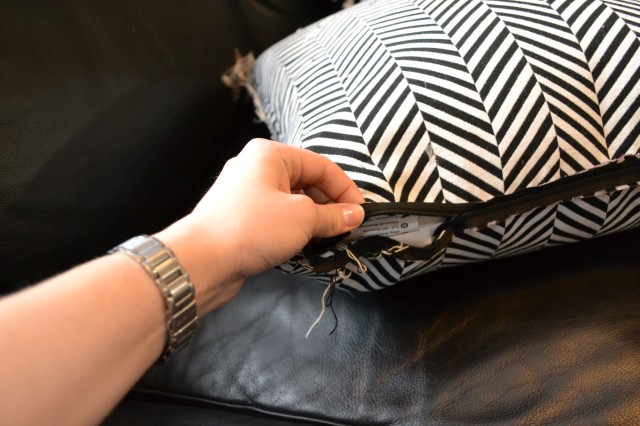
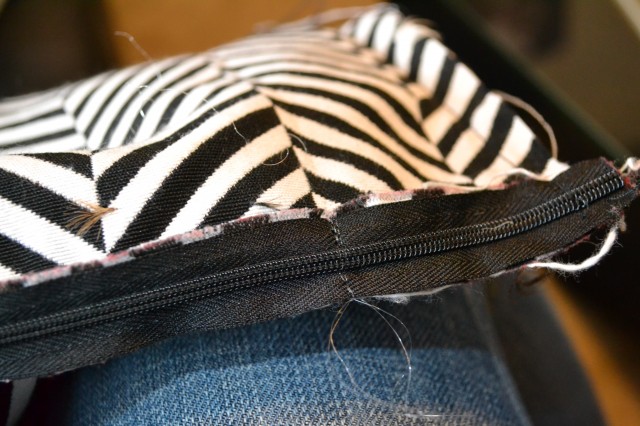
Leave a portion of the zipper open or you WILL have issues getting the case open again.
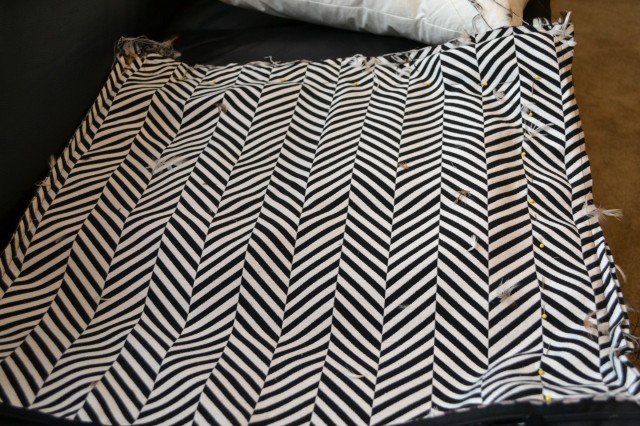
Take the pillow out and you can even see how it shouldn’t lay completely flat due to the shape of the pillow.
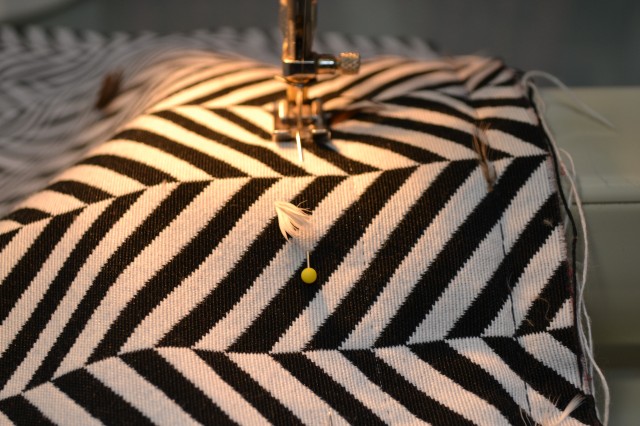
Sew in line with the pins that you placed, but DO NOT CUT anything yet or you will regret it.
You can easily shorten a zipper if you need to. I know the stich lines are hard to see,but just make sure to not hit the zipper with your needle because you might bend or break it,but front and back stitch over the whole zipper and then to the right of it, it everything fits, you can just cut off the excess that you don’t need. You can even see that the original pillow case had that done to it, if you see the black stitching on the right.
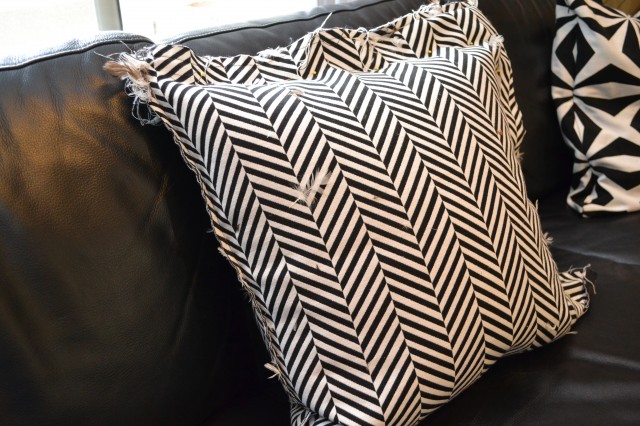
Without cutting anything, turn the case right side out and see how it fits. It is much better here,but not quiet as snug as I wanted. So, I turned inside out and repinned tighter and sewed again. Then turn right side out and check the fit.
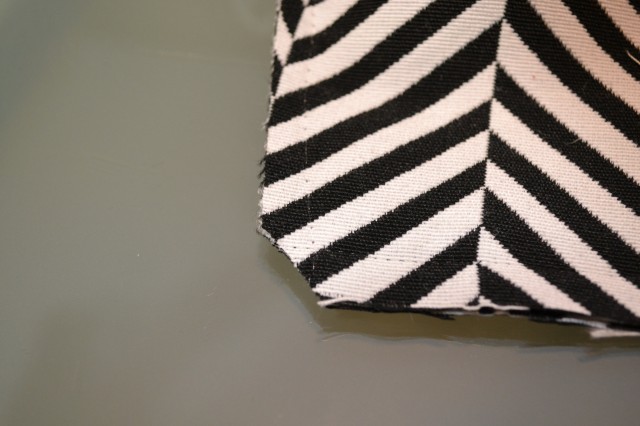
Once the fit is good, trim and leave half an ince of fabric around your seam and clip the corners like shown so your corners will be nice an pointy.
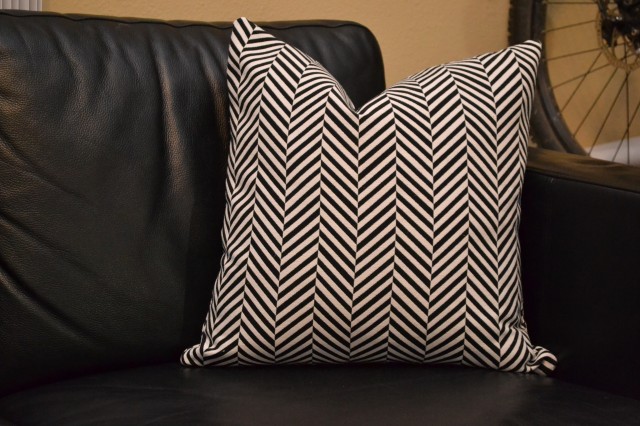
Here is the first pillow case finished.
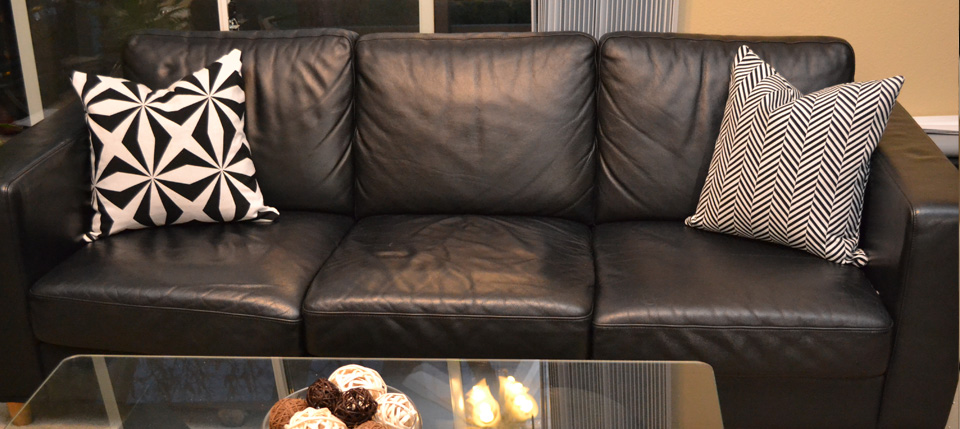
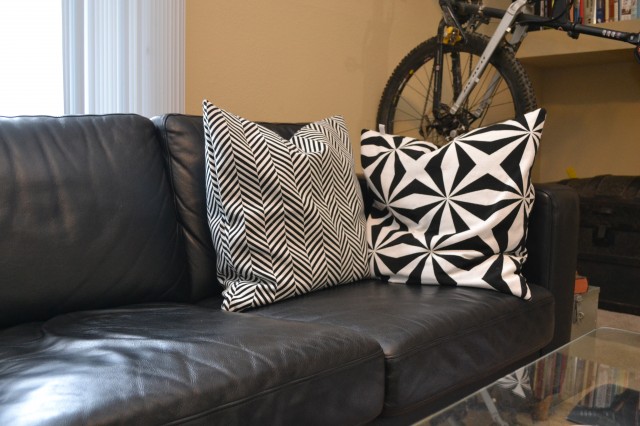
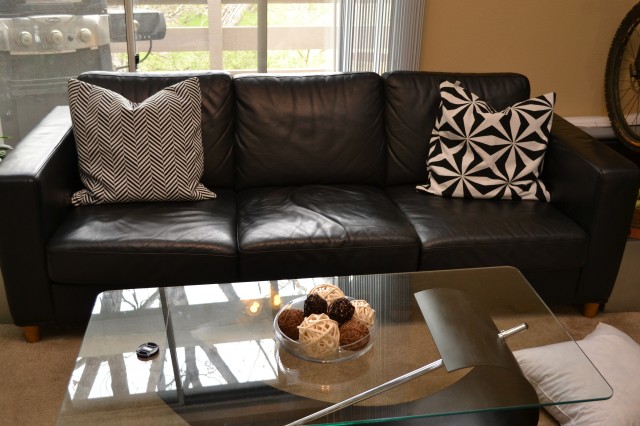
Here are both of them finished, and I am really happy with how they turned out. Have you had any success with smaller home decor fixes like this?

1 comment
[…] https://thesimplehaus.com/2012/05/how-to-resize-an-existing-pillow-cover/ […]