As you saw before, I made the first stocking for a contest, but we didn’t want our other stockings to look like that one. So, I found this tutorial and inspiration here. I love her blog and read it anyway, but her step by step instructions are great!
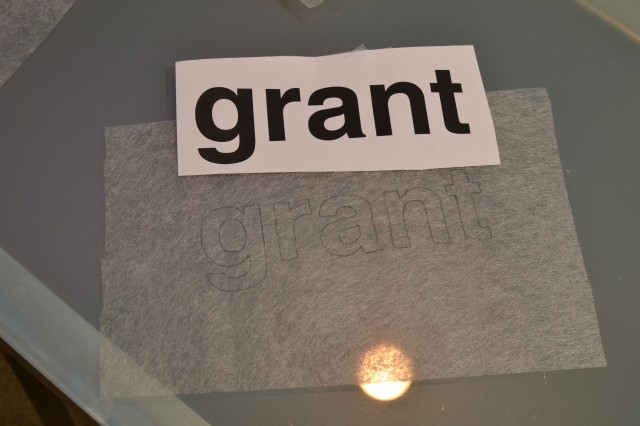
 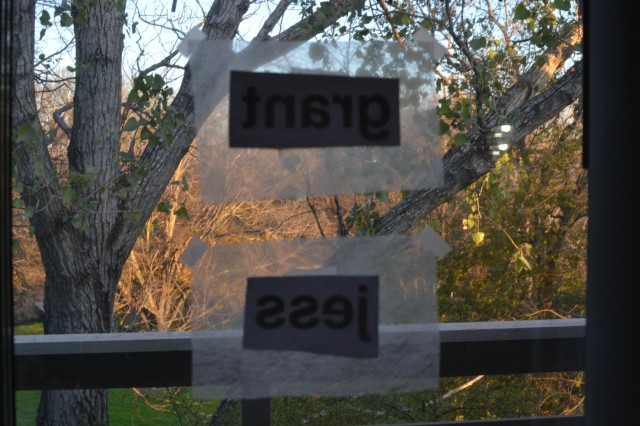 Here you can see I printed out the font and letter size that I wanted as well as the spacing. I put is backwards onto the glass and traced it onto my fusible web.
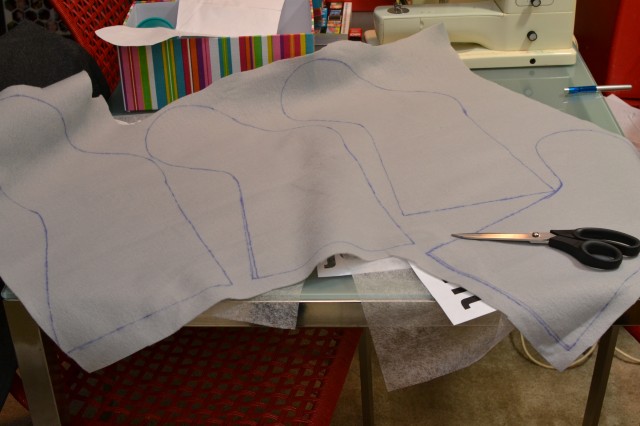
I used the same stocking shape as my other one because I liked it. remember to trace four since you need them and then trace one for each accent color,but leave it longer and wider at the top so you can fold the accent flap over.
 I put the fusible web onto side of the stocking that I wanted on the inside and make sure it is still backwards so that it will be the correct way on the front. I pinned it down and used small sharp scissors to cut out each letter. I can’t lie this took forever!
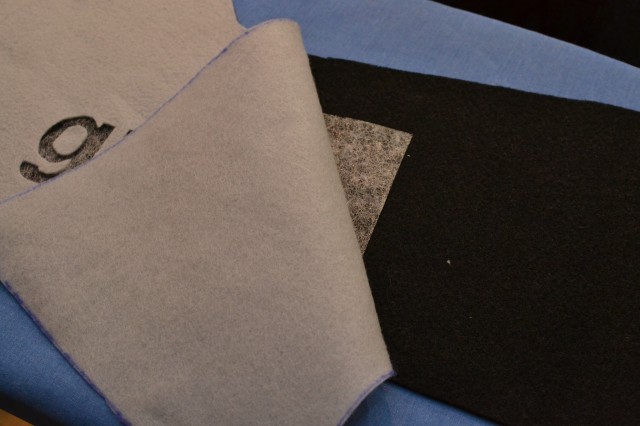
I didn’t want any pen marks to show through so I used a new piece of fusible web and laid it between the front of my stocking and the accent color.
 I then ironed the web according to the directions that came with it. The white worked really well while the black was more stubborn.
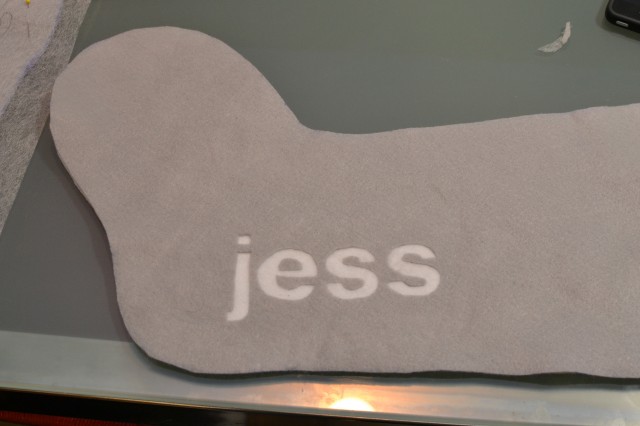 Here you can see mine done too.
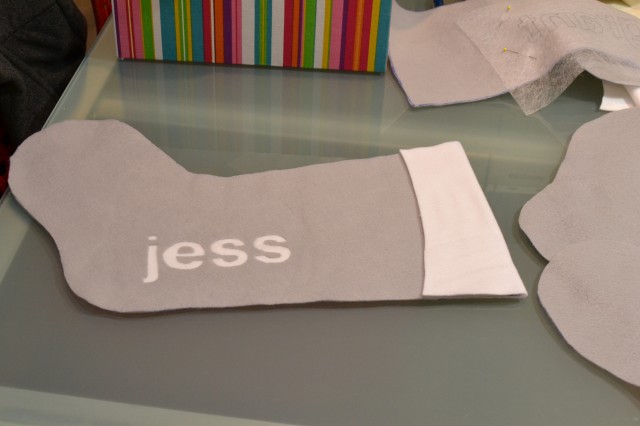 Now you can see that only the portion of the name is fused to the back. I cut the shape of the flat that I wanted and laid it how I want it to look on the front.
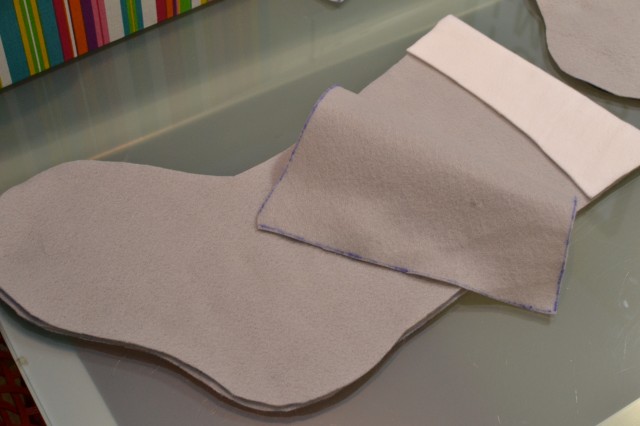 Add the other side of the stocking putting right sides together.
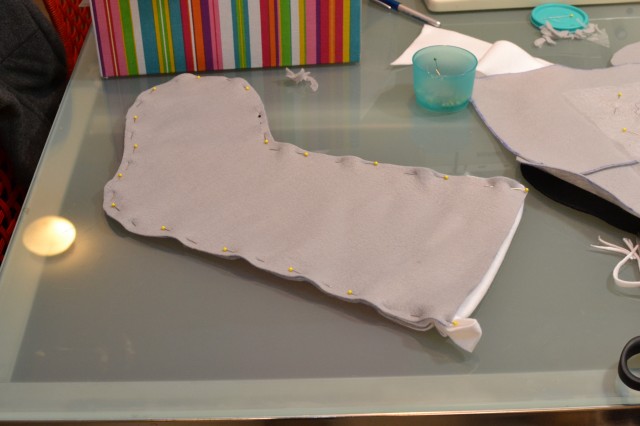 I pinned the whole stocking. Make sure to put your hook in before you start sewing.
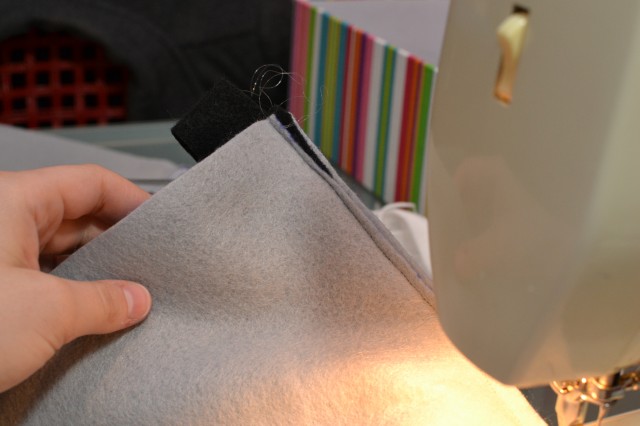 The way that she shows on her blog is easier,but I prefer to have my seams hidden on the inside of the stocking.
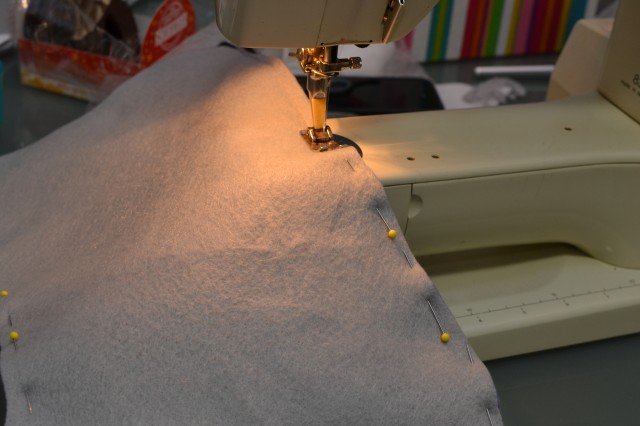 Sew all around the stocking and turn right side out.
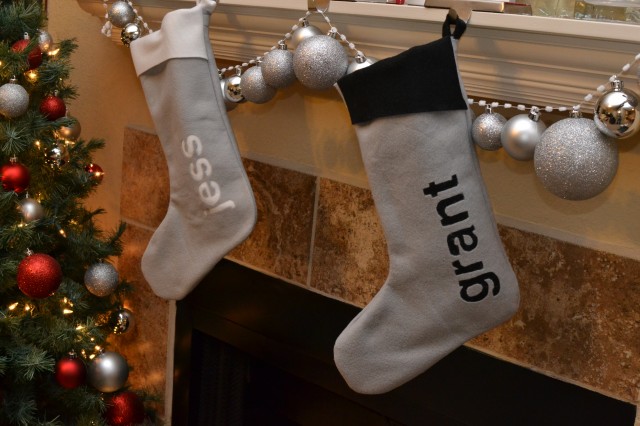 I chose to only have the flap on the front,but you could always make the flap go all the way around like I did on my first stocking.
 Have you done any cool projects? I hope everyone had a Merry Christmas!


4 comments
What a great idea, I love how every idea gets tweaked by the next person, none of us are the same so we all have diffrent things to add, I’m with you on the seams, showing seams has a nice rustic look but I’mnot rustic so I wouldn’t do it that way whereas my sister would love them that way.
These turned out great!
[…] Our set with Reese’s stocking up on the mantel as well which I sewed. See the tutorial here. […]
[…] I finally made him his stocking, see tutorial here. […]